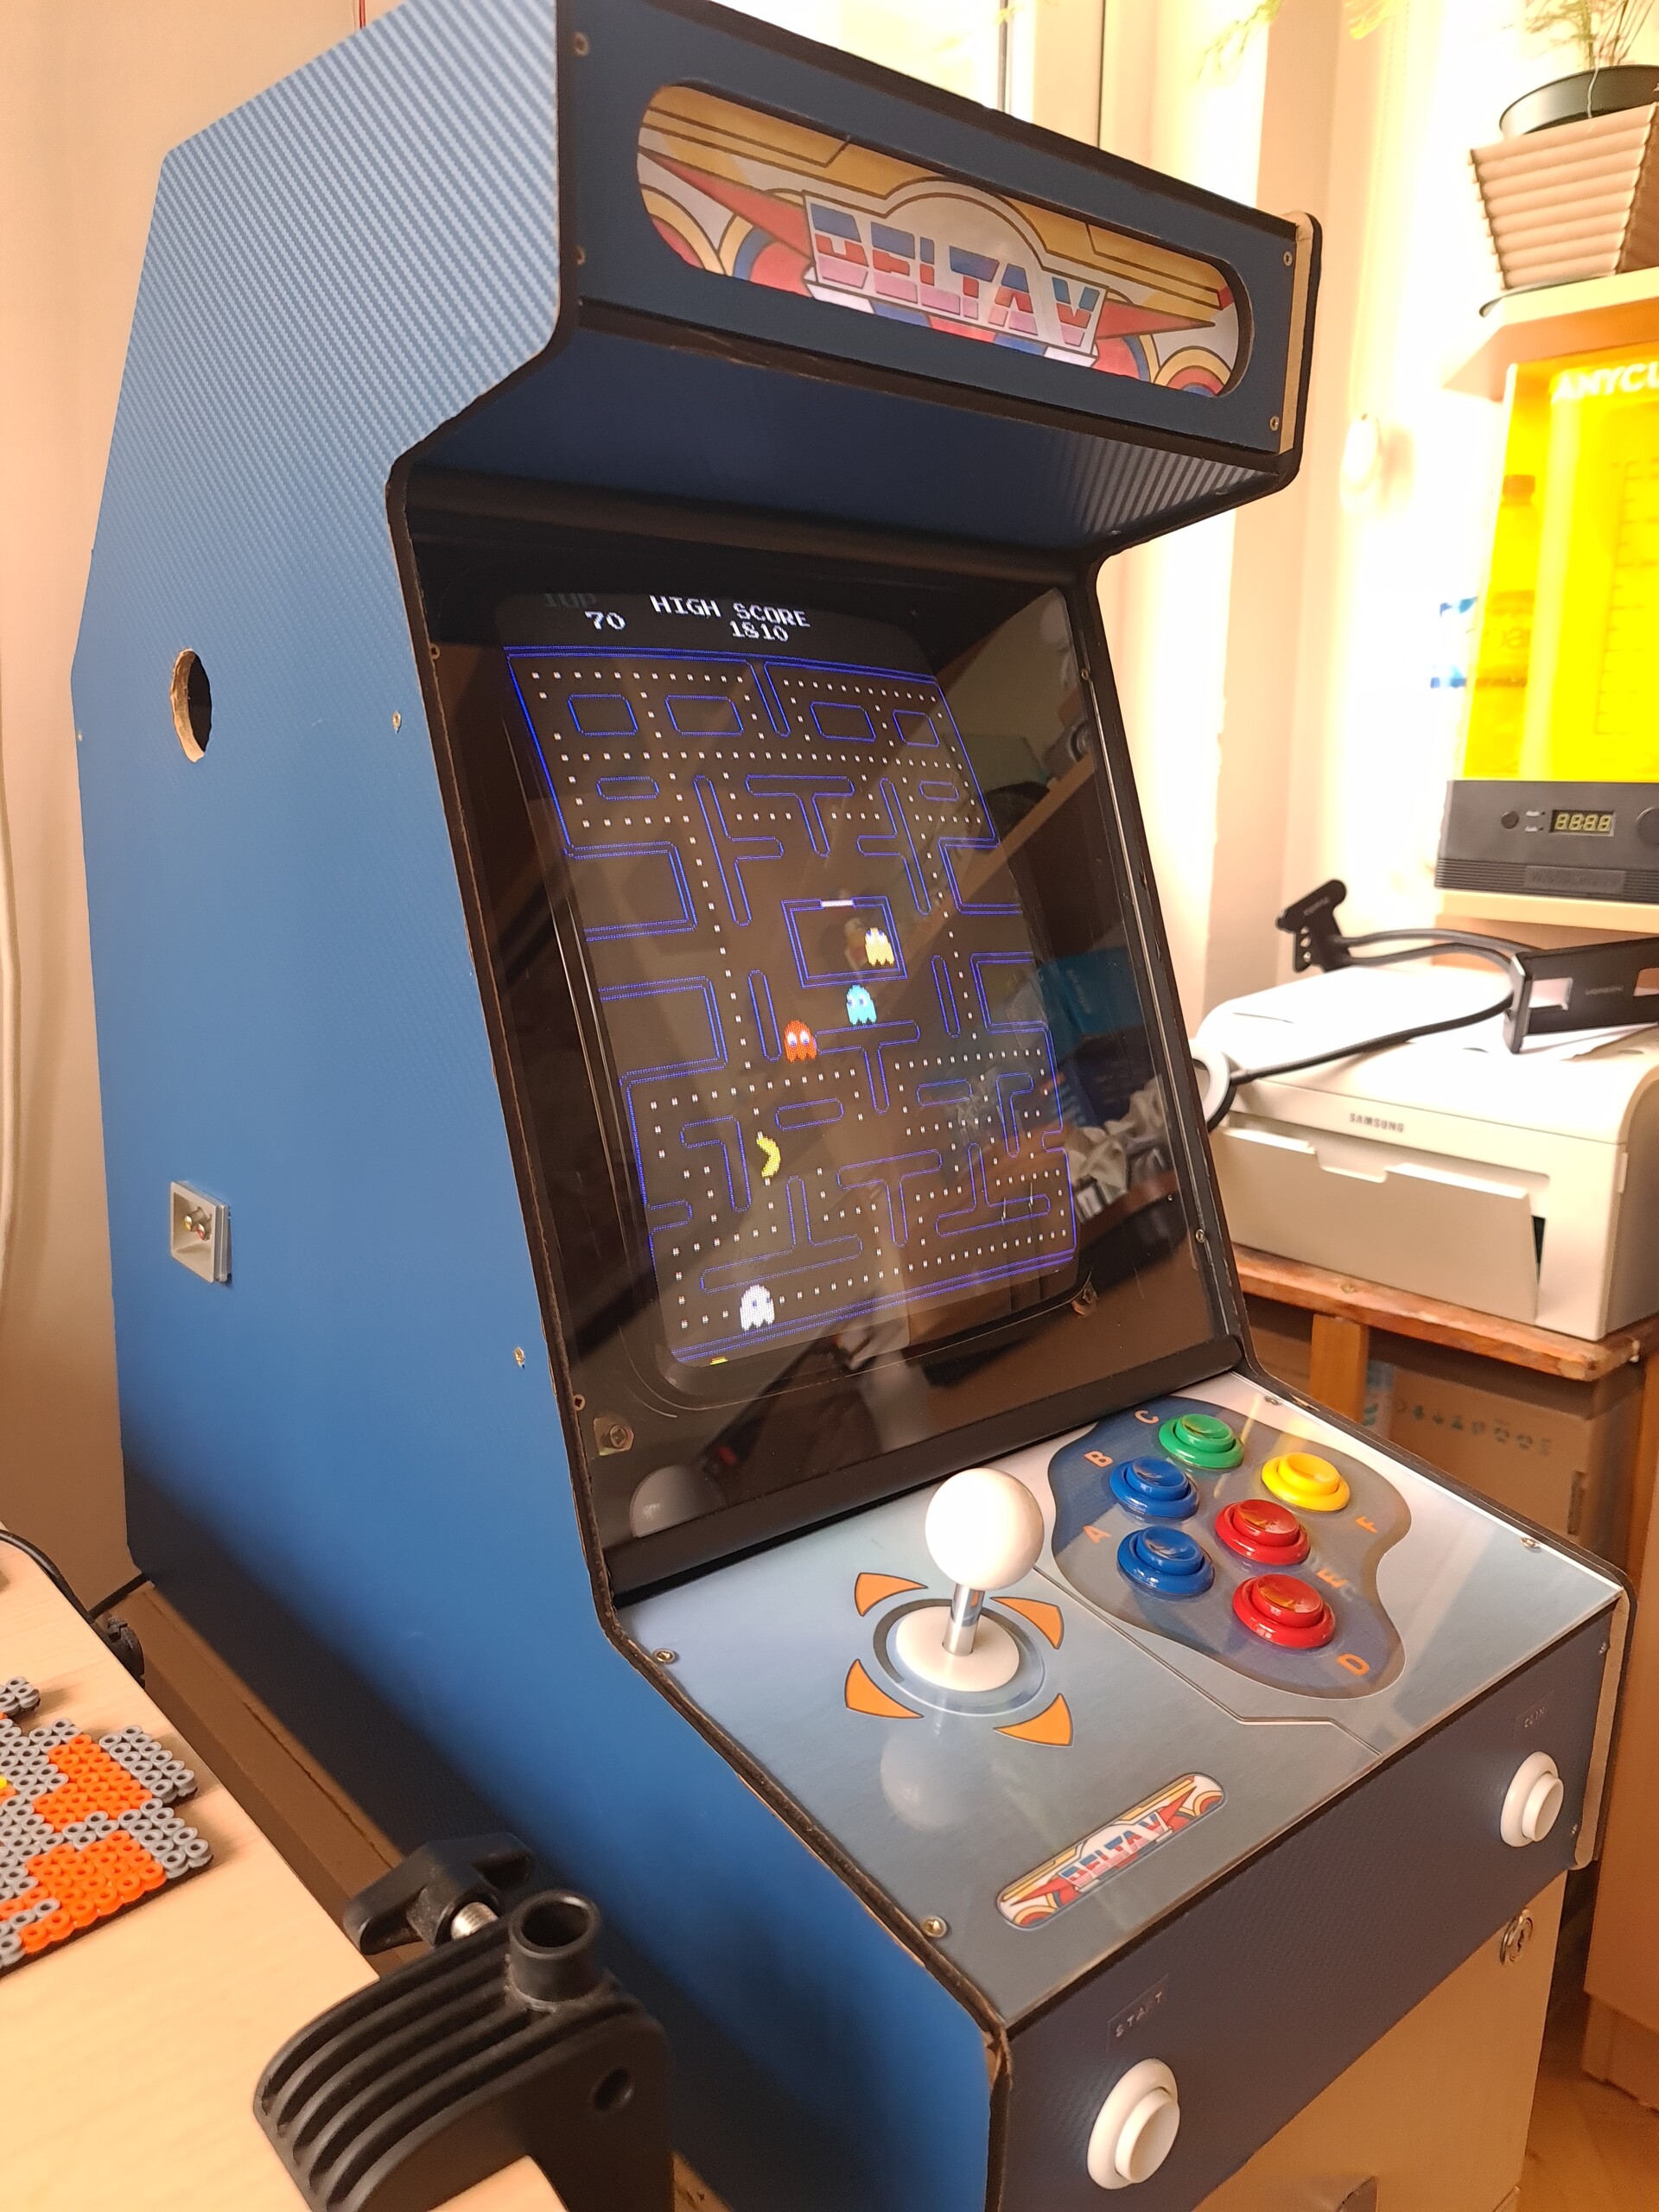
Hi everyone! I came with another bartop arcade cabinet making of. But this time it has a "vertical" screen!
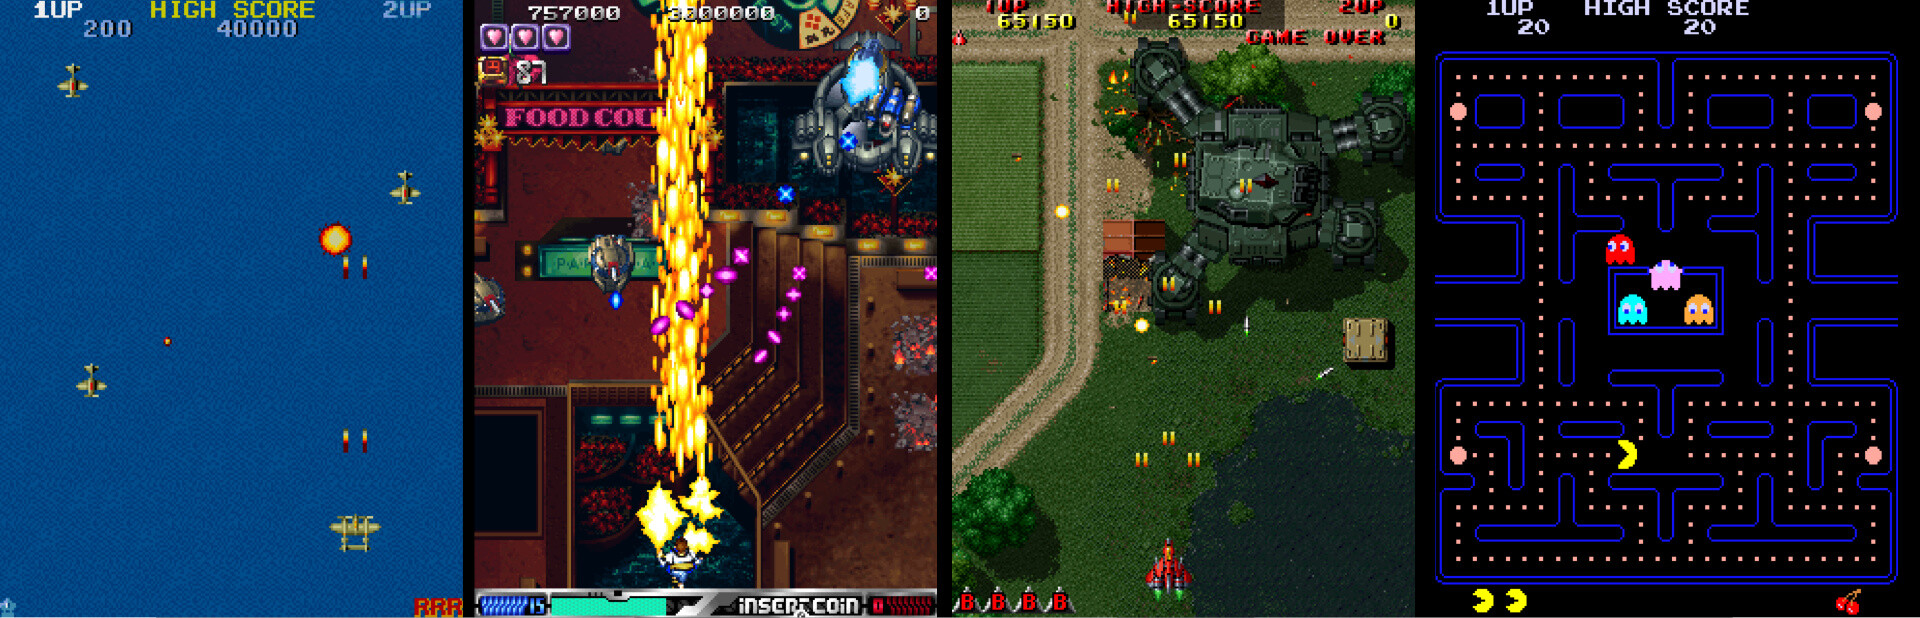
Single screen arcade games are mostly designed for horizontal screens but there are also many games that designed for vertical screens as well. Most of them are shoot em ups but there are also platformers and puzzles too. Most of the iconic vertical games are Pac-man, Donkey Kong, Raiden, 1942, Esp. Ra. De, Frogger, Aero Fighters etc.
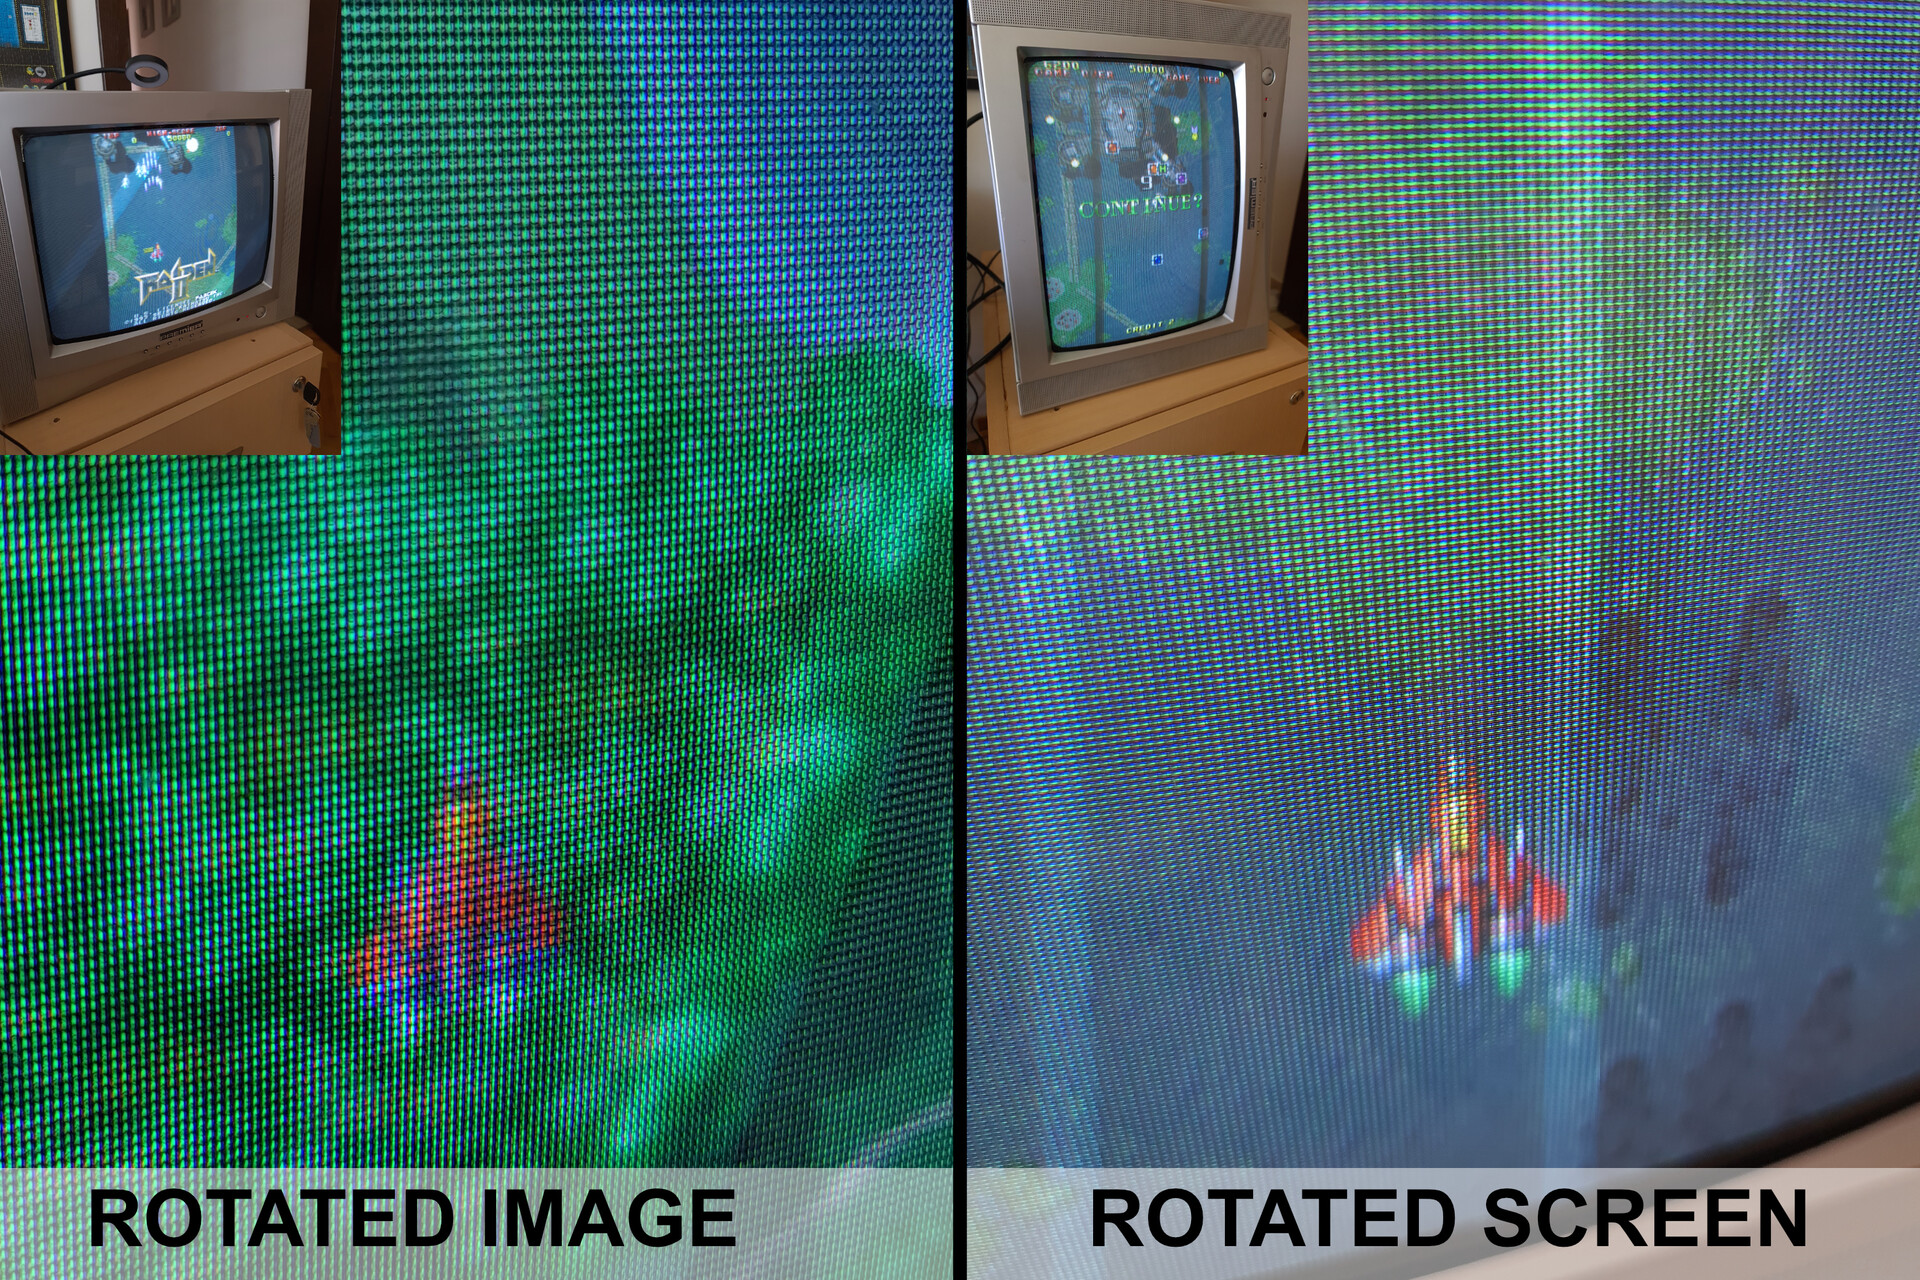
Playing those games on a horizontal screen is also possible with today's emulation technology, but if you're playing on a CRT screen, emulation screen is resized from 240p to 576p which means 2x more scanlines, you get black bands on both sides and also you lost details of pixelart because of the shadowmask of the screen. Detail loss is also caused by the direction of the scanlines. Because the scanlines supposed to be vertically since the graphics are designed by the aspect.
The following image shows the detail loss of a rotated image represented on the same screen.
I'm not a super fan of vertical games but I really wanted to make a cabinet to play those games as they are supposed to be played.
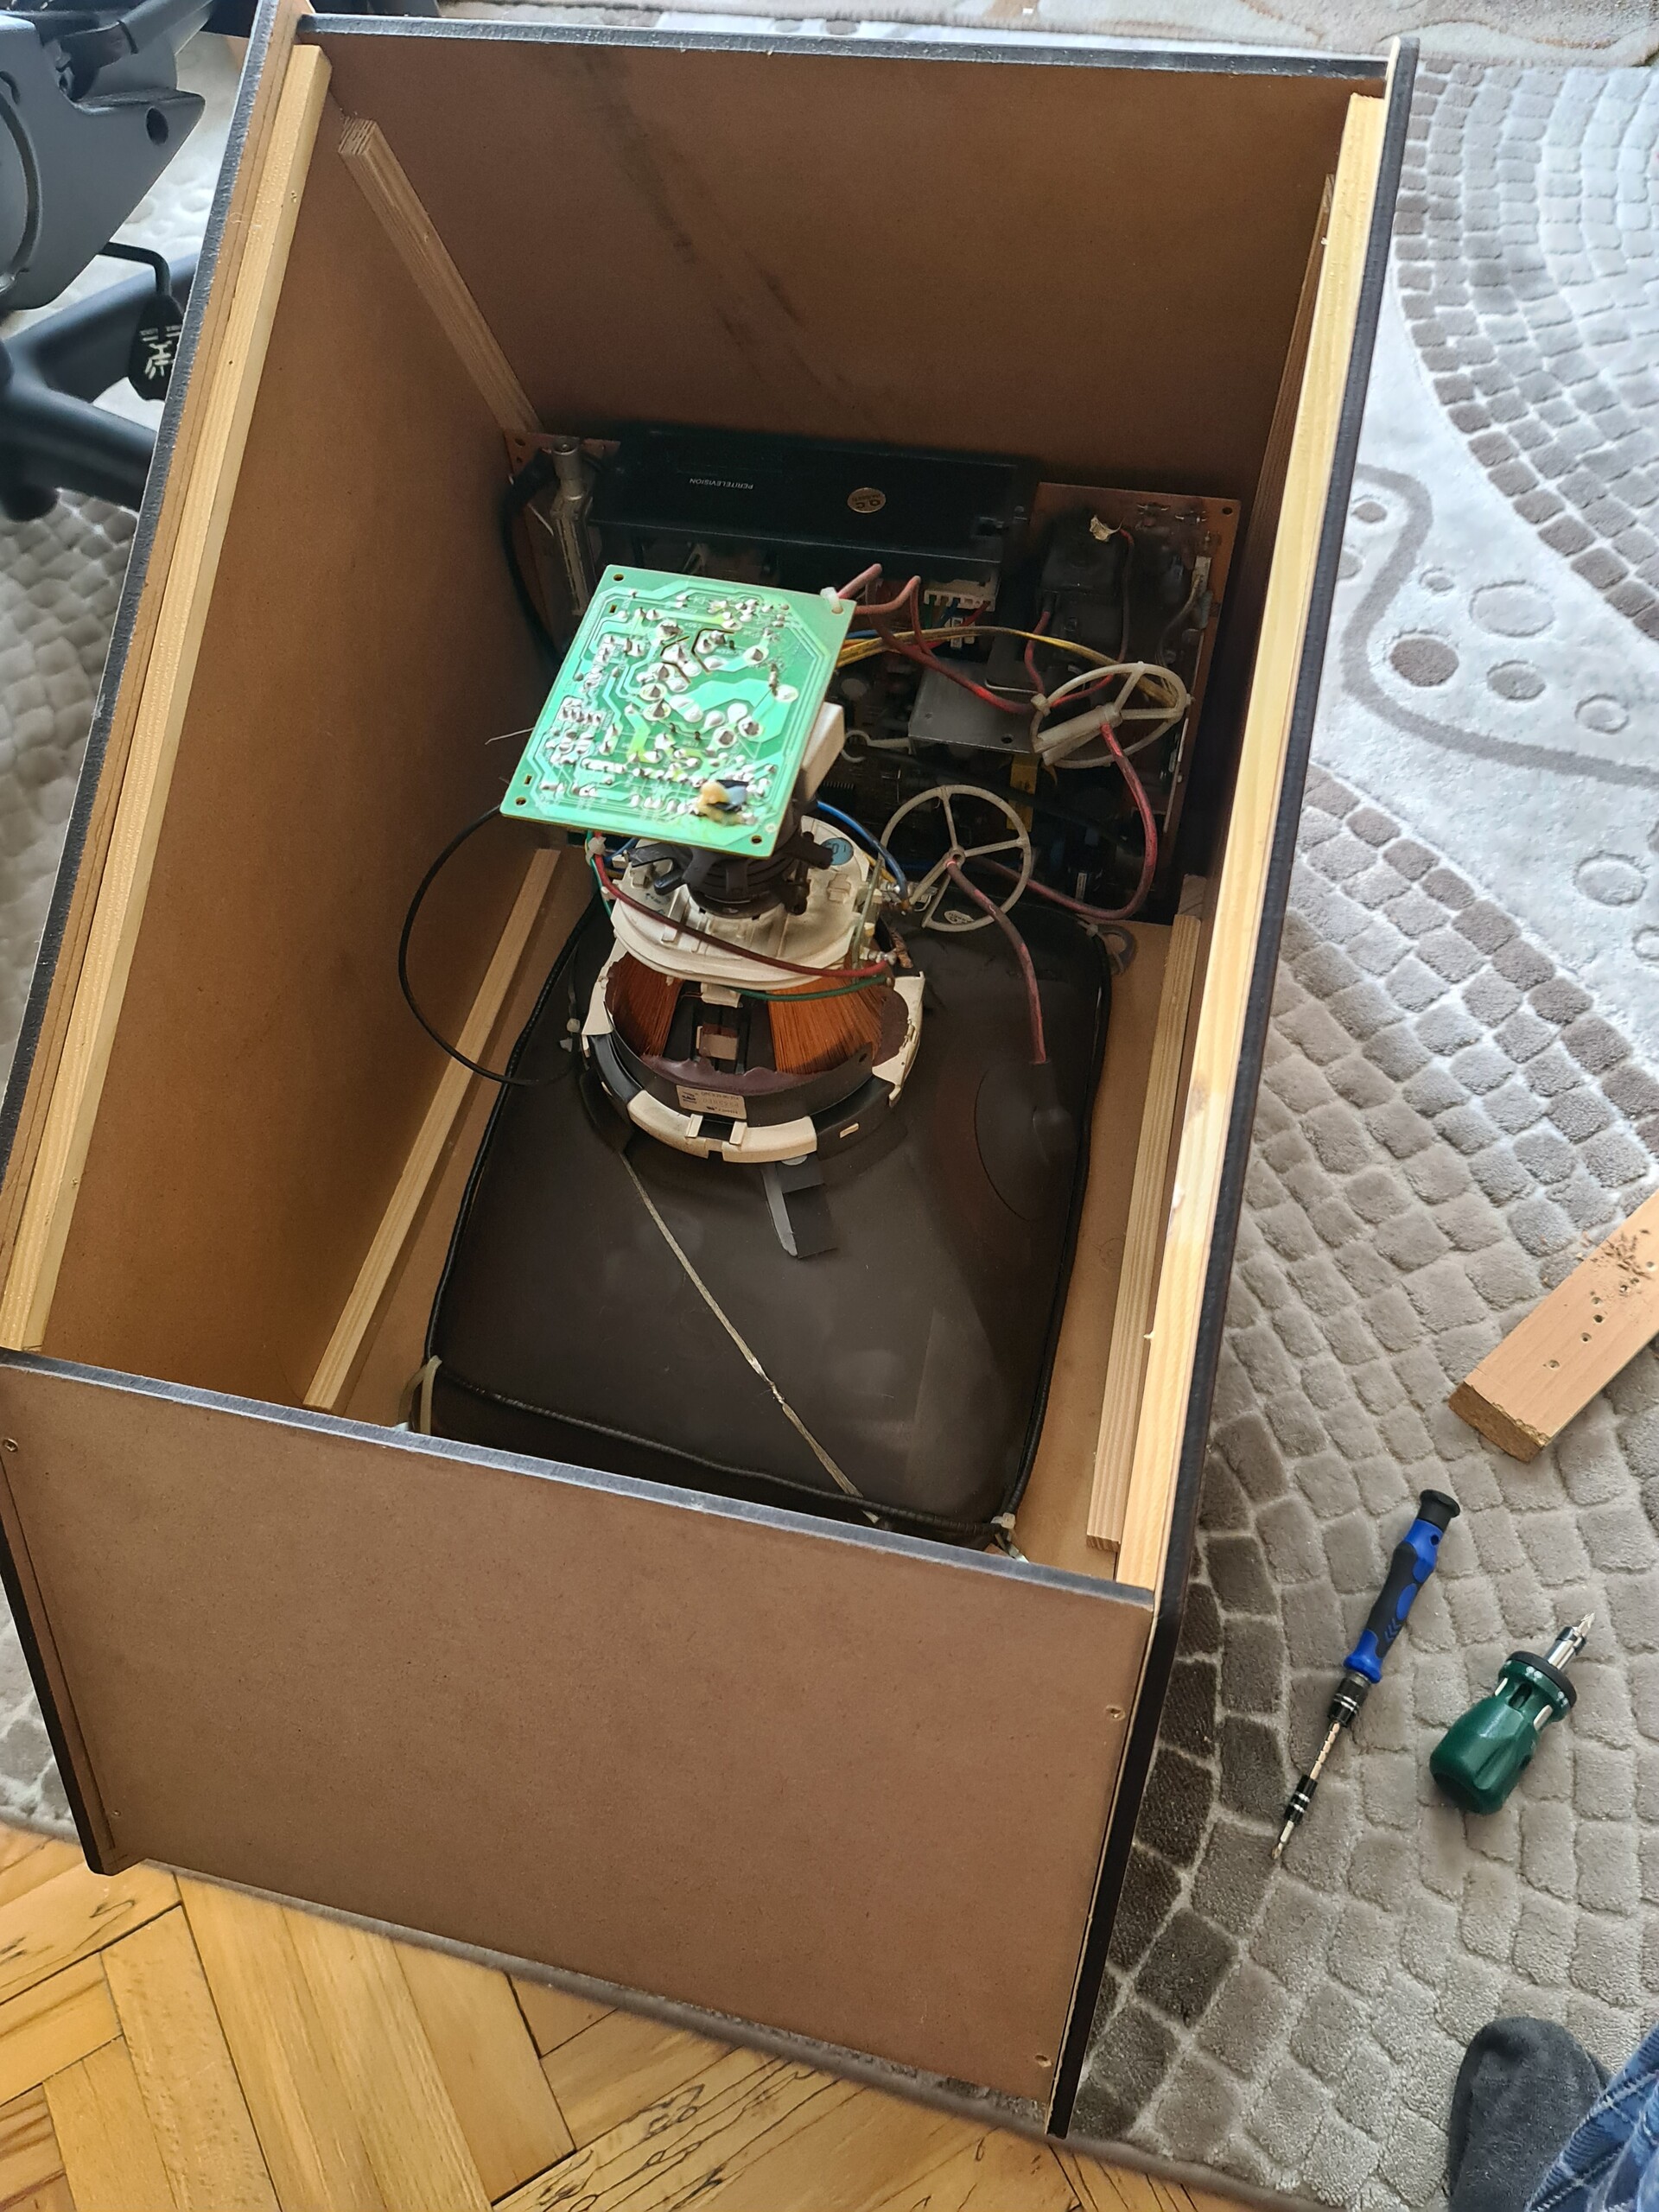
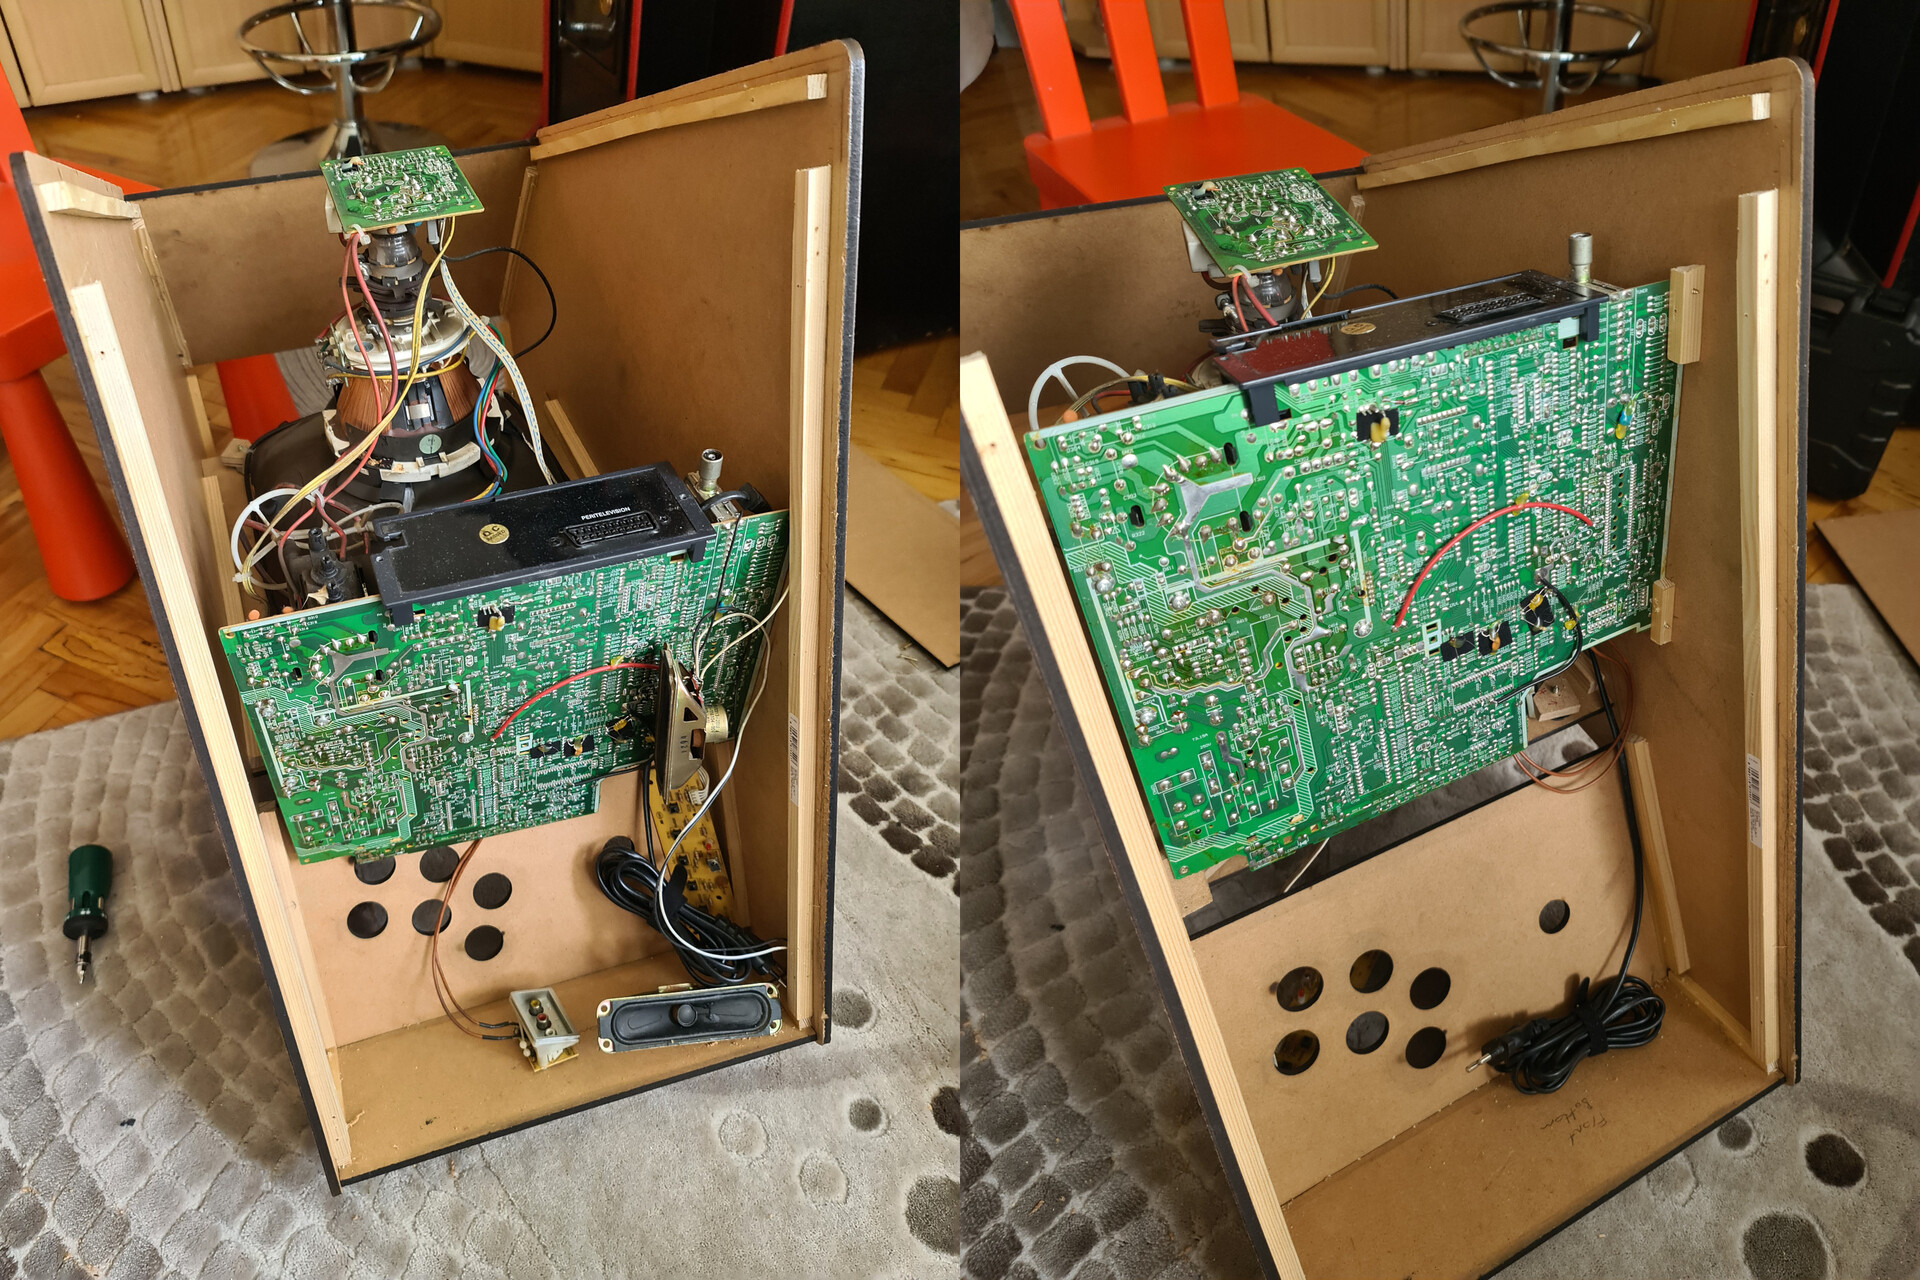
I bought a 2nd hand 14.5" CRT screen which is the same model with my previous bartop project.
https://www.artstation.com/blogs/blockmind/EgoA/making-of-a-crt-tabletop-bartop-arcade-machine-part-12
https://www.artstation.com/blogs/blockmind/Y1gw/making-of-a-crt-tabletop-bartop-arcade-machine-part-22
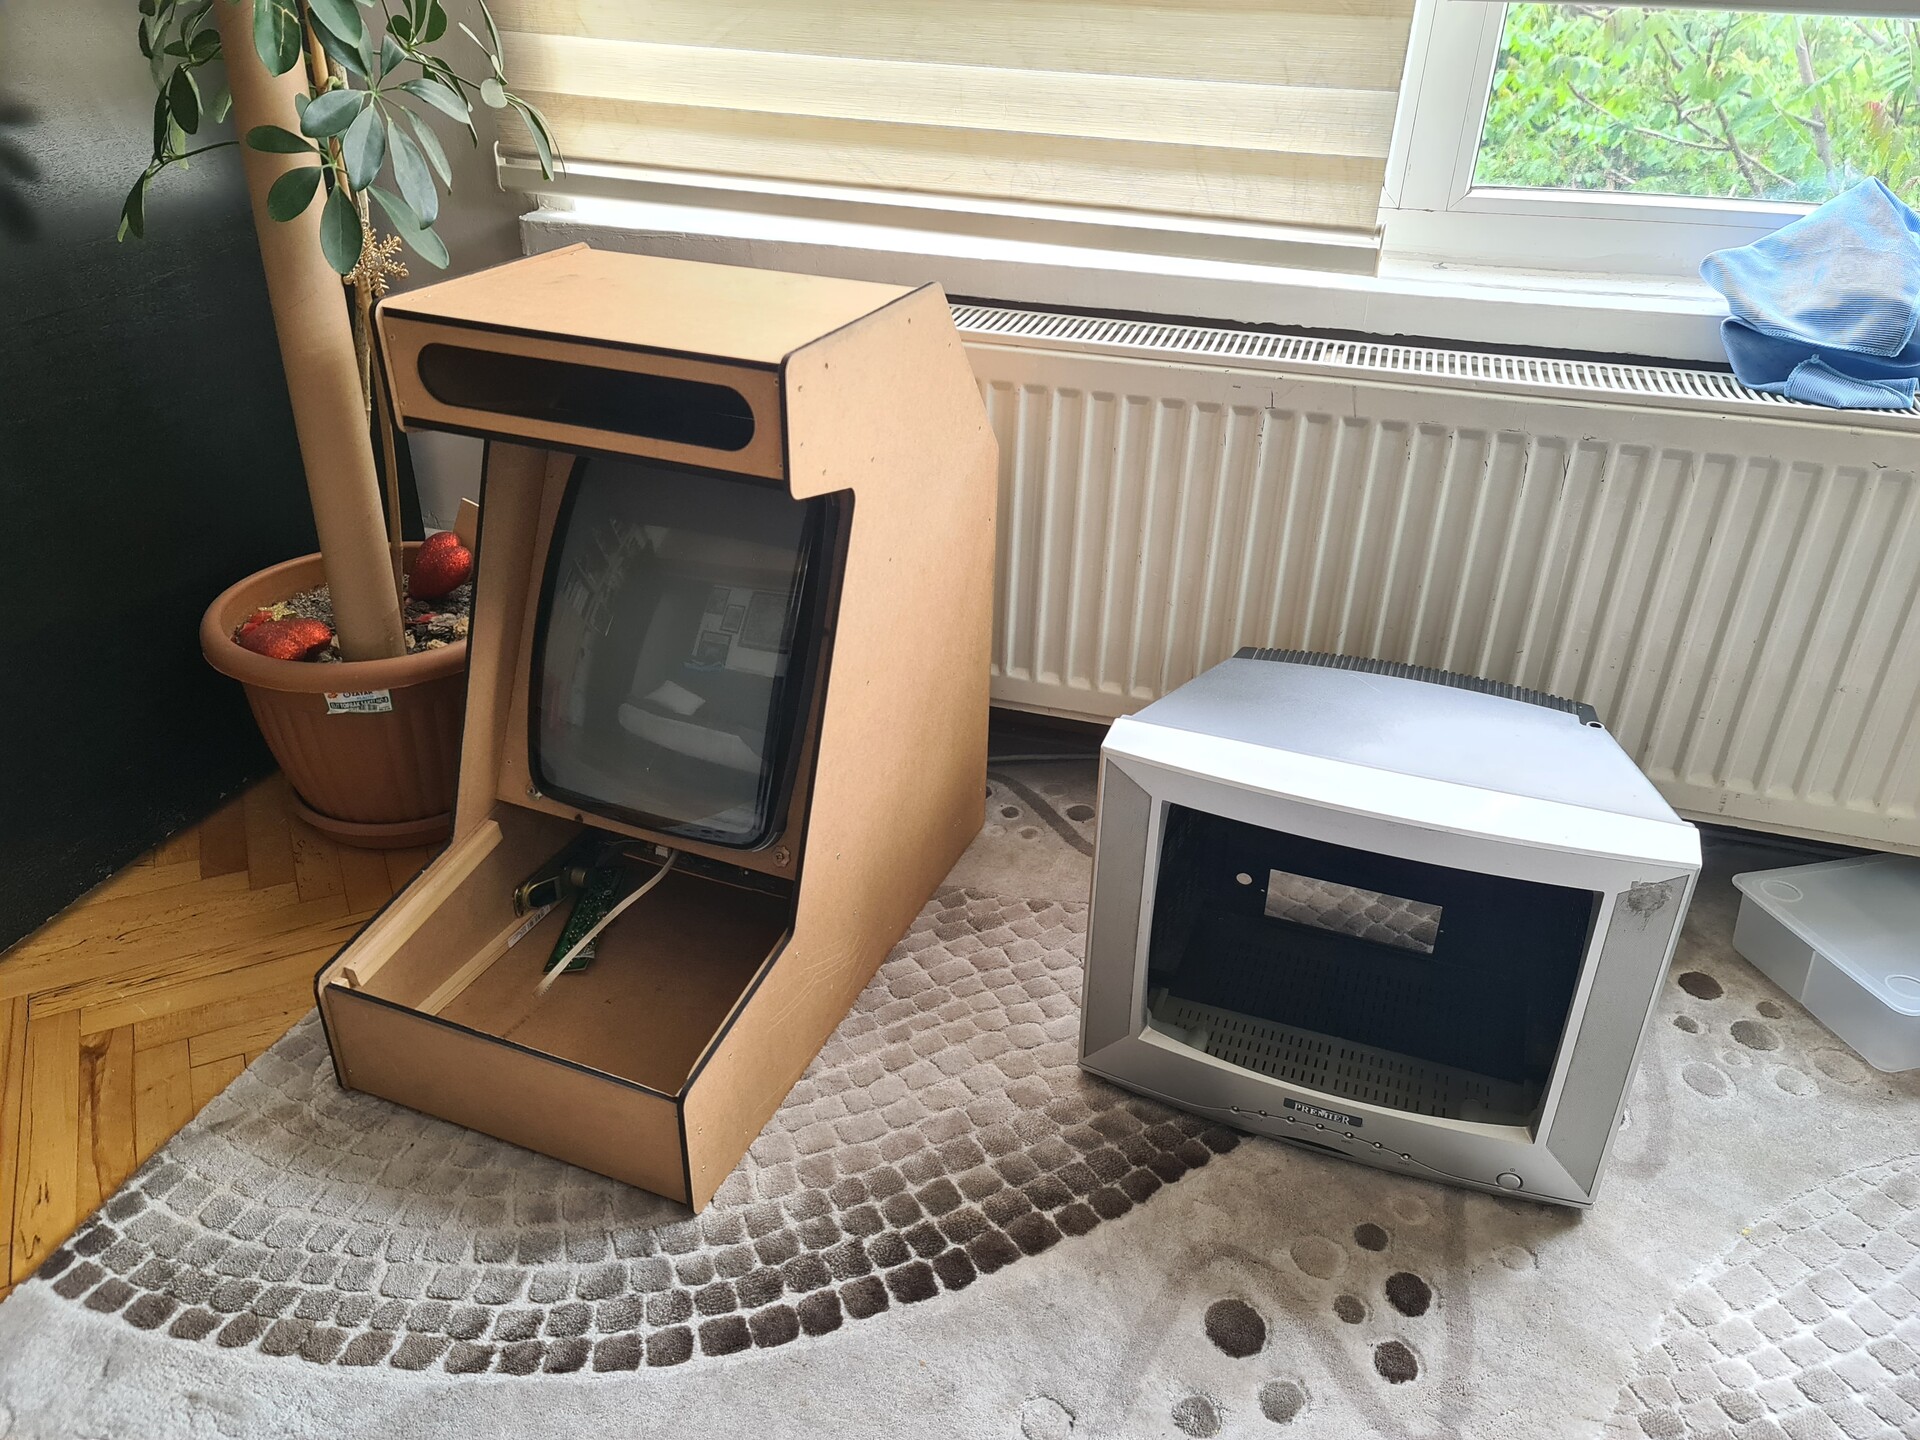
The tv is a Premier brand 14.5" CRT TV. since it's not a generic design, I took measurements of the TV to create the design.

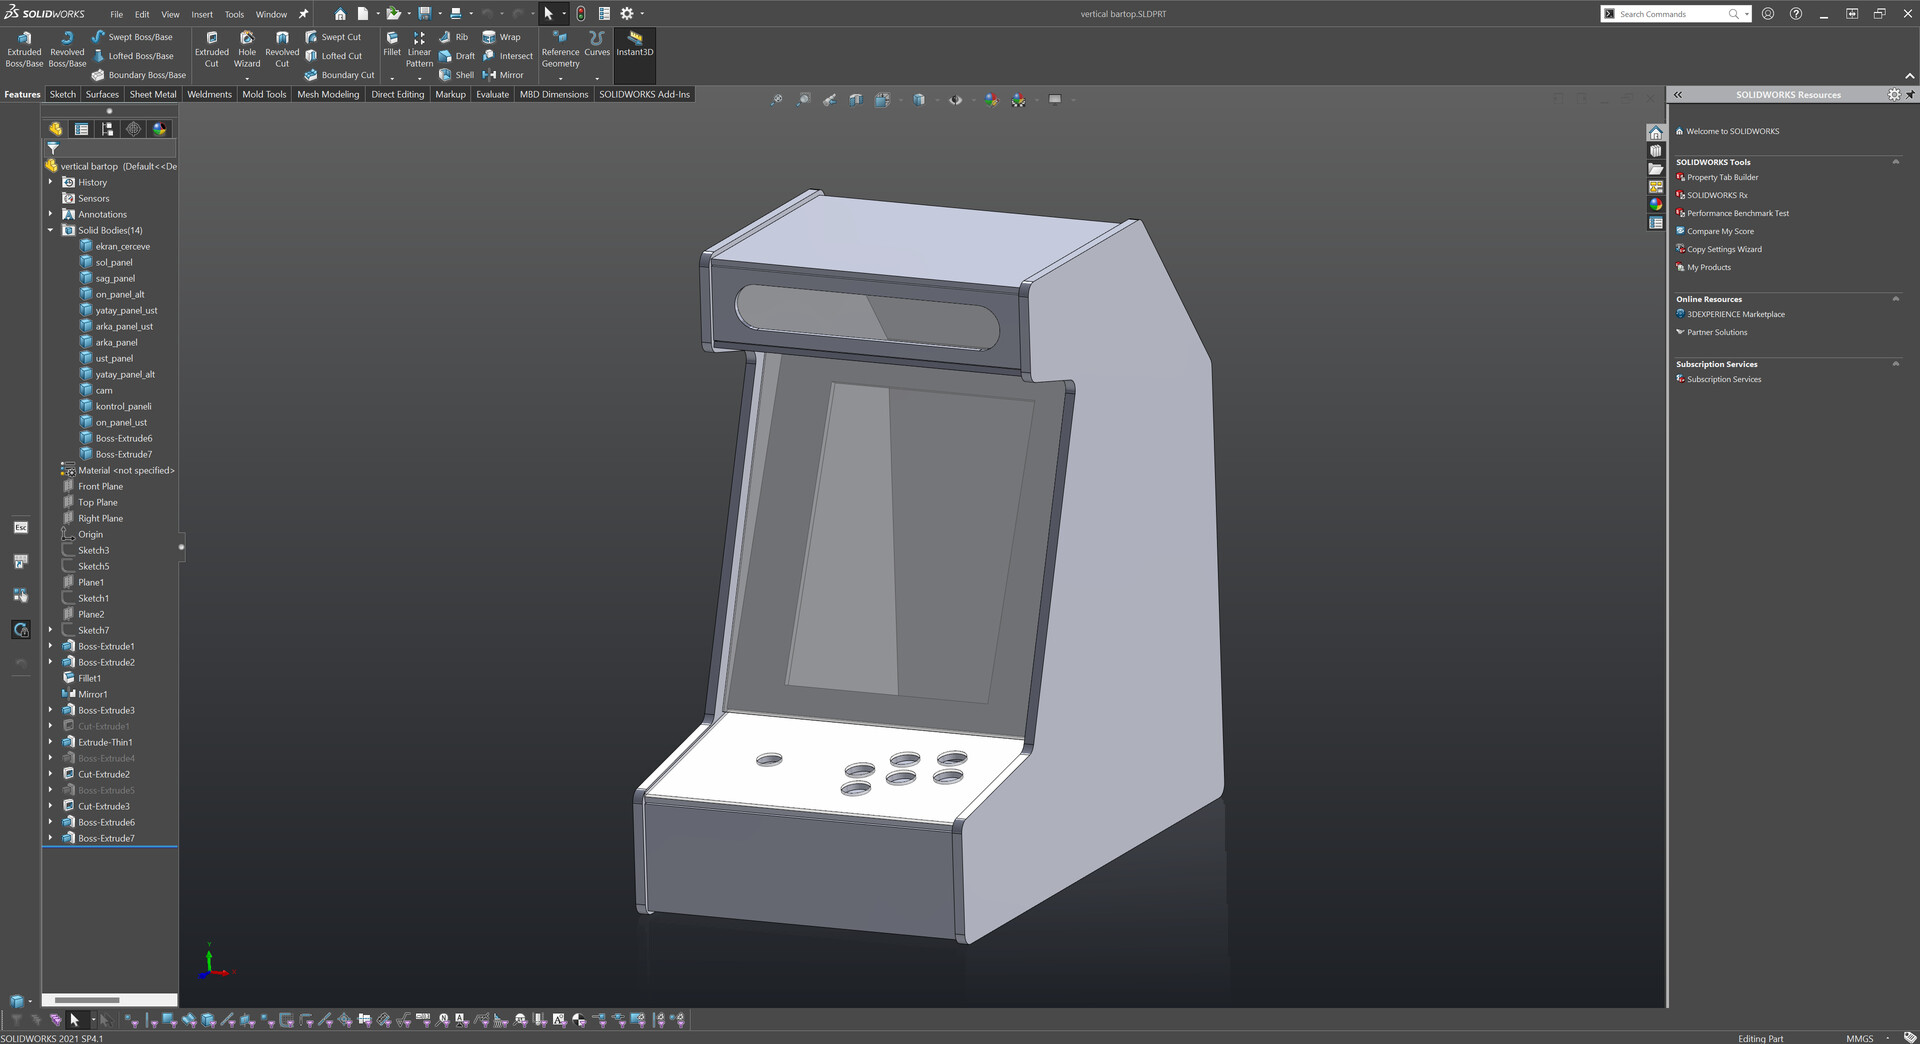
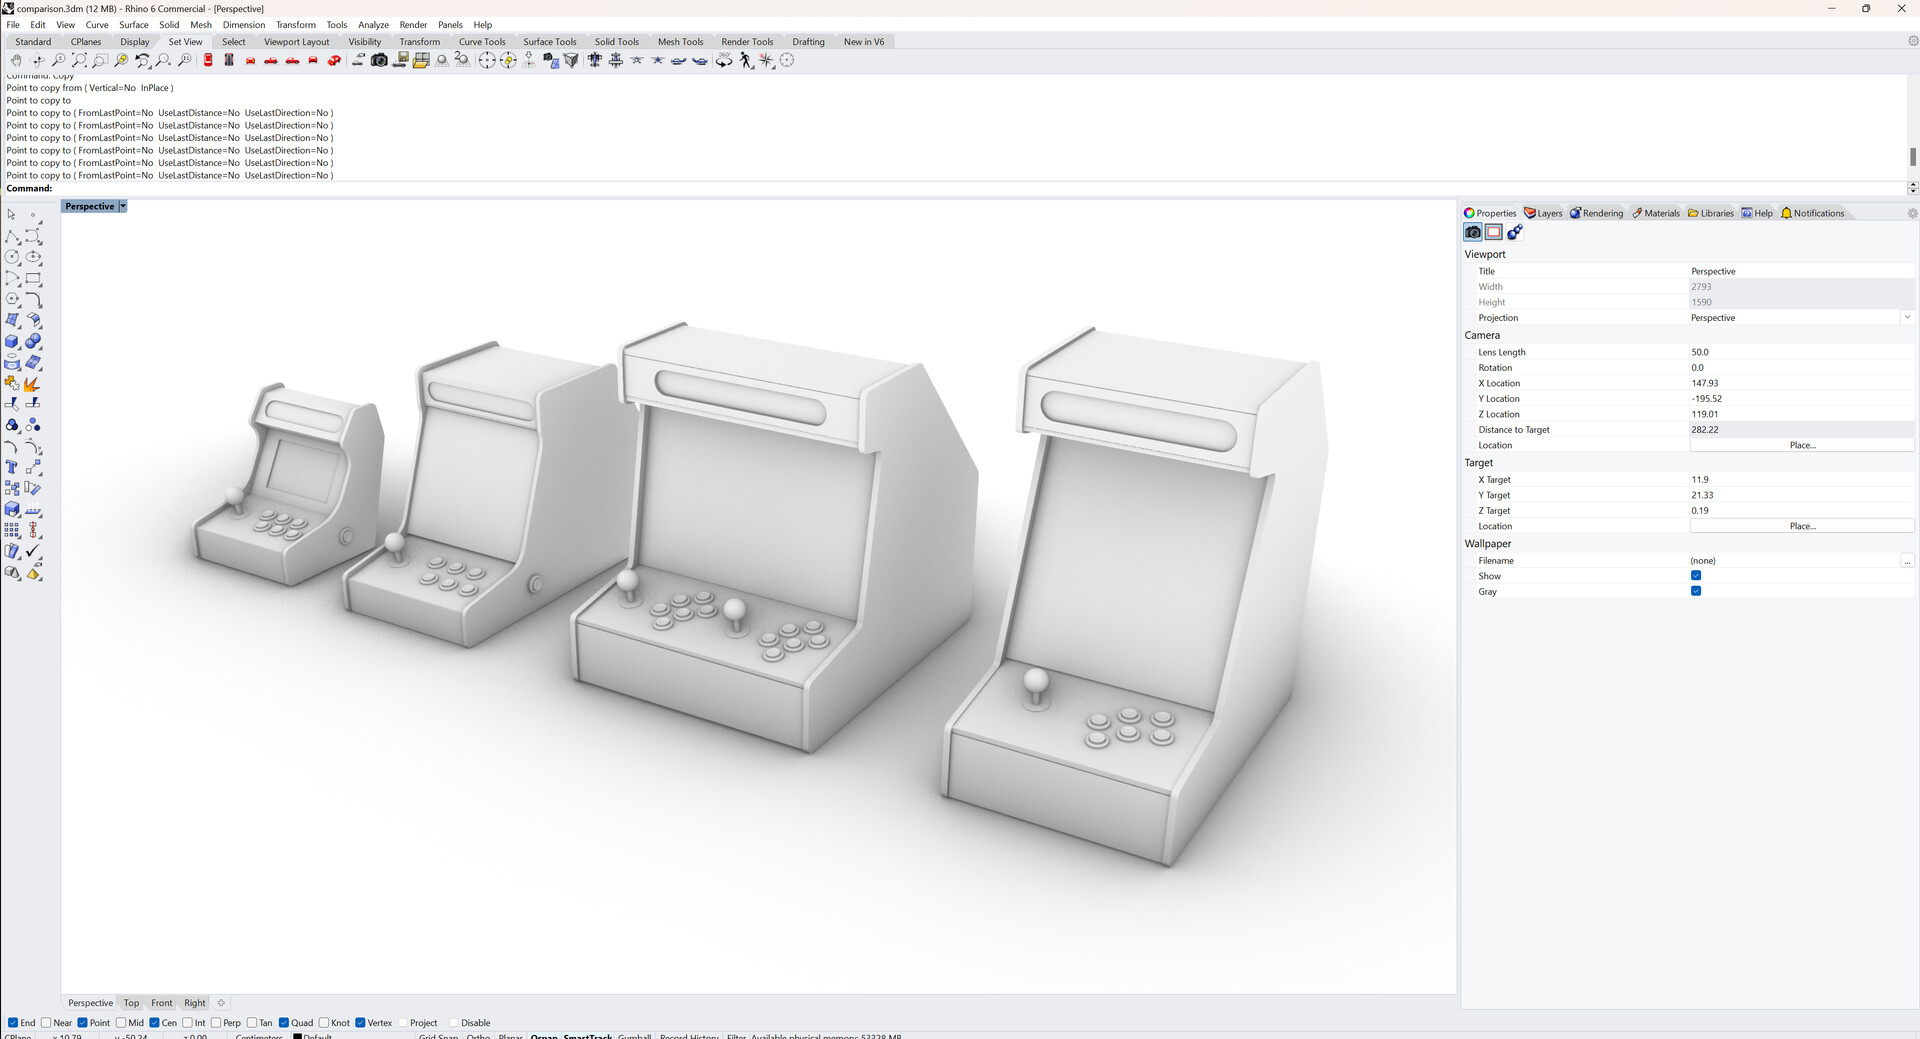
Since it's a all design, I put the all the models I've created so far together to realize the form factor better.
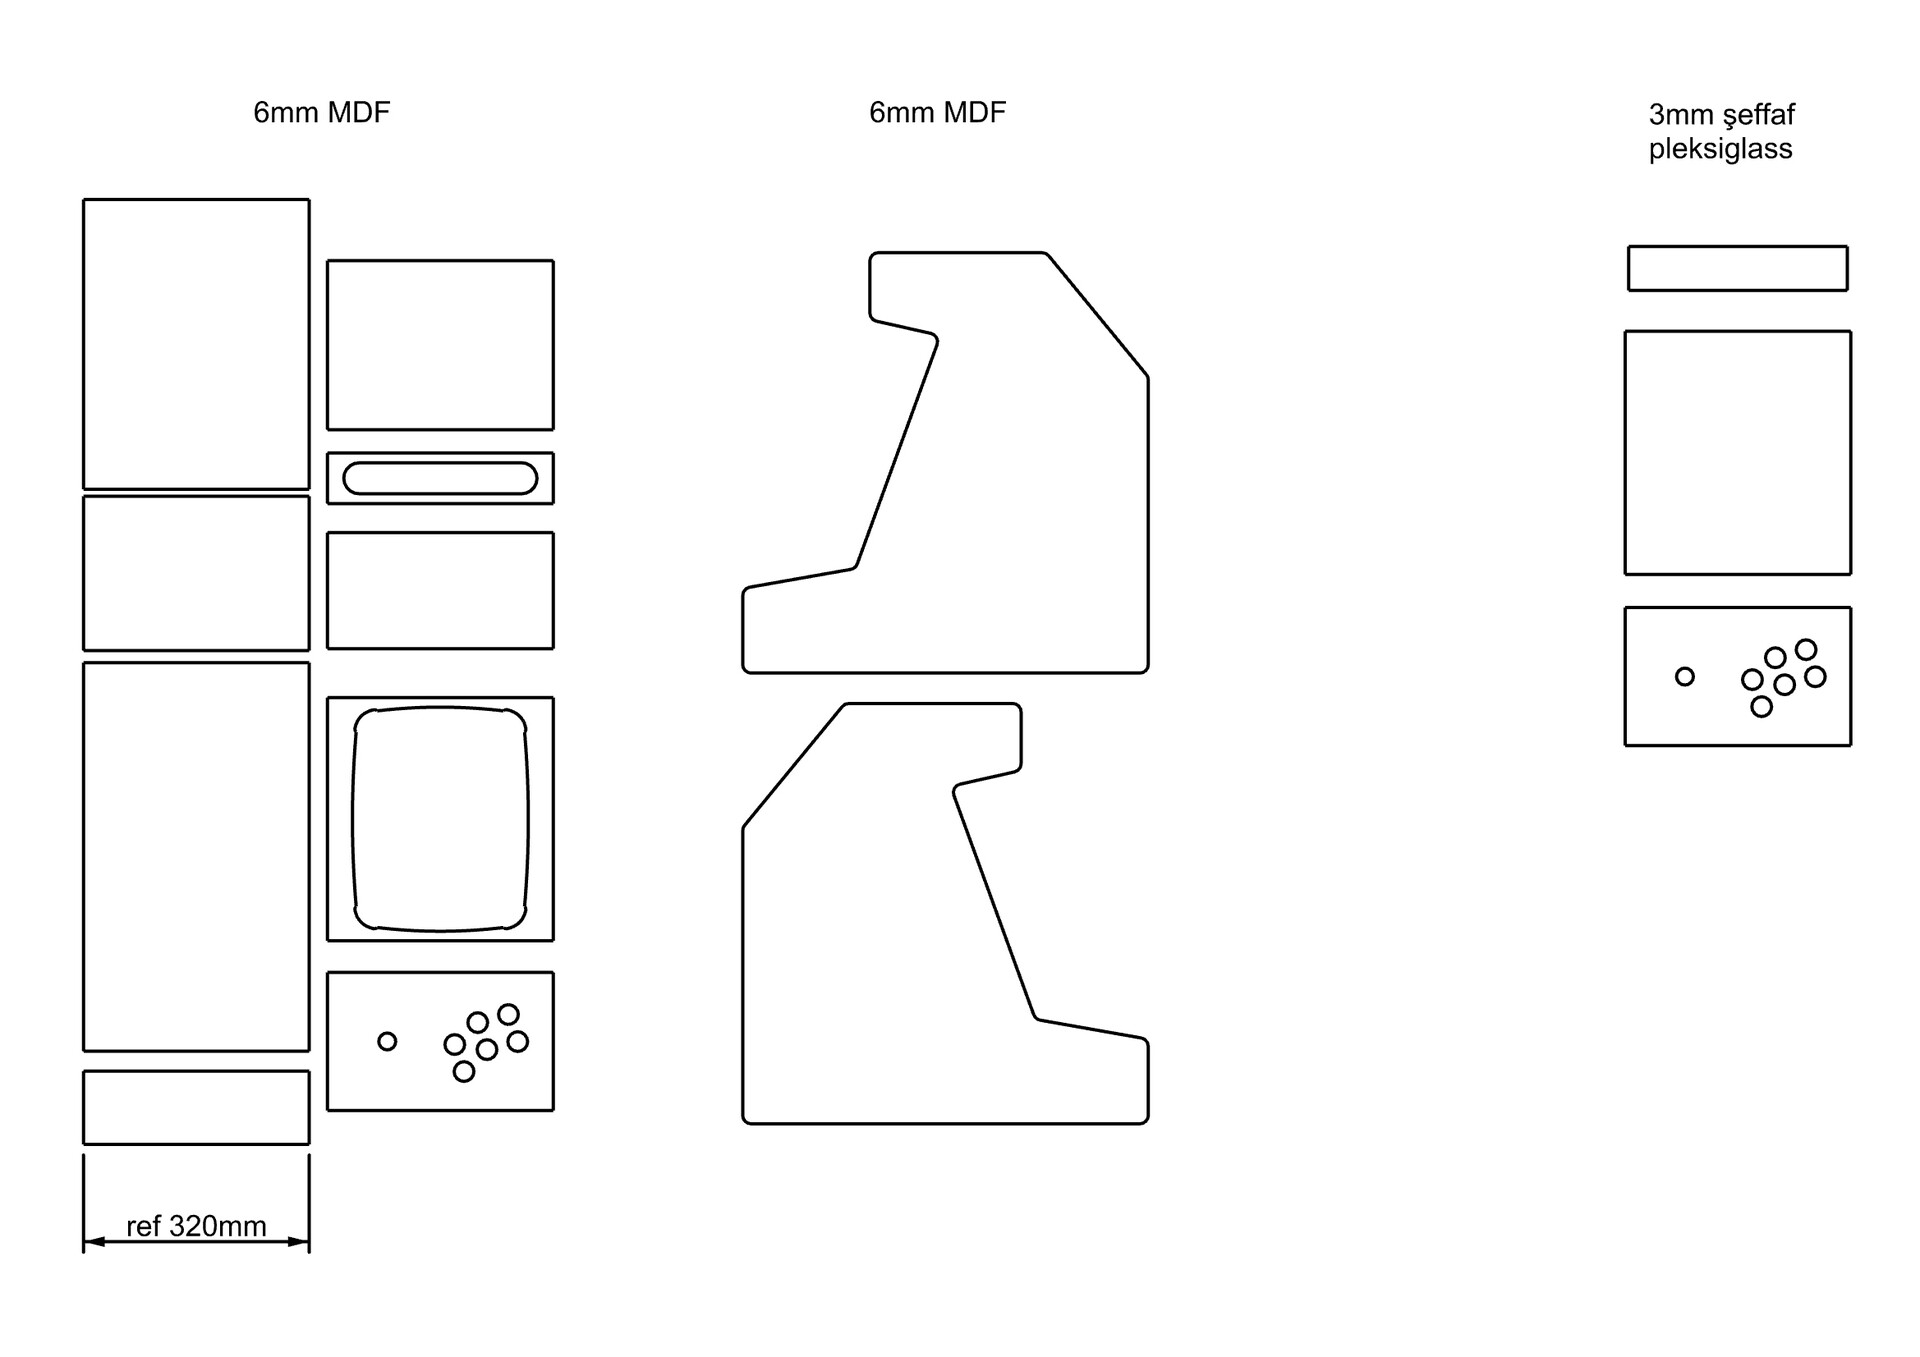
I created a cut list and ordered some laser cutting service around.
Meanwhile, I made a roadmap for the interior electronic assembly. I was going to use RGB-Pi Jamma product (https://www.rgb-pi.com/), which is the best arcade solution for extraordinary refresh rate suport for any arcade game. Also it supports screen rotation for vertical screens.
This was main electronic assembly idea I've planned for following. I also put some pinout references to solder the cables correctly.
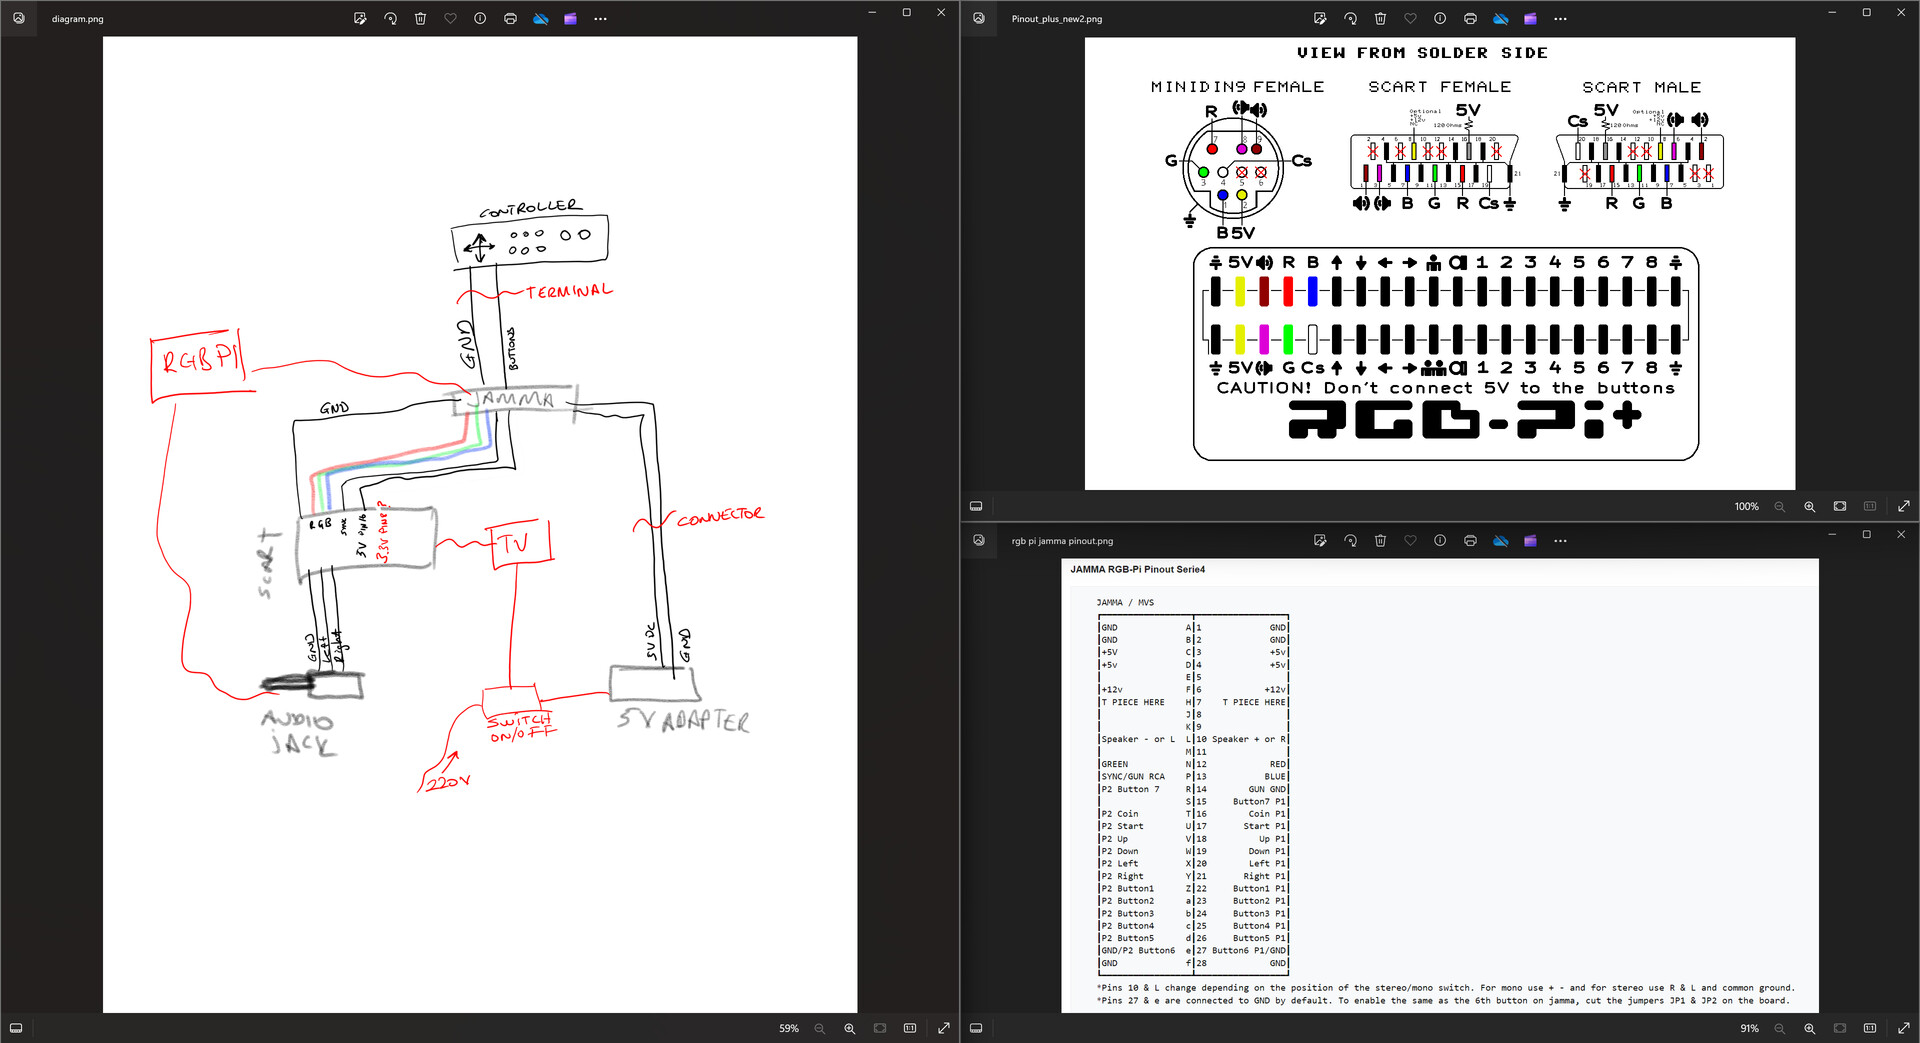
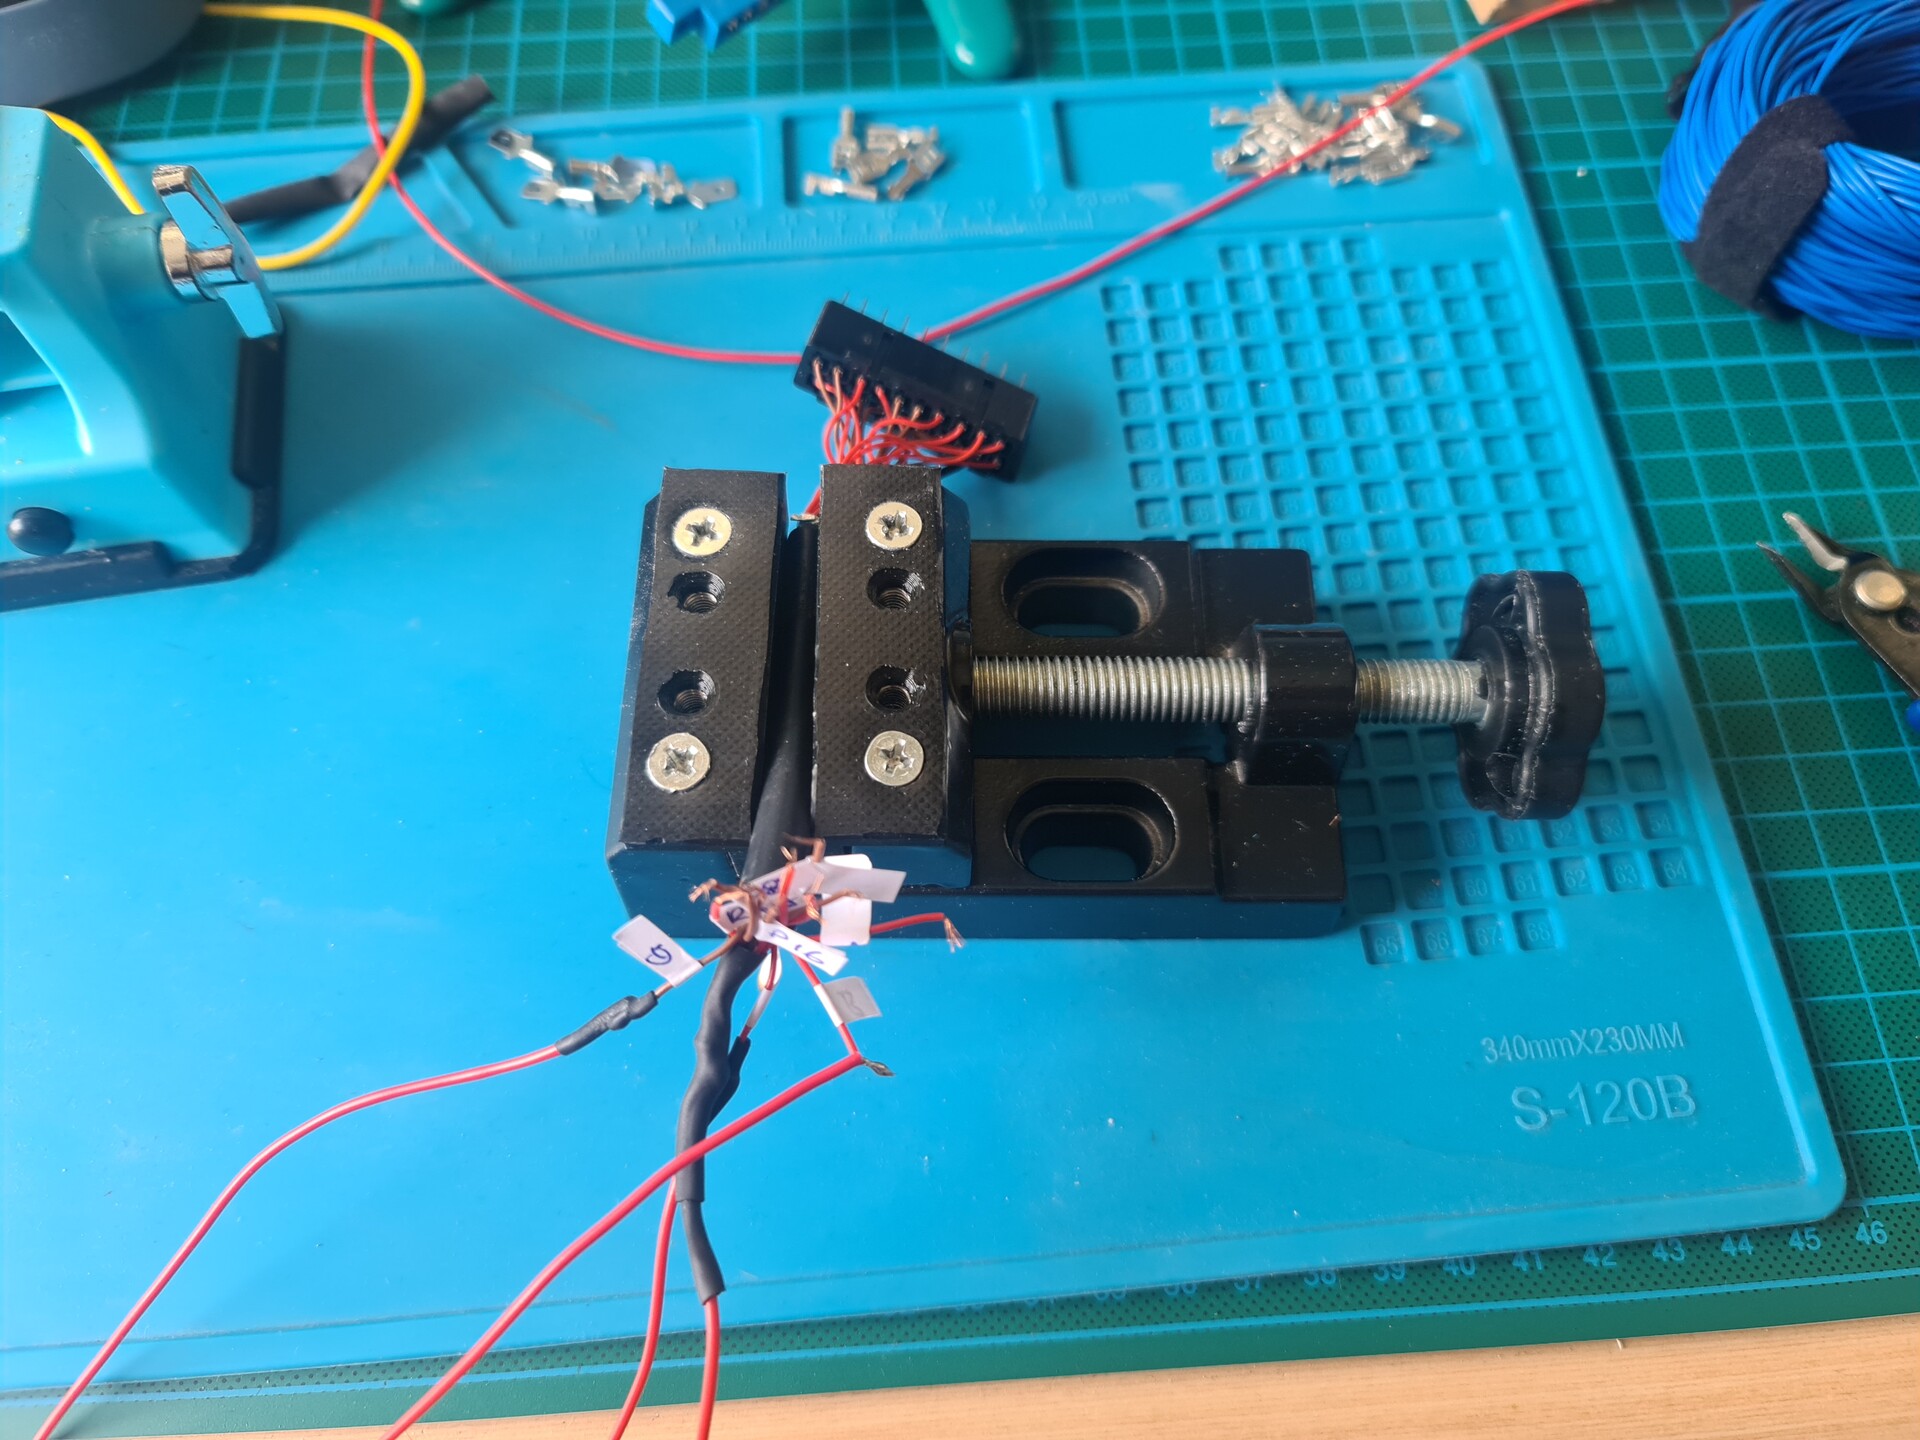
The first important thing about this cabinet was the "jamma to scart" cable conversion. I started labeling the cables and soldering them to their corresponing pins.
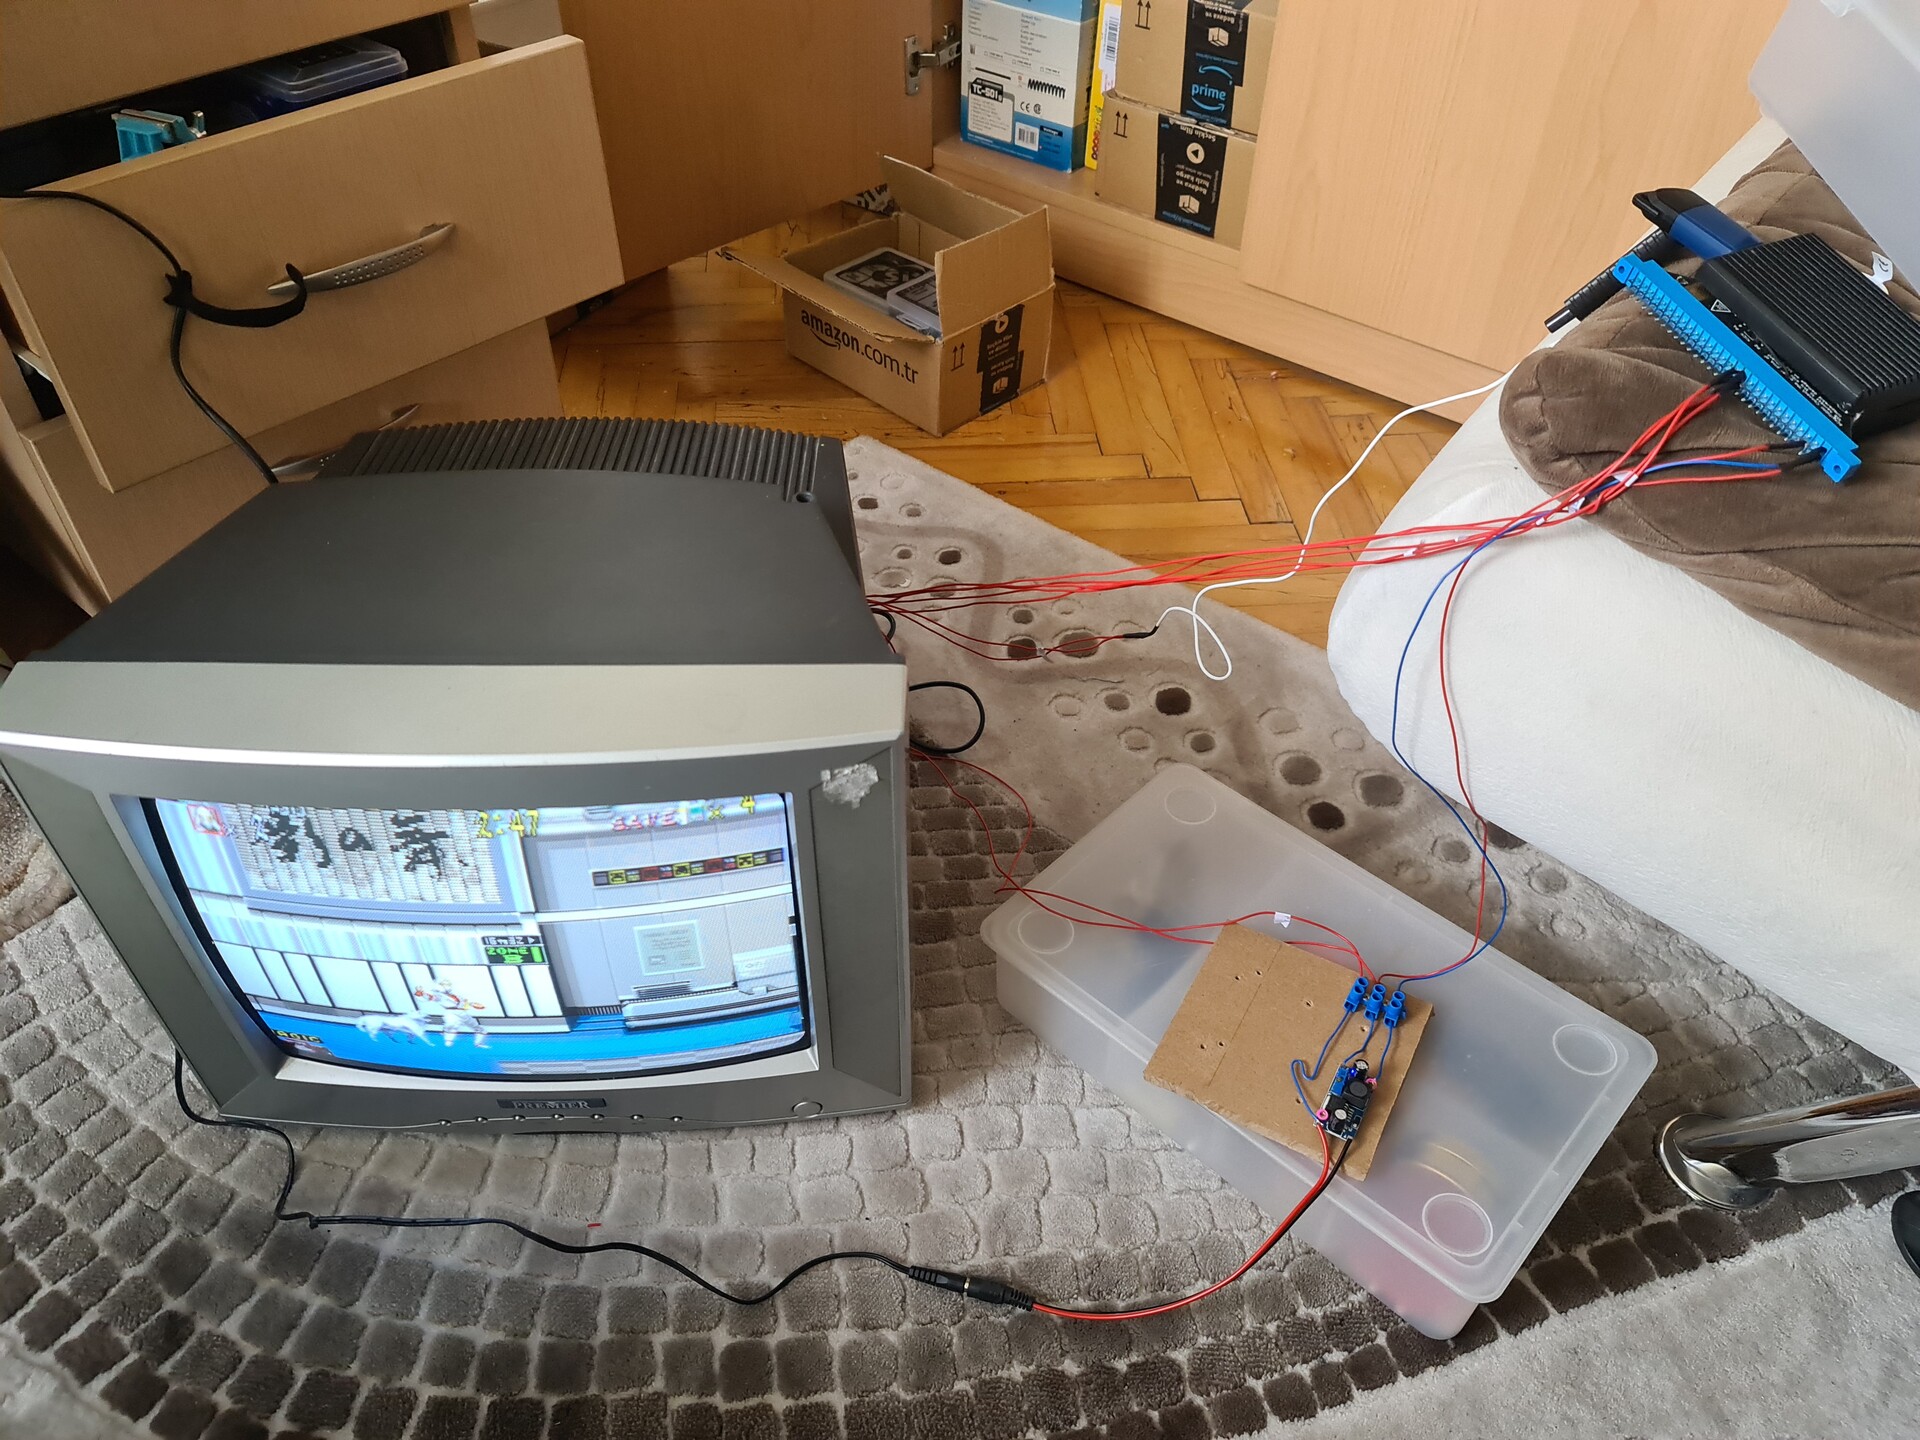
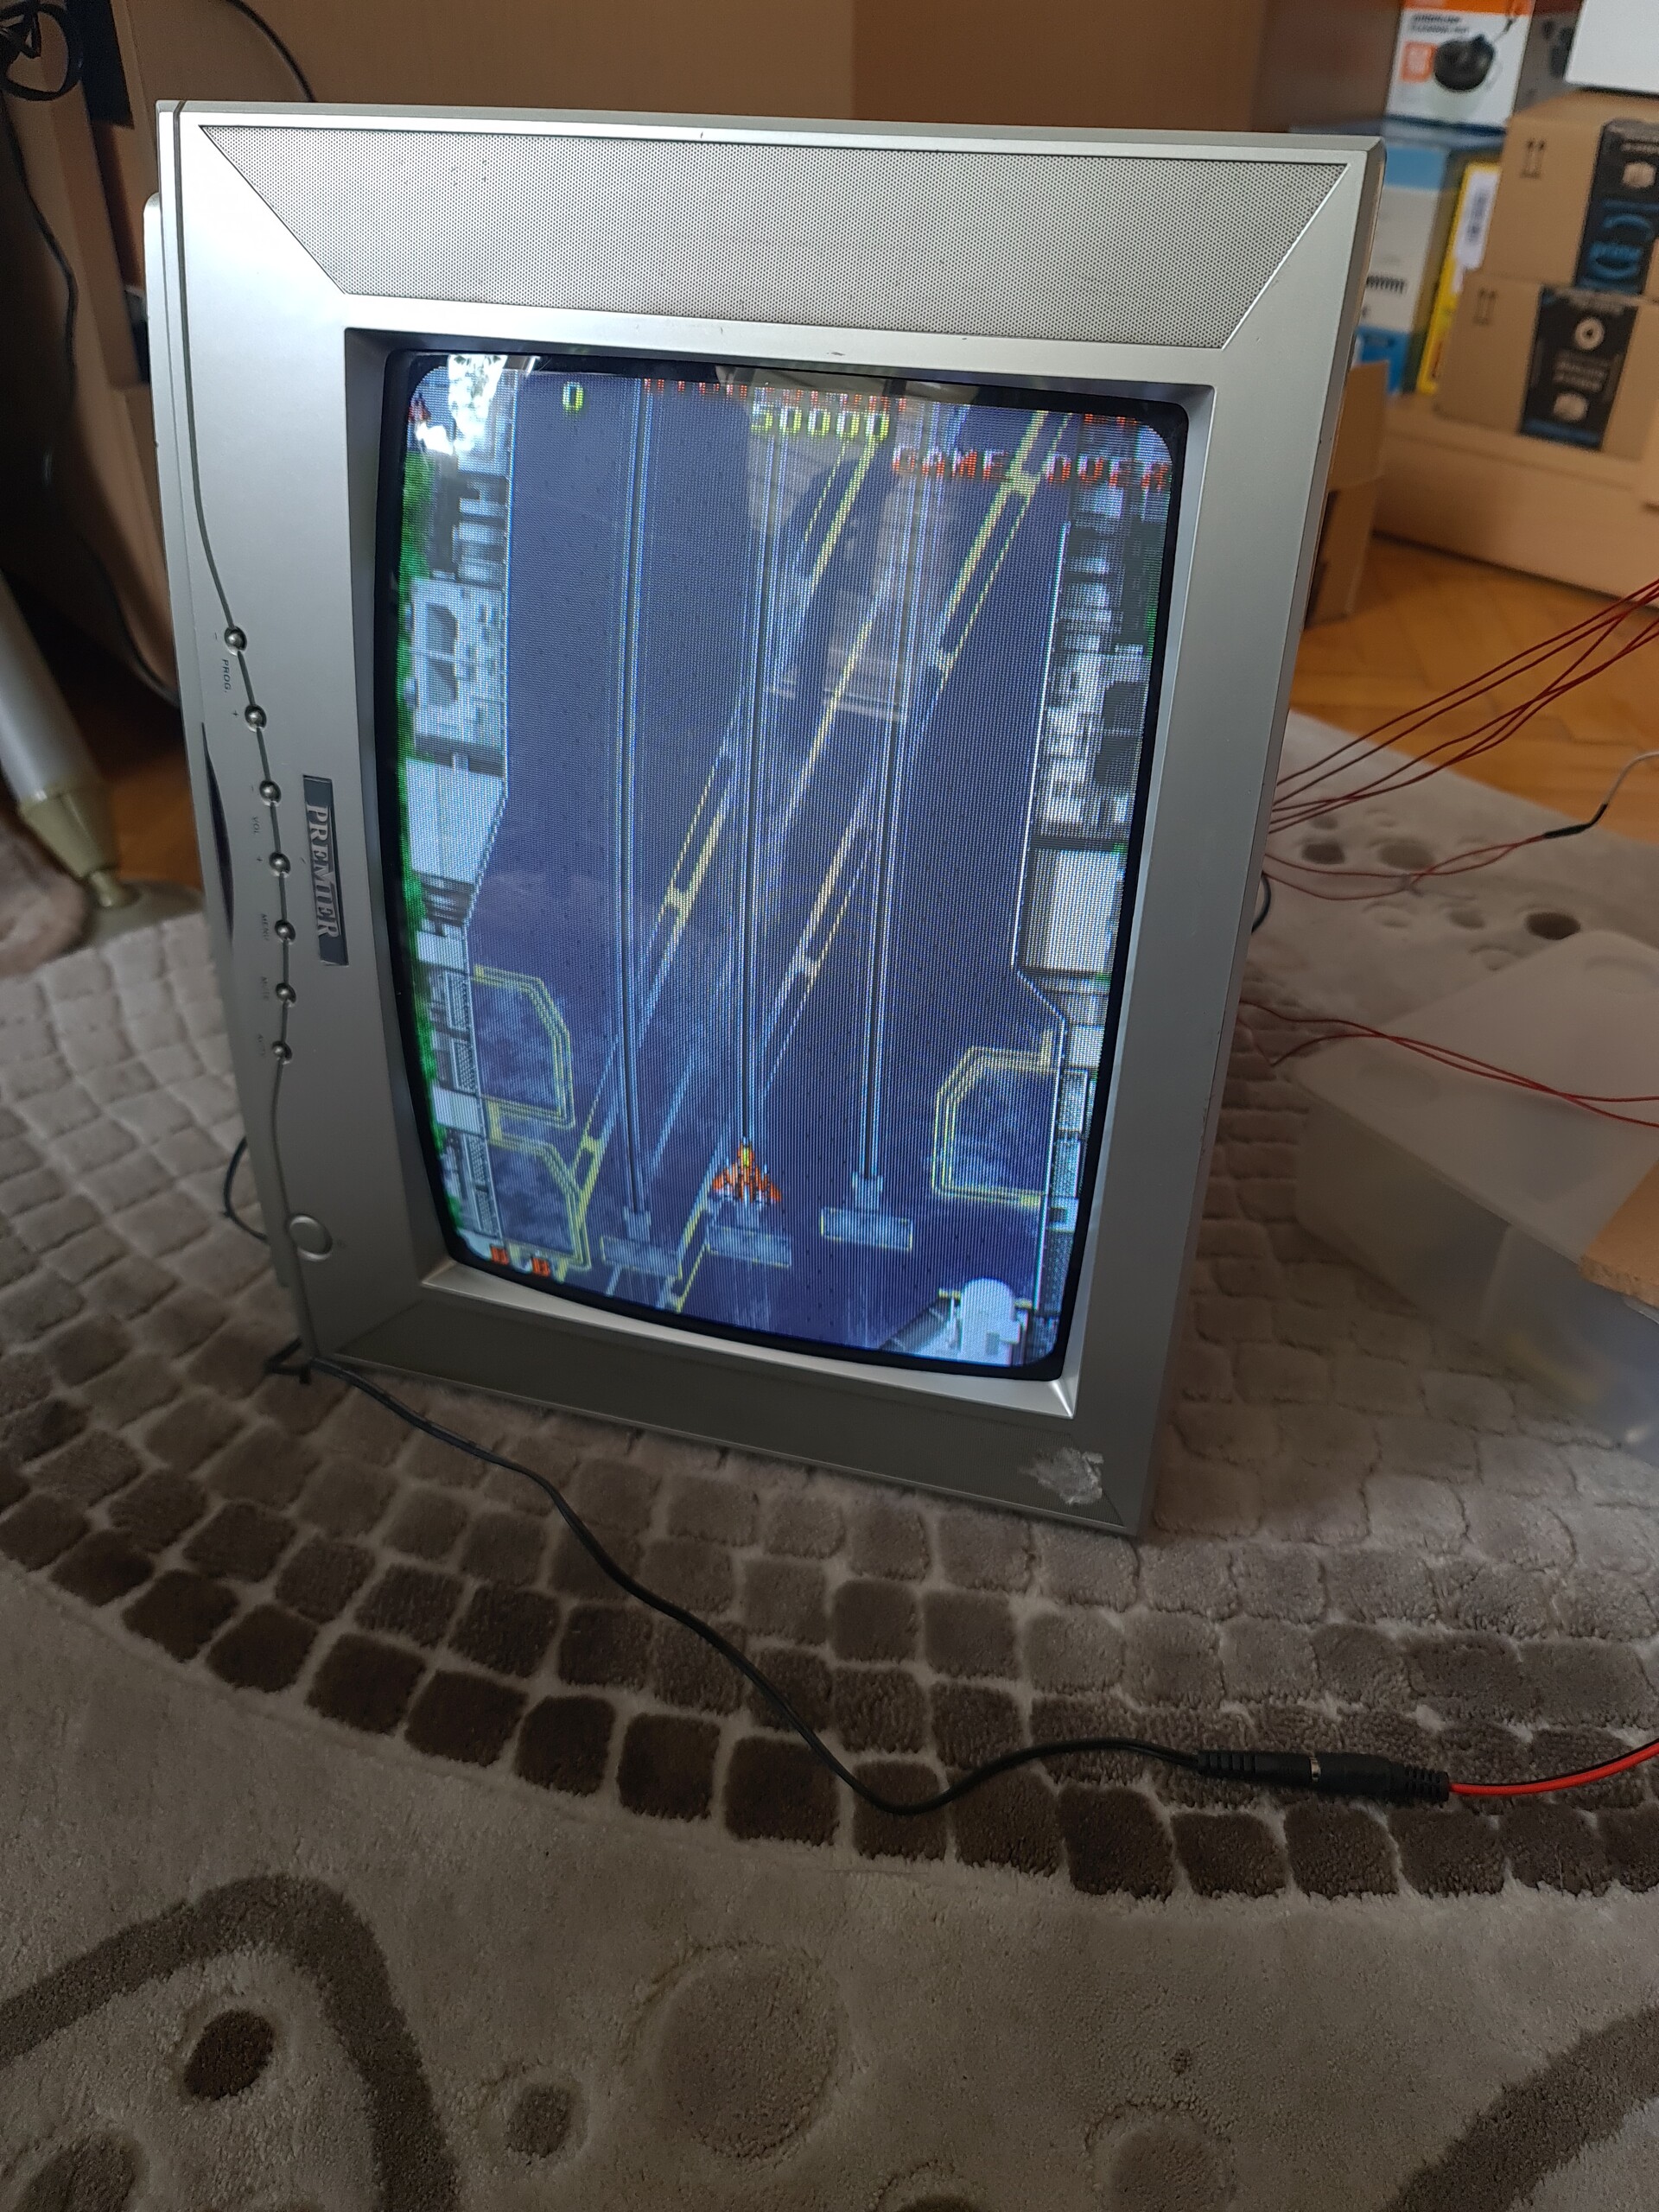
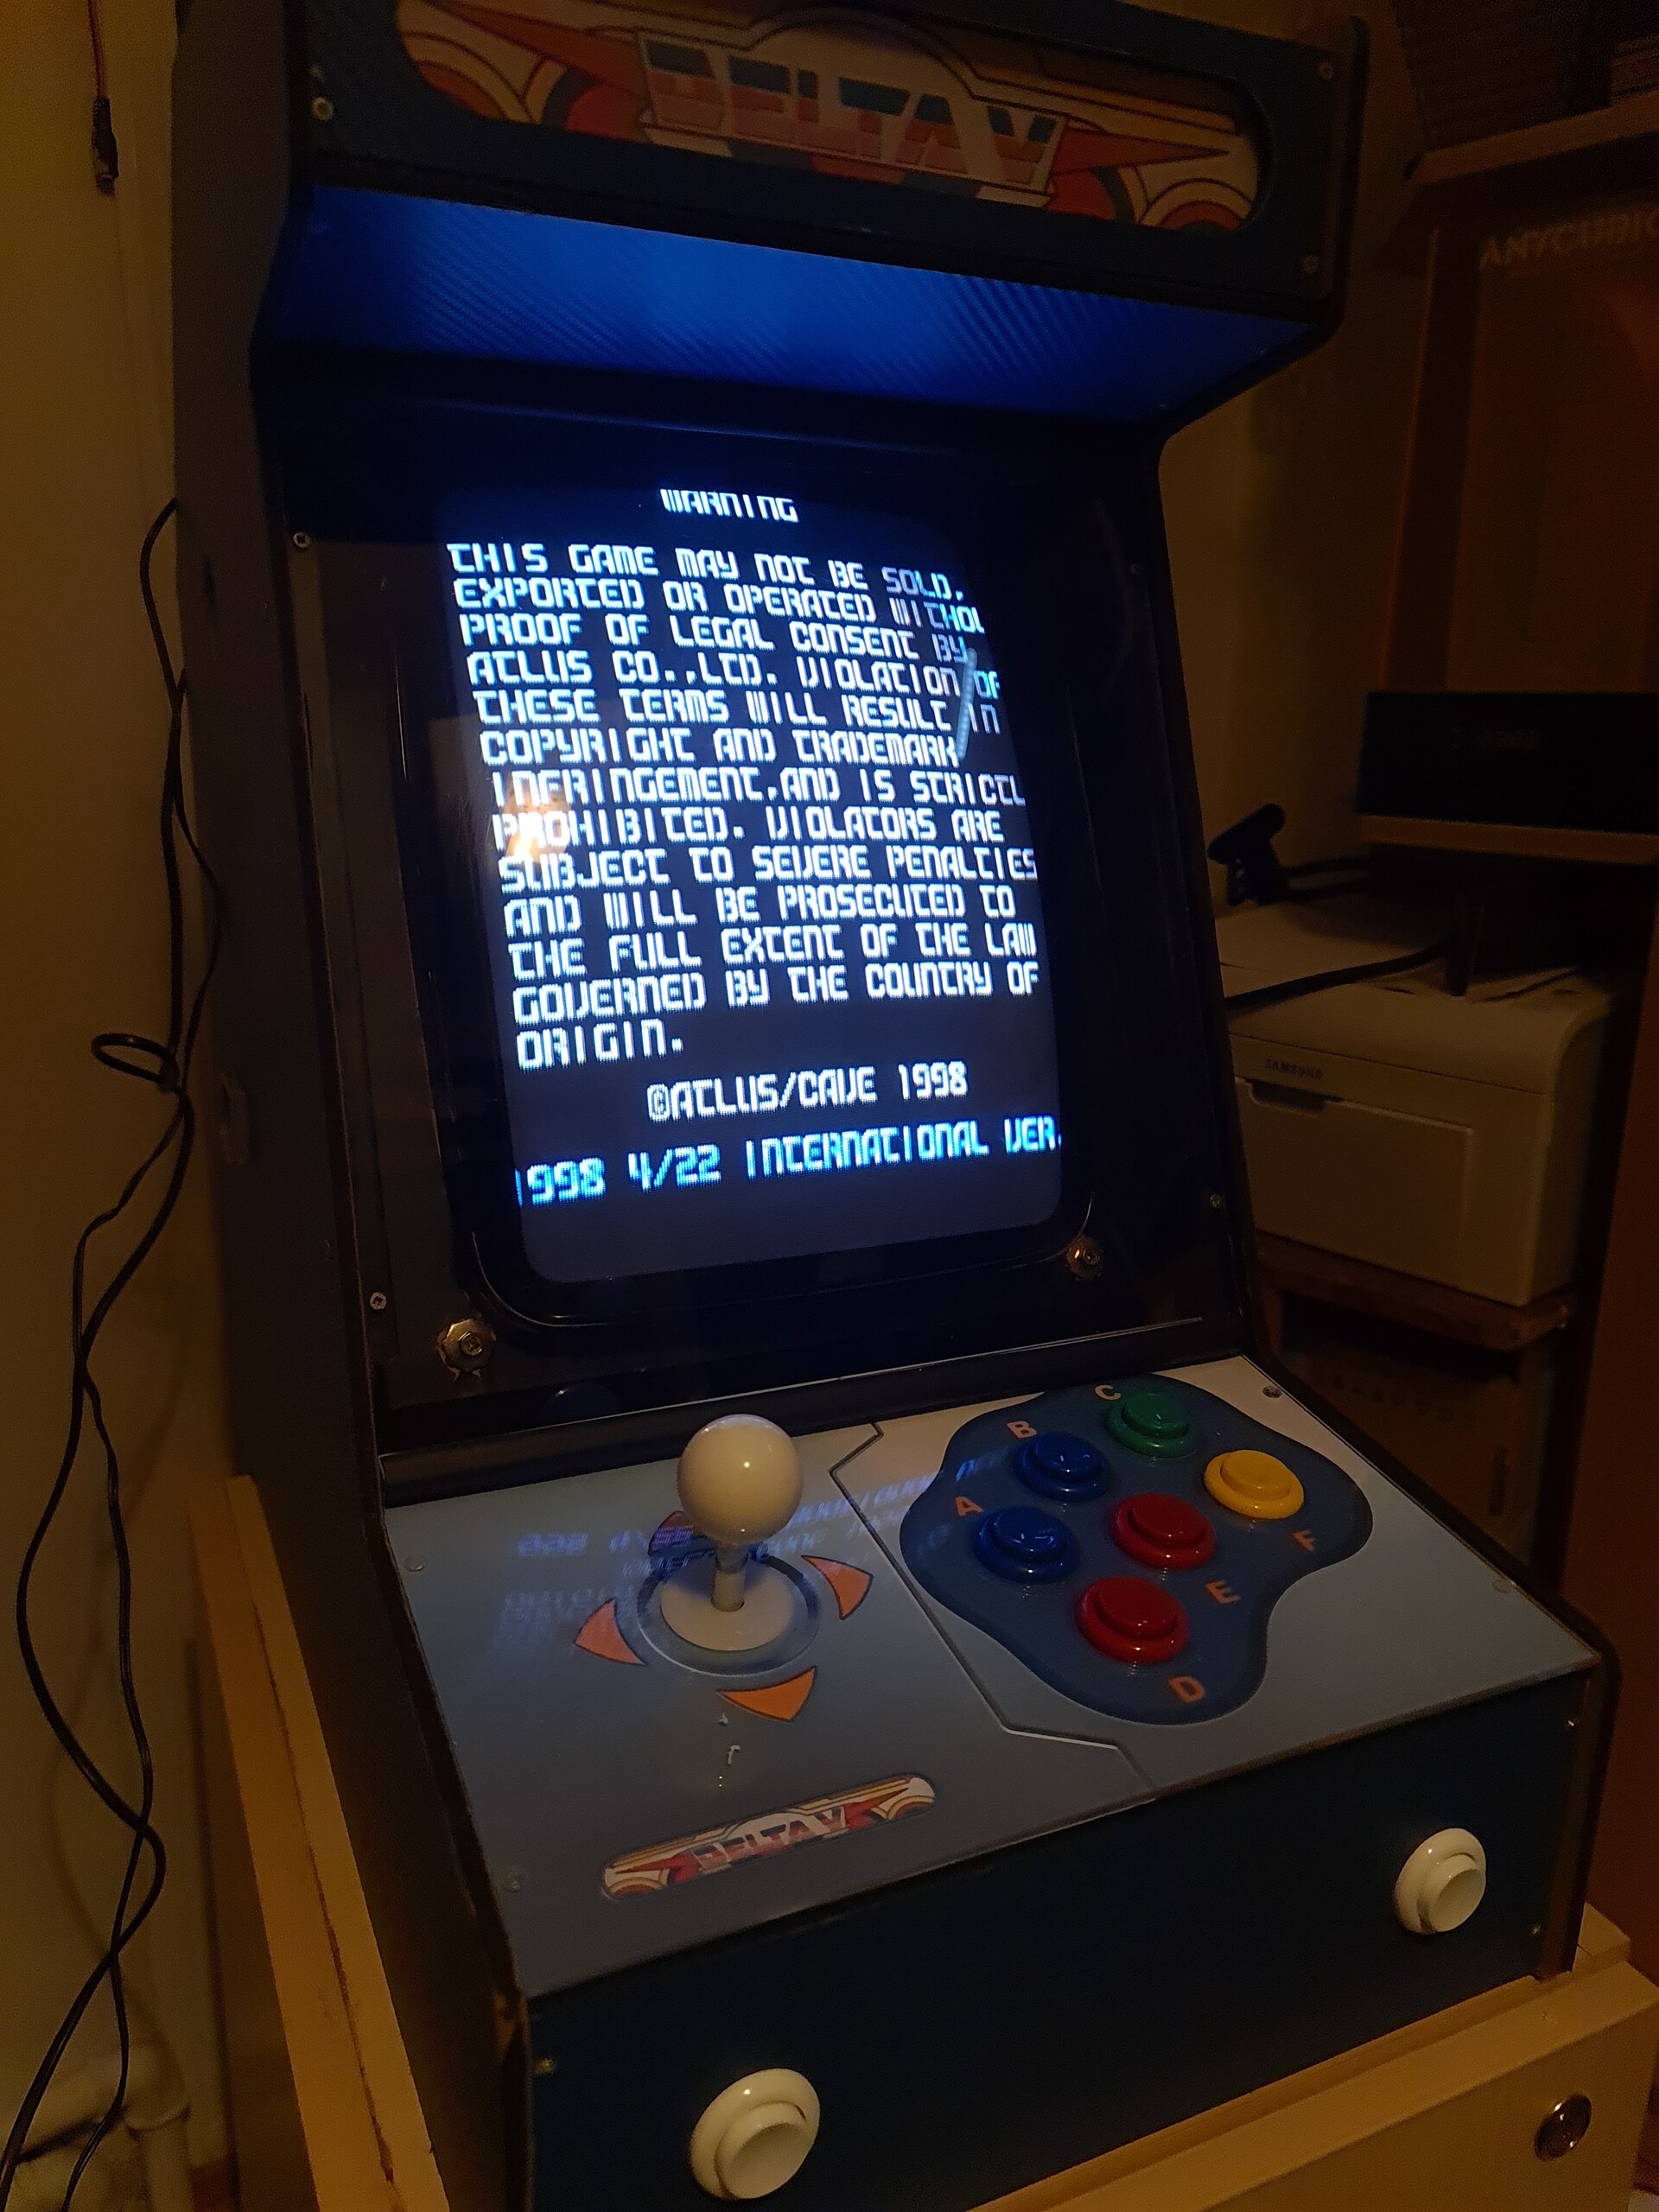
I've tested the video output and itworks great!
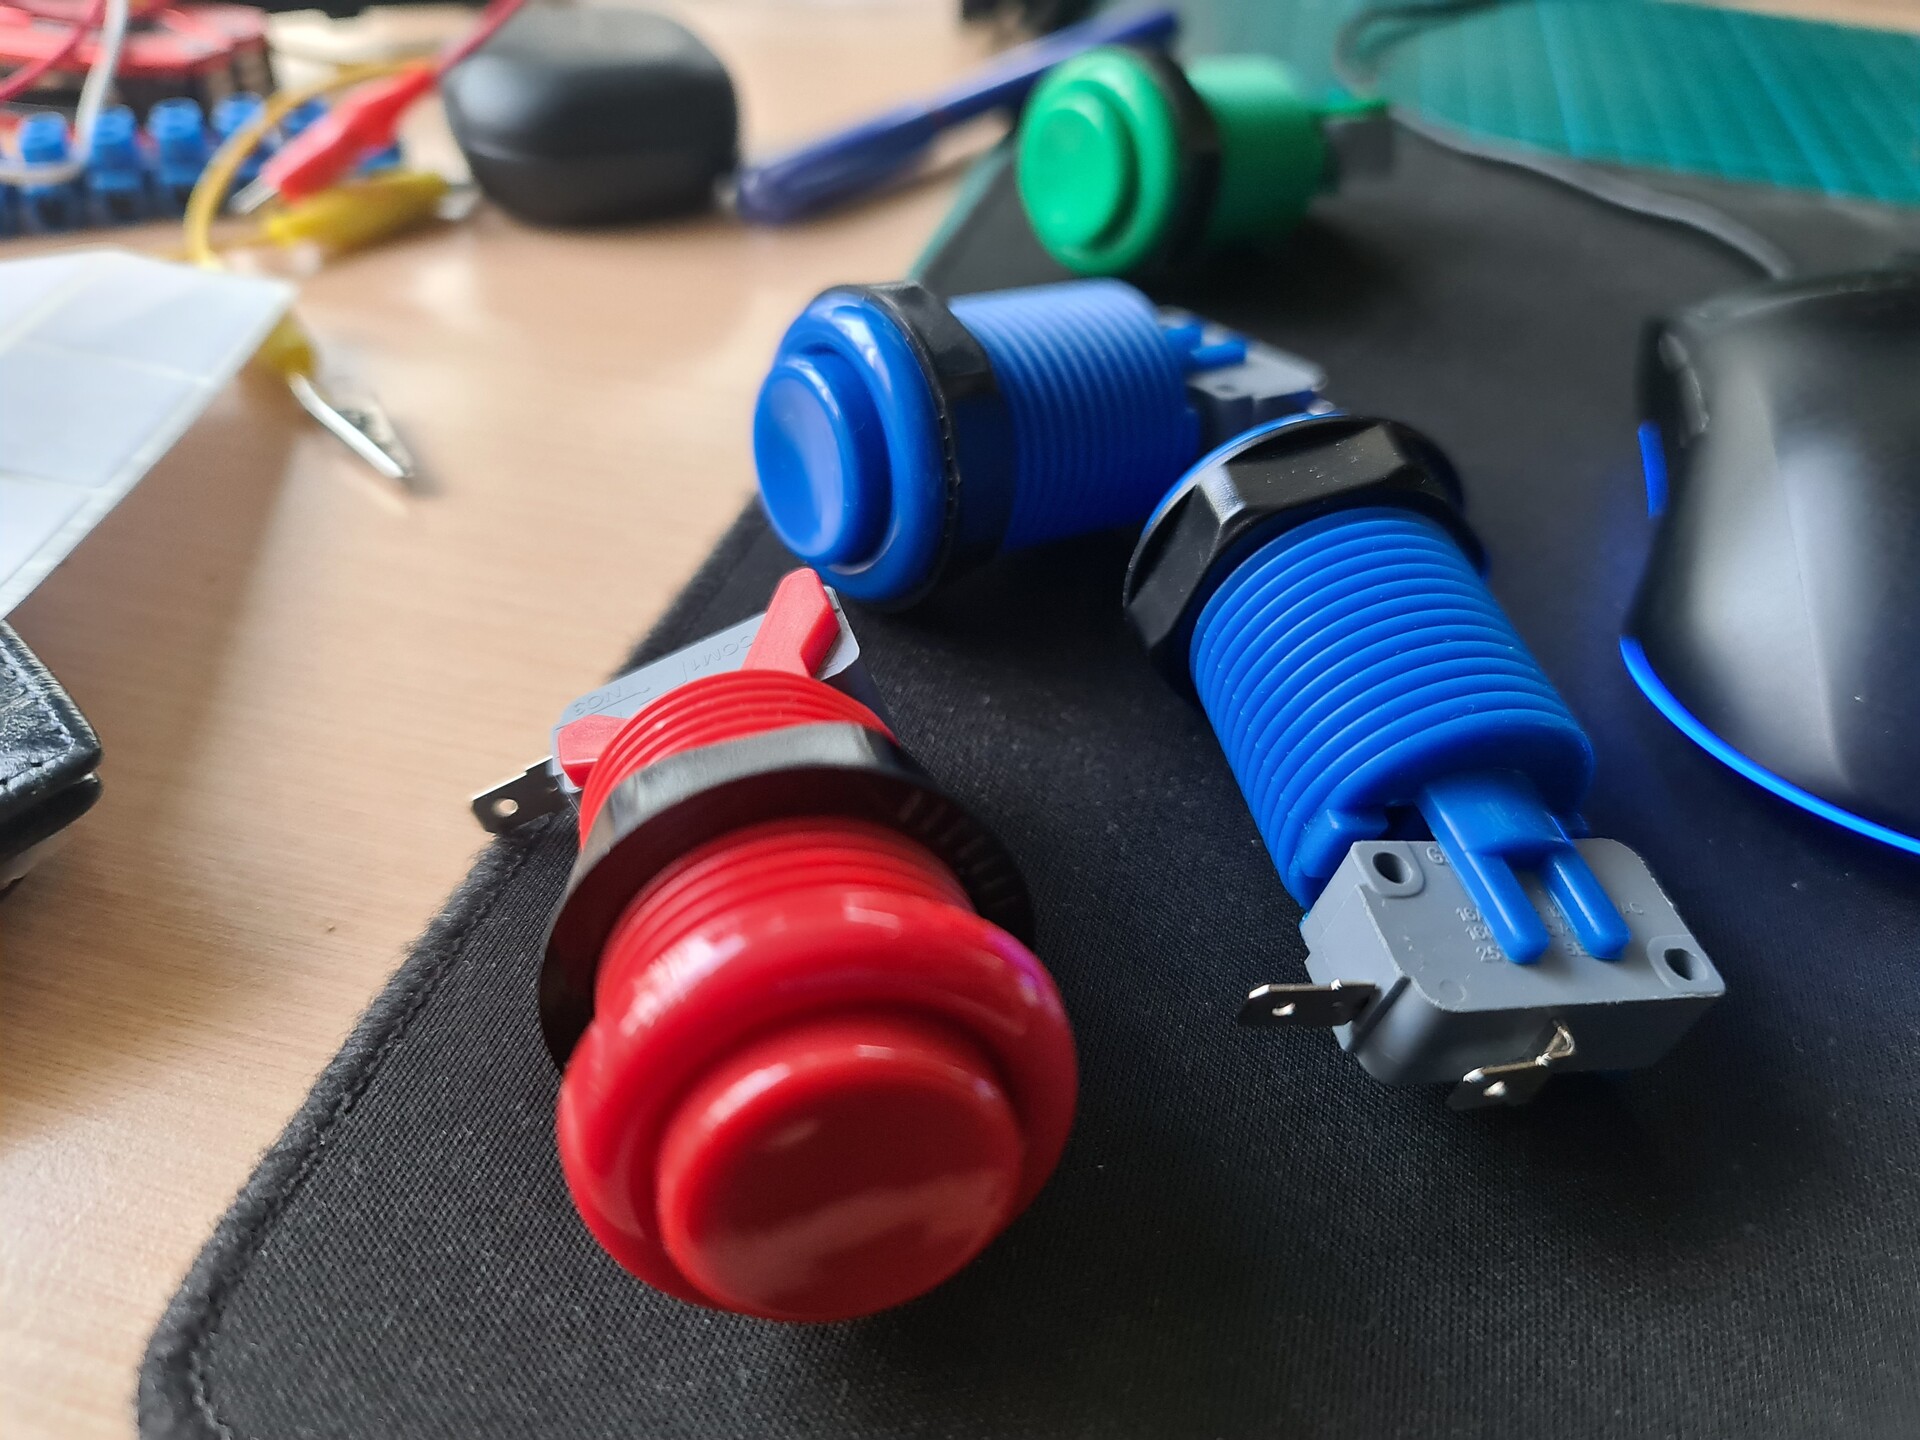
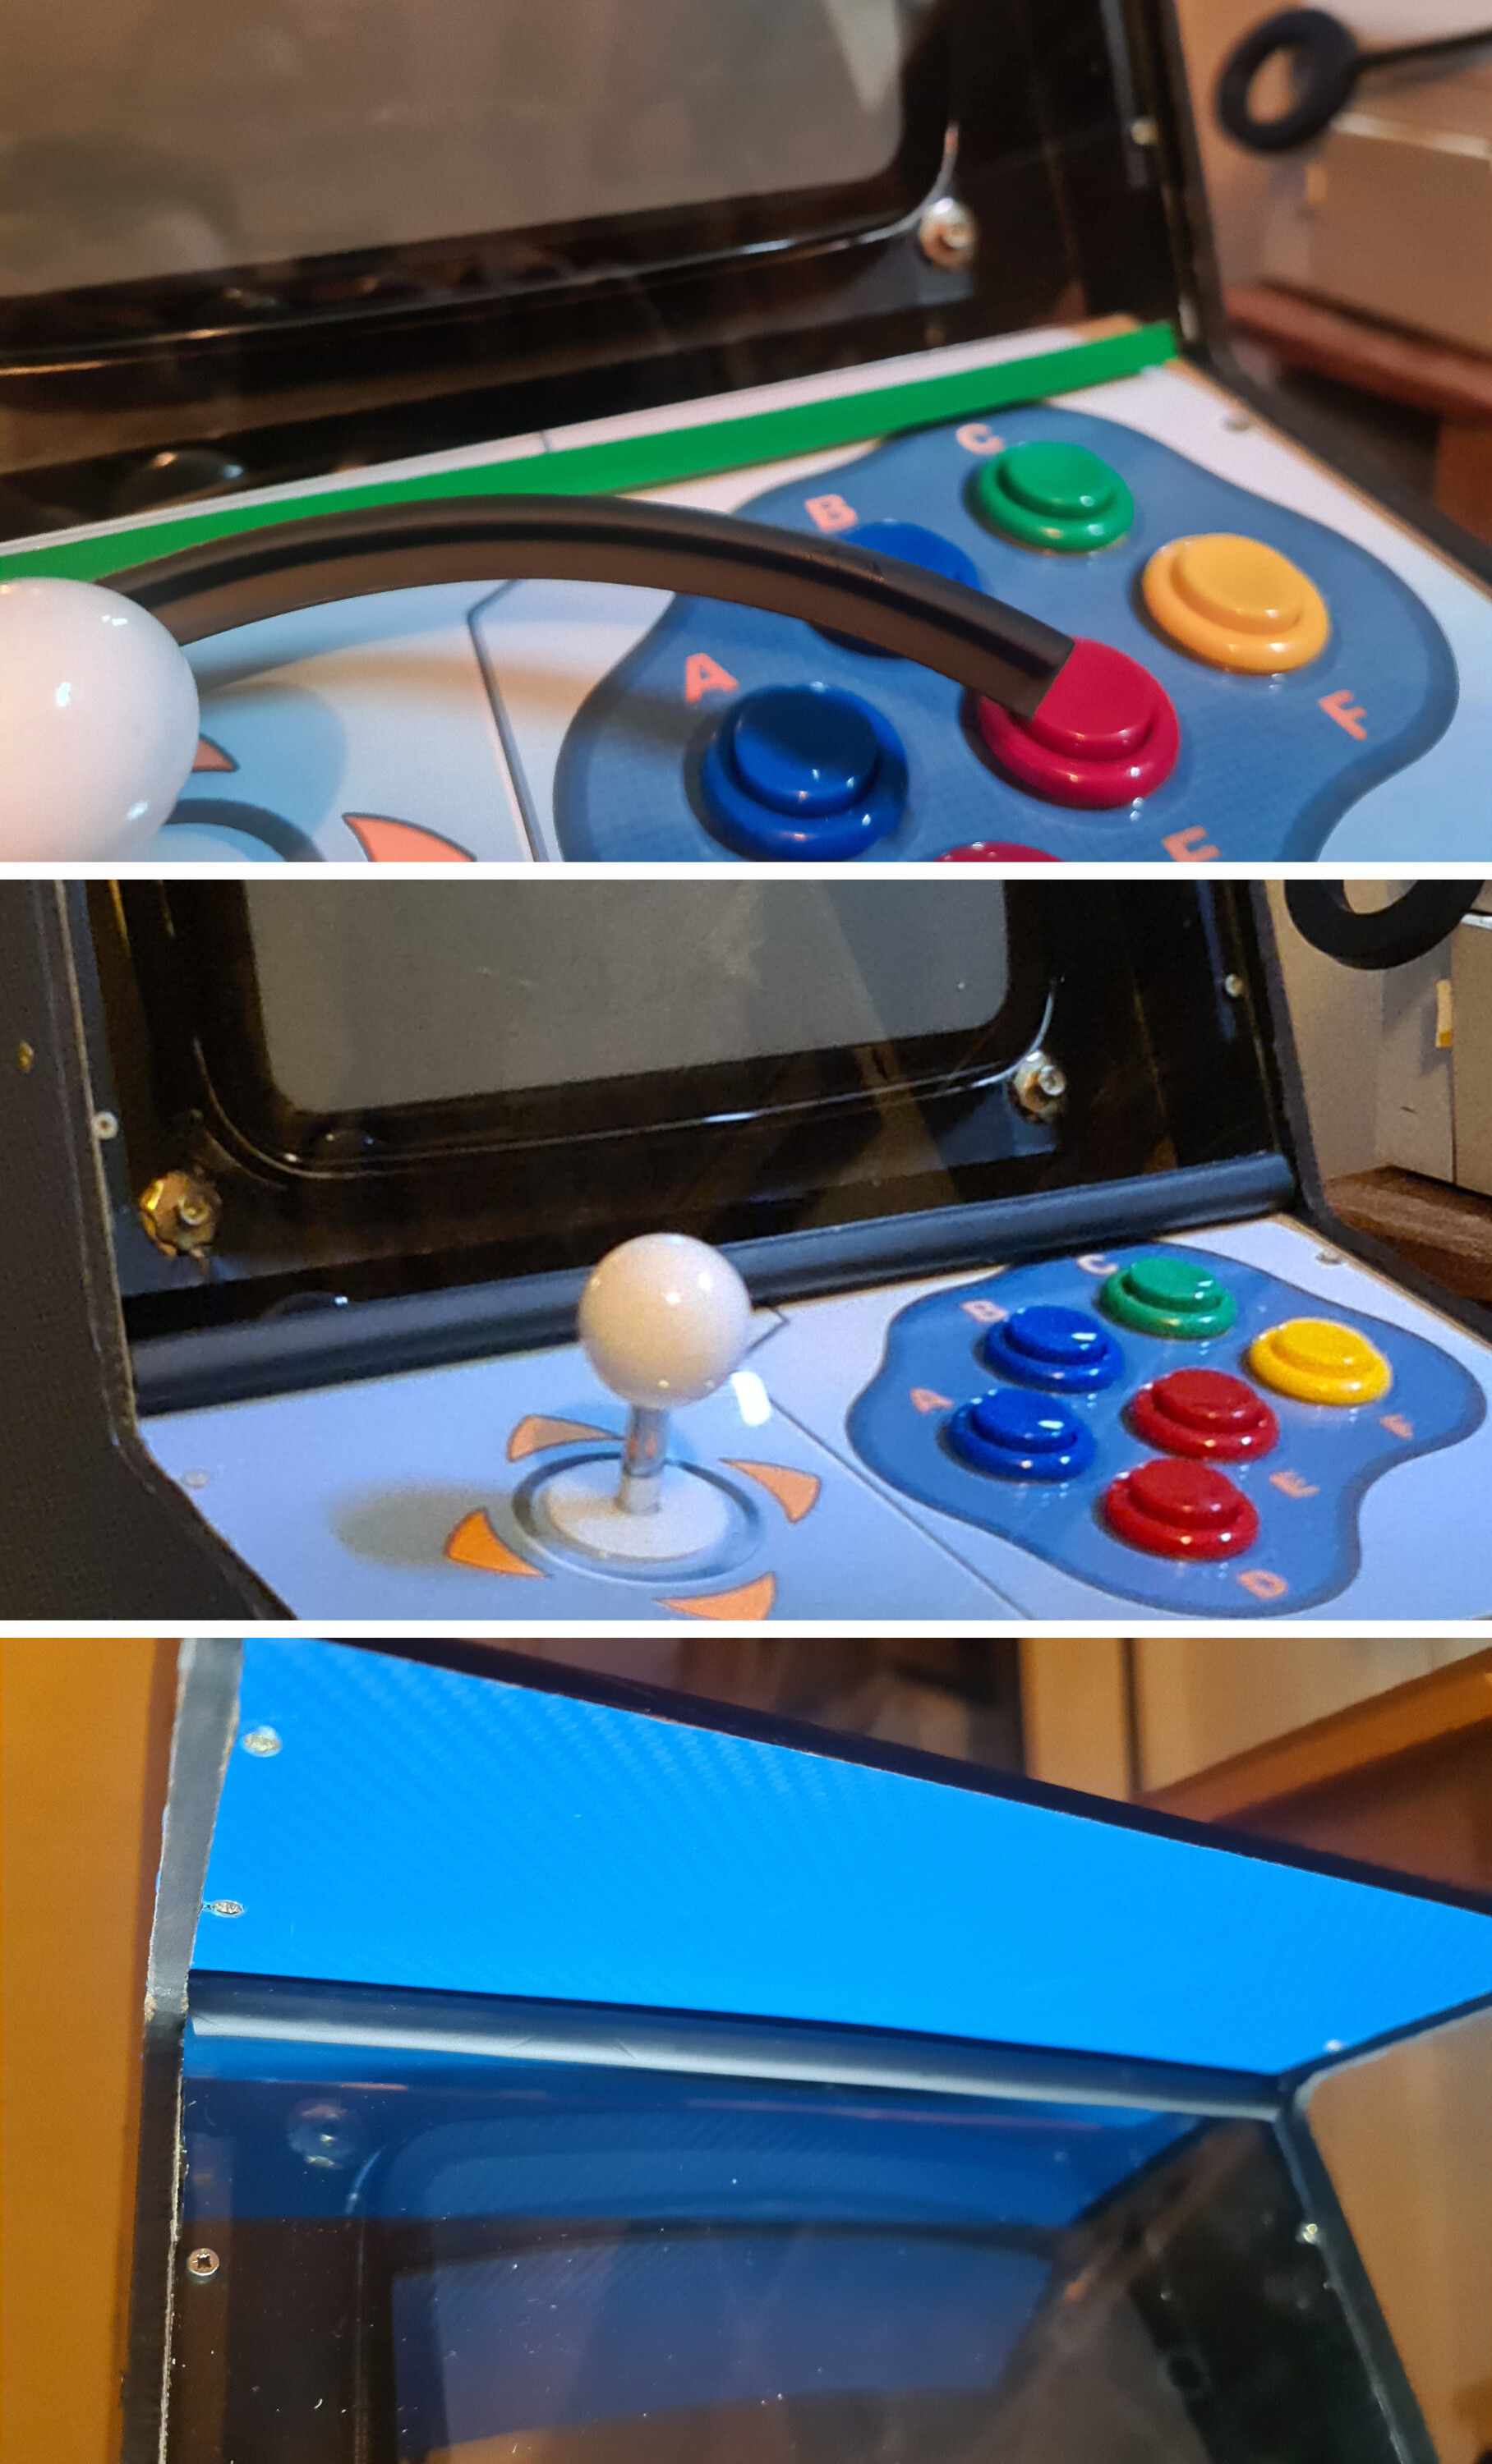
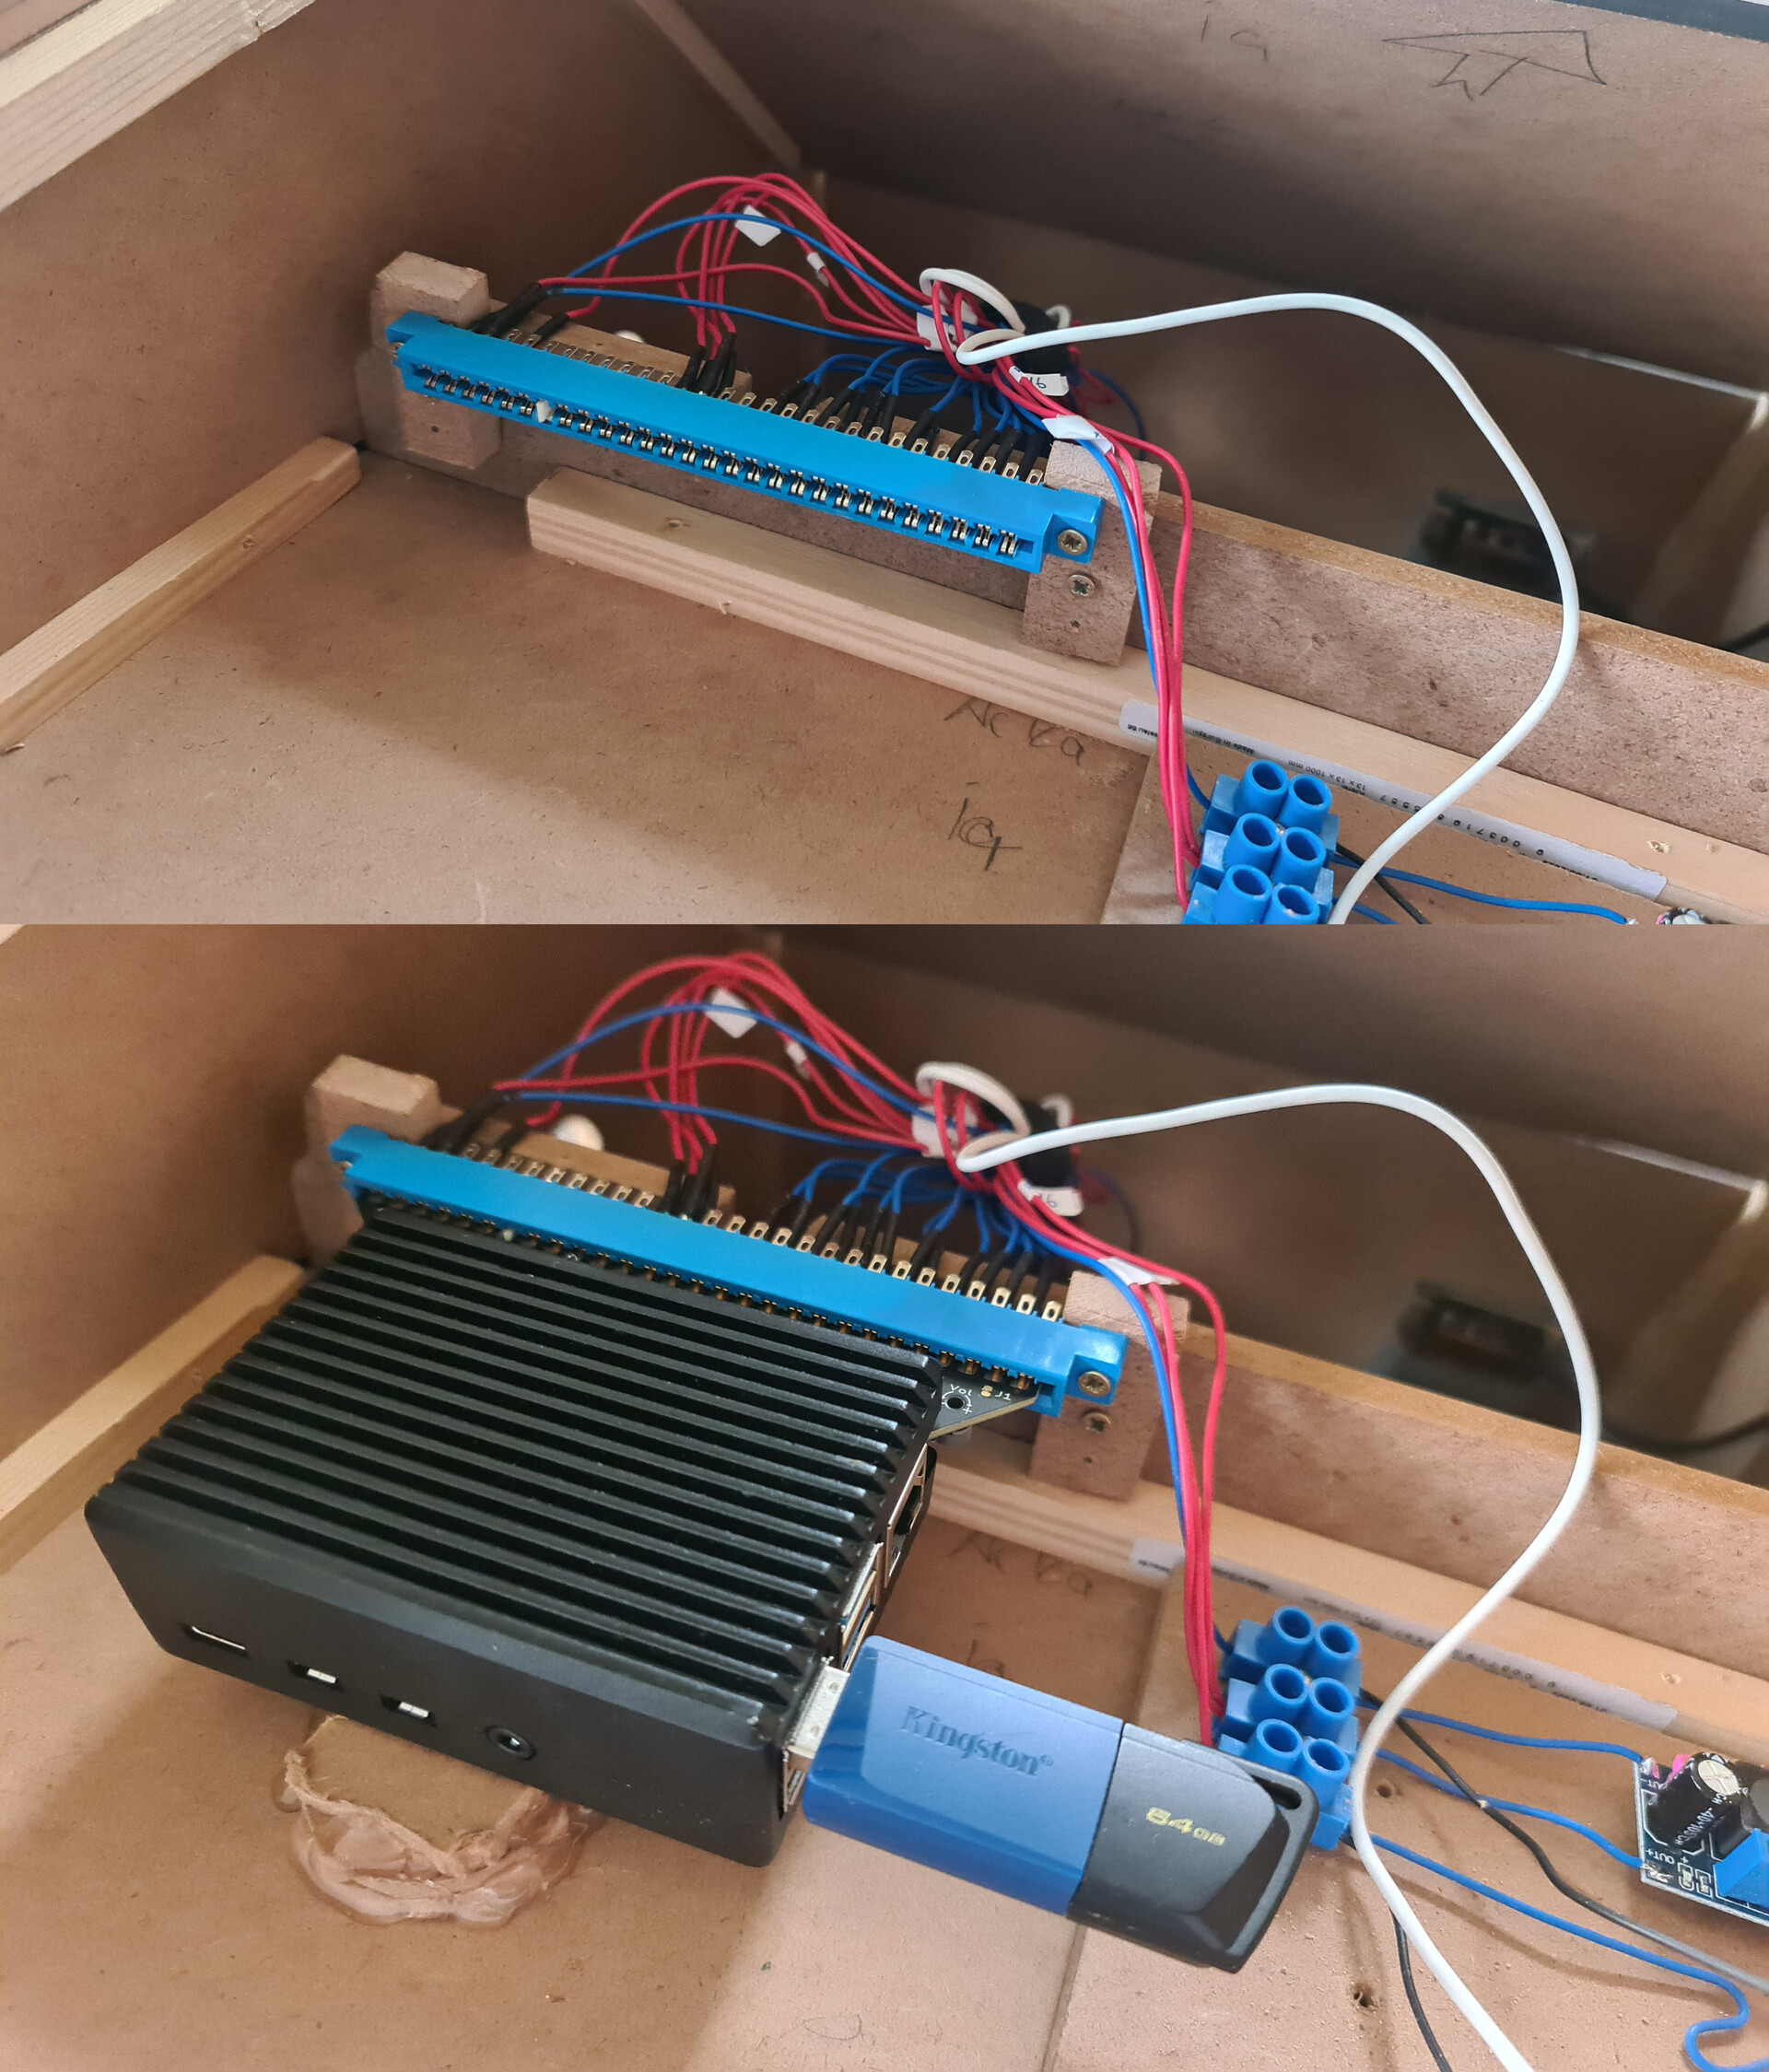
Now it's time for the button cables. I've used classical concave arcade buttons with mechanical switches.
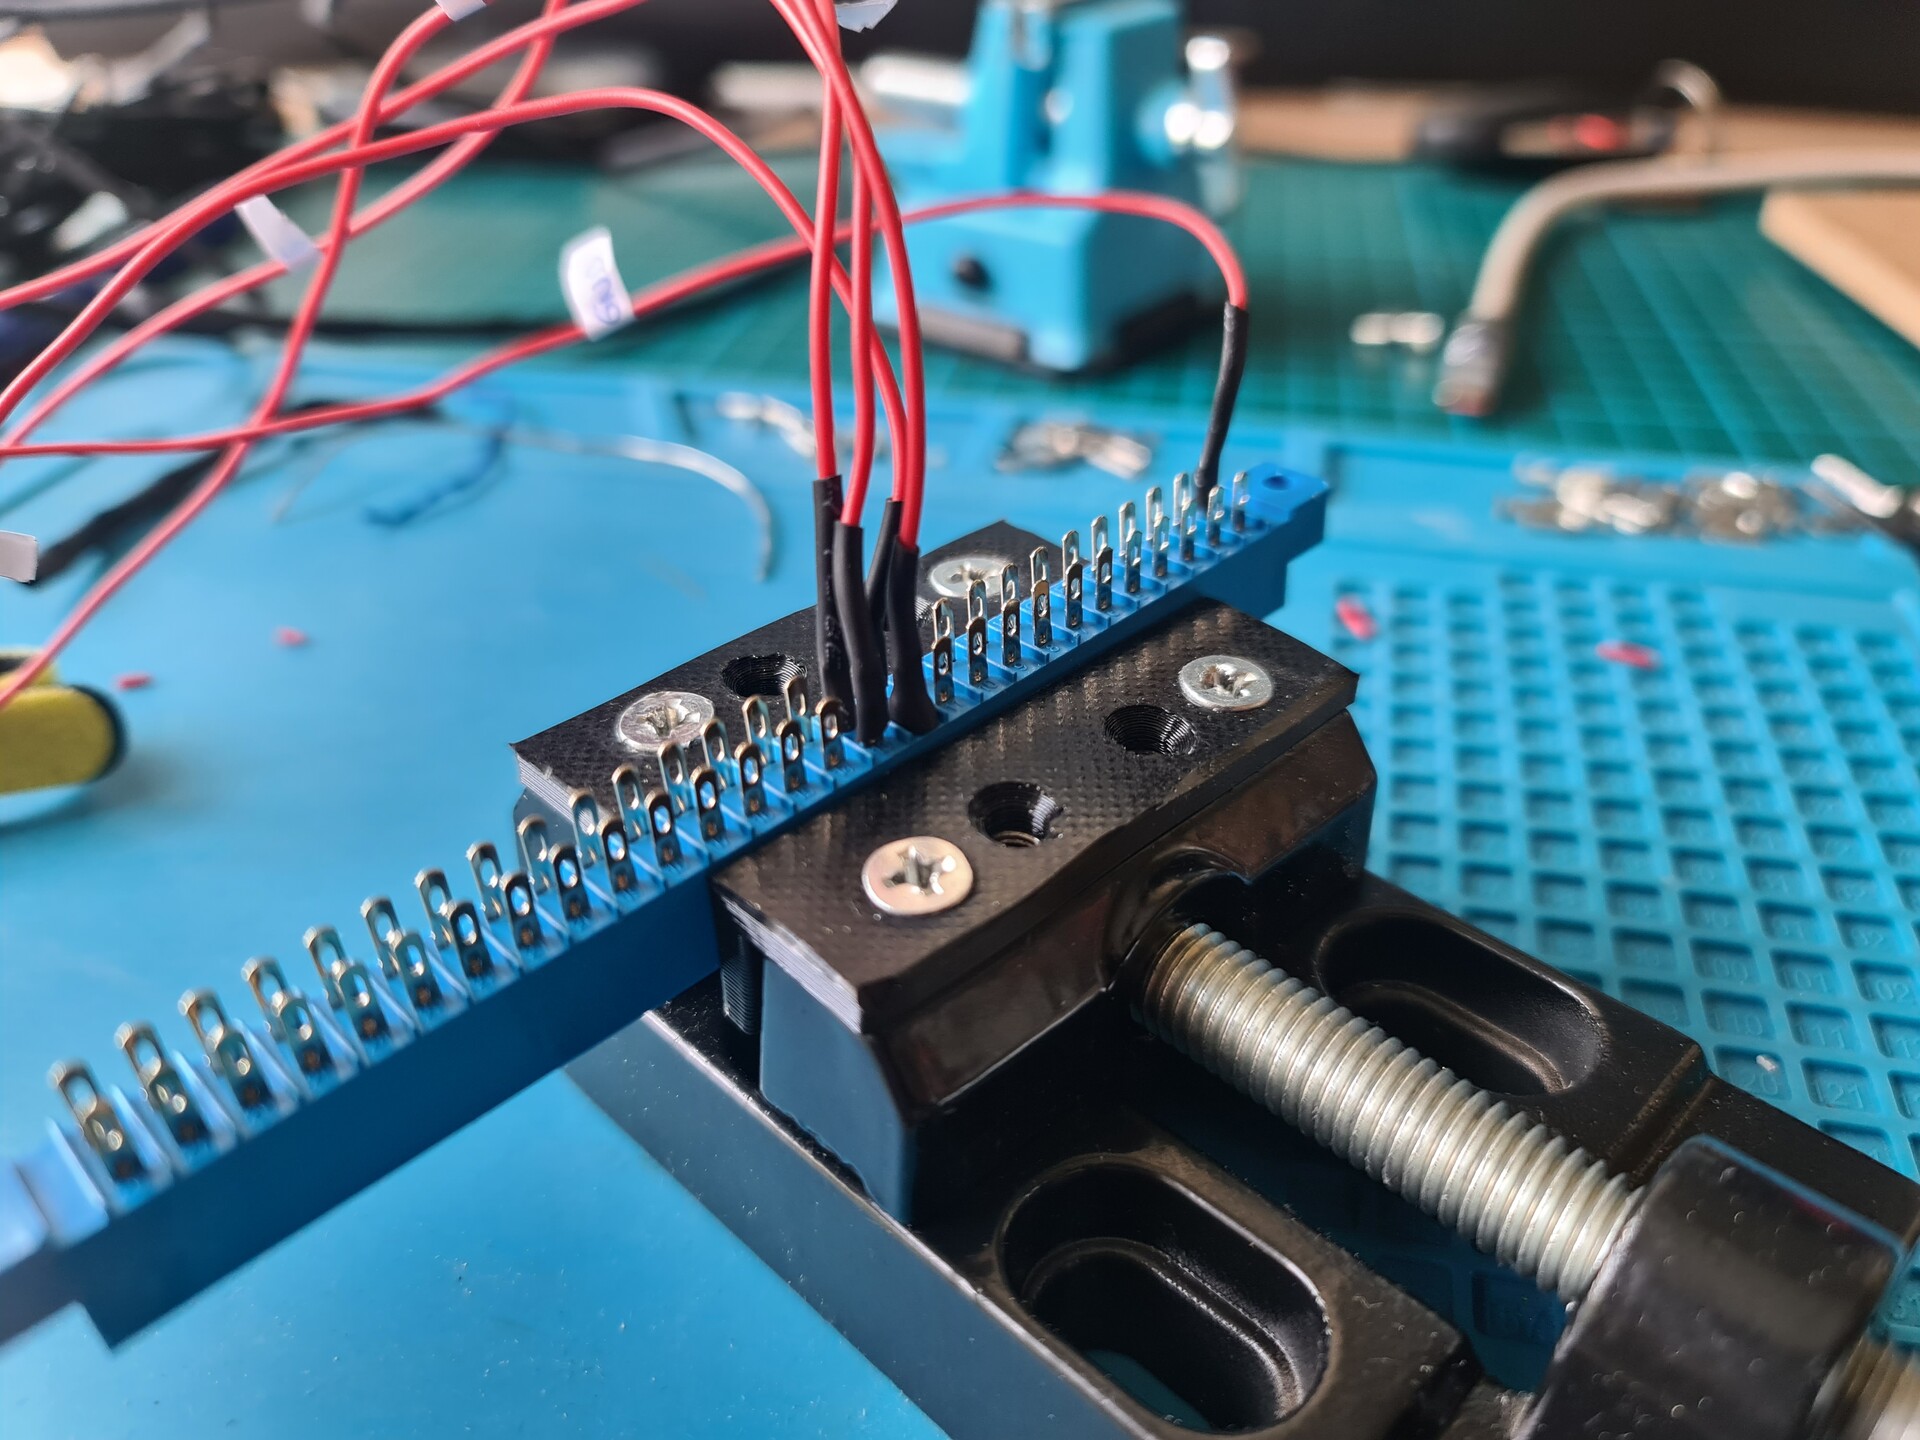
And all the pins are soldered to the Jamma Connector.
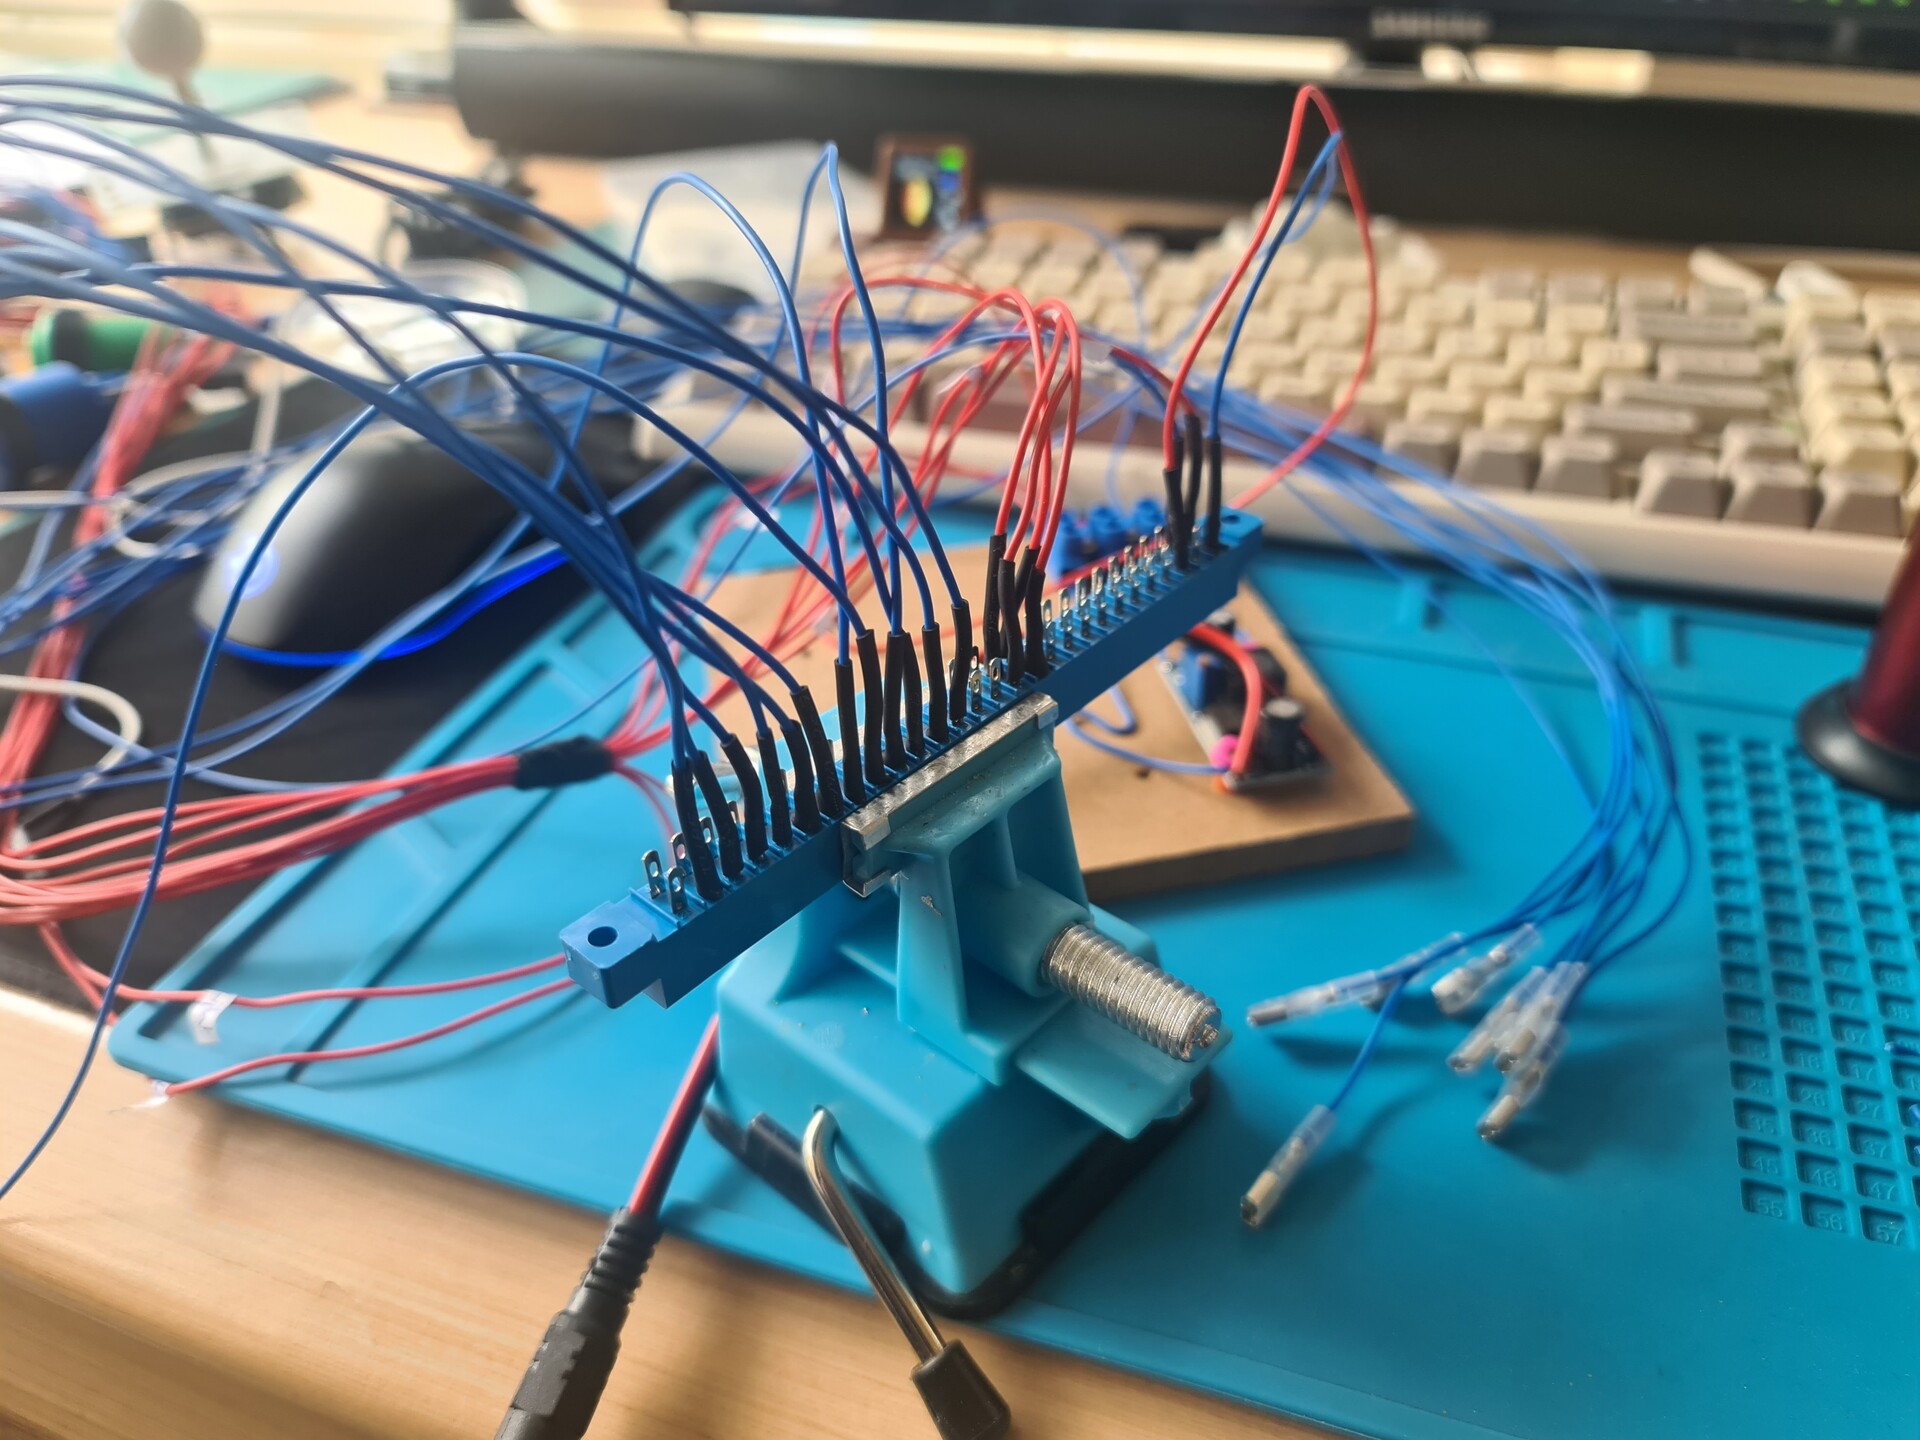
I've used terminal sockets to easily swap the switches.
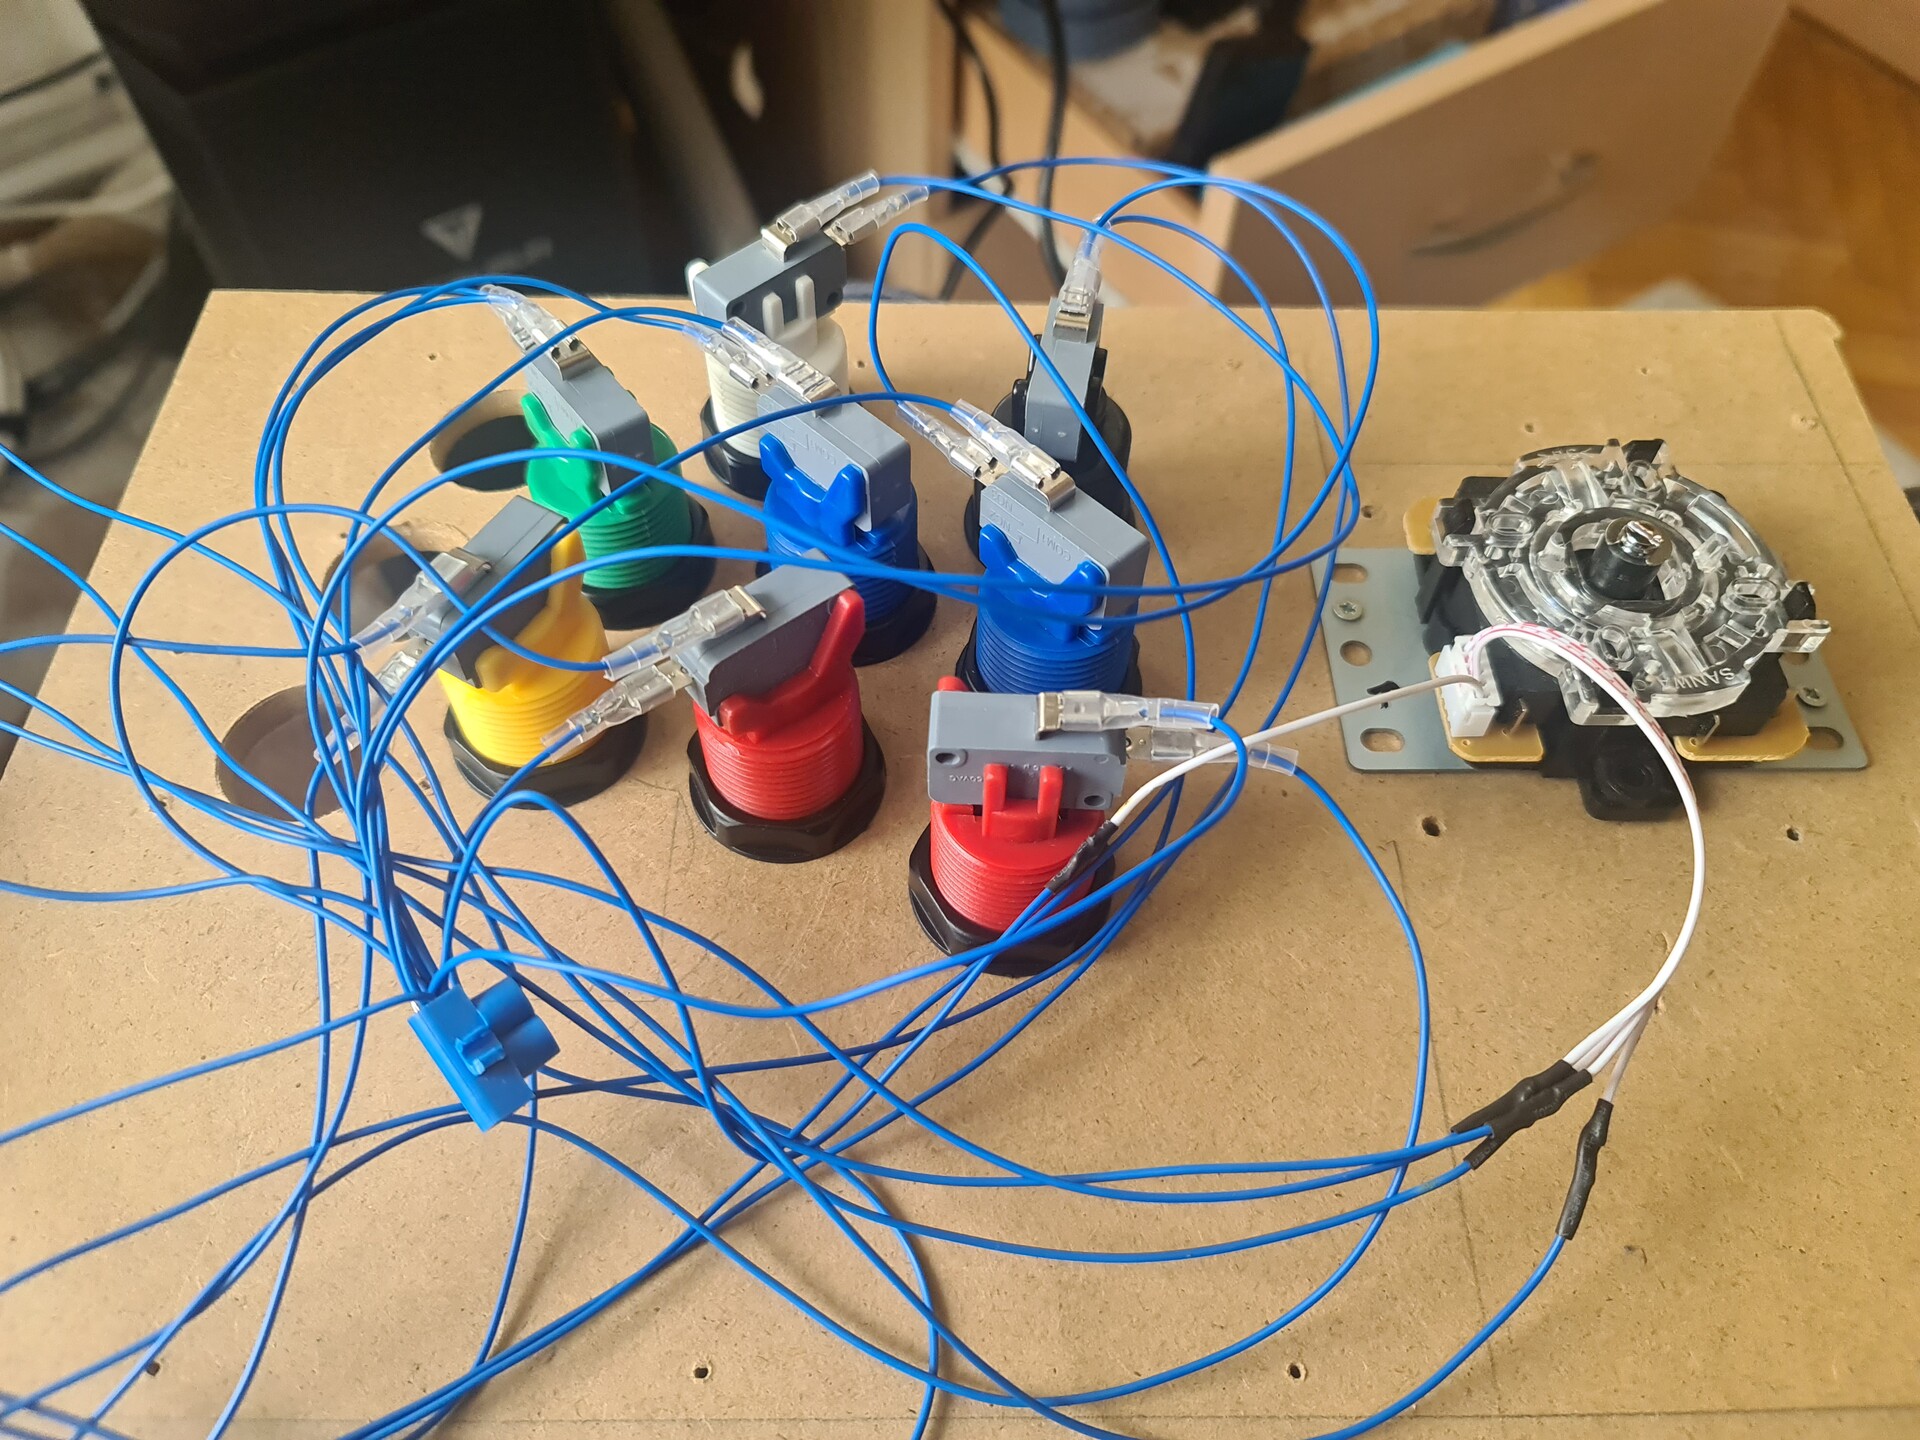
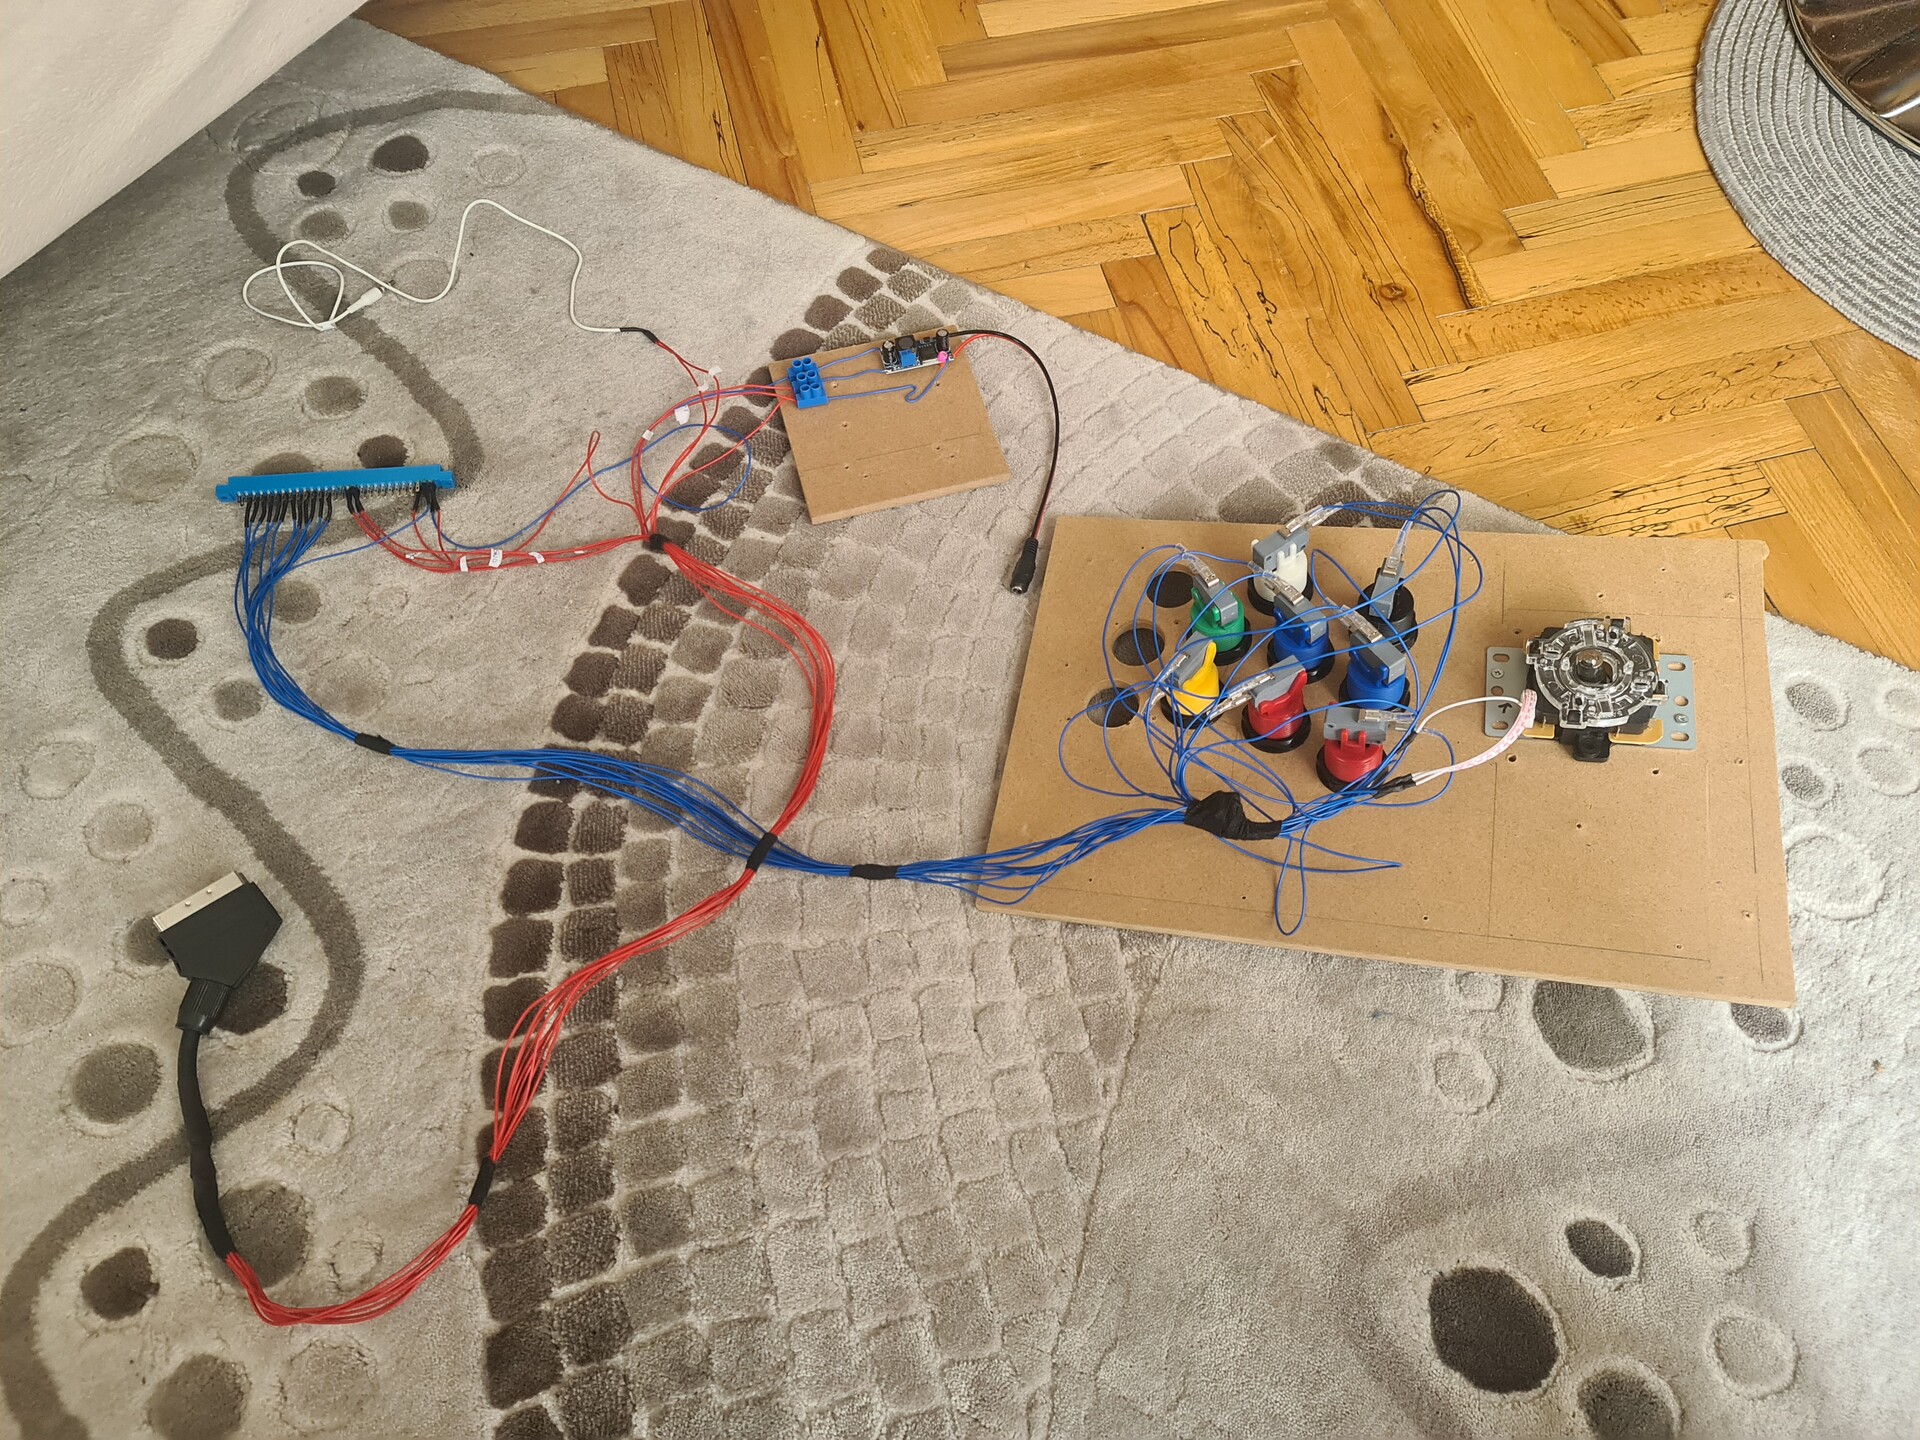
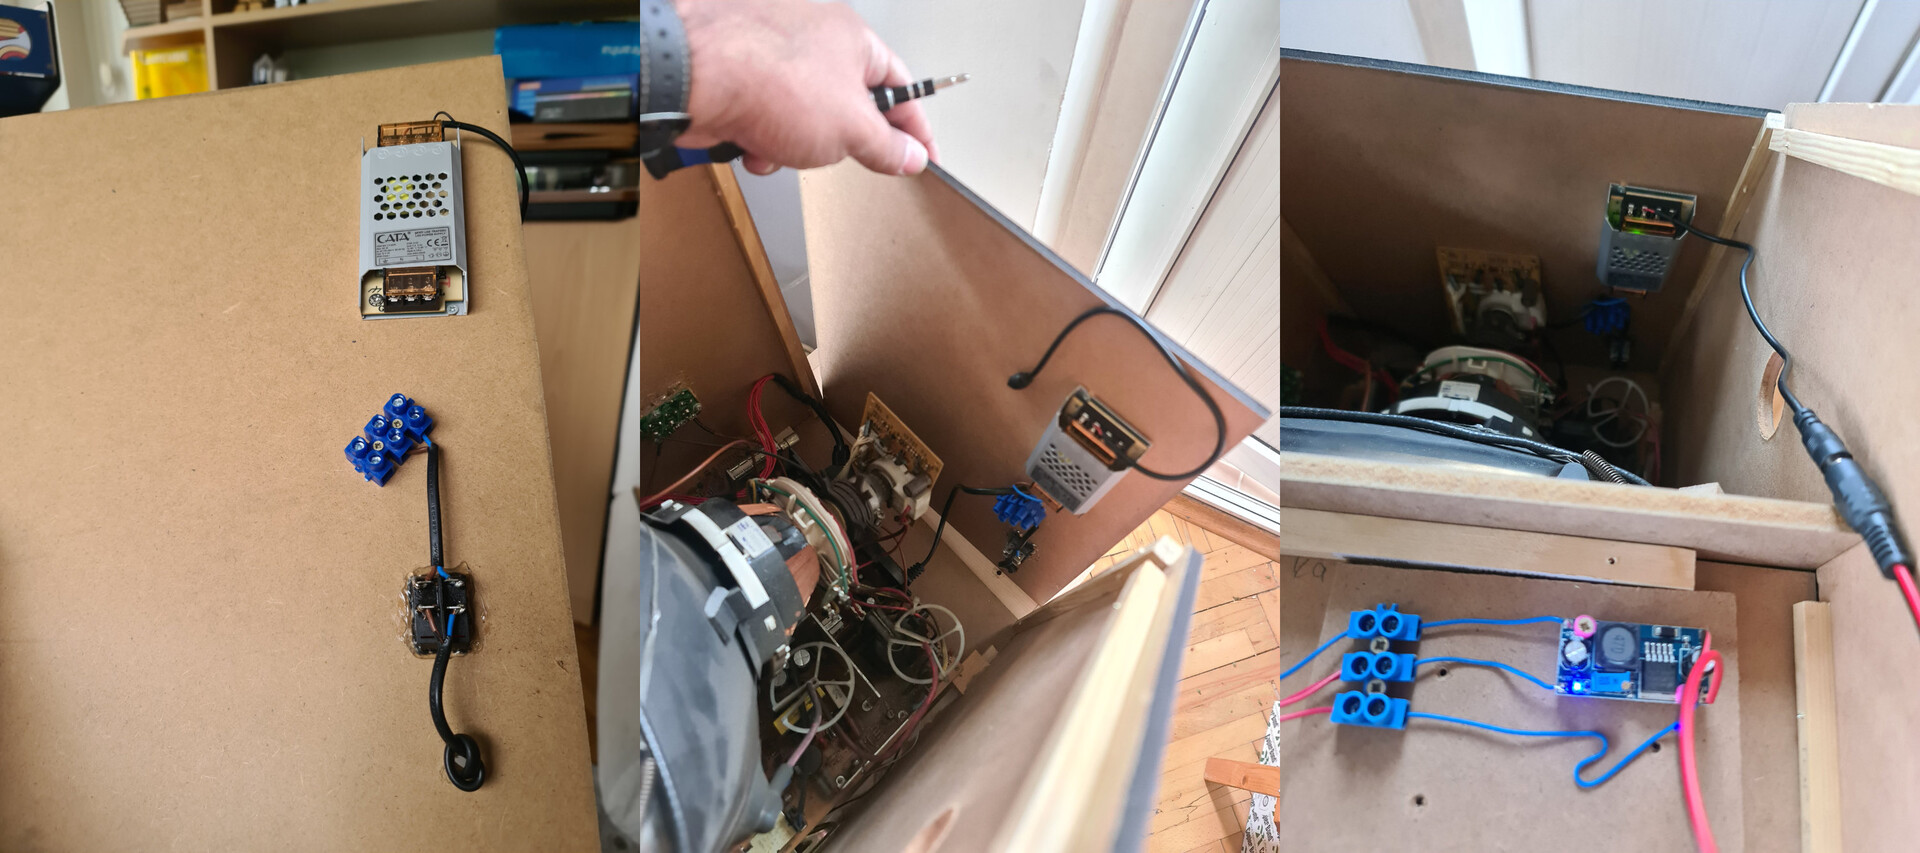
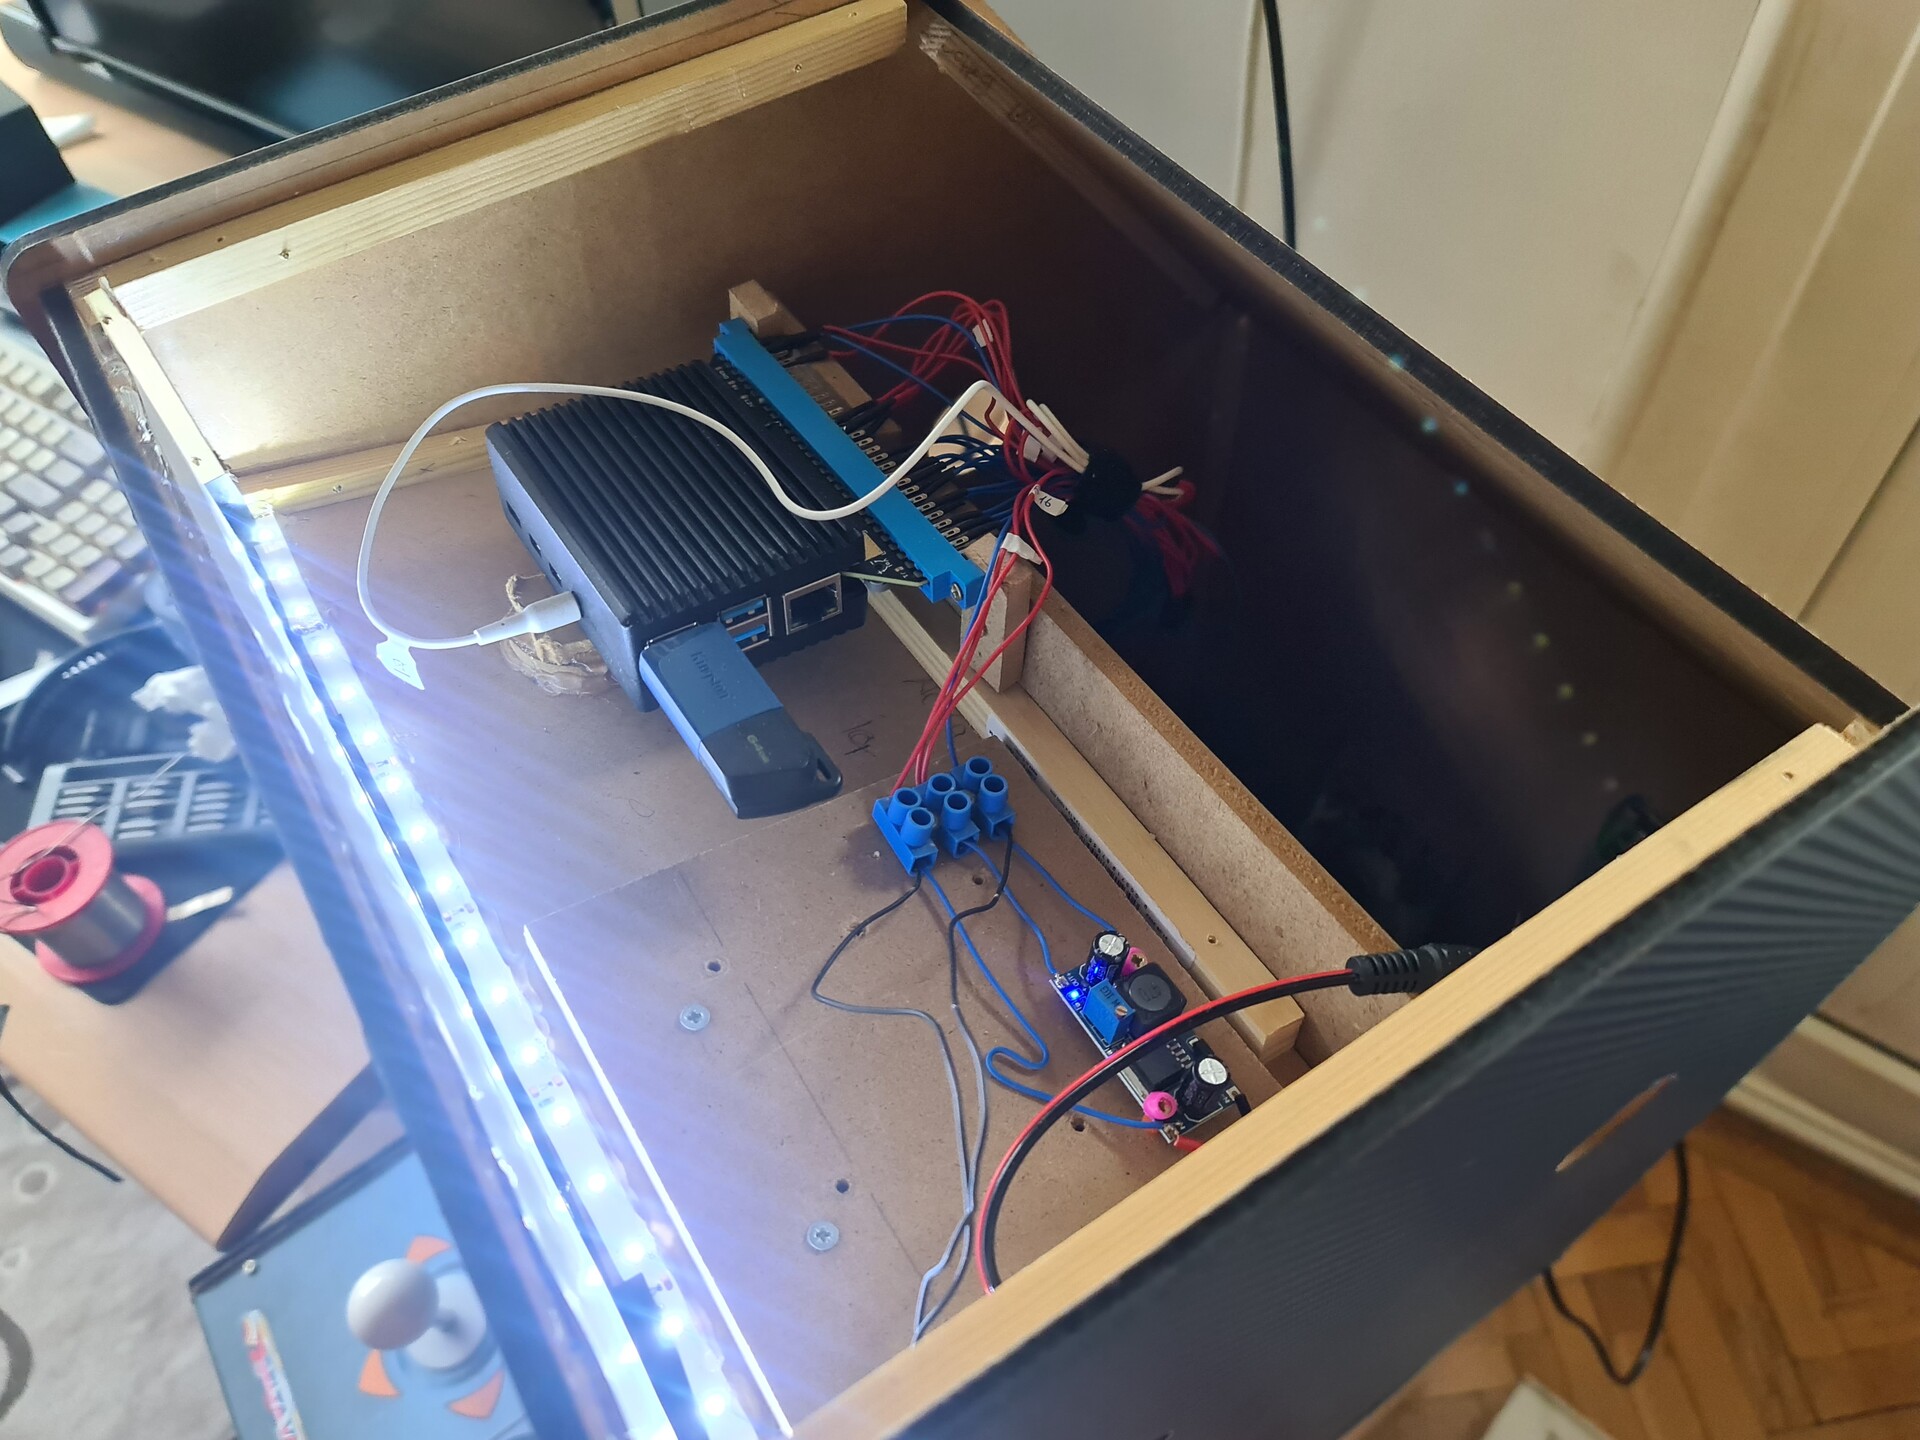
This is the interior cables so far. There is a DC-DC stepdown module that reduces 12 volts to 5.25 volts which is needed to operate the Raspberry Pi4 that I'm going to use. I used a temporary board to fix the buttons and the joystick and tested them.
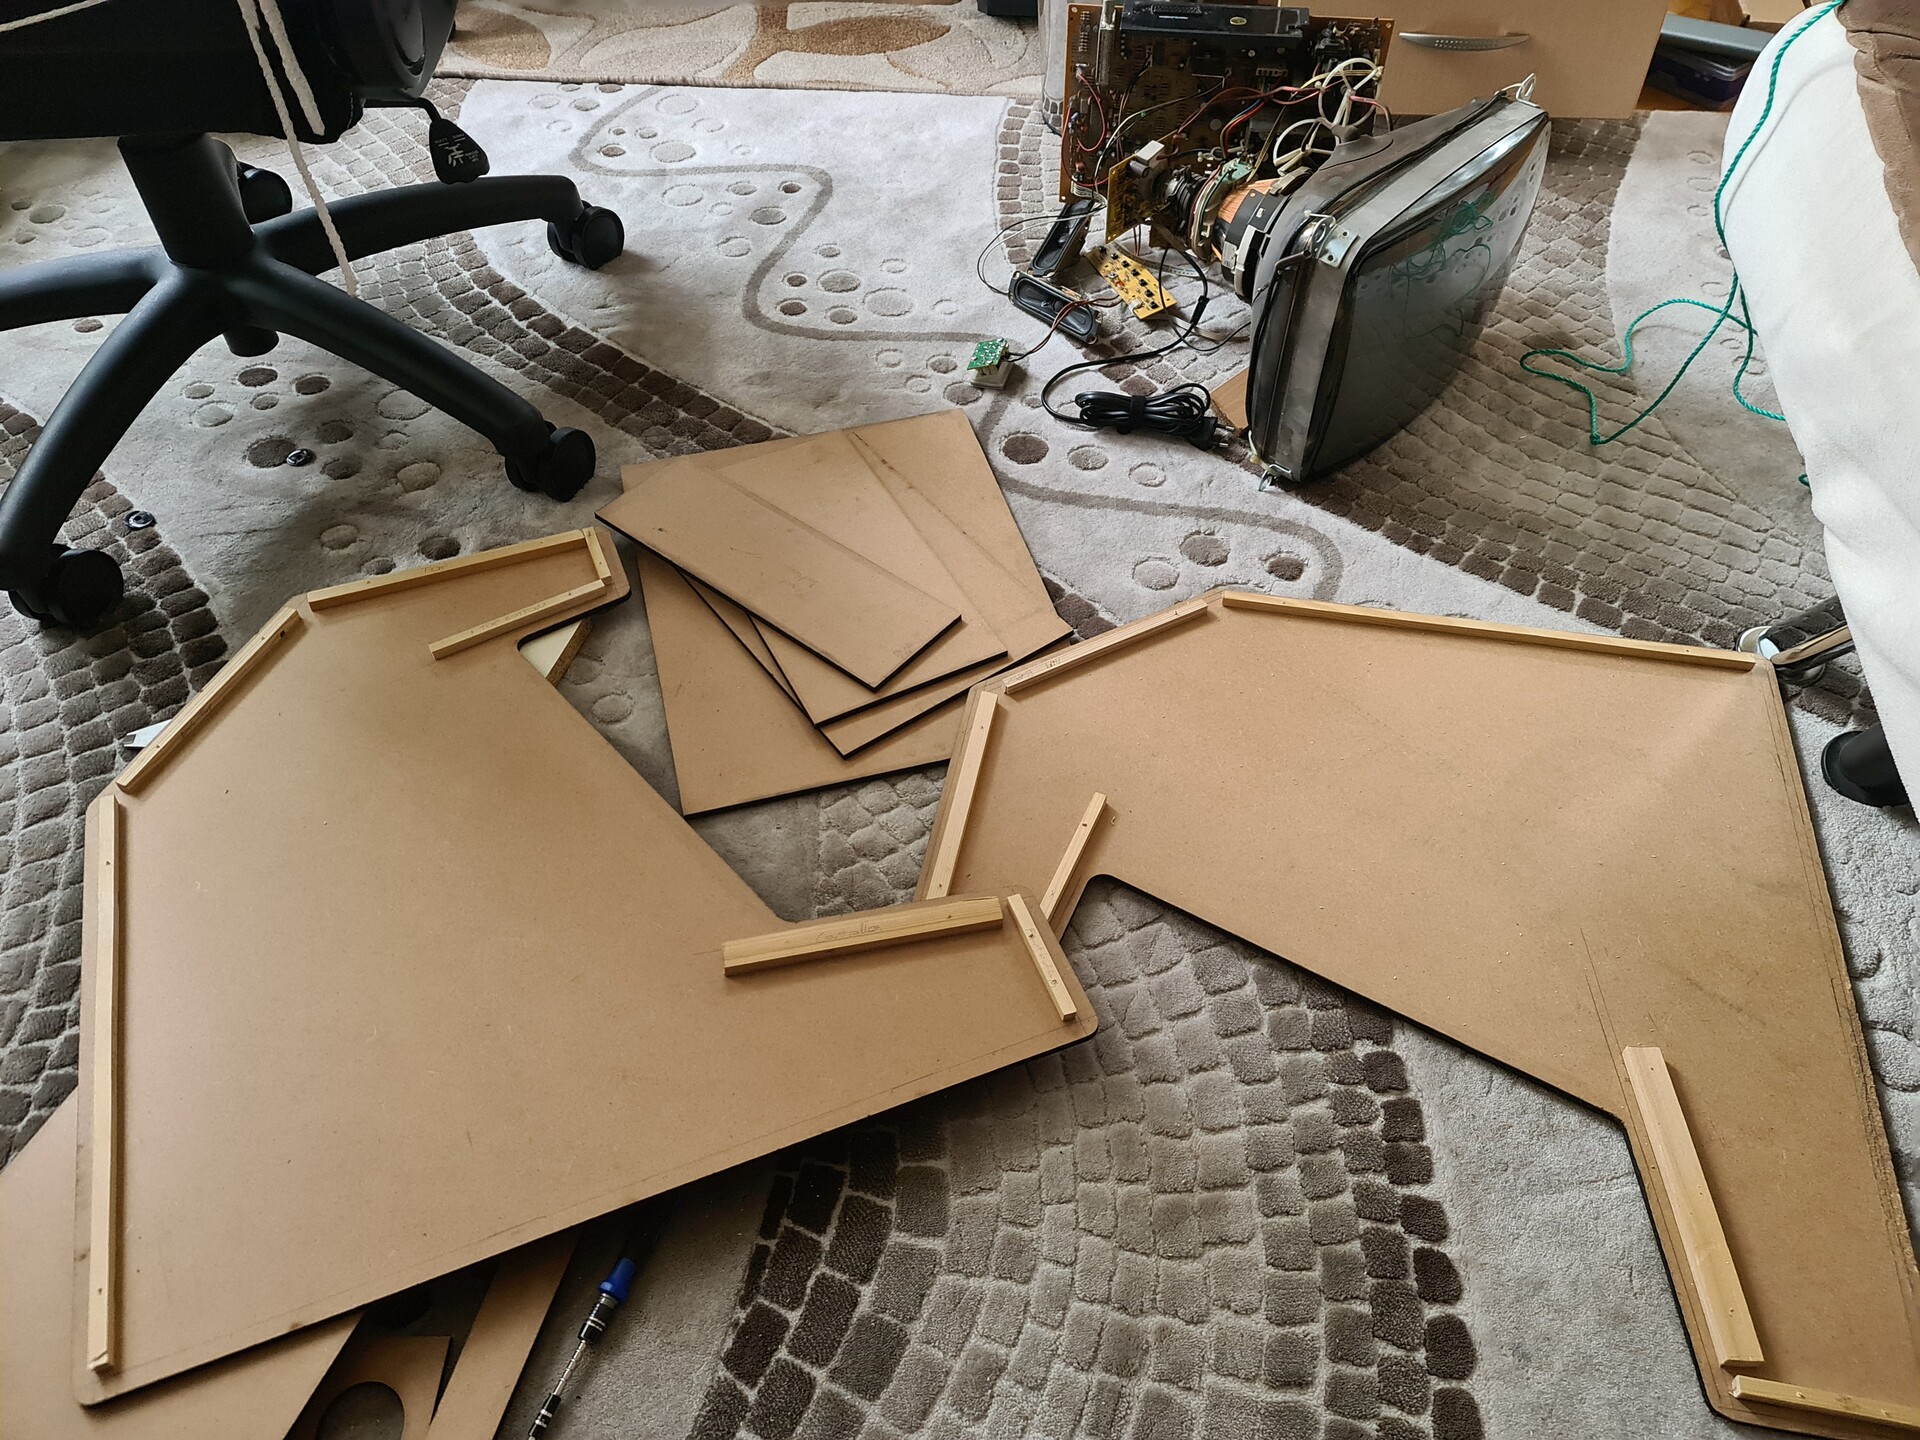
Finally I've received the cut panels that I've ordered and whole system was ready to assemble!

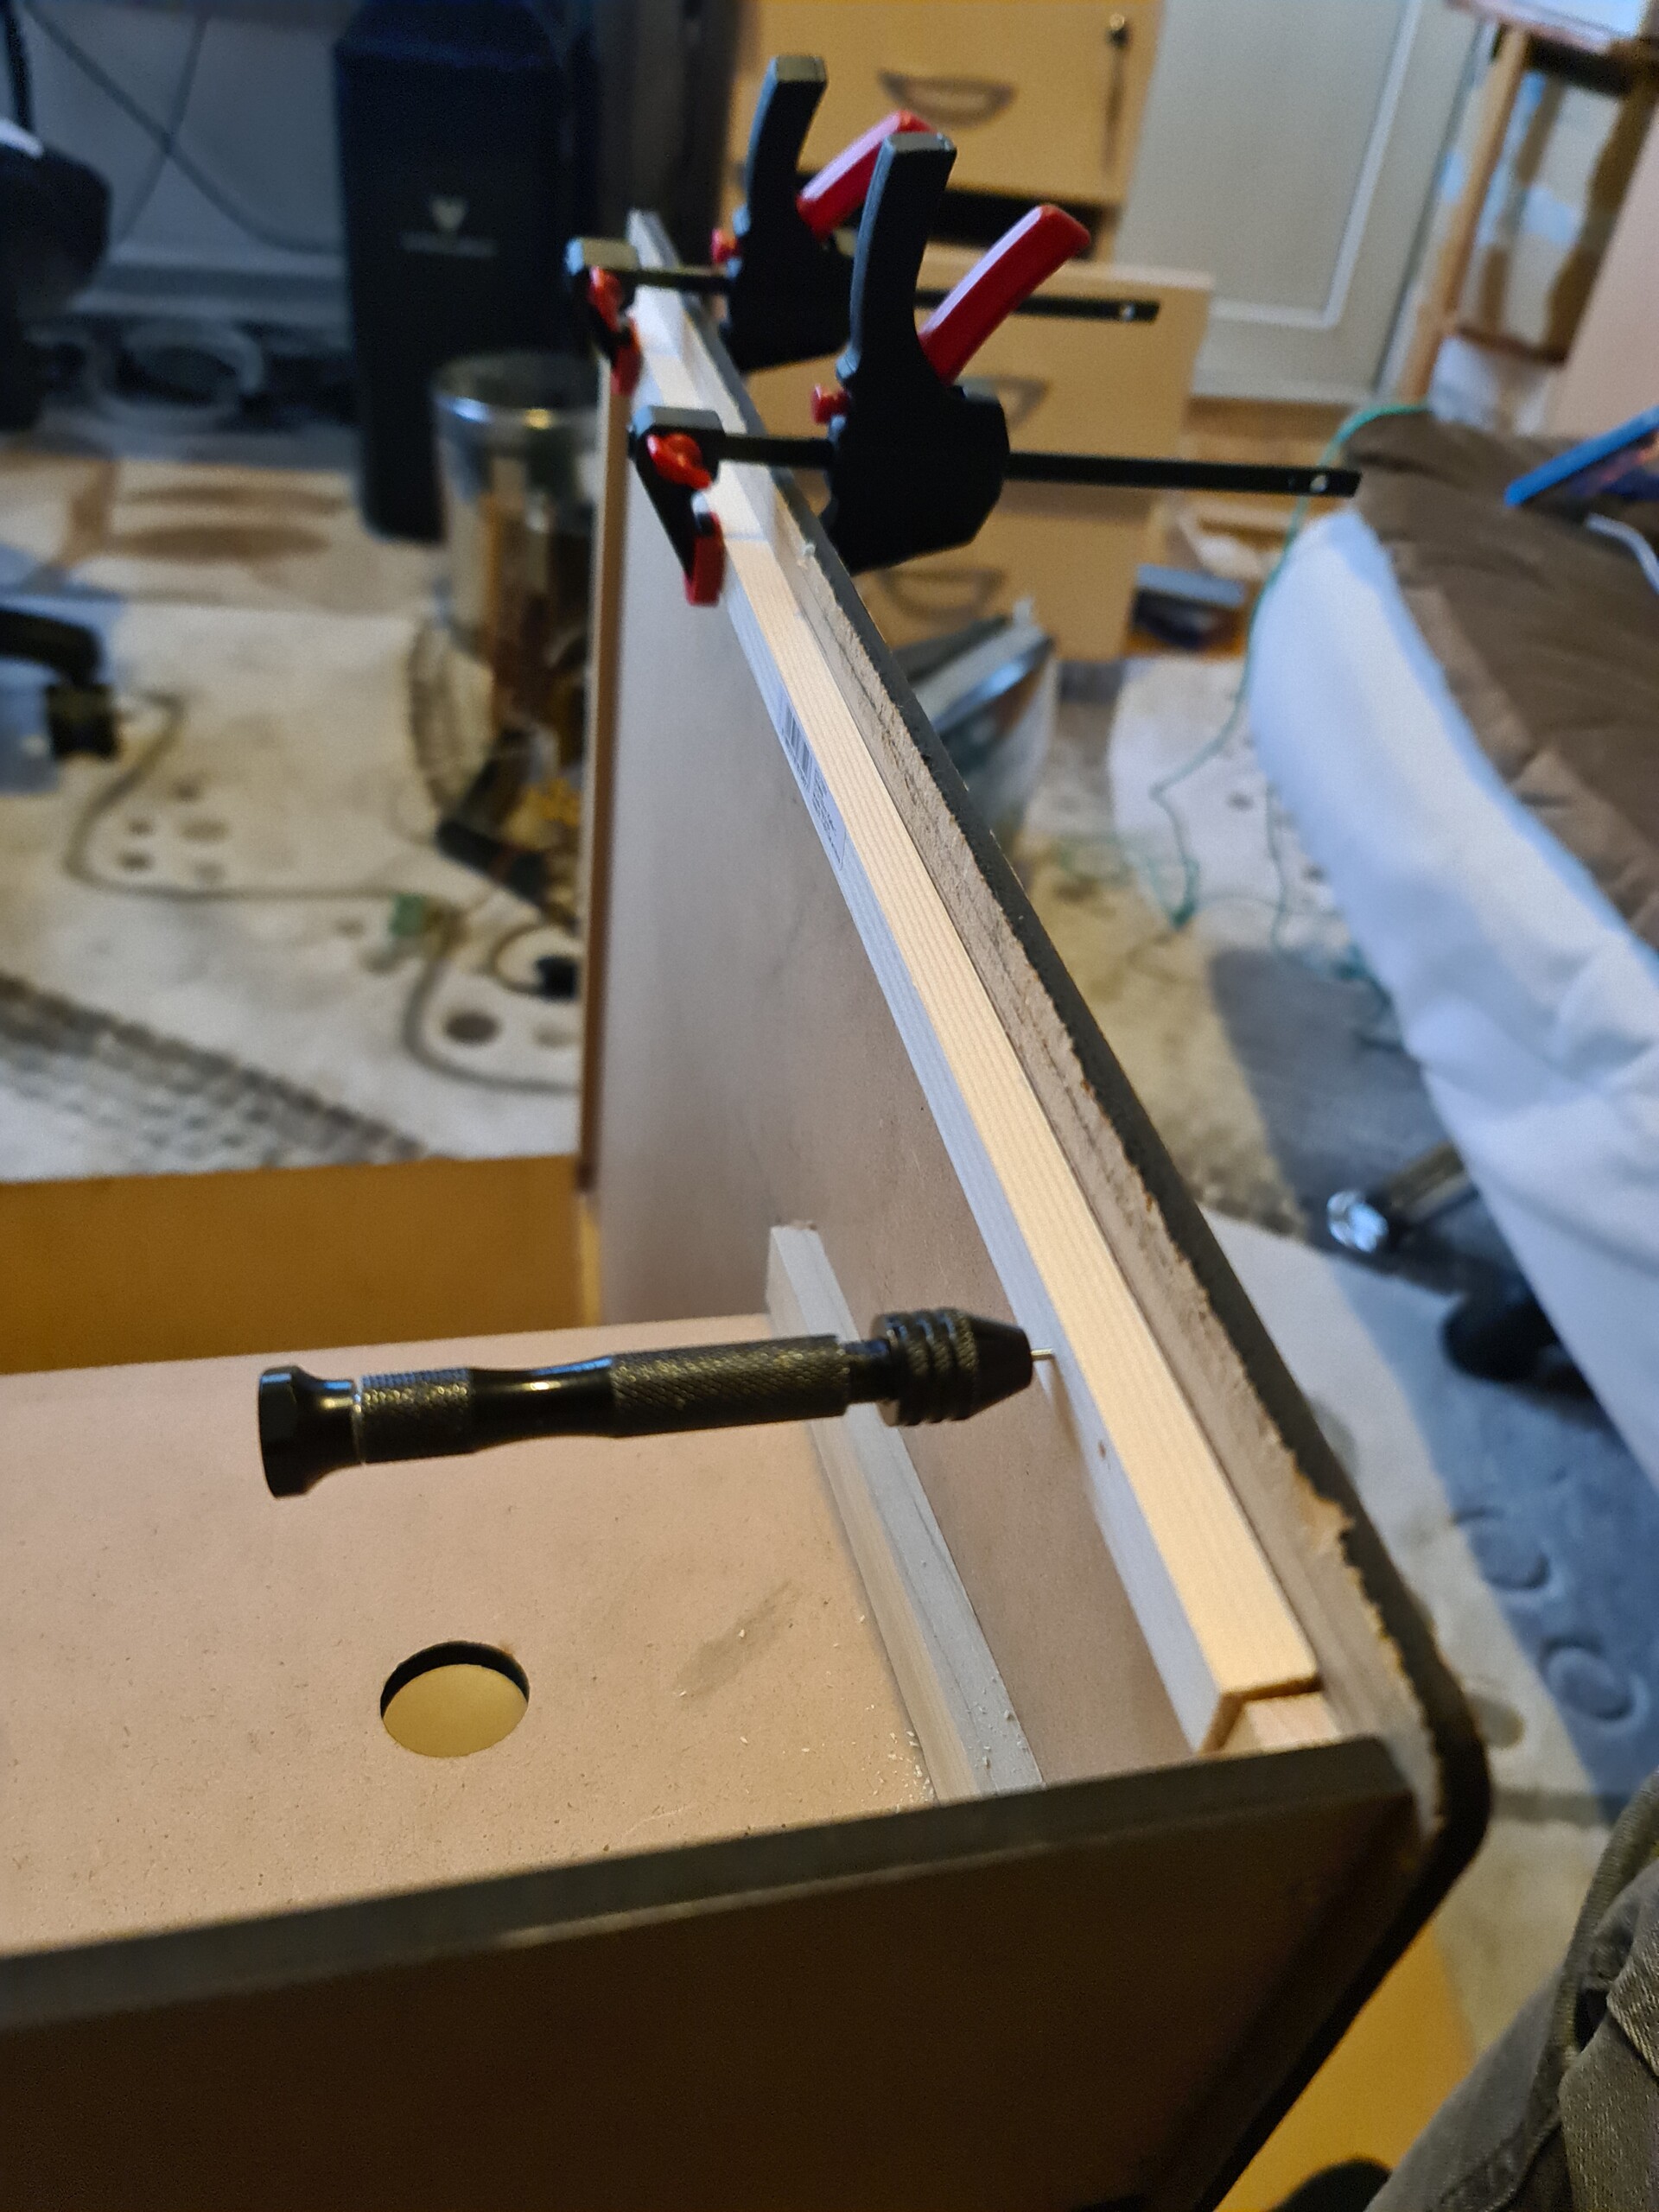
I fixed the laths to the panels for all of the 90 degree connections with the screws.
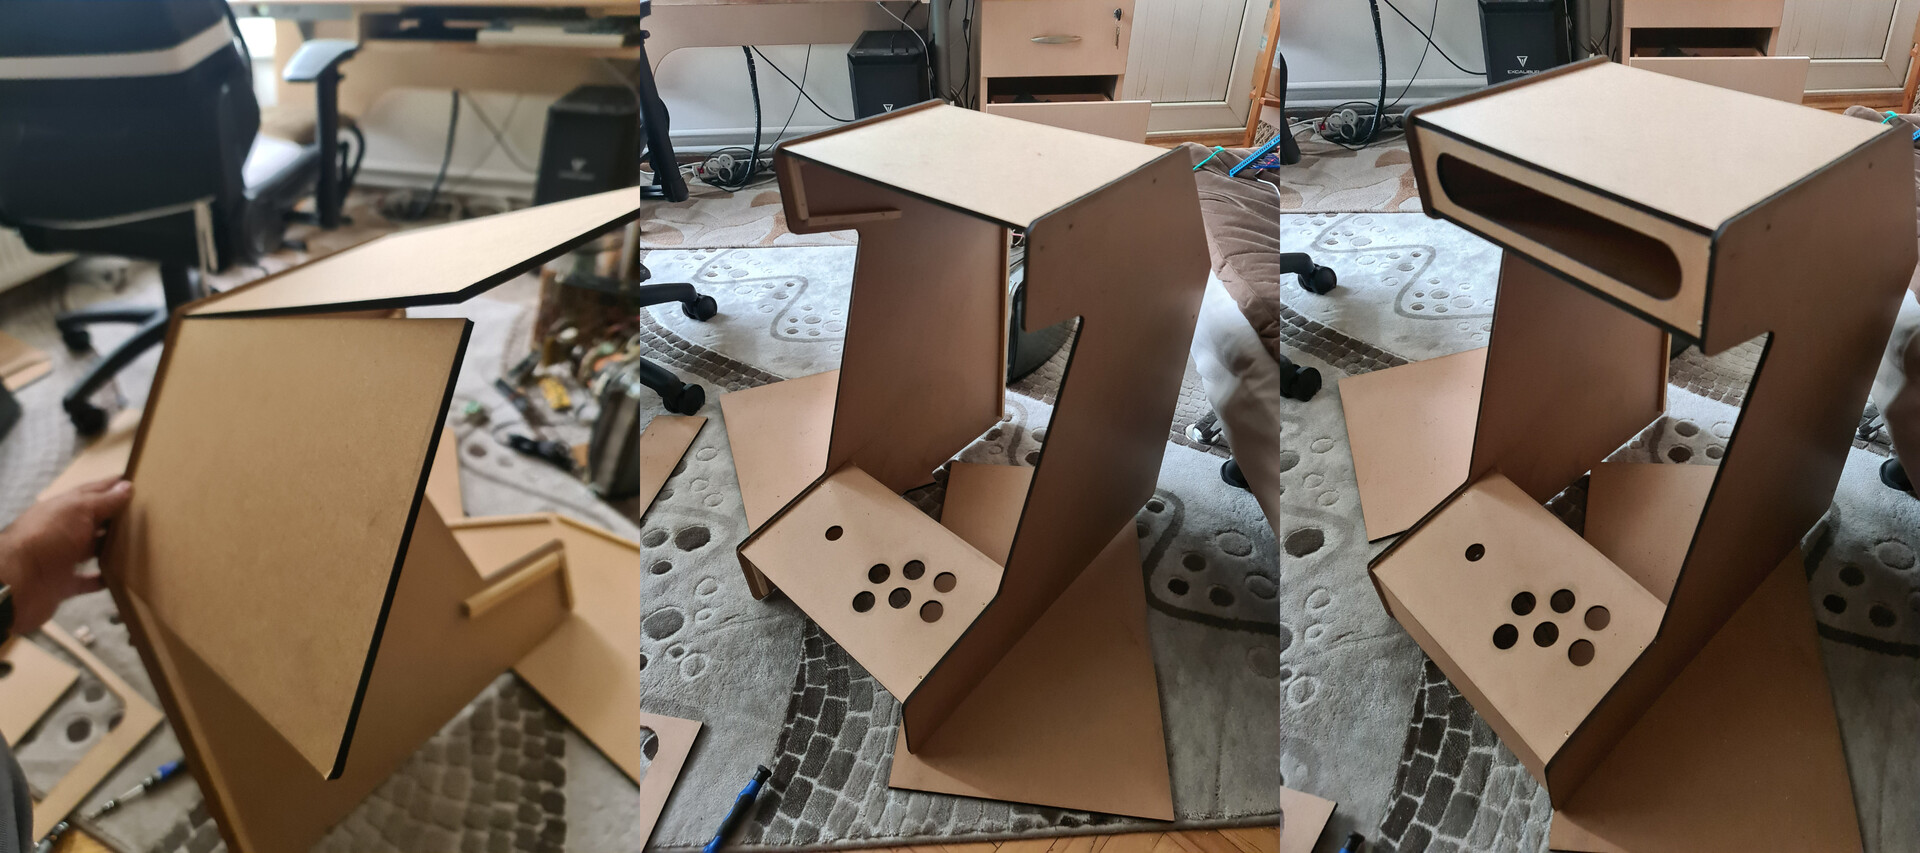
Pretty primal approach as I drill a hole for the fixing point and tighten a screw through there.
I finally placed anbd fixed the screen to the screen frame.
I fixed the TV motherboard as well.
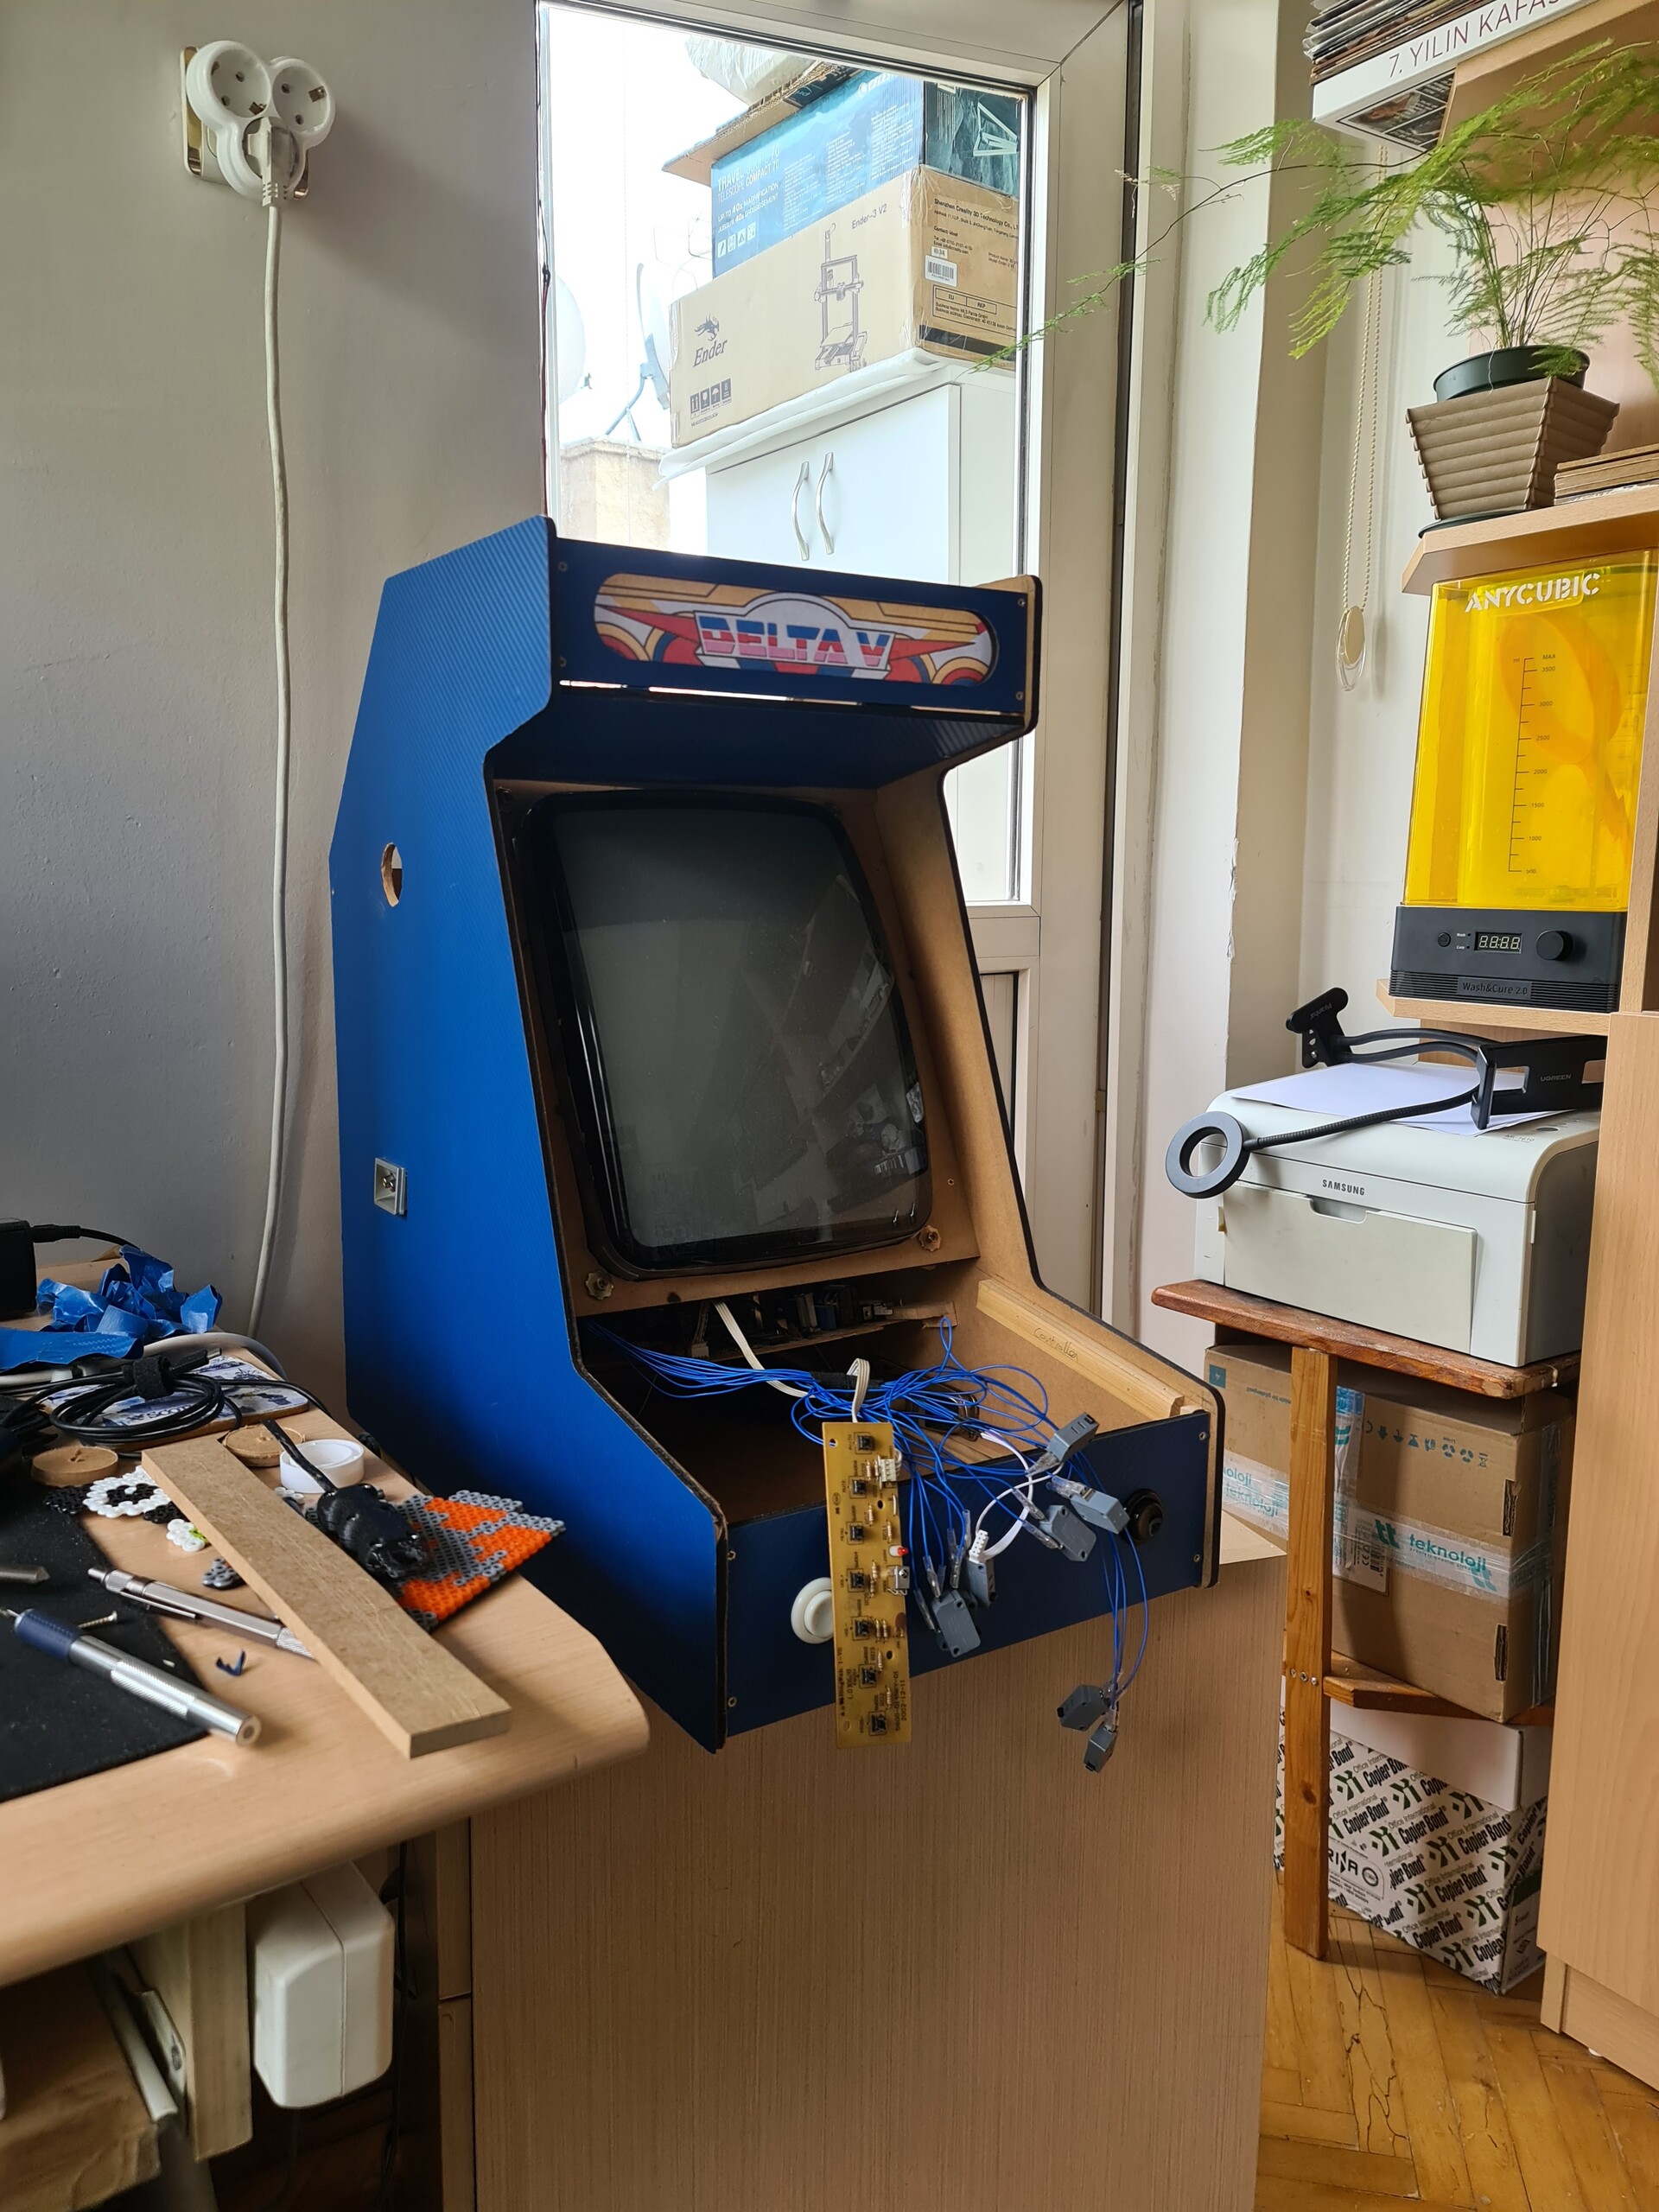
This is how it looks so far.
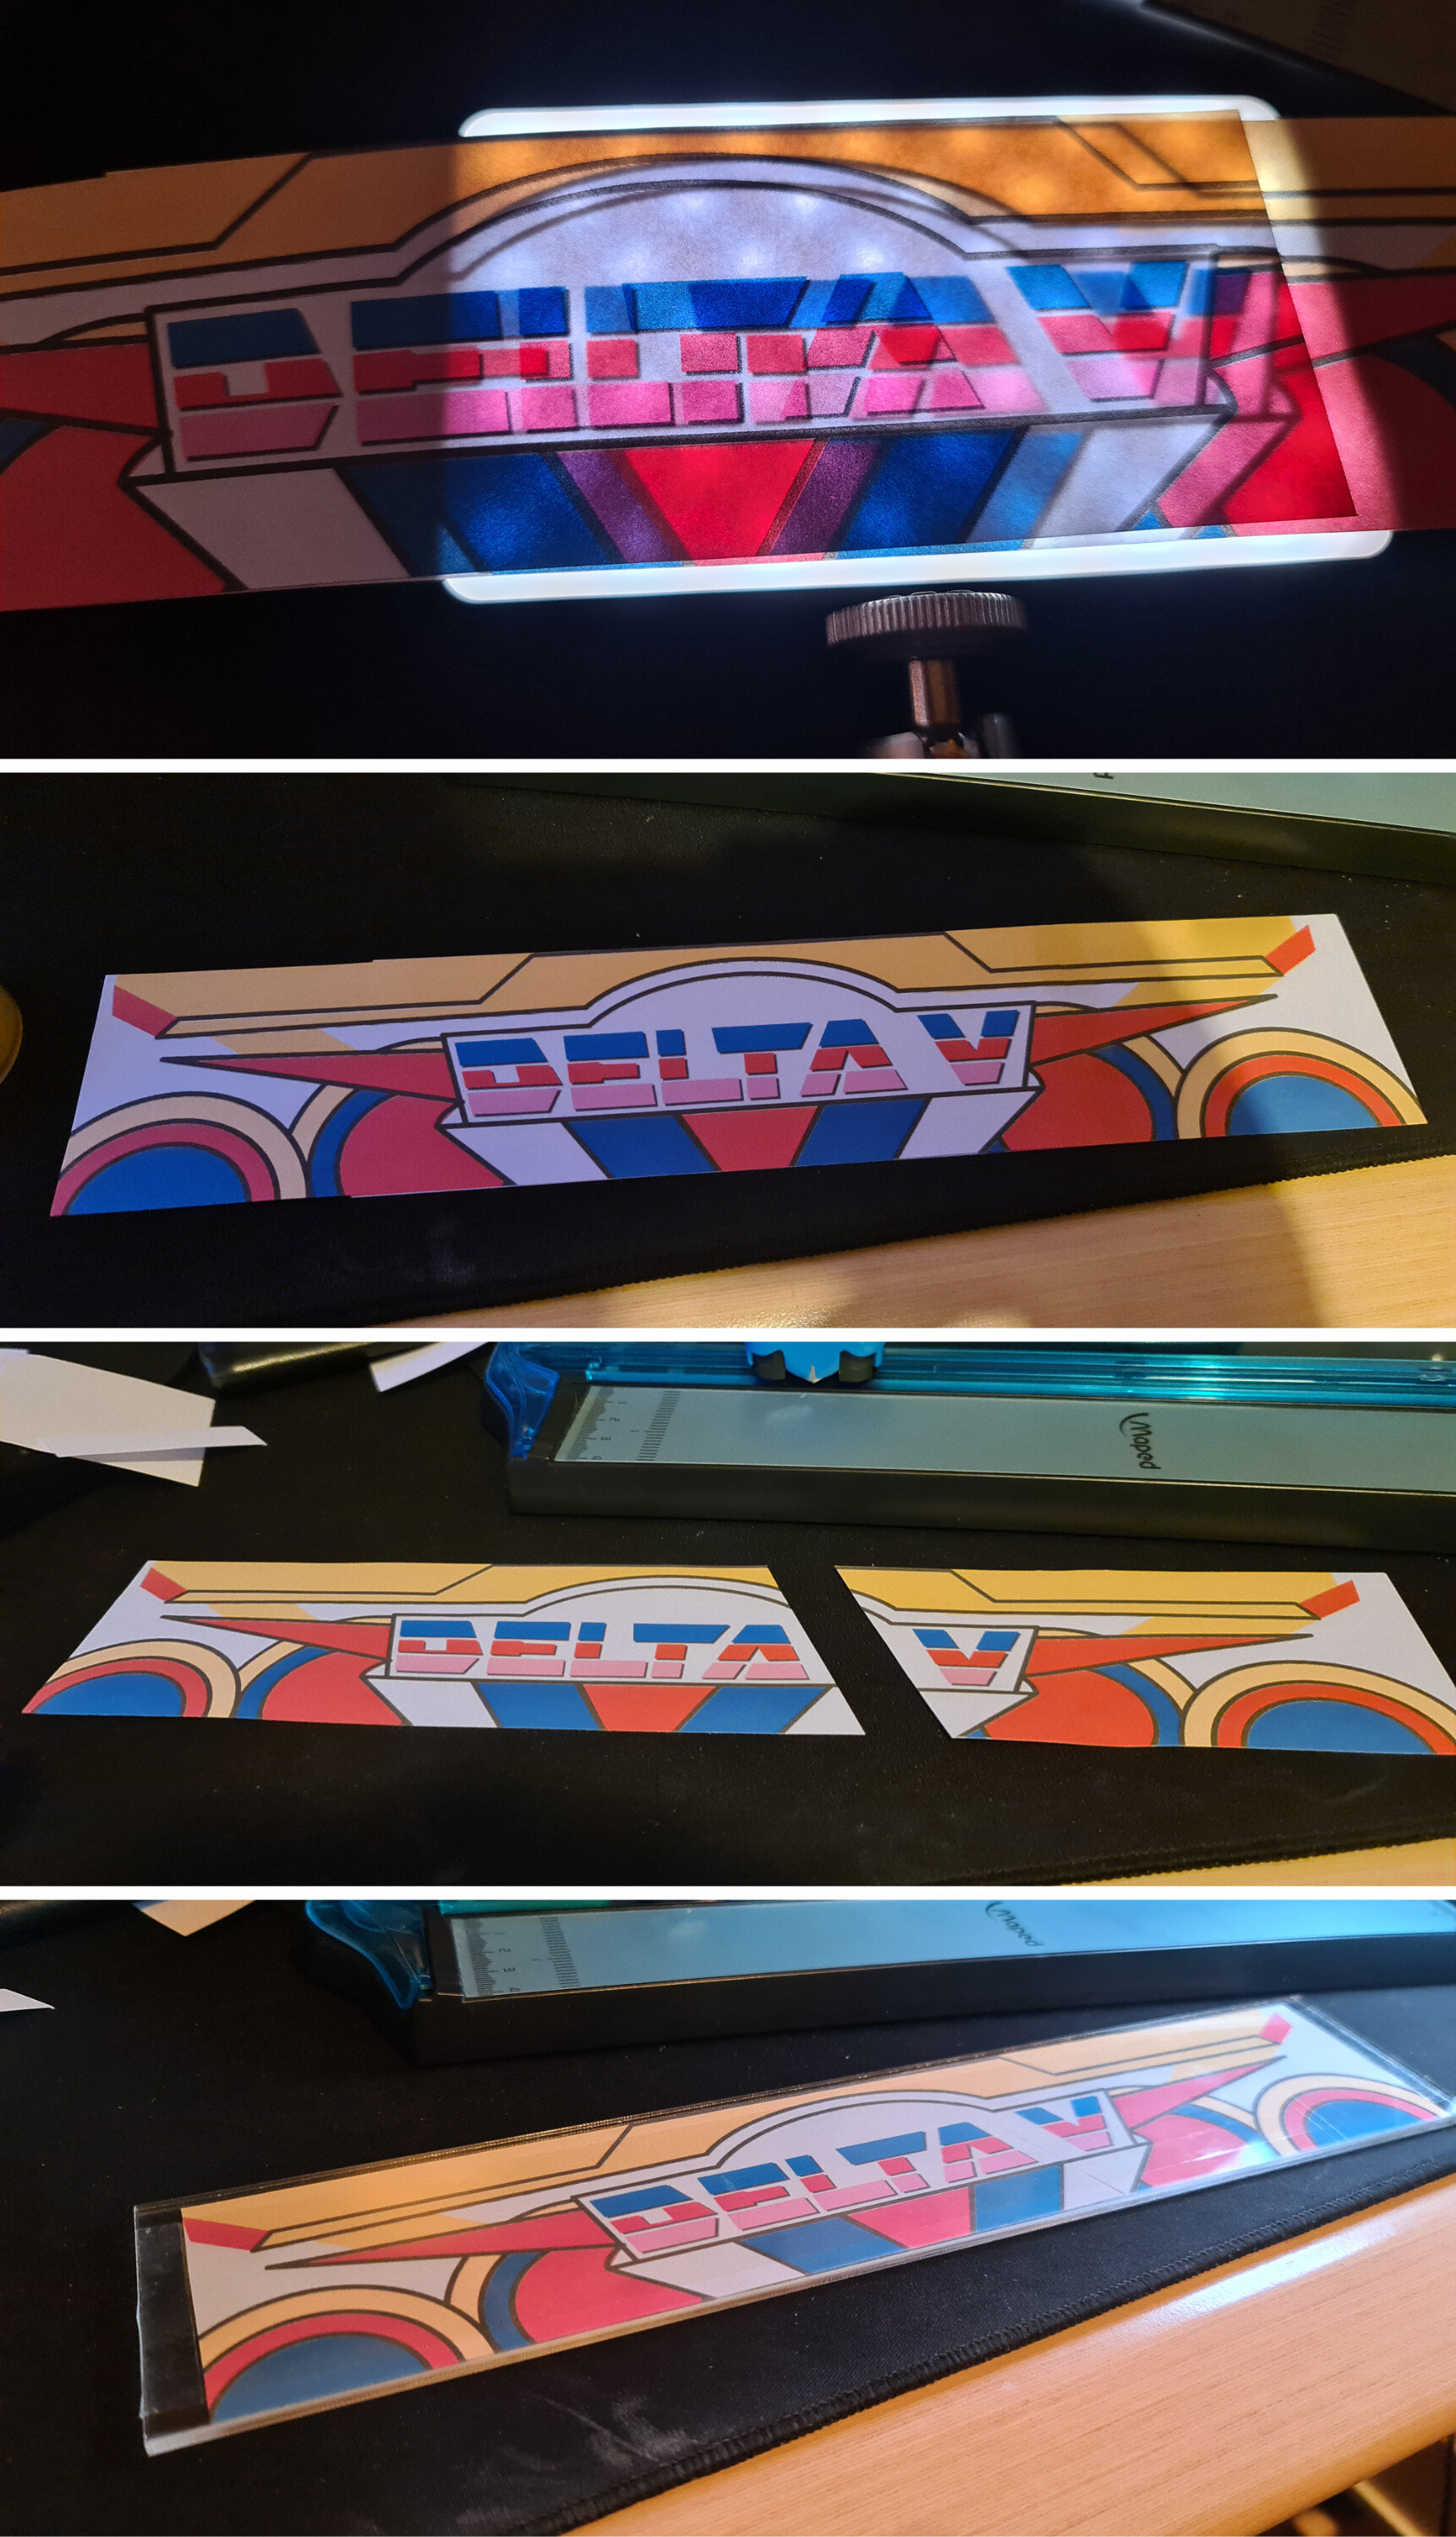
I designed a marquee. Actually I'm continuing the legacy of the title of the cabinet that I bought some years ago which is named as "Delta II". I think they were popular in early 90s. This is called Delta V this time where the V is stands for the "vertical" as obvious :)
Since the width is 32cm, it wouldn't be possible to print it to a A4 with my printer. So I printed two parts of it and aligned them and cut them together. After that I taped them together. This approach reduces the seam between the prints.

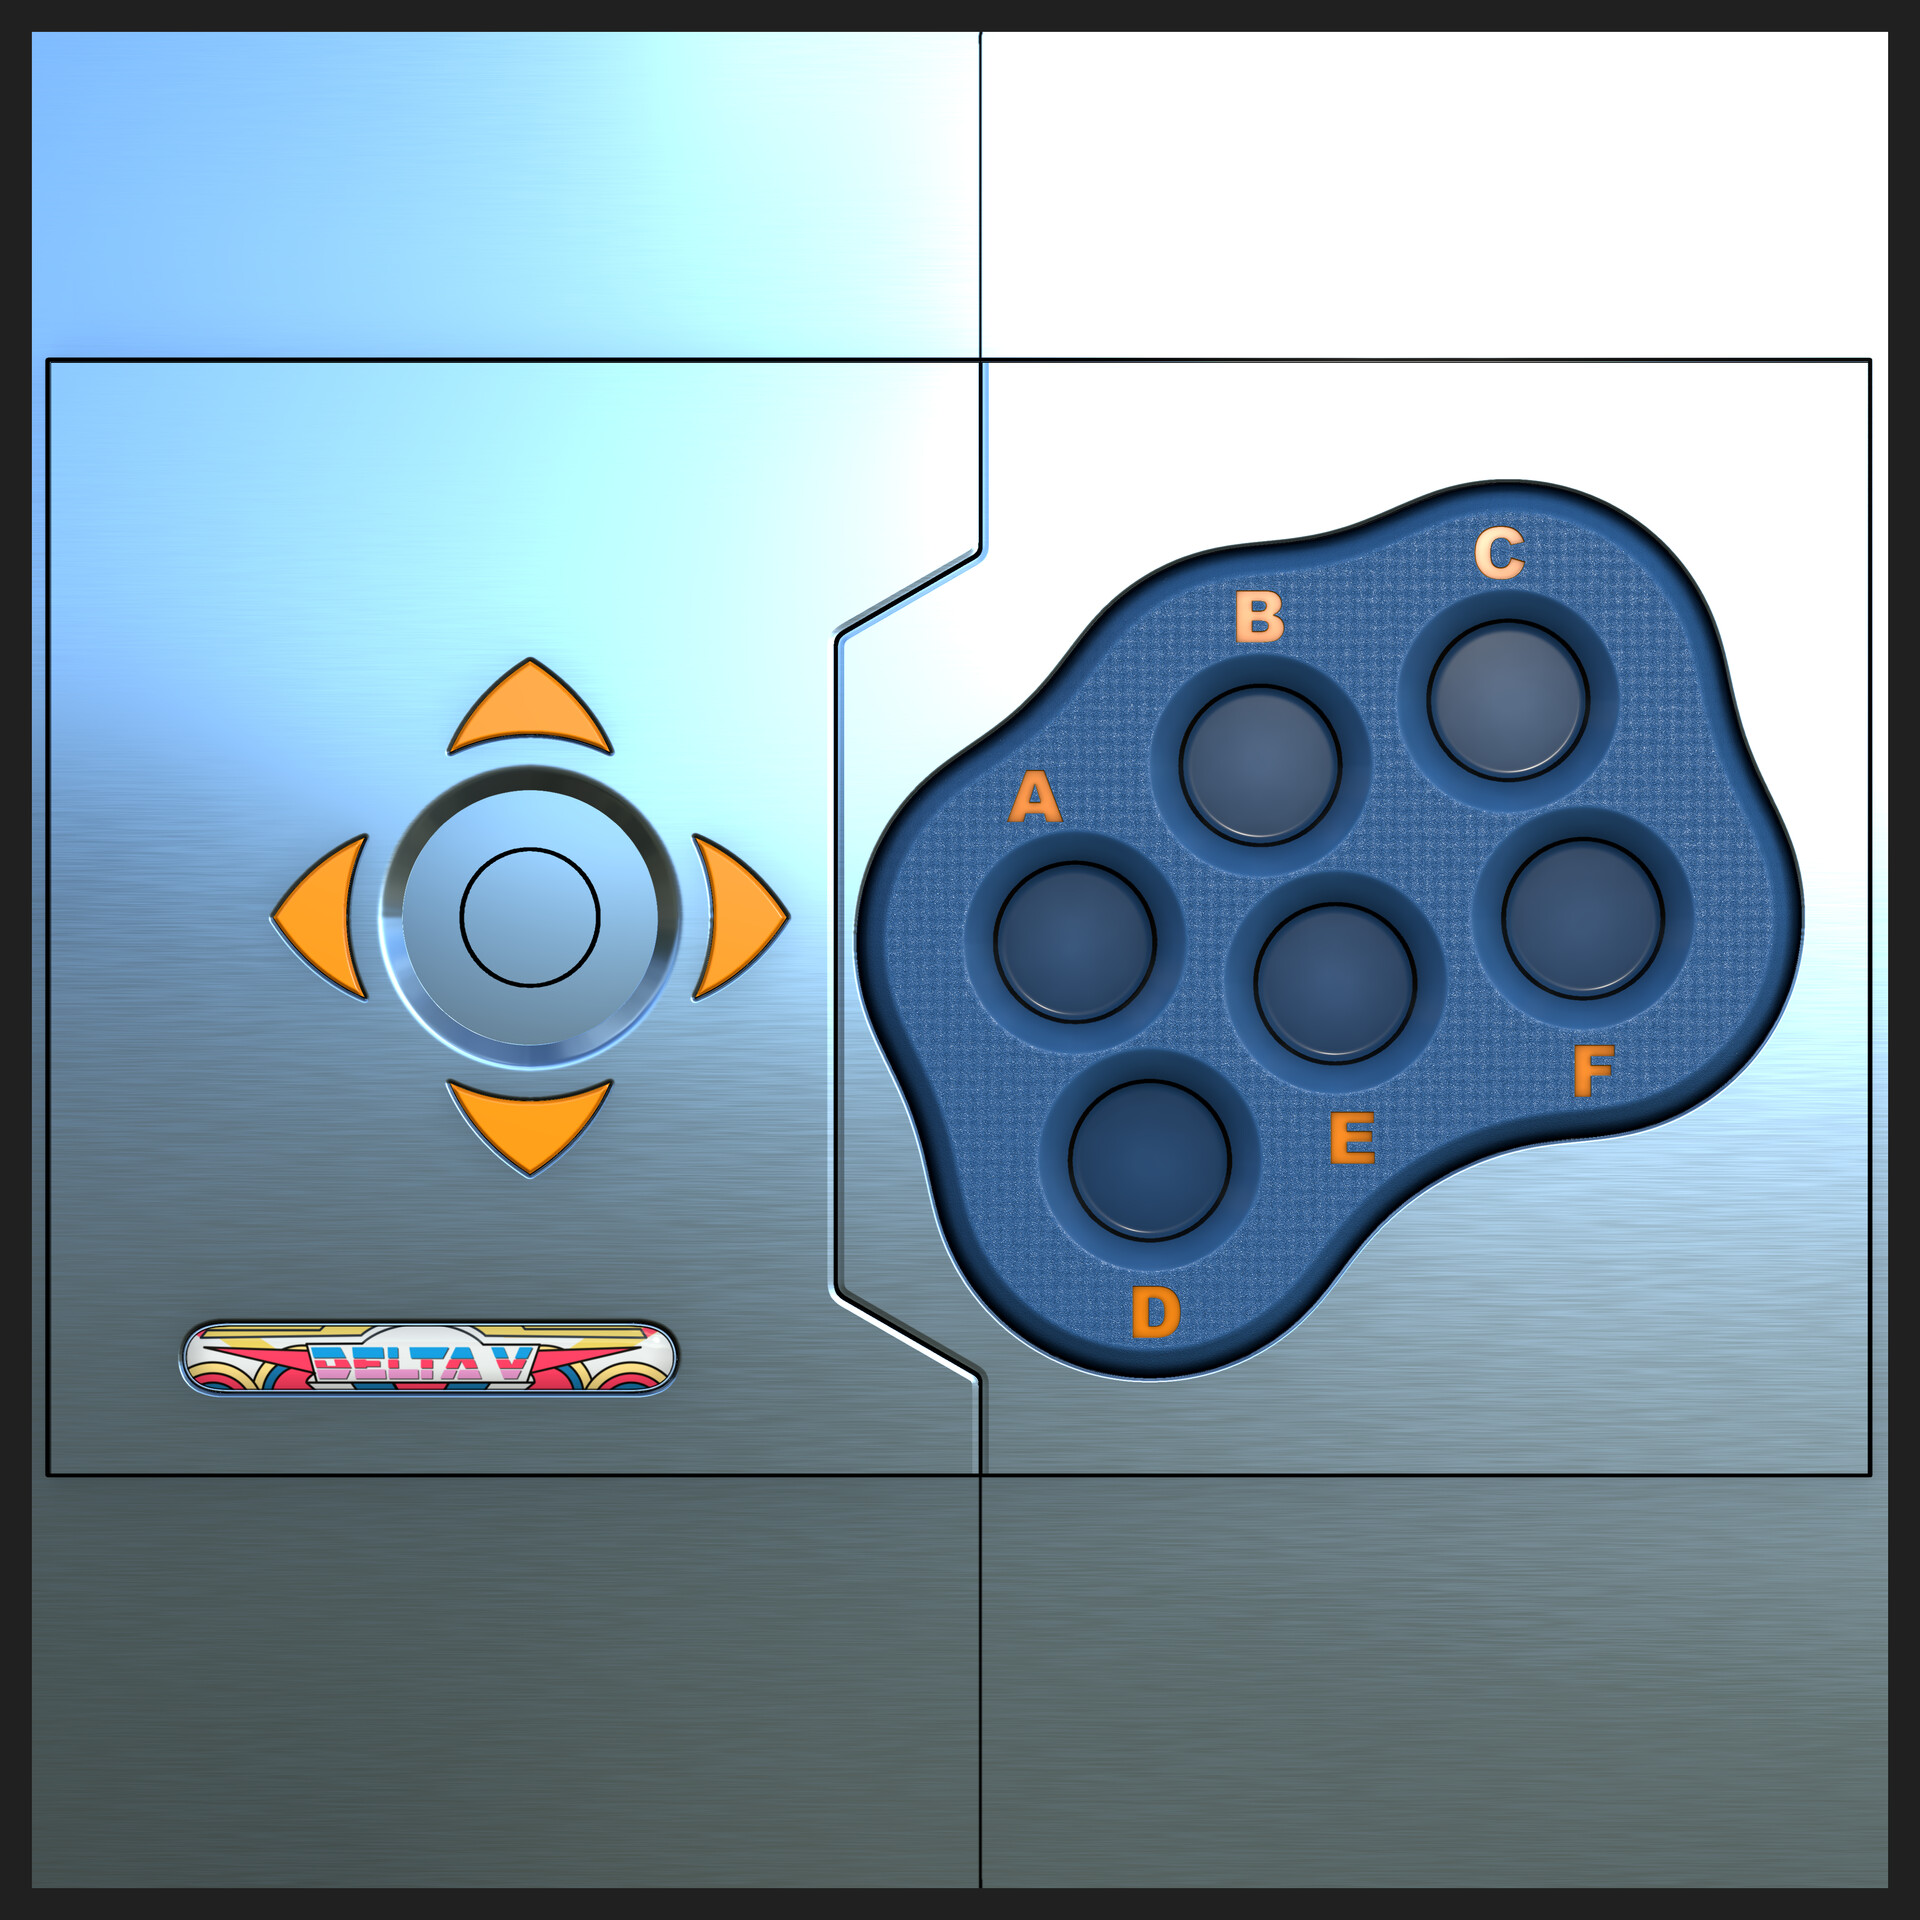
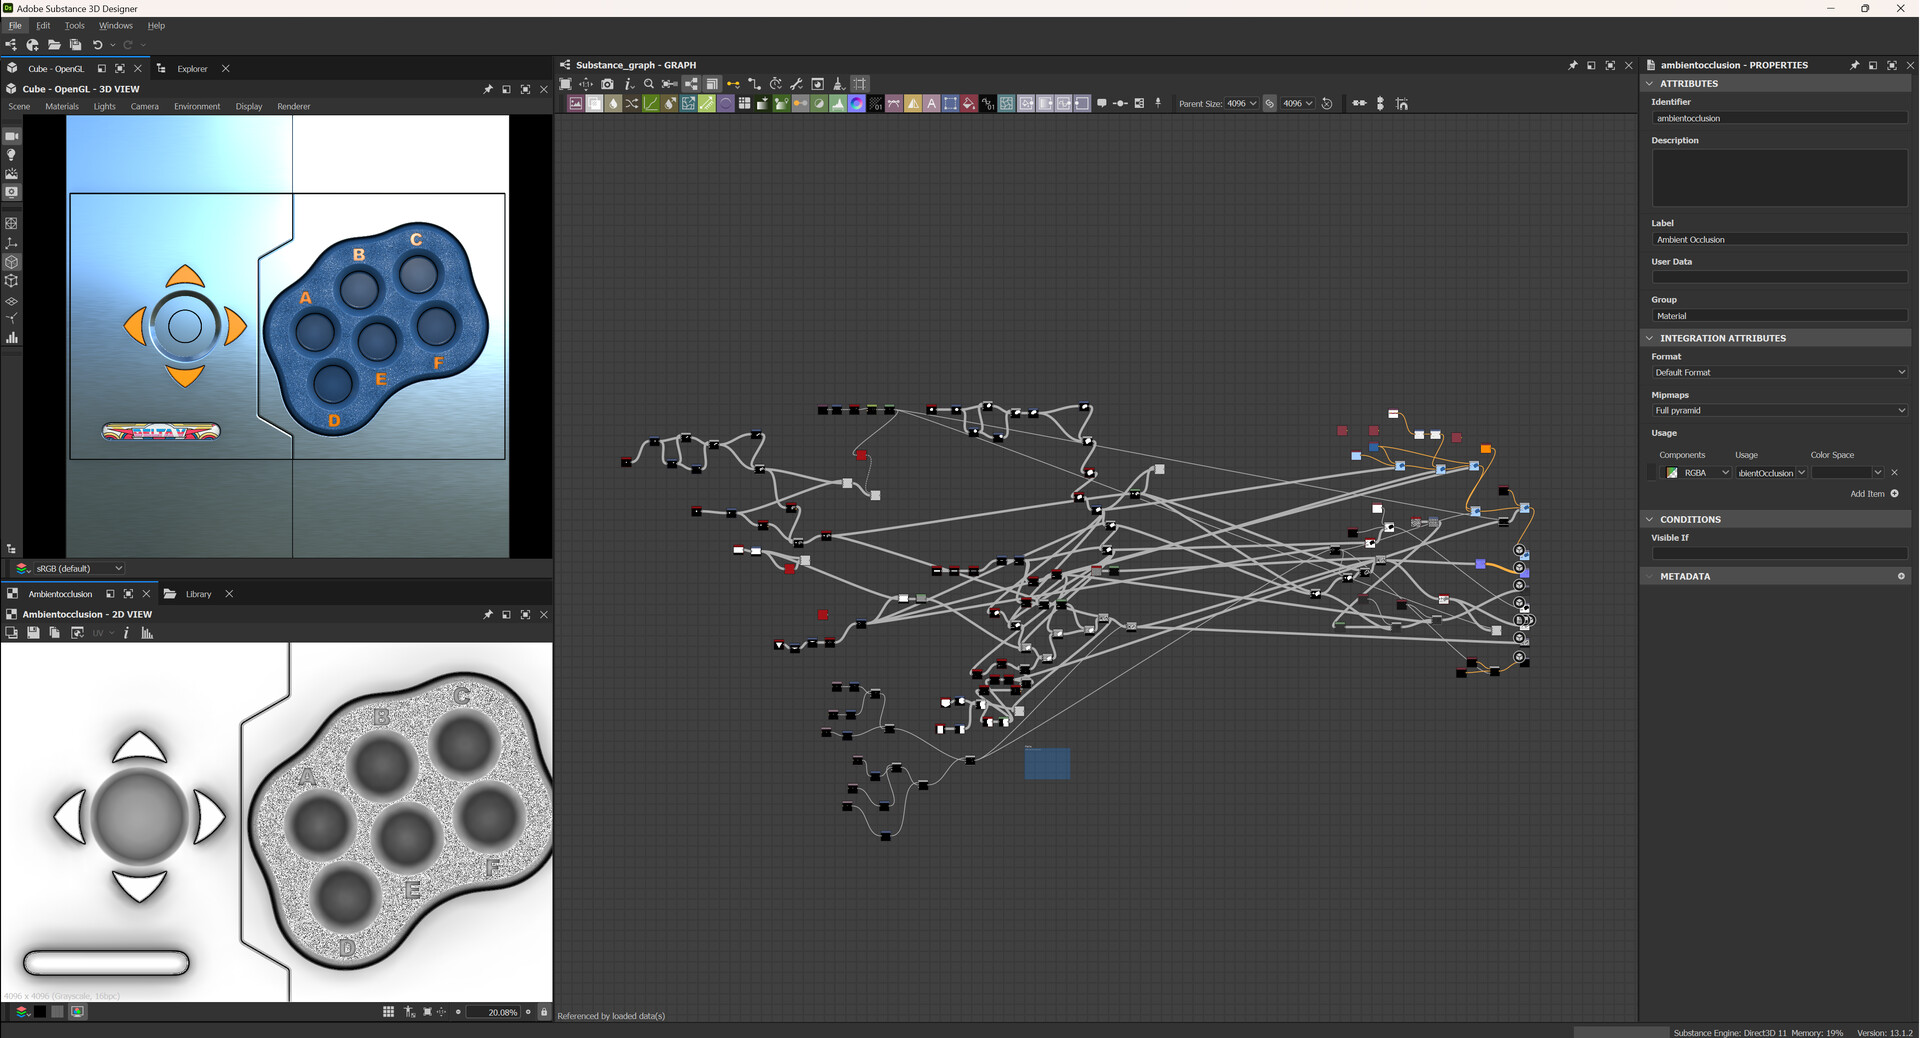
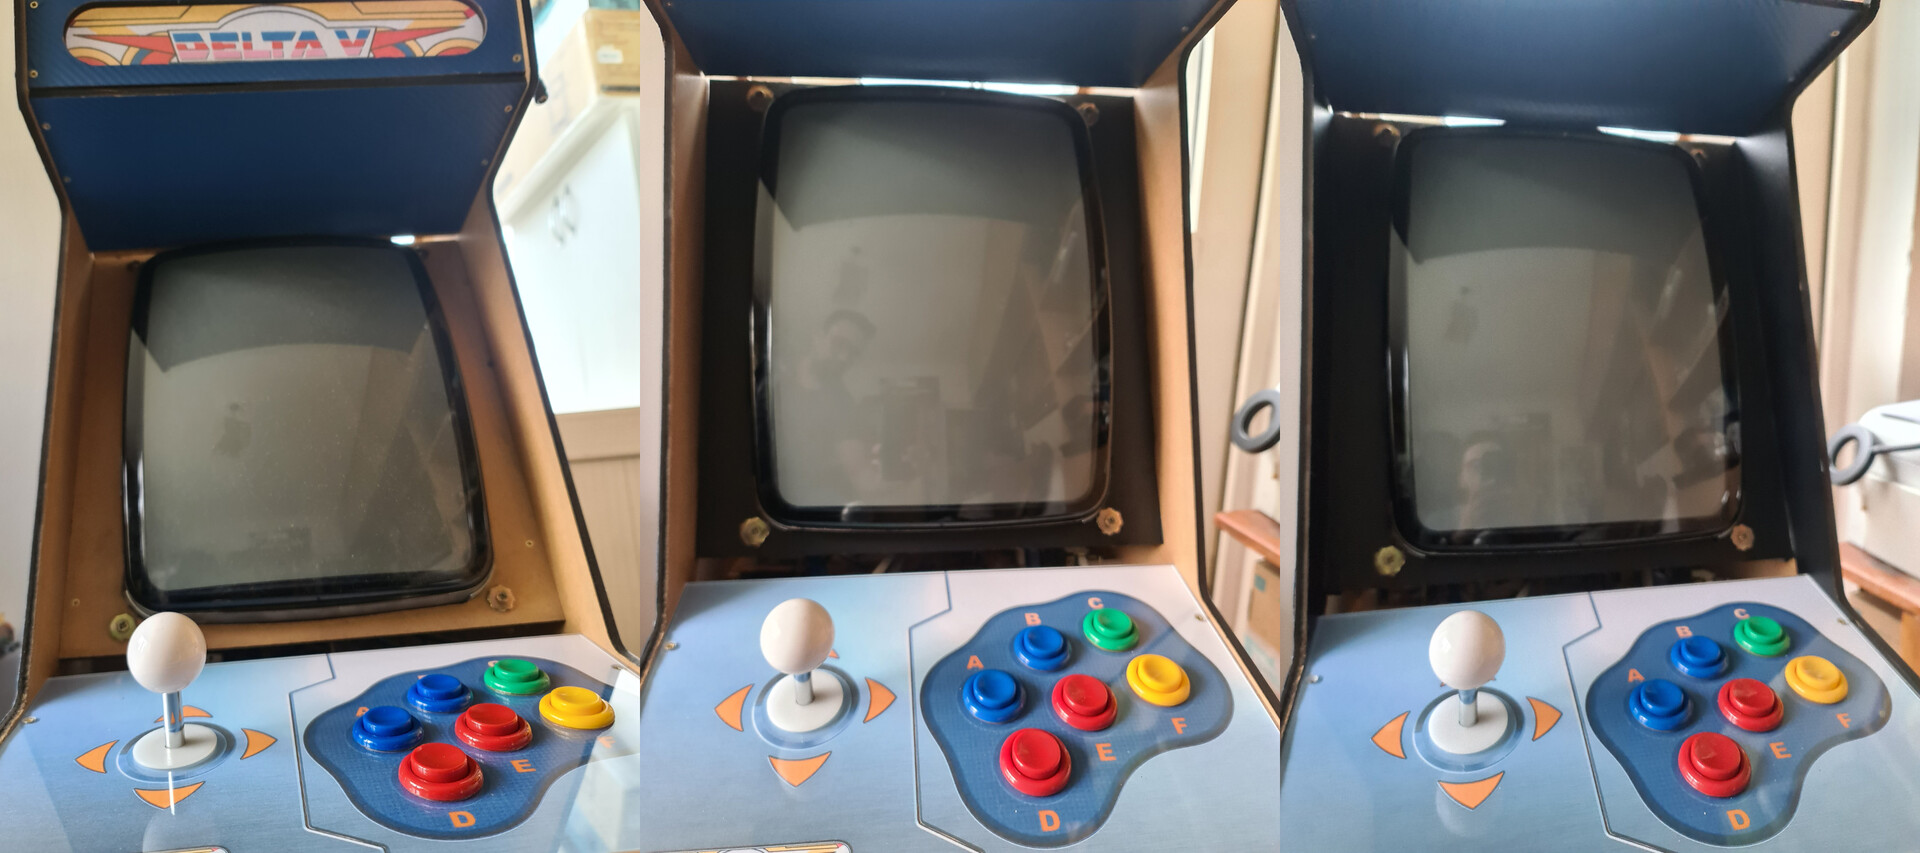
I made the controller part design with Substance Designer which is always a fun.
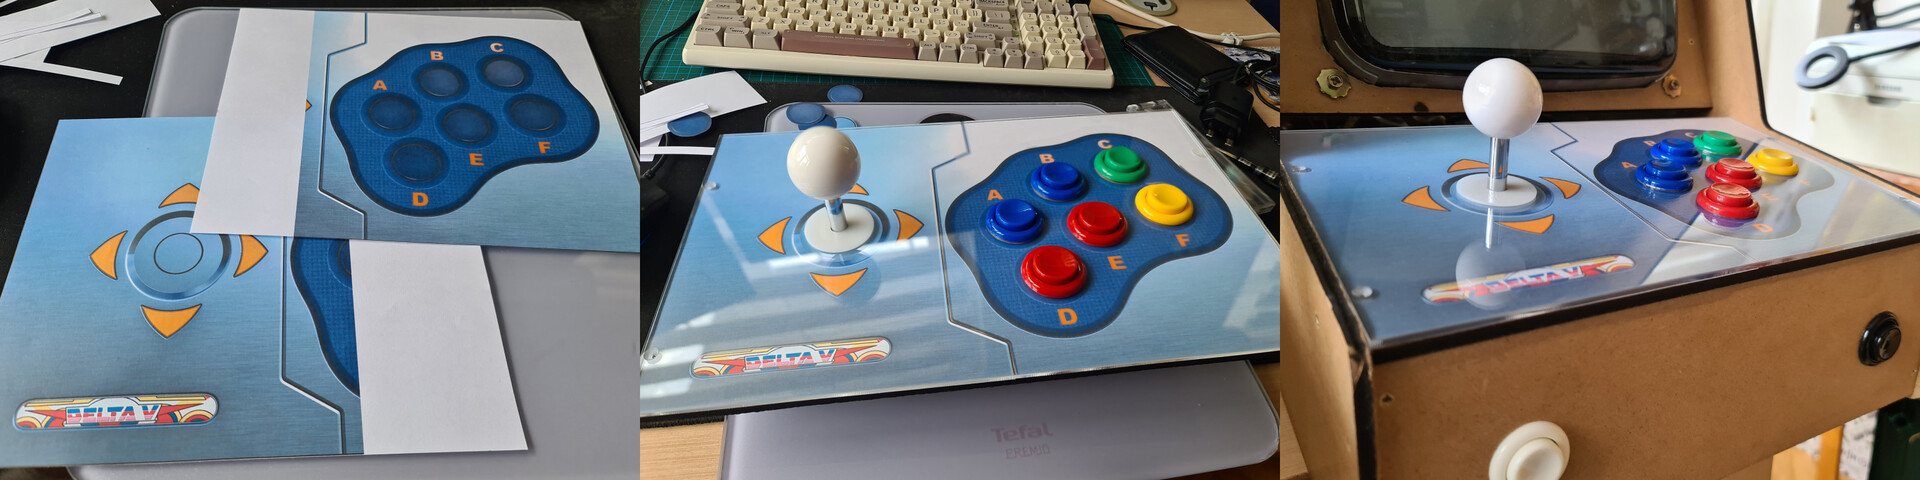
I applied the same approach since I can't print out this as one part too.
I started applying sticker folio. I think these are used on cars. I ordered a blue rough folio with some carbon fiber texture on it. It's not perfect but since I've used the same on on the previous designs, I didn't hesitate to continue using it.
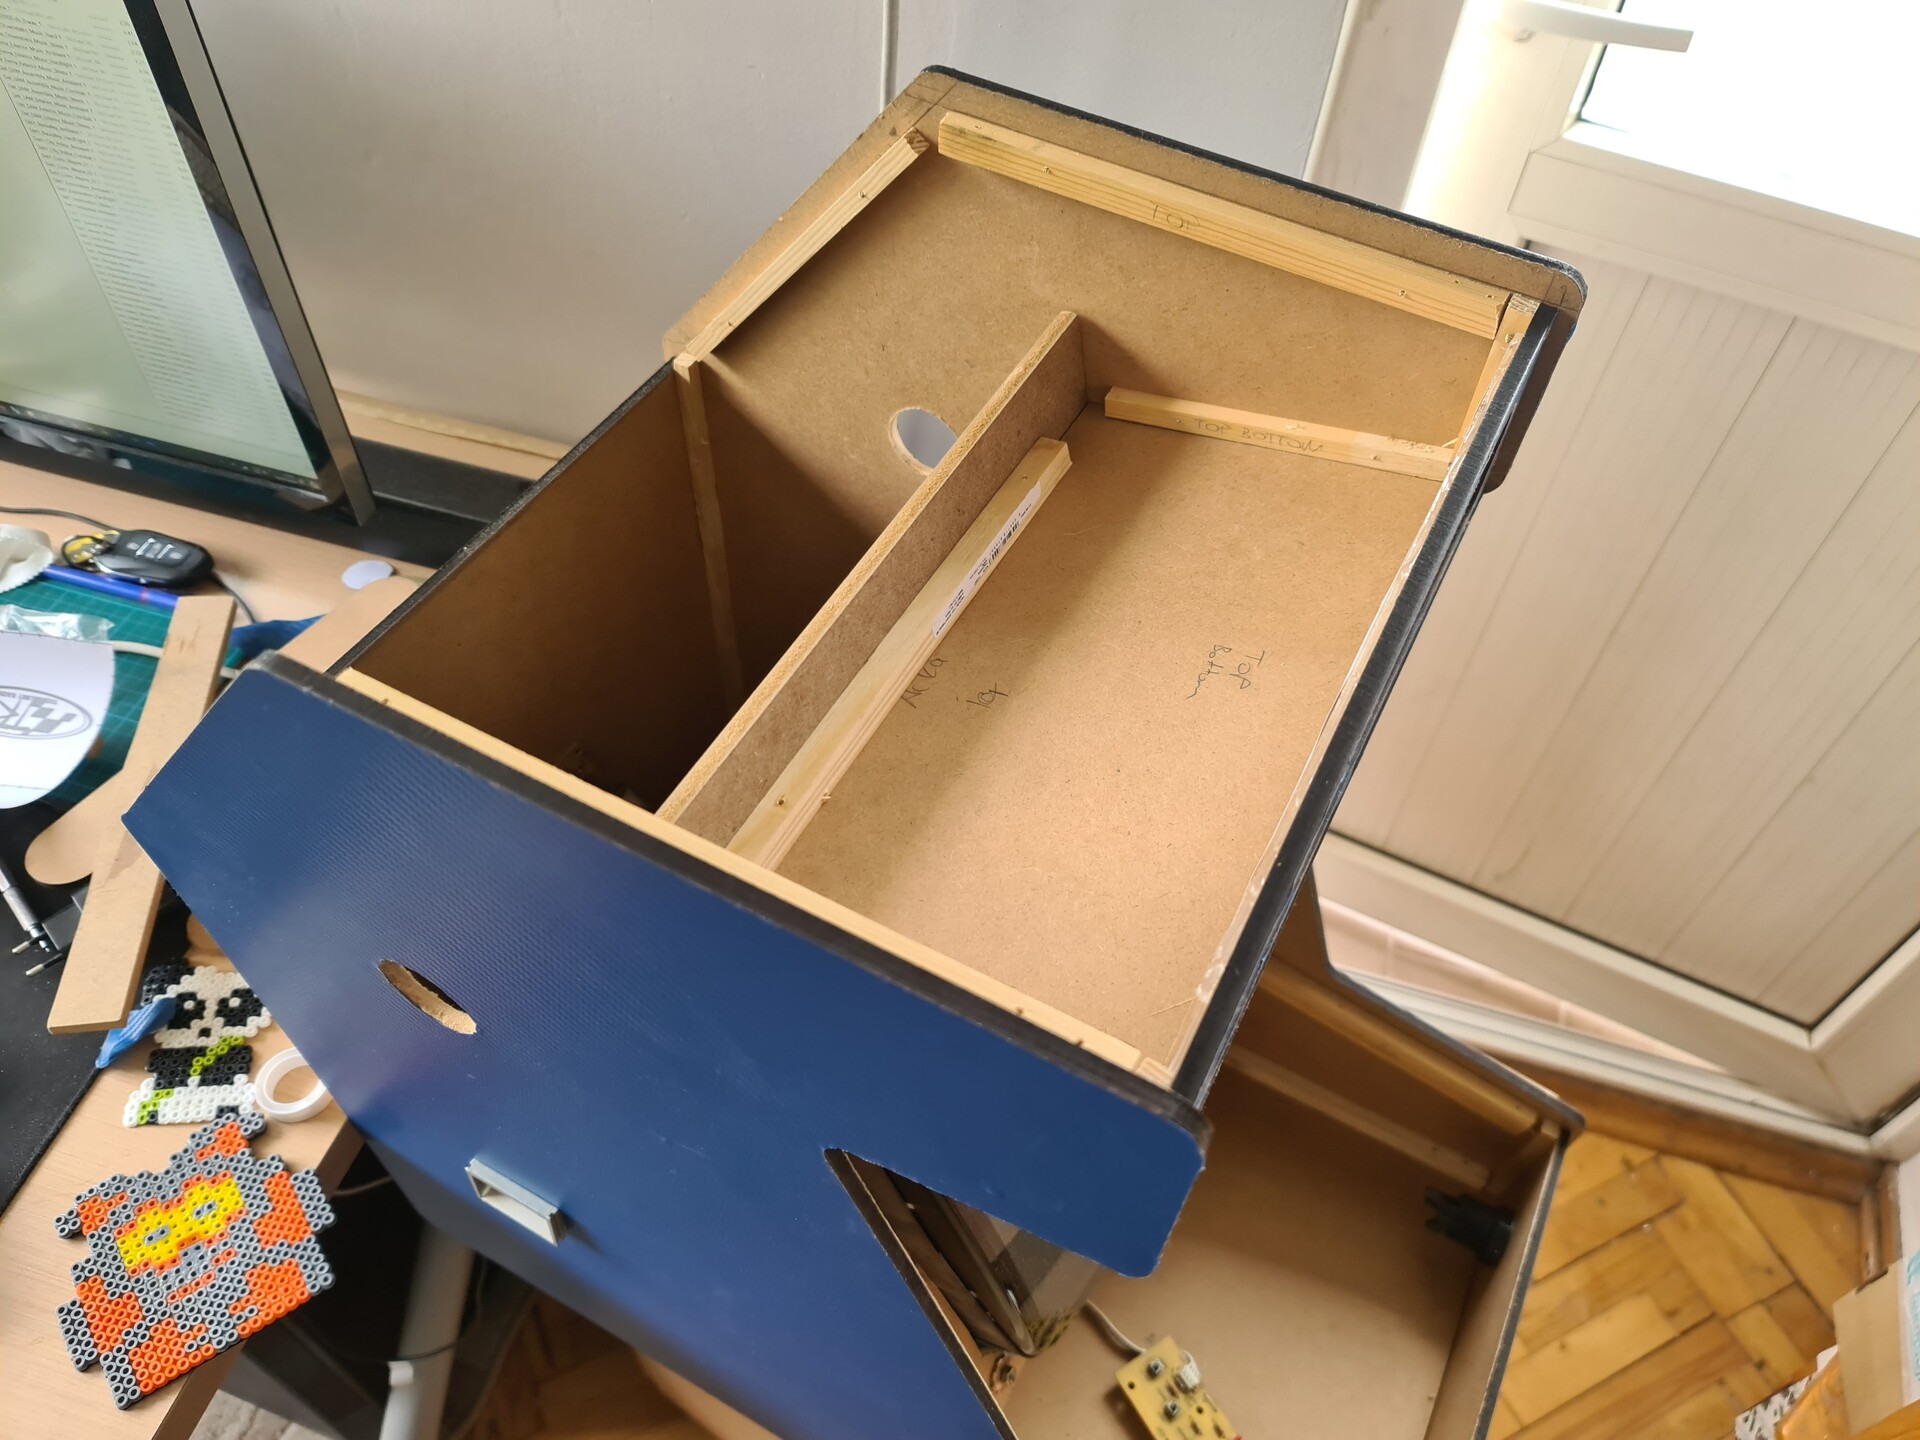
I added a vertical board to the top to hold the electronic content.
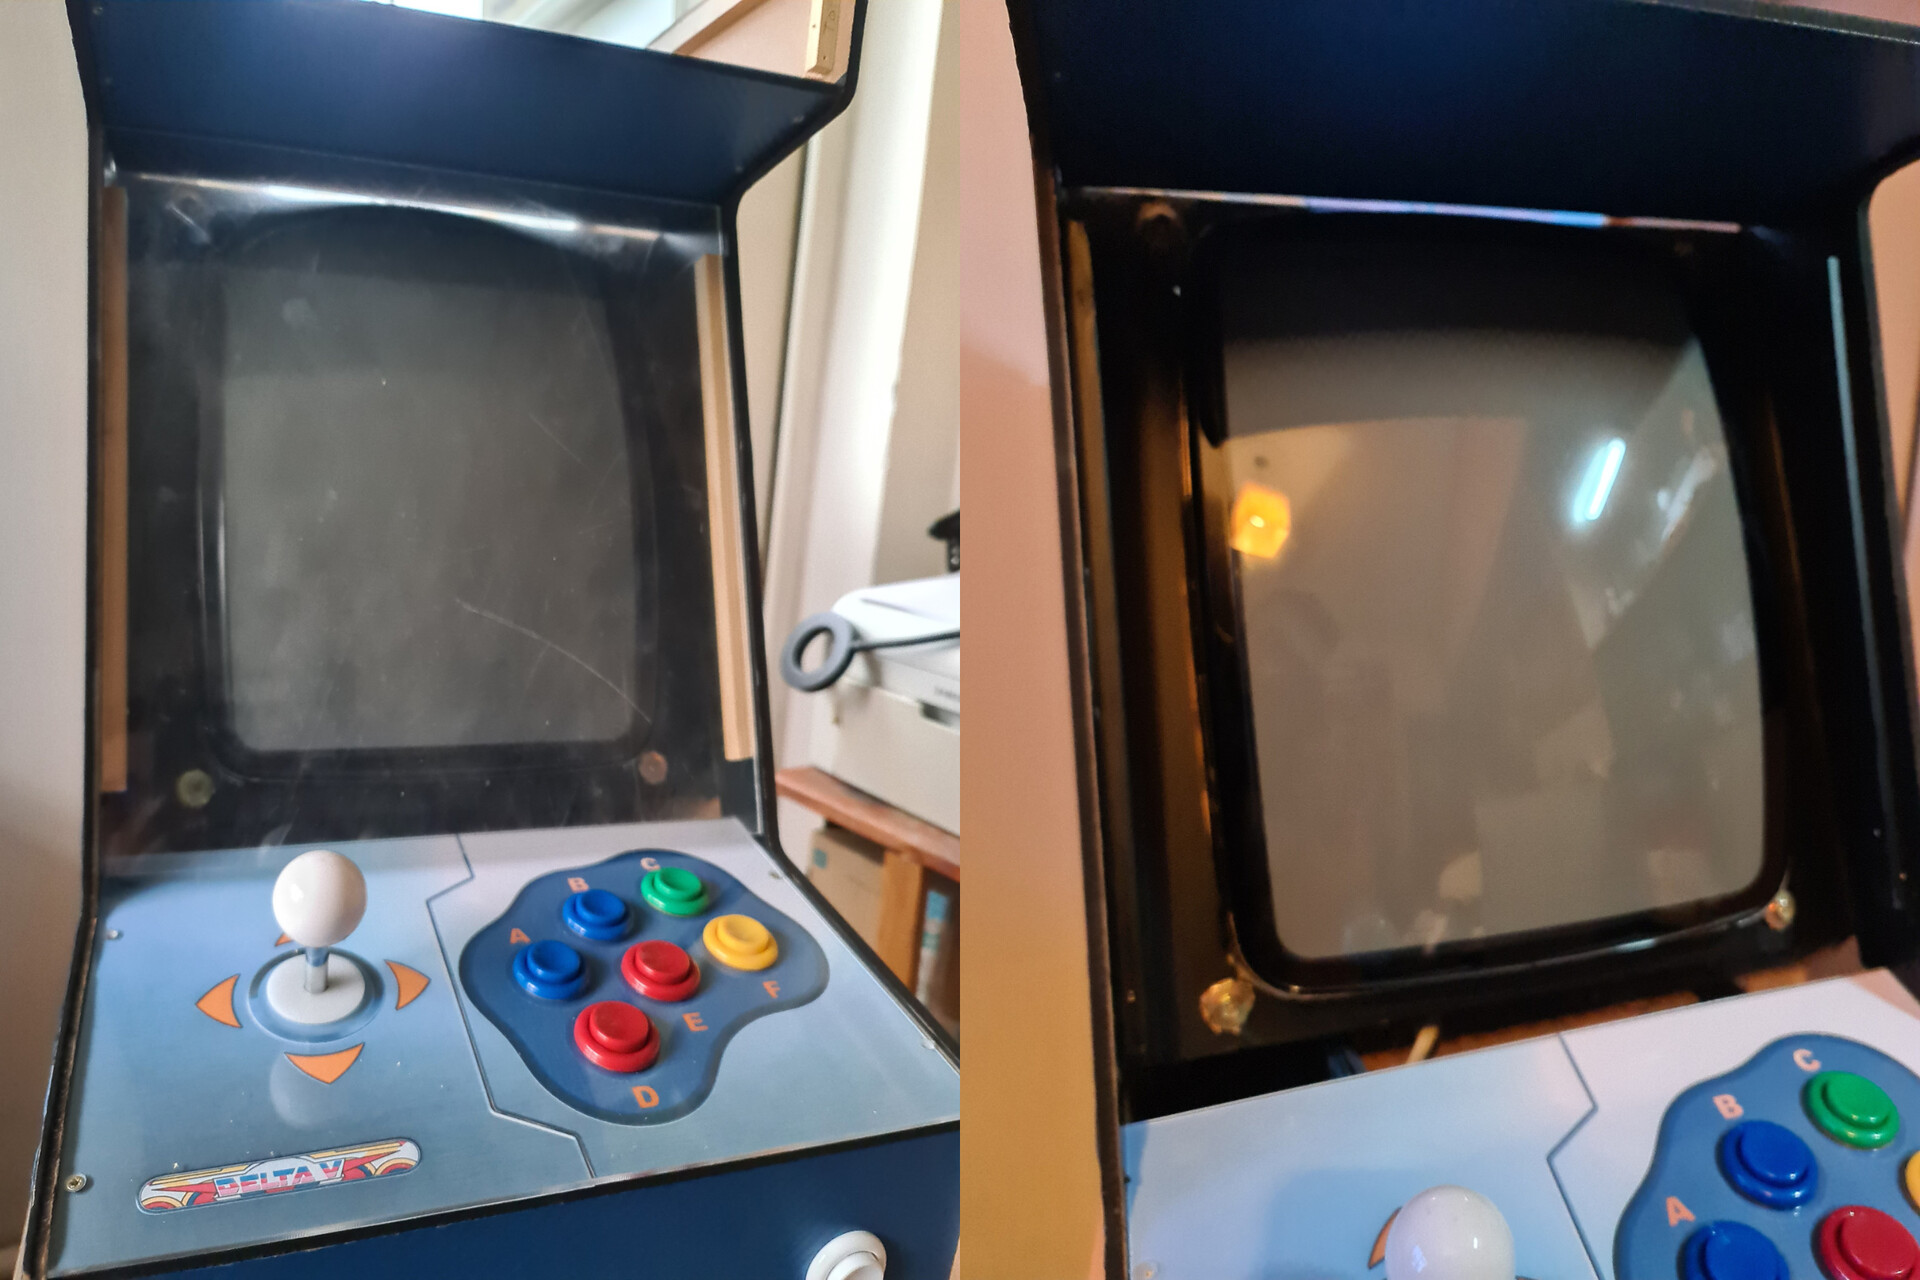
Cabinet is looking nice alreay. But the screen frame needs to be covered too. And there is a gab between the screen frame and the controller board which I will try to solve on later stages.
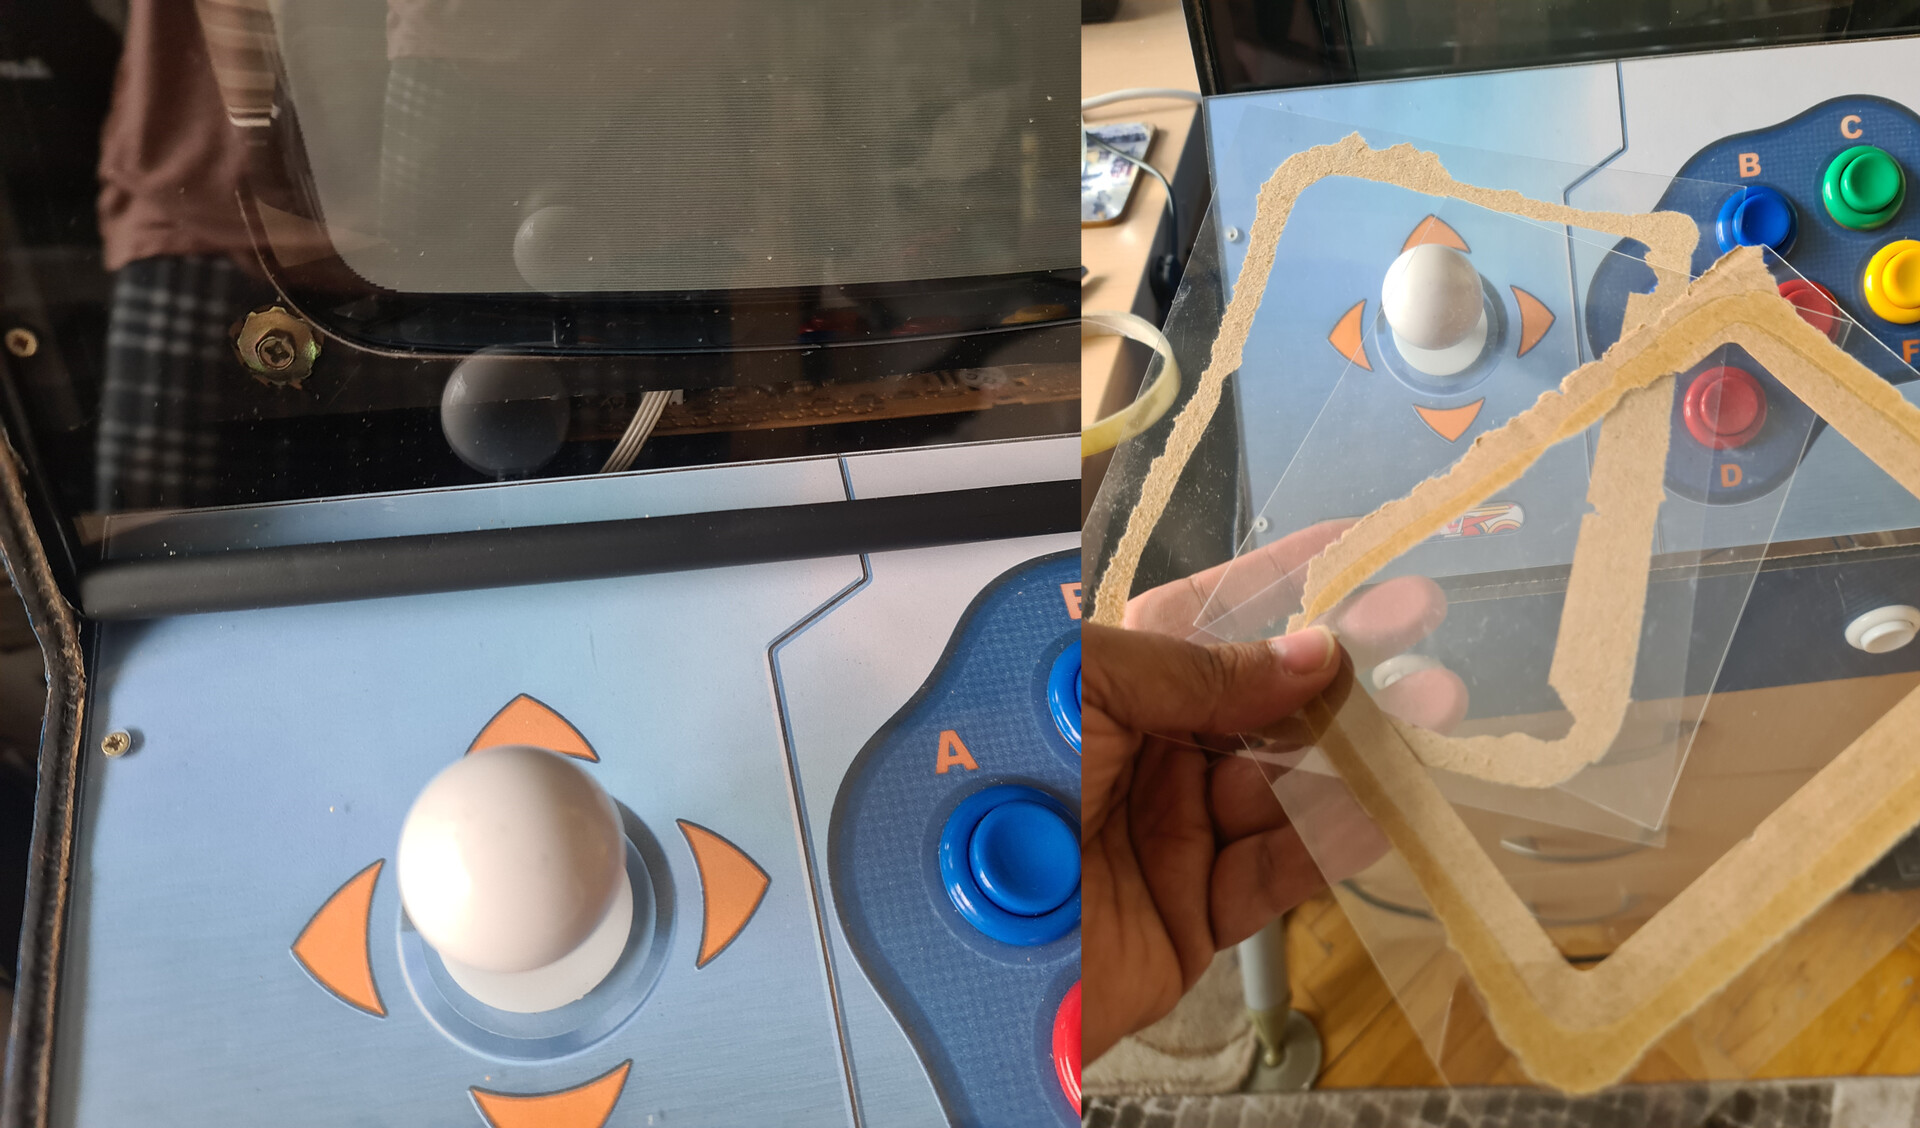
I added laths for the screen glass (which is also a plexiglass panel) and covered that laths with black folio as well.
Next,I used corner protector rubbers on the edge of the screen glass. These are sold for covering furnitures with sharp corners to prevent any harm to the little kids that newly walking.
Looks really nice with the balck frame around the screen!
I fixed the power switch and the 12v power supply to the back panel. So I distribute 220v AC to both TV and the PSU.
I fixed a led strip back to the marquee and connected it to the 12v output of the PSU. It was strange that 3 of the LEDs were not working so I cut a 3 LED piece and re-soldered it.
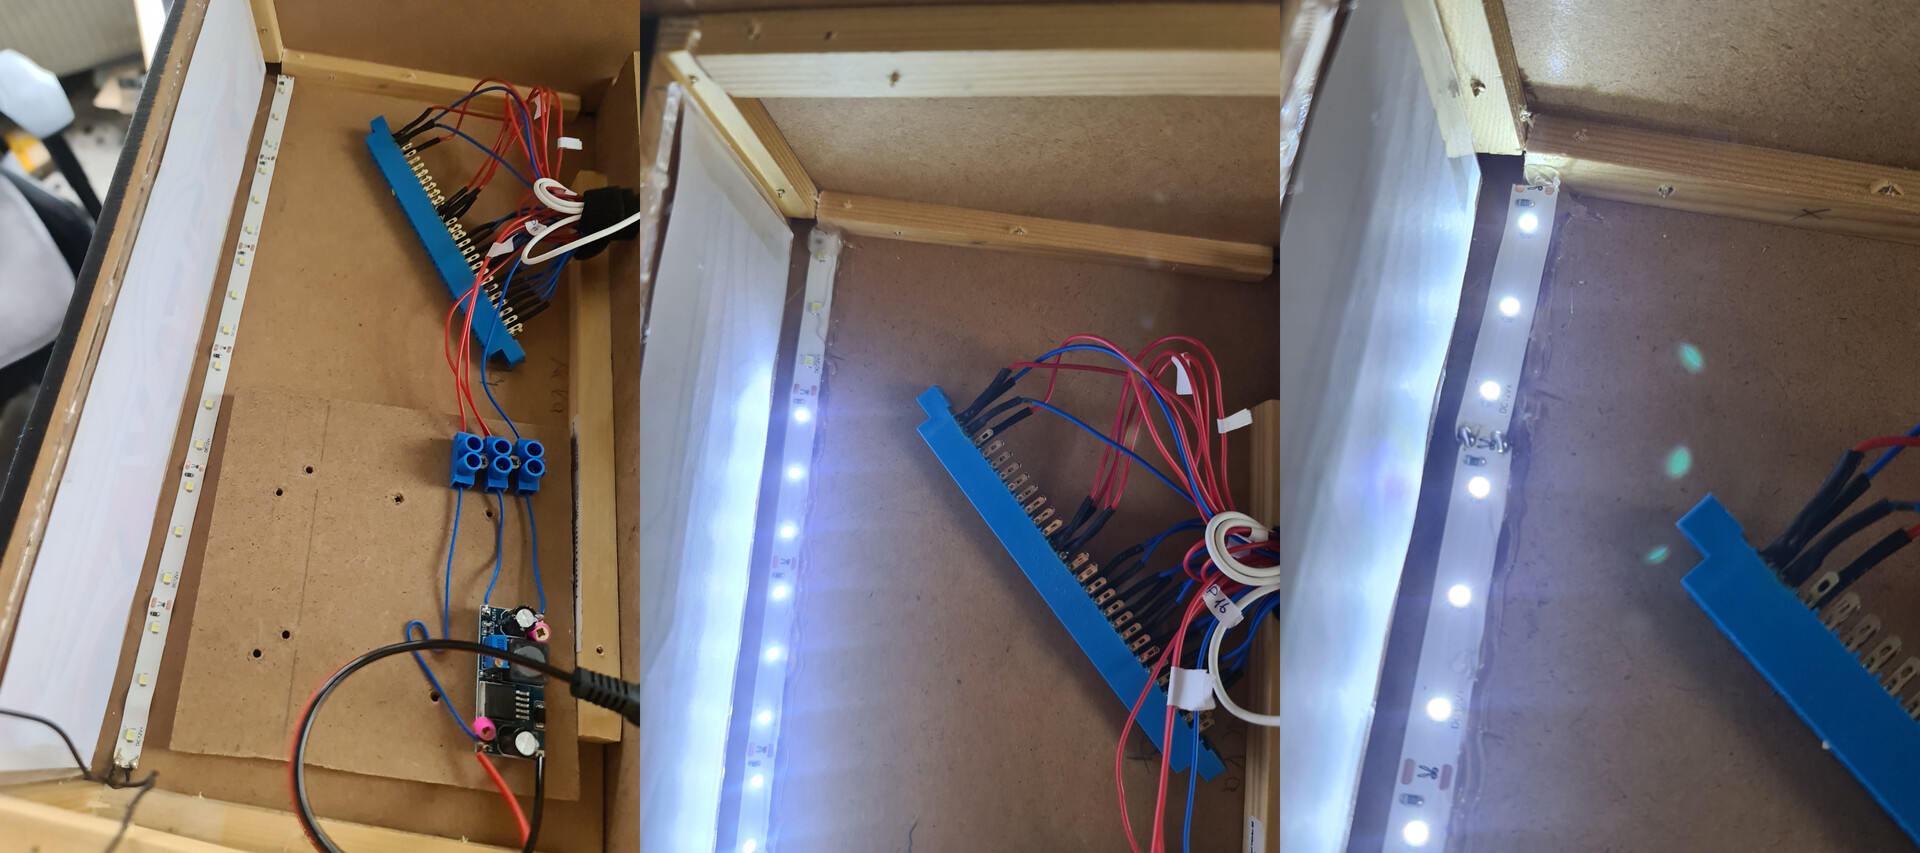
Next, I fixed the jamma connector so the cables and the solders on them won't get damage on movement.
This is how the top compartment looks.
Previously I mentioned about the gap between the controller board and the screen frame. I sed PVC for closeing the gap there.
Worked perfectly!
I 3d printed some stands fur rubber feet. So the cabinet stands better and sticks to the ground.
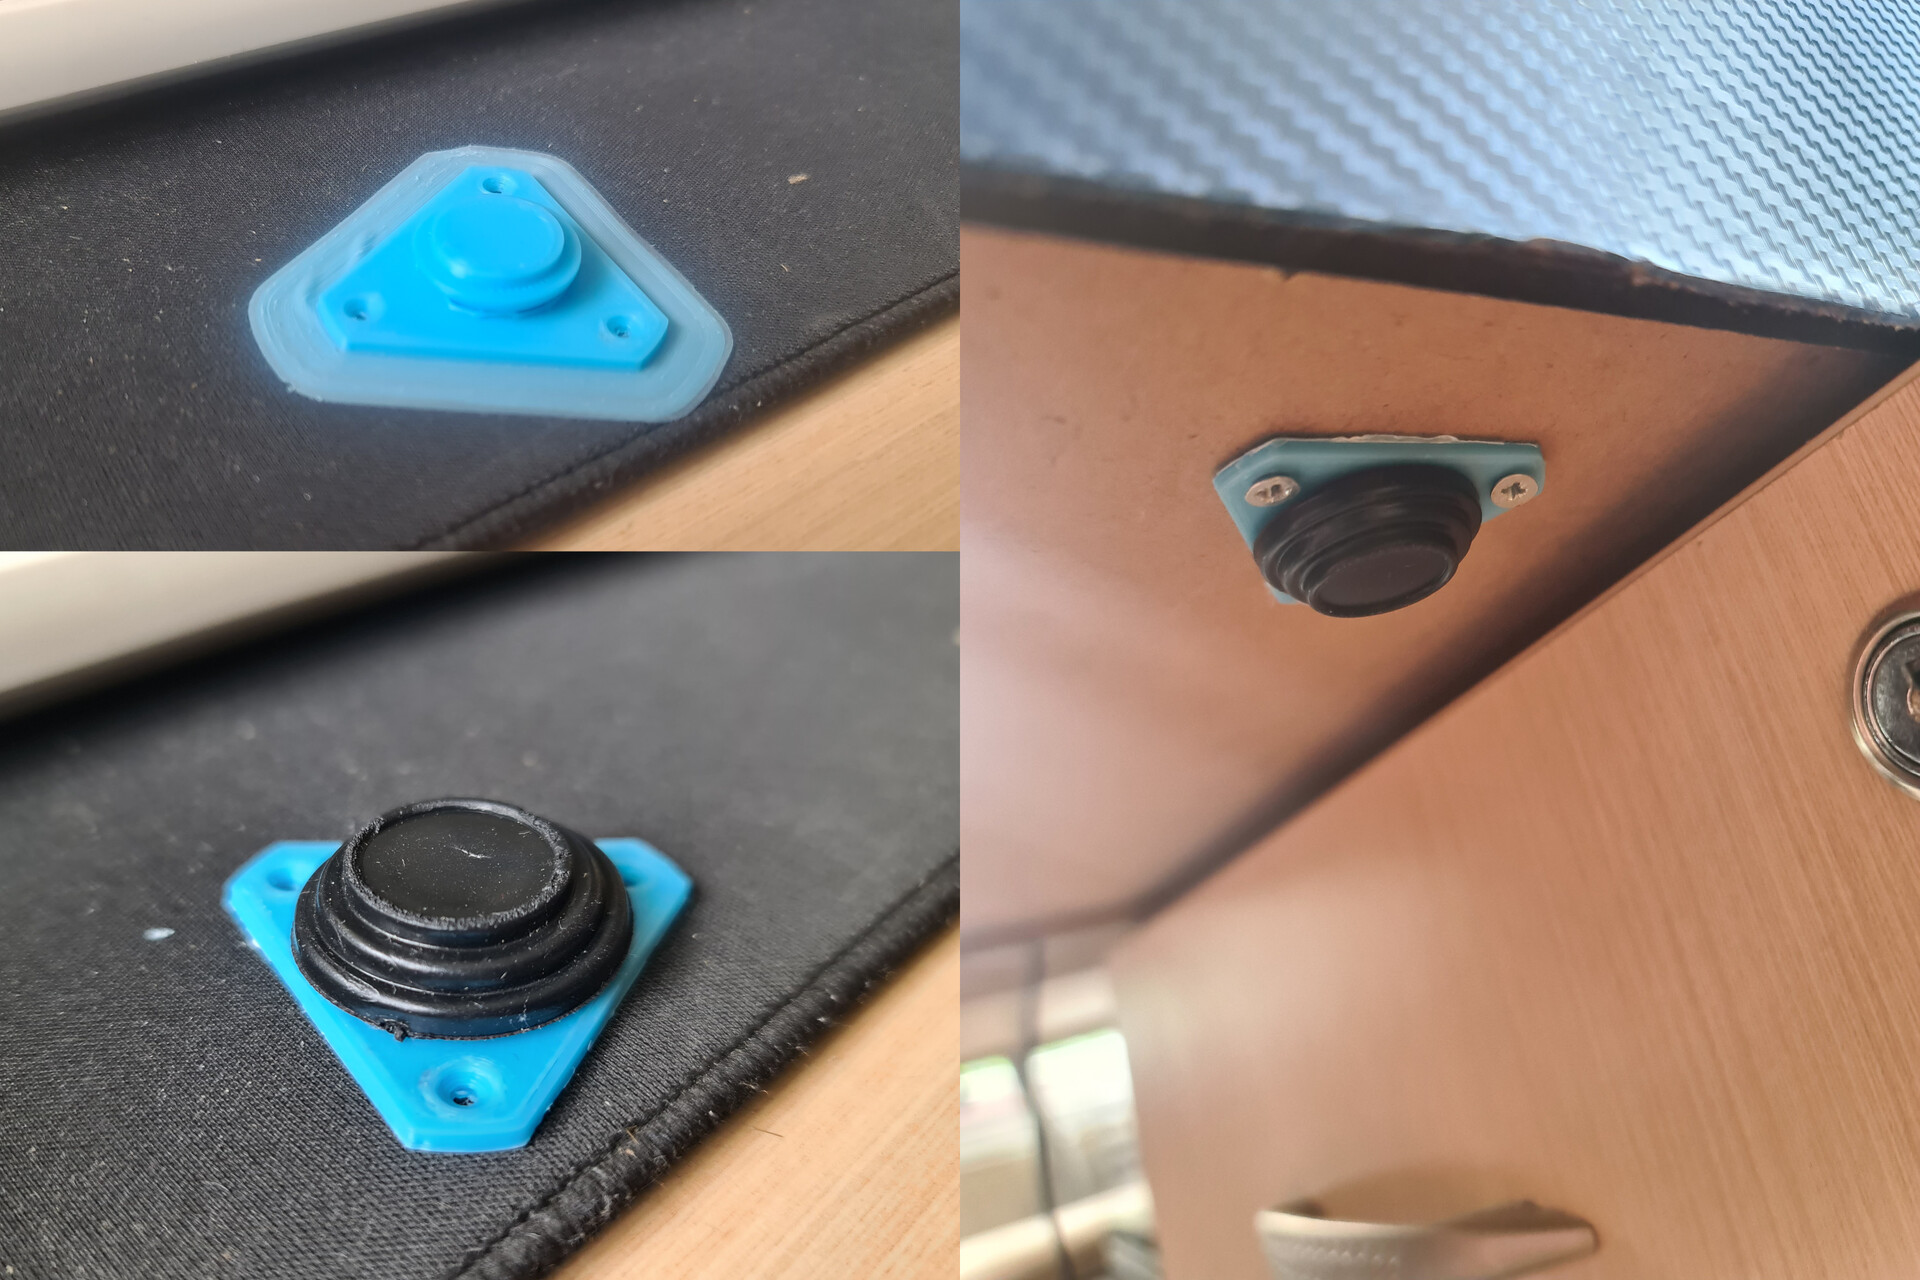
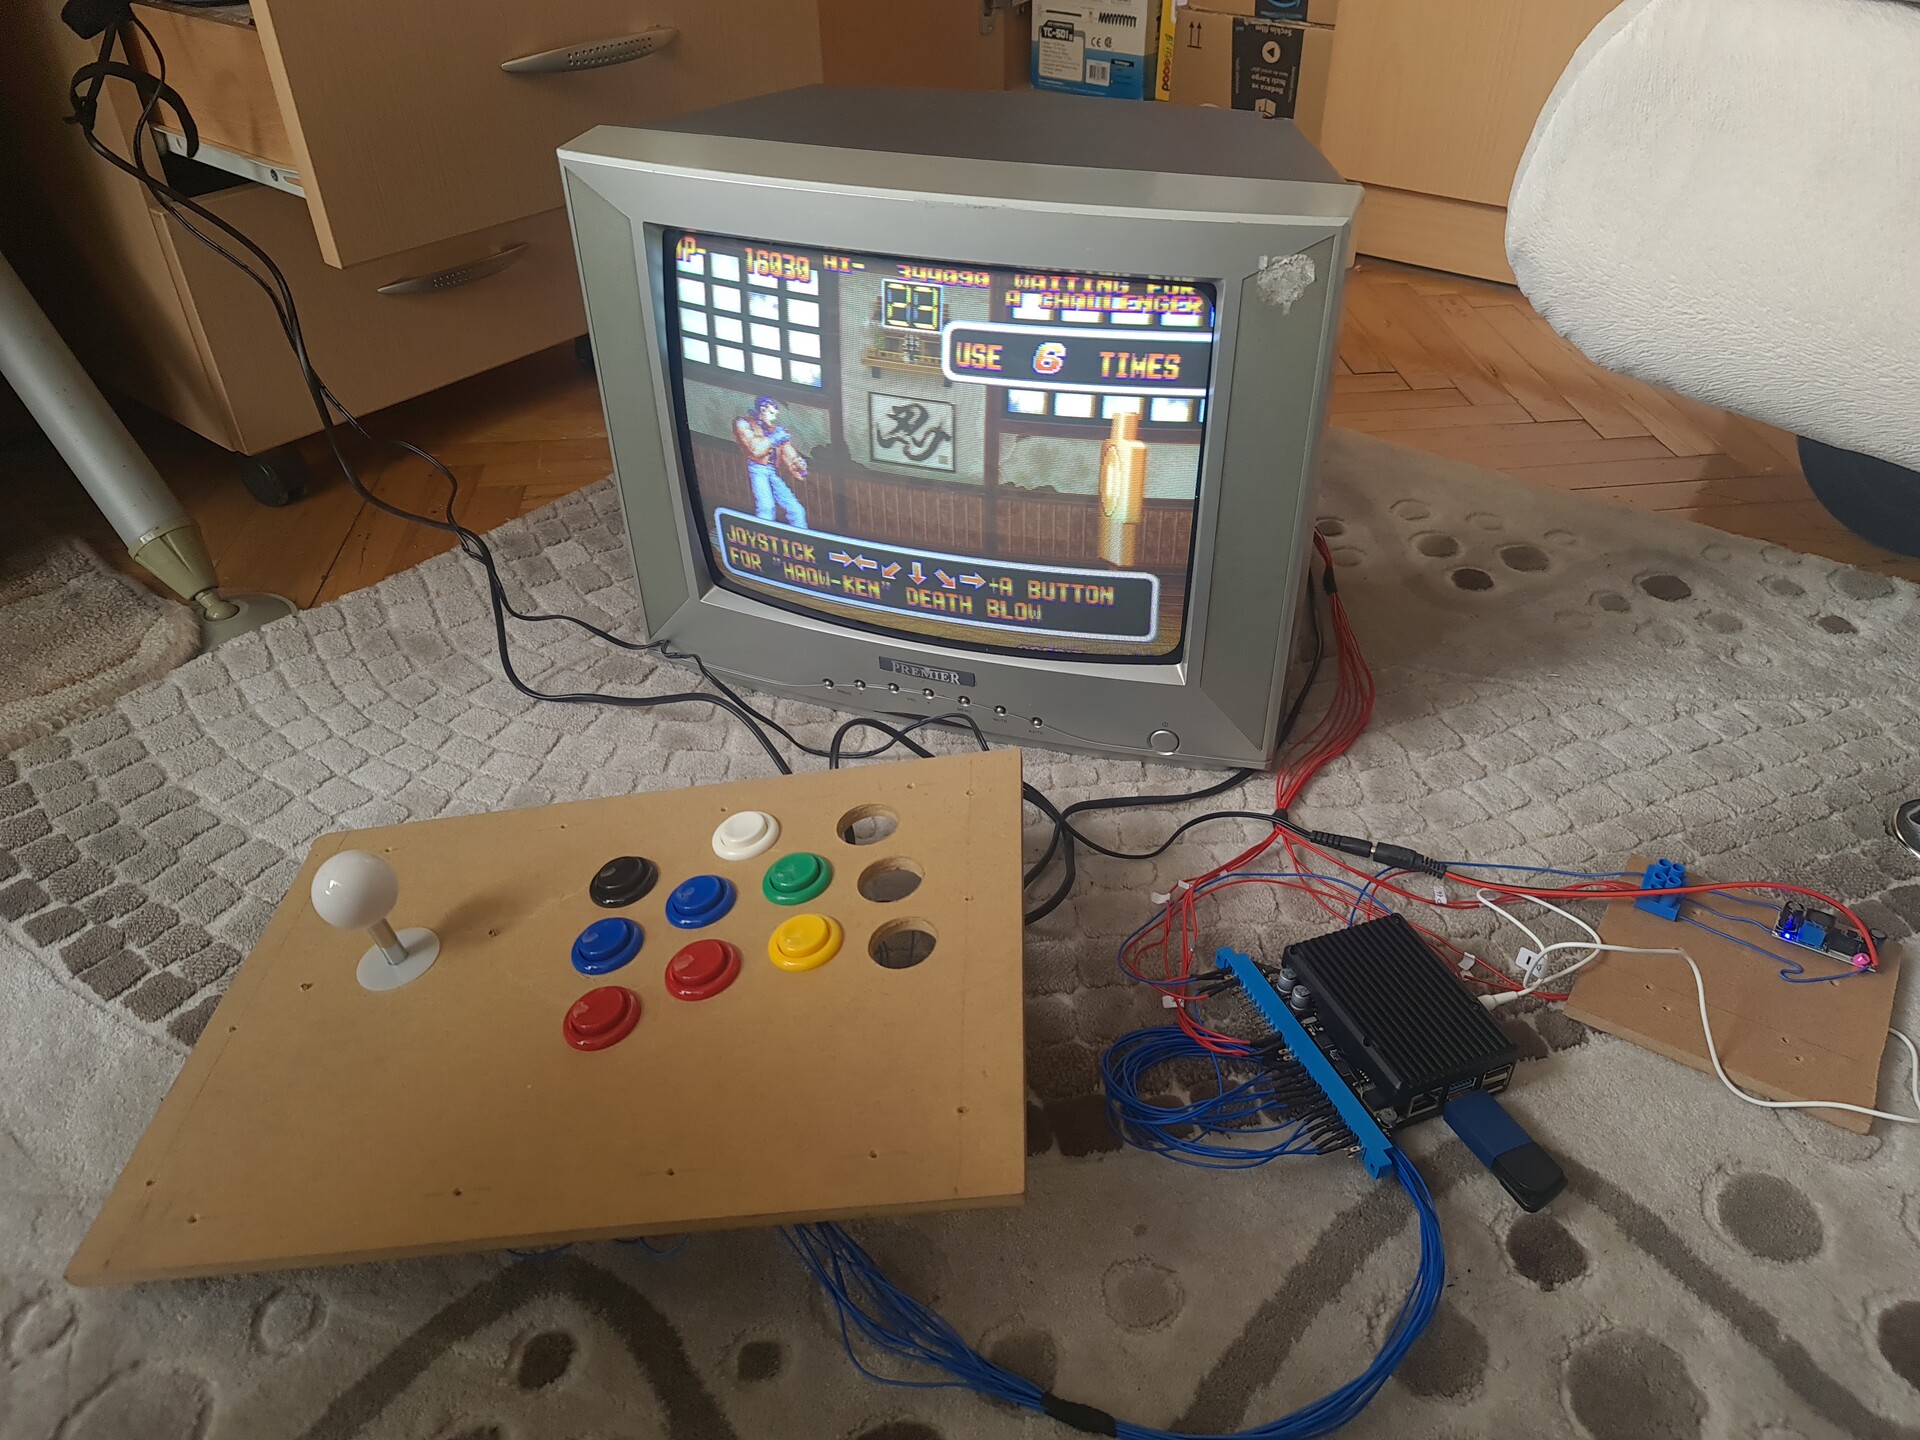
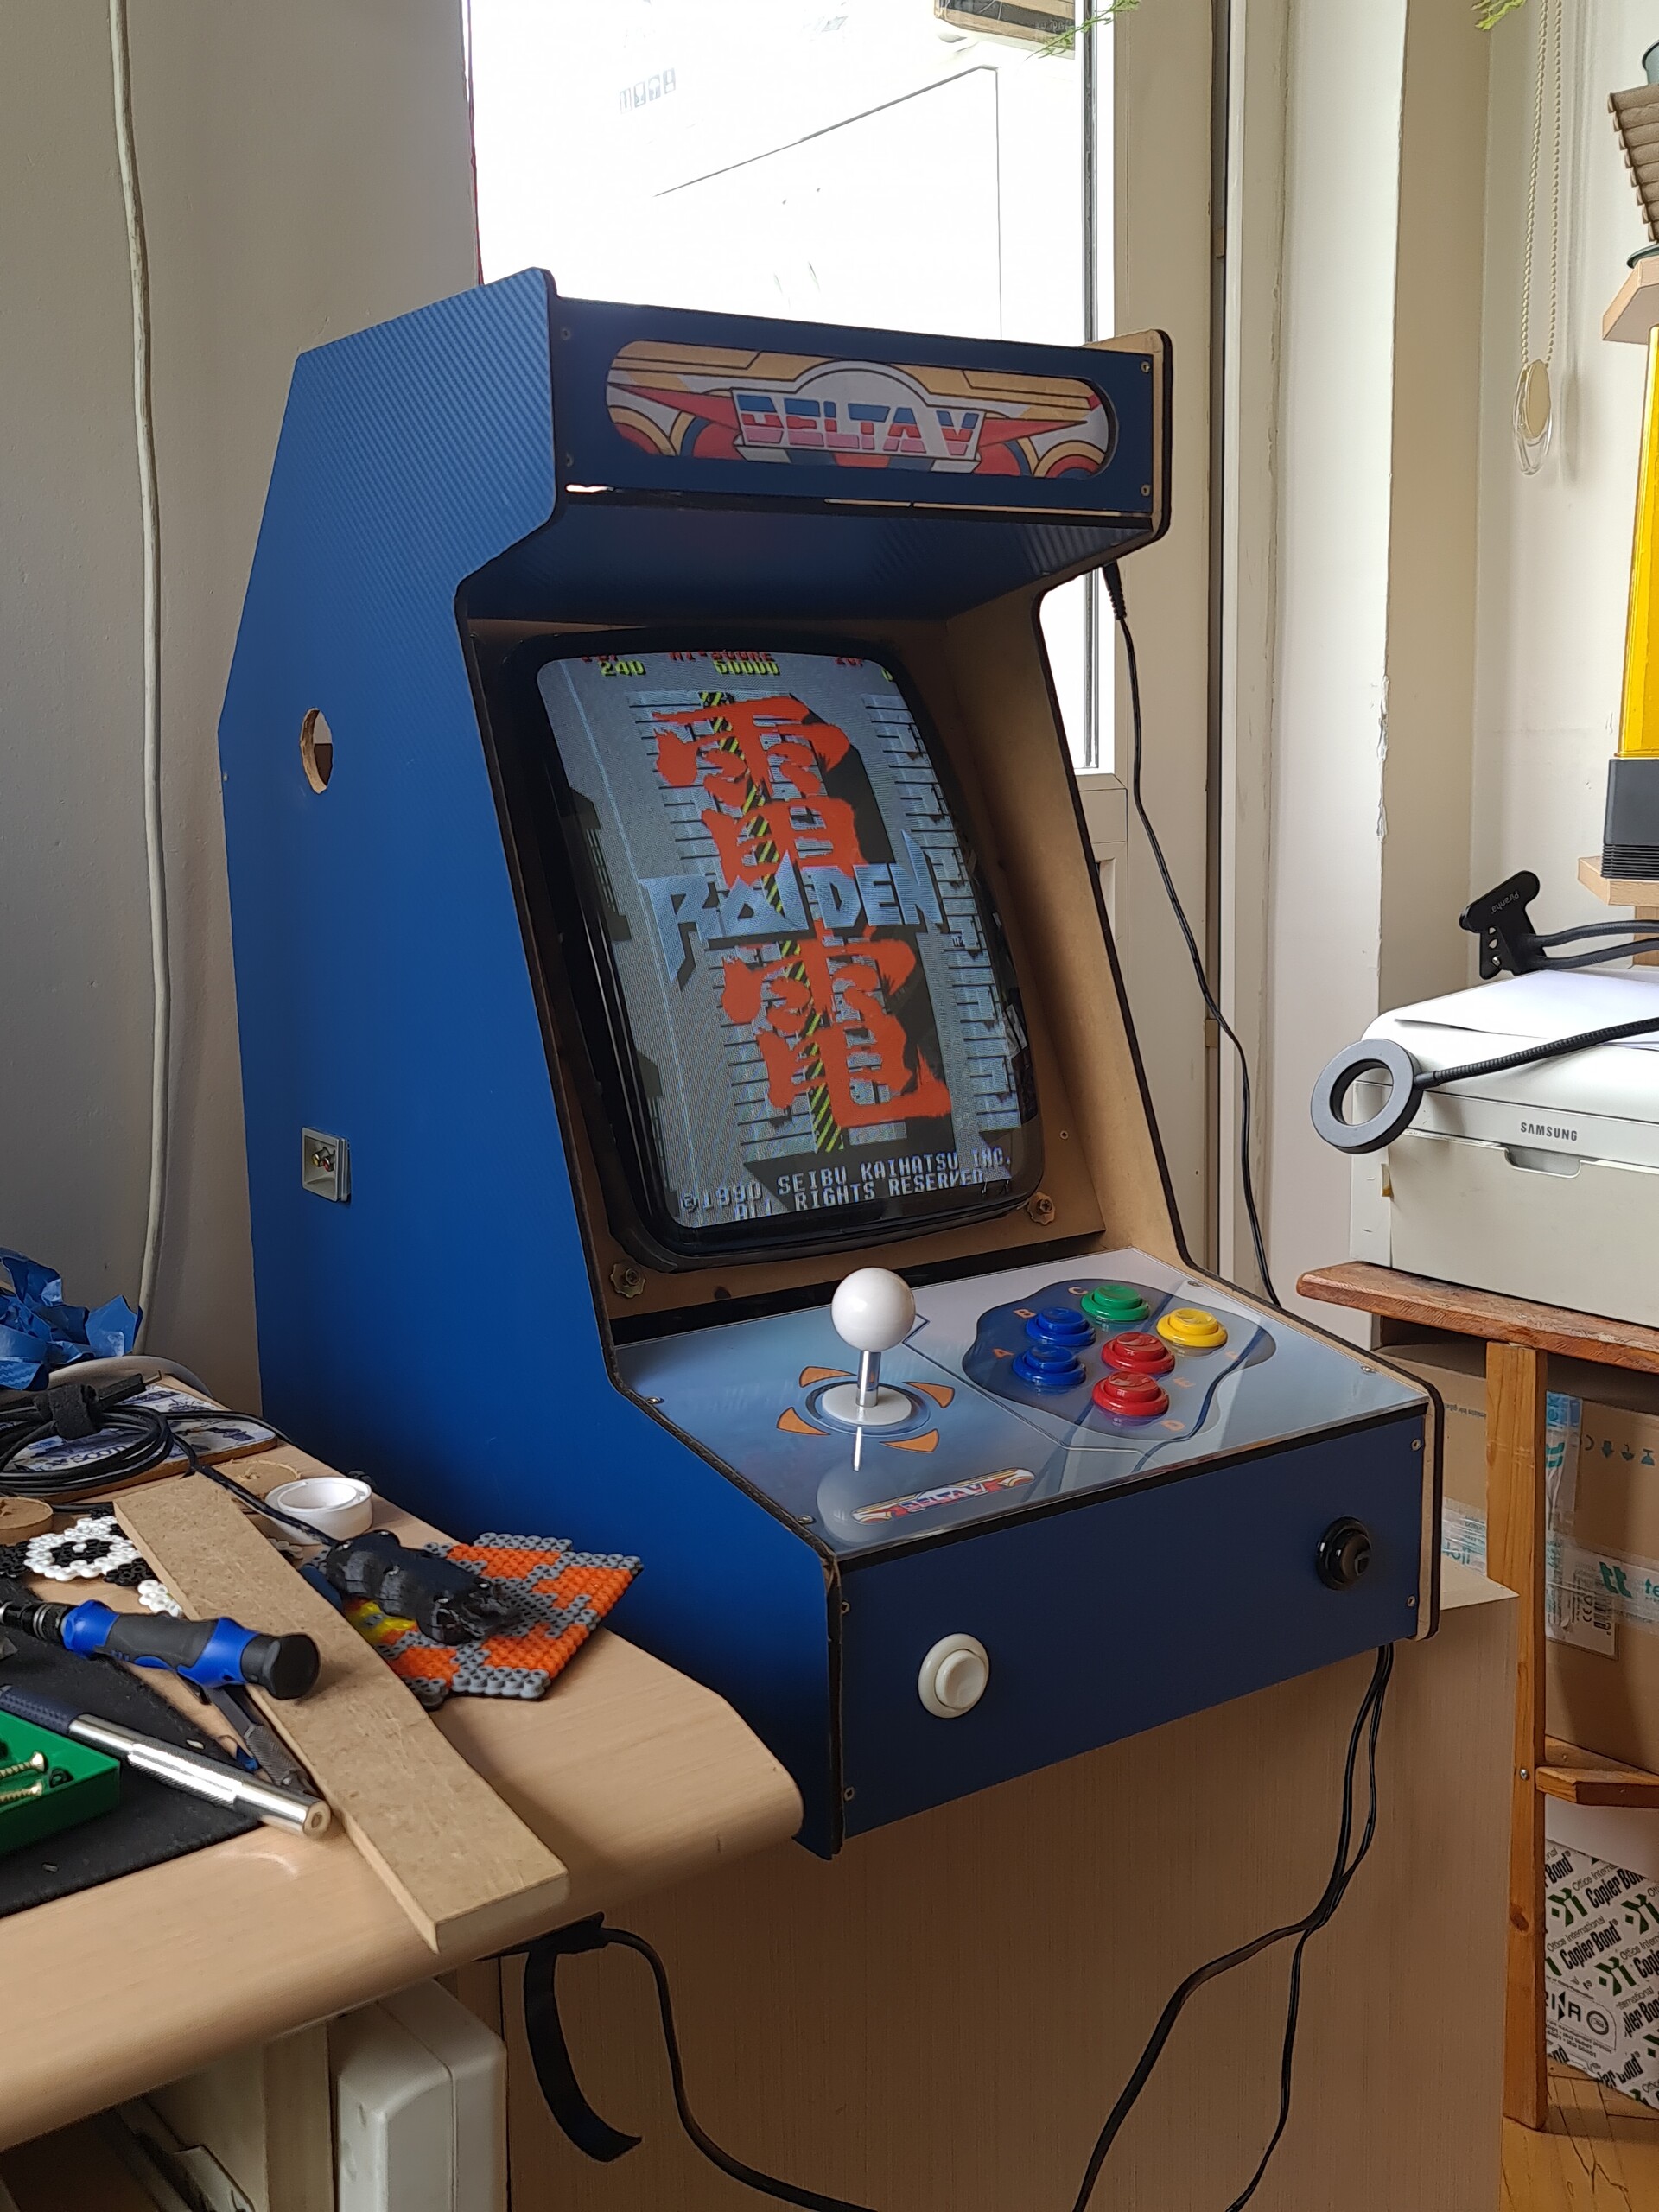
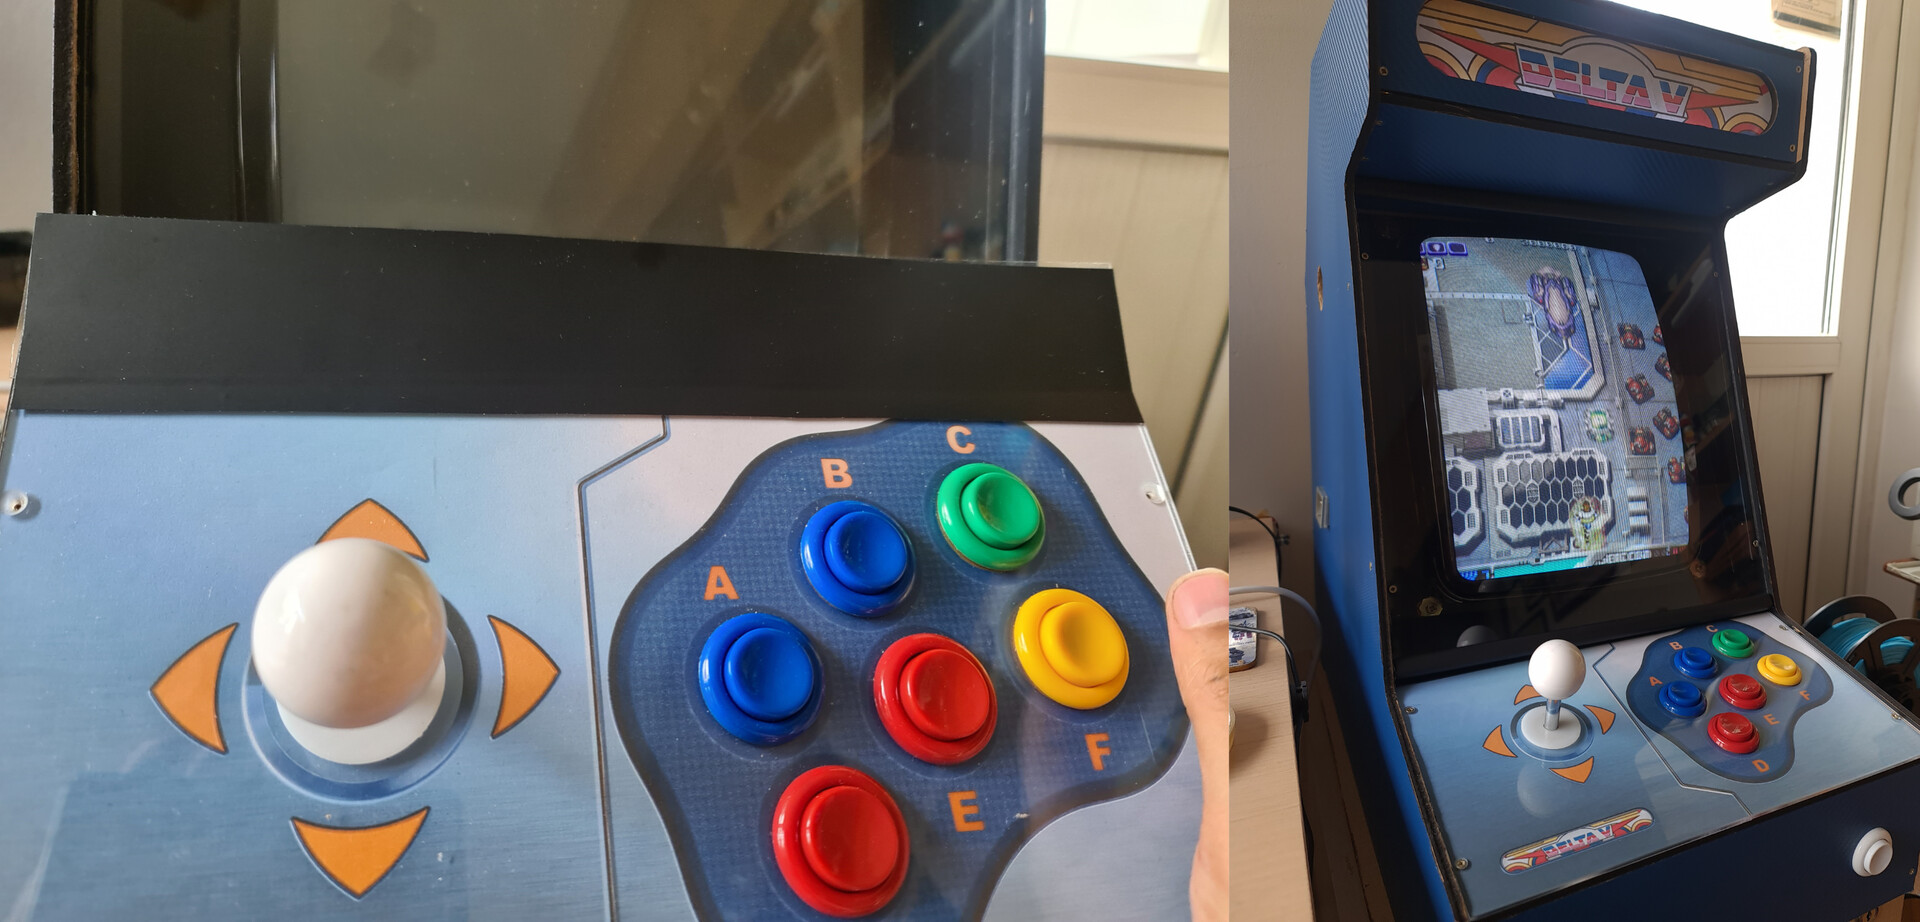
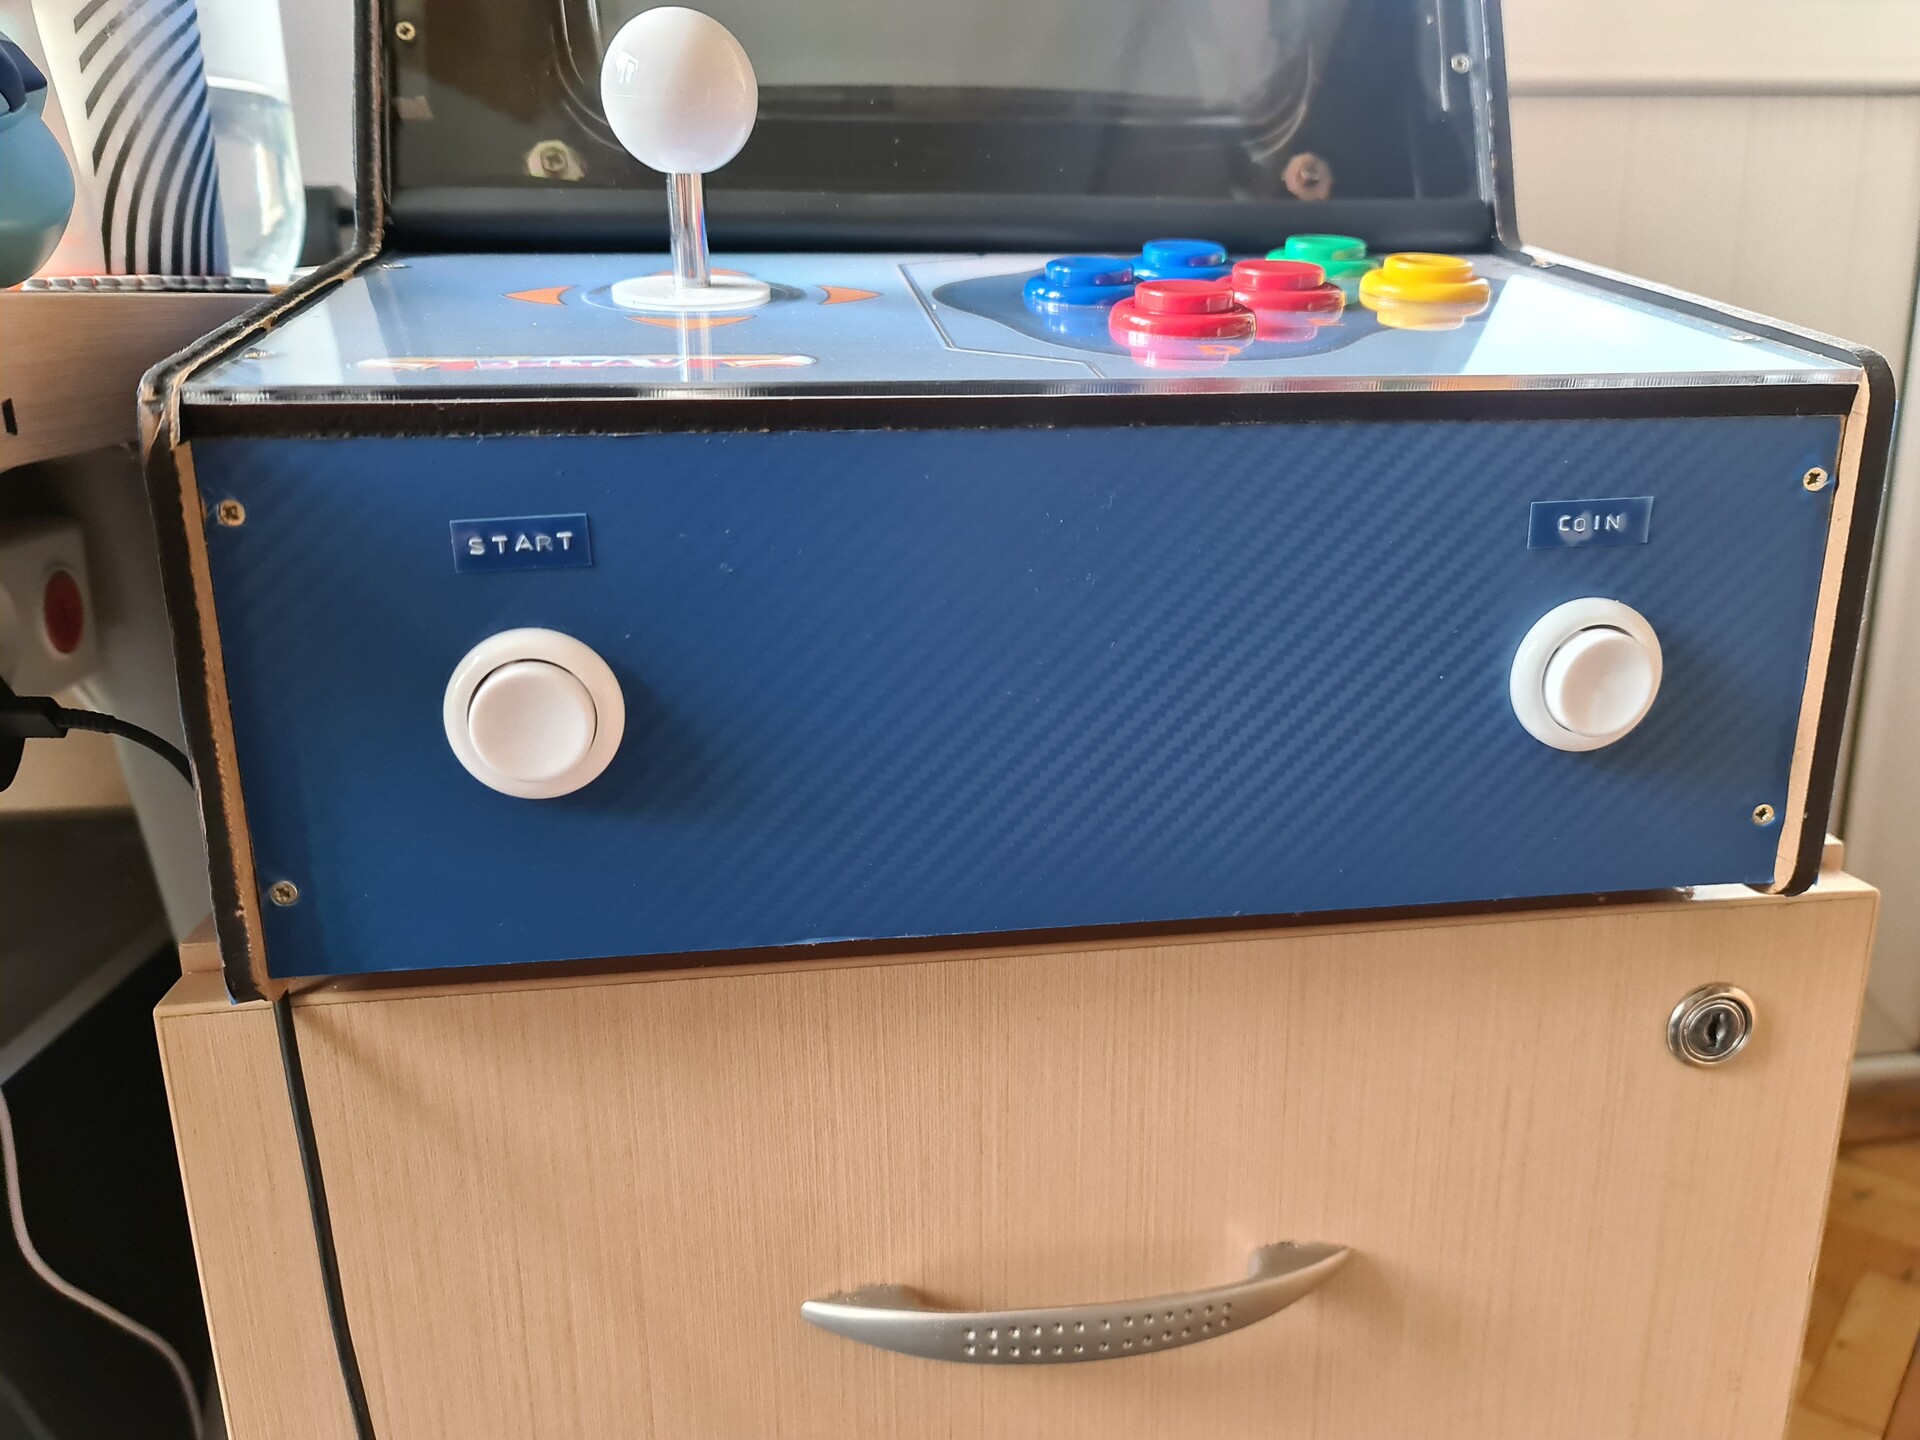
And finally added stickers for the front buttons and called it finished :)
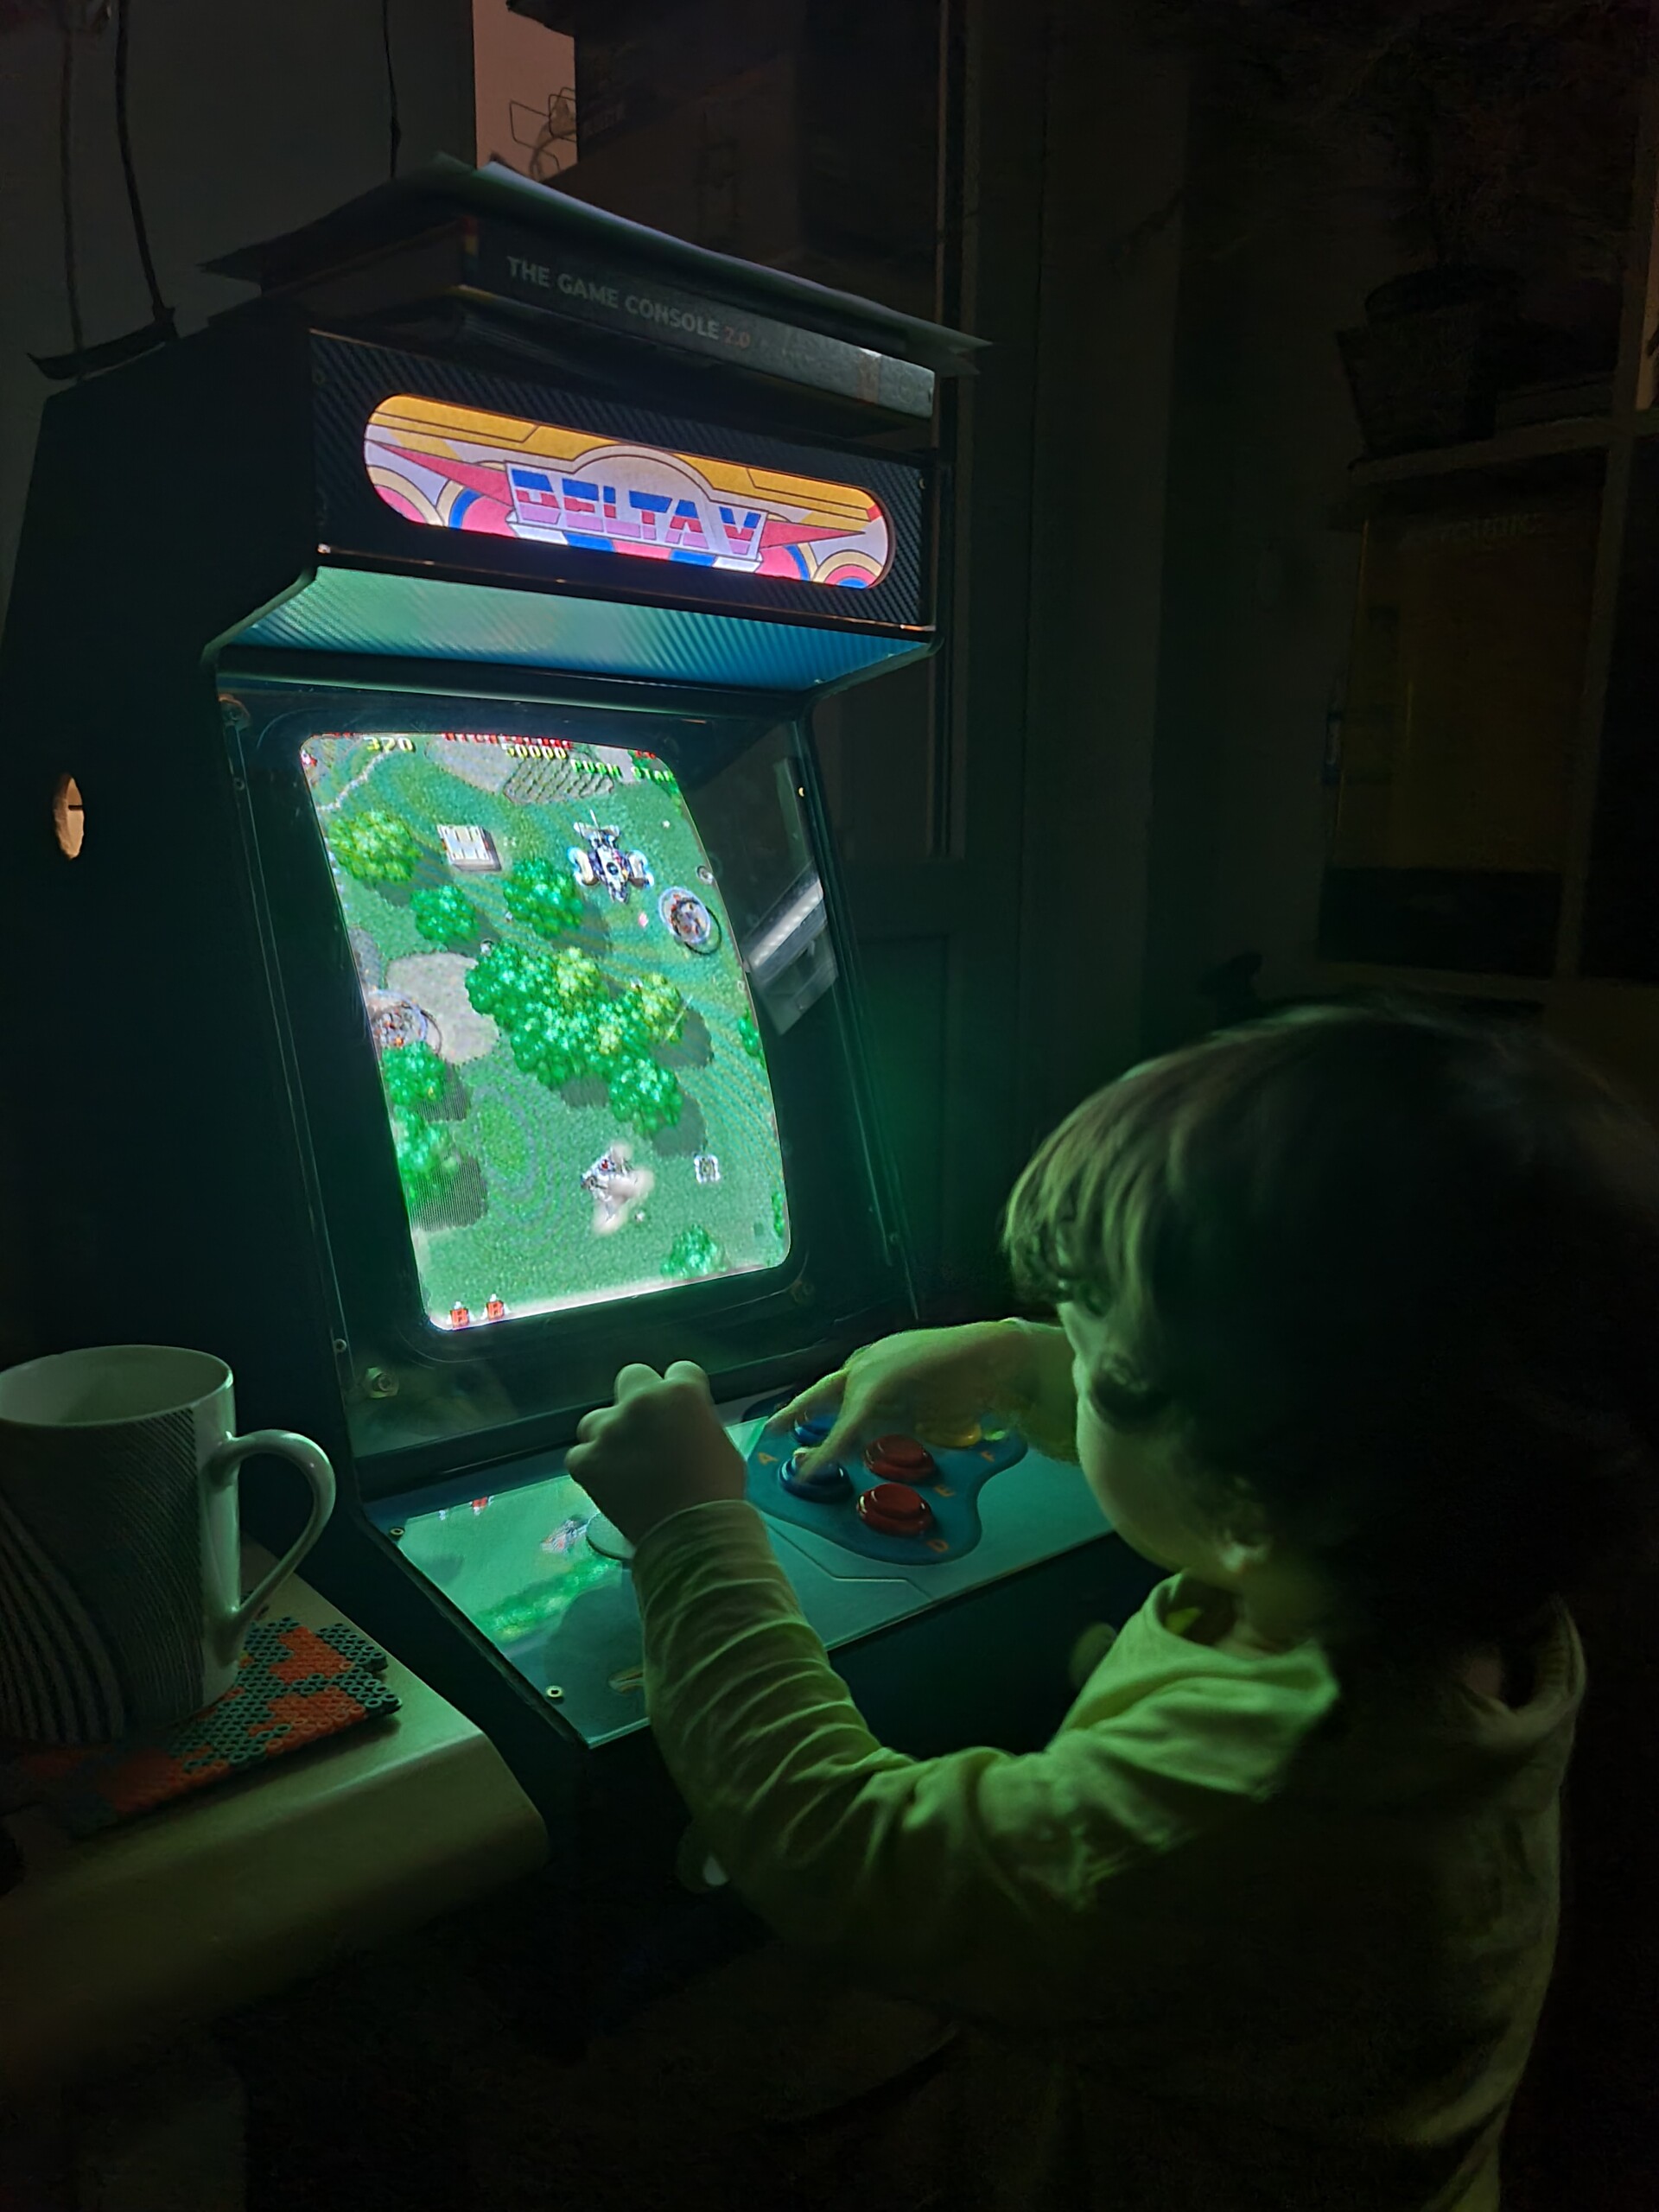
QC passed by my son Atlas!


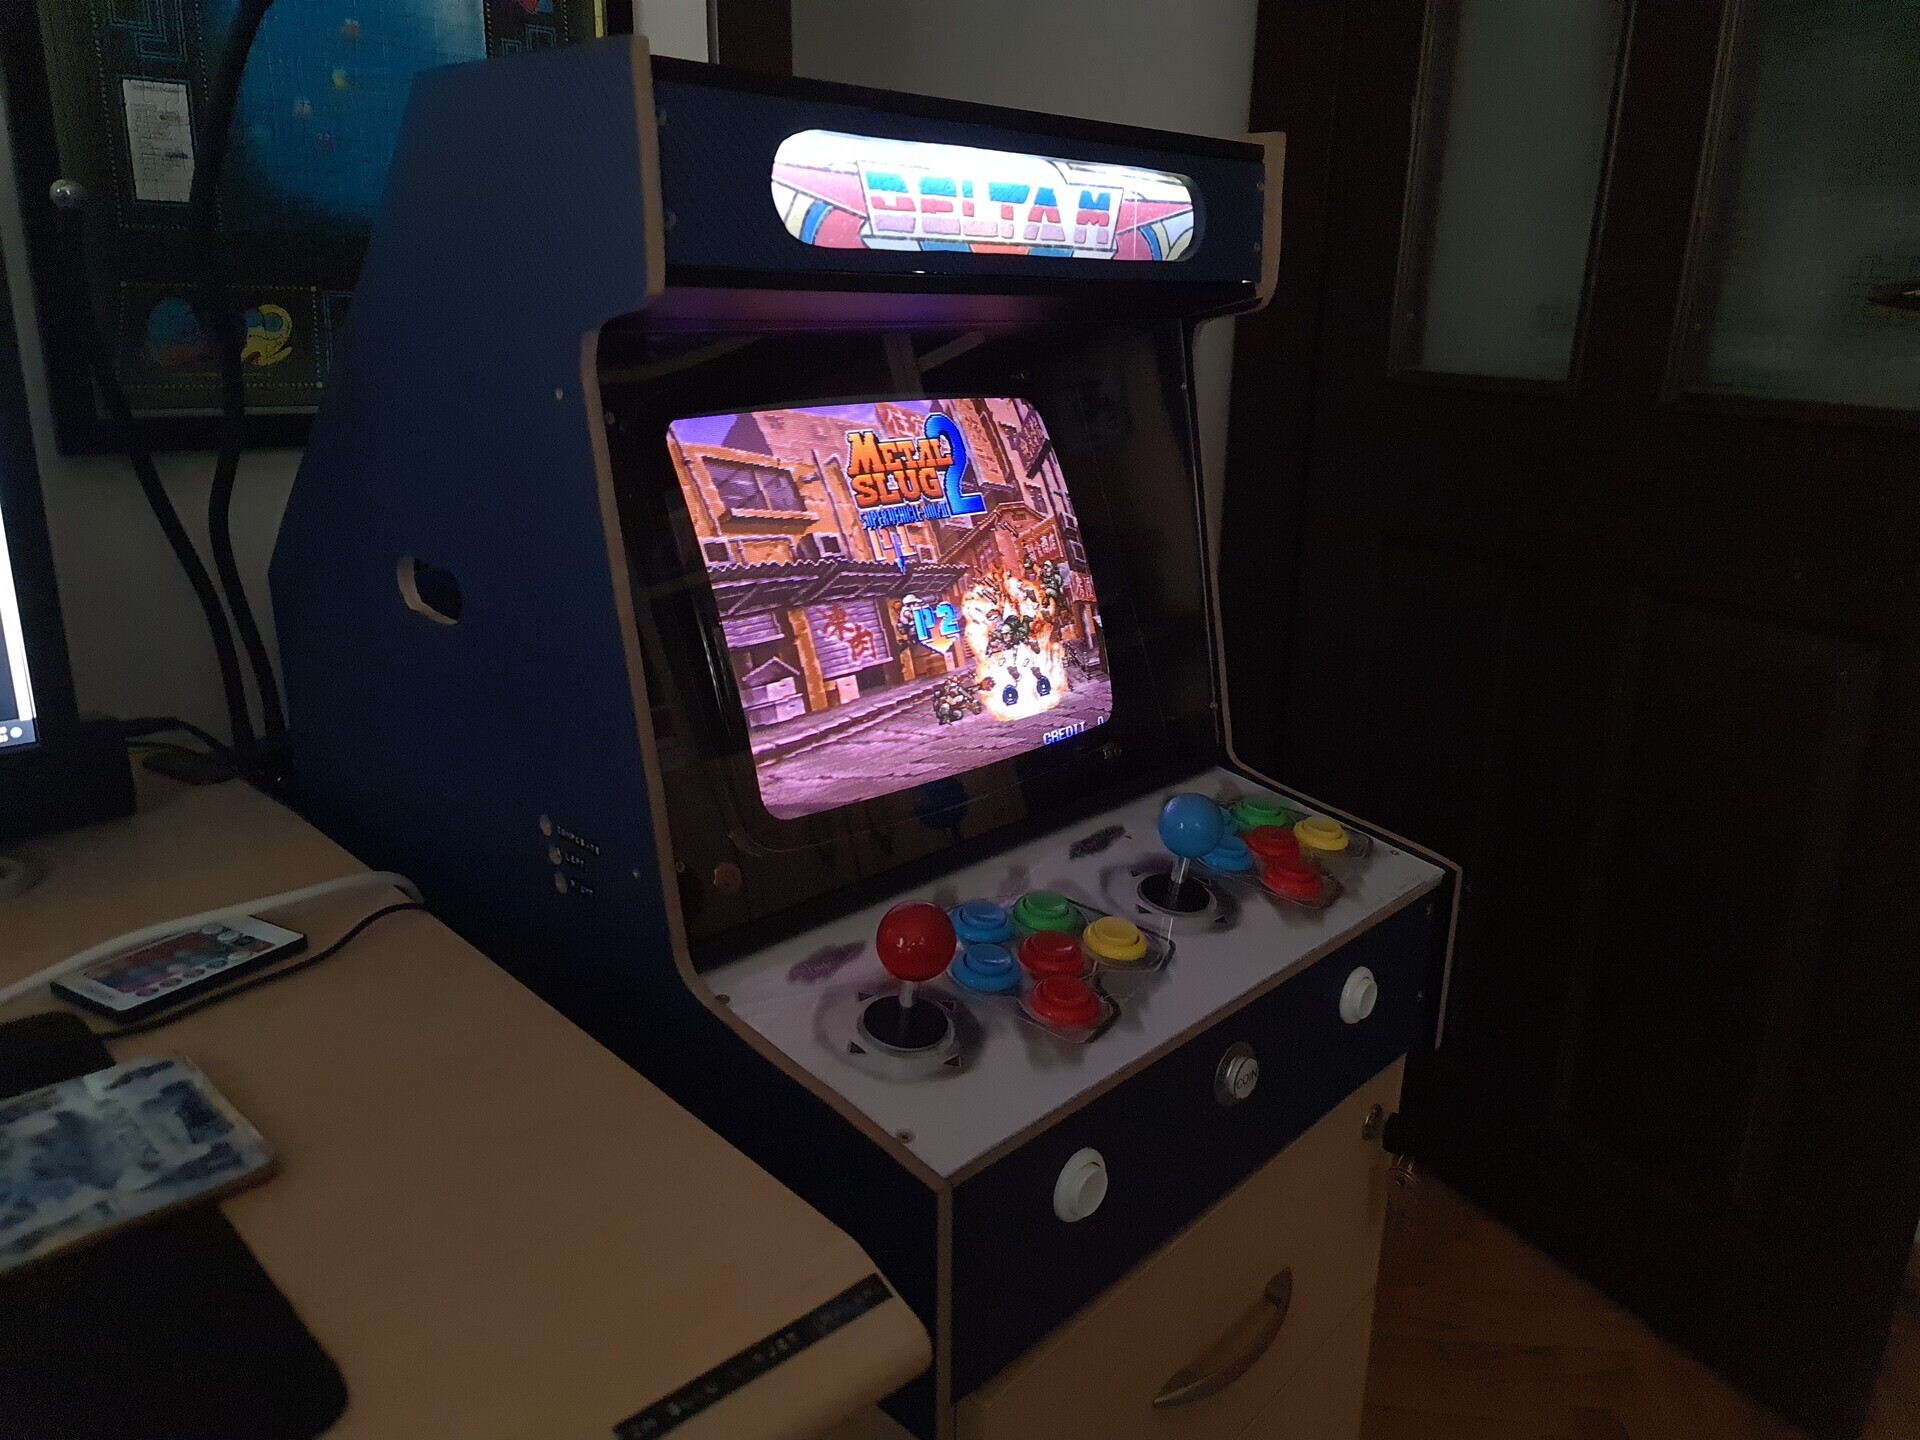
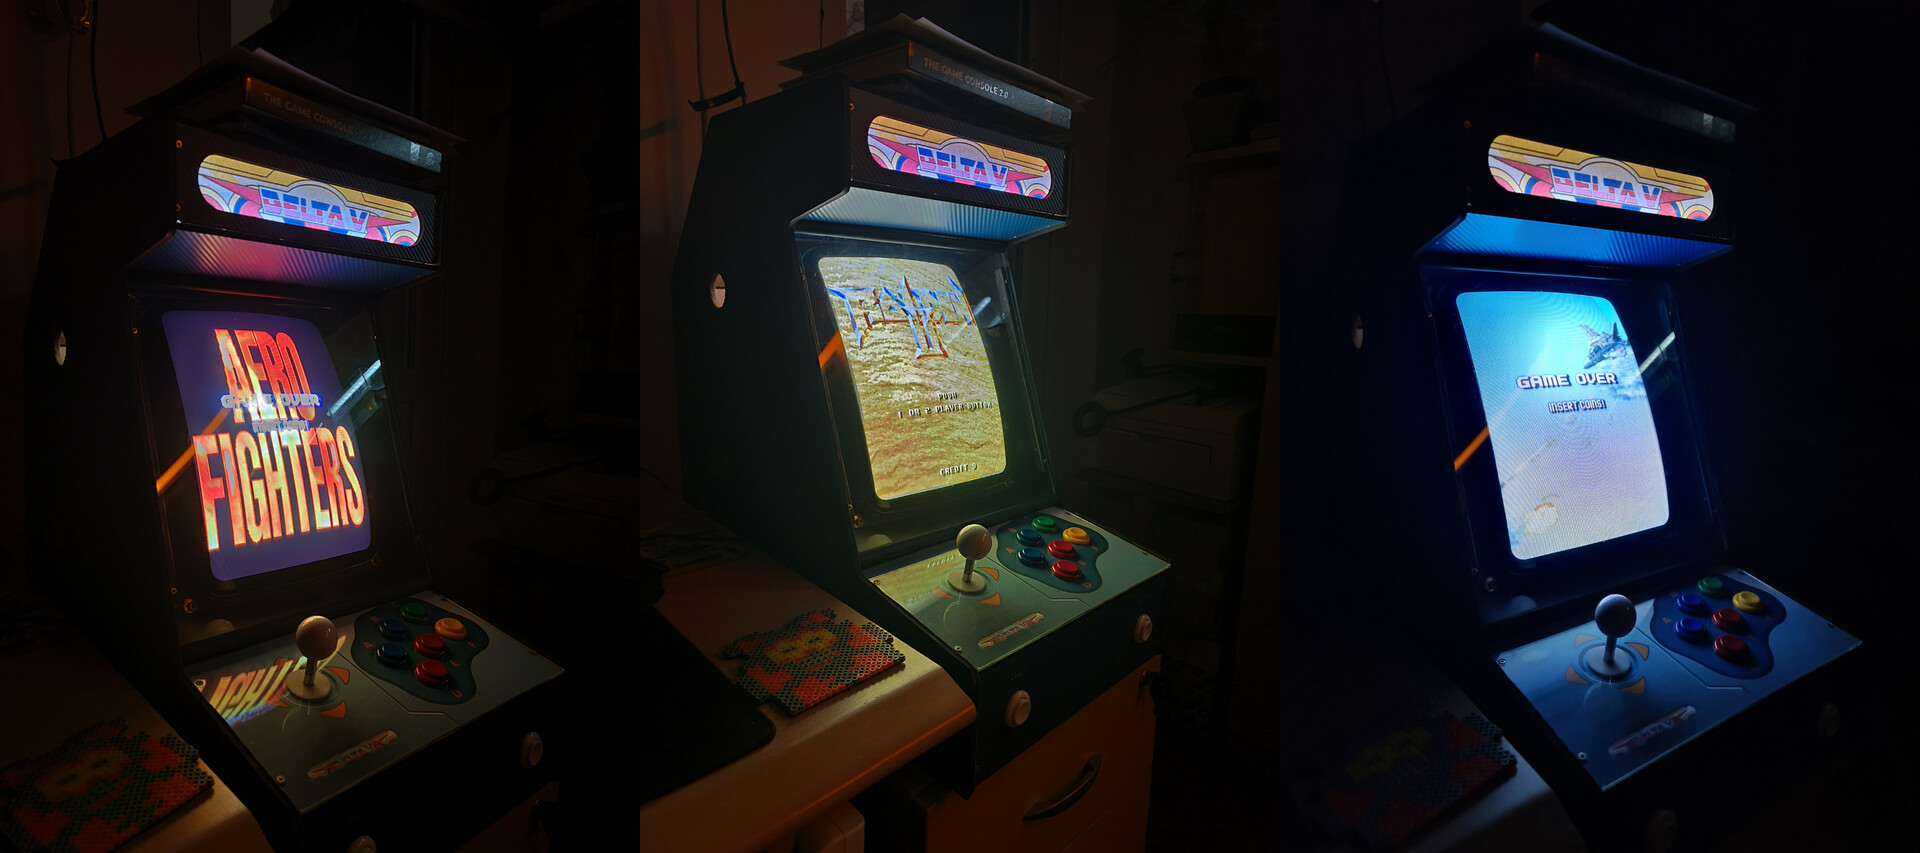
And of course some gameplay. I hope you like the process, and as always thanks for reading!