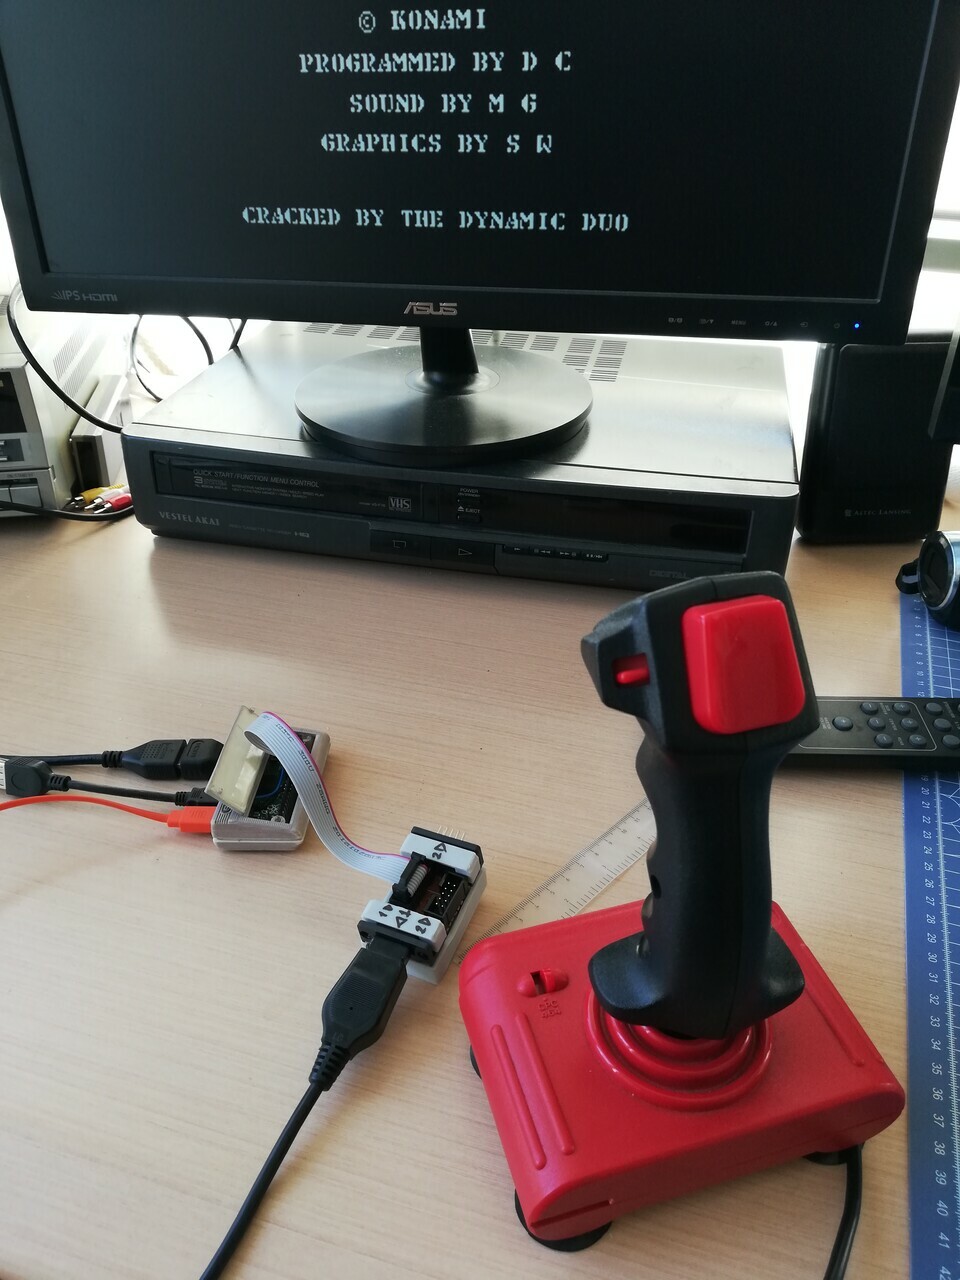
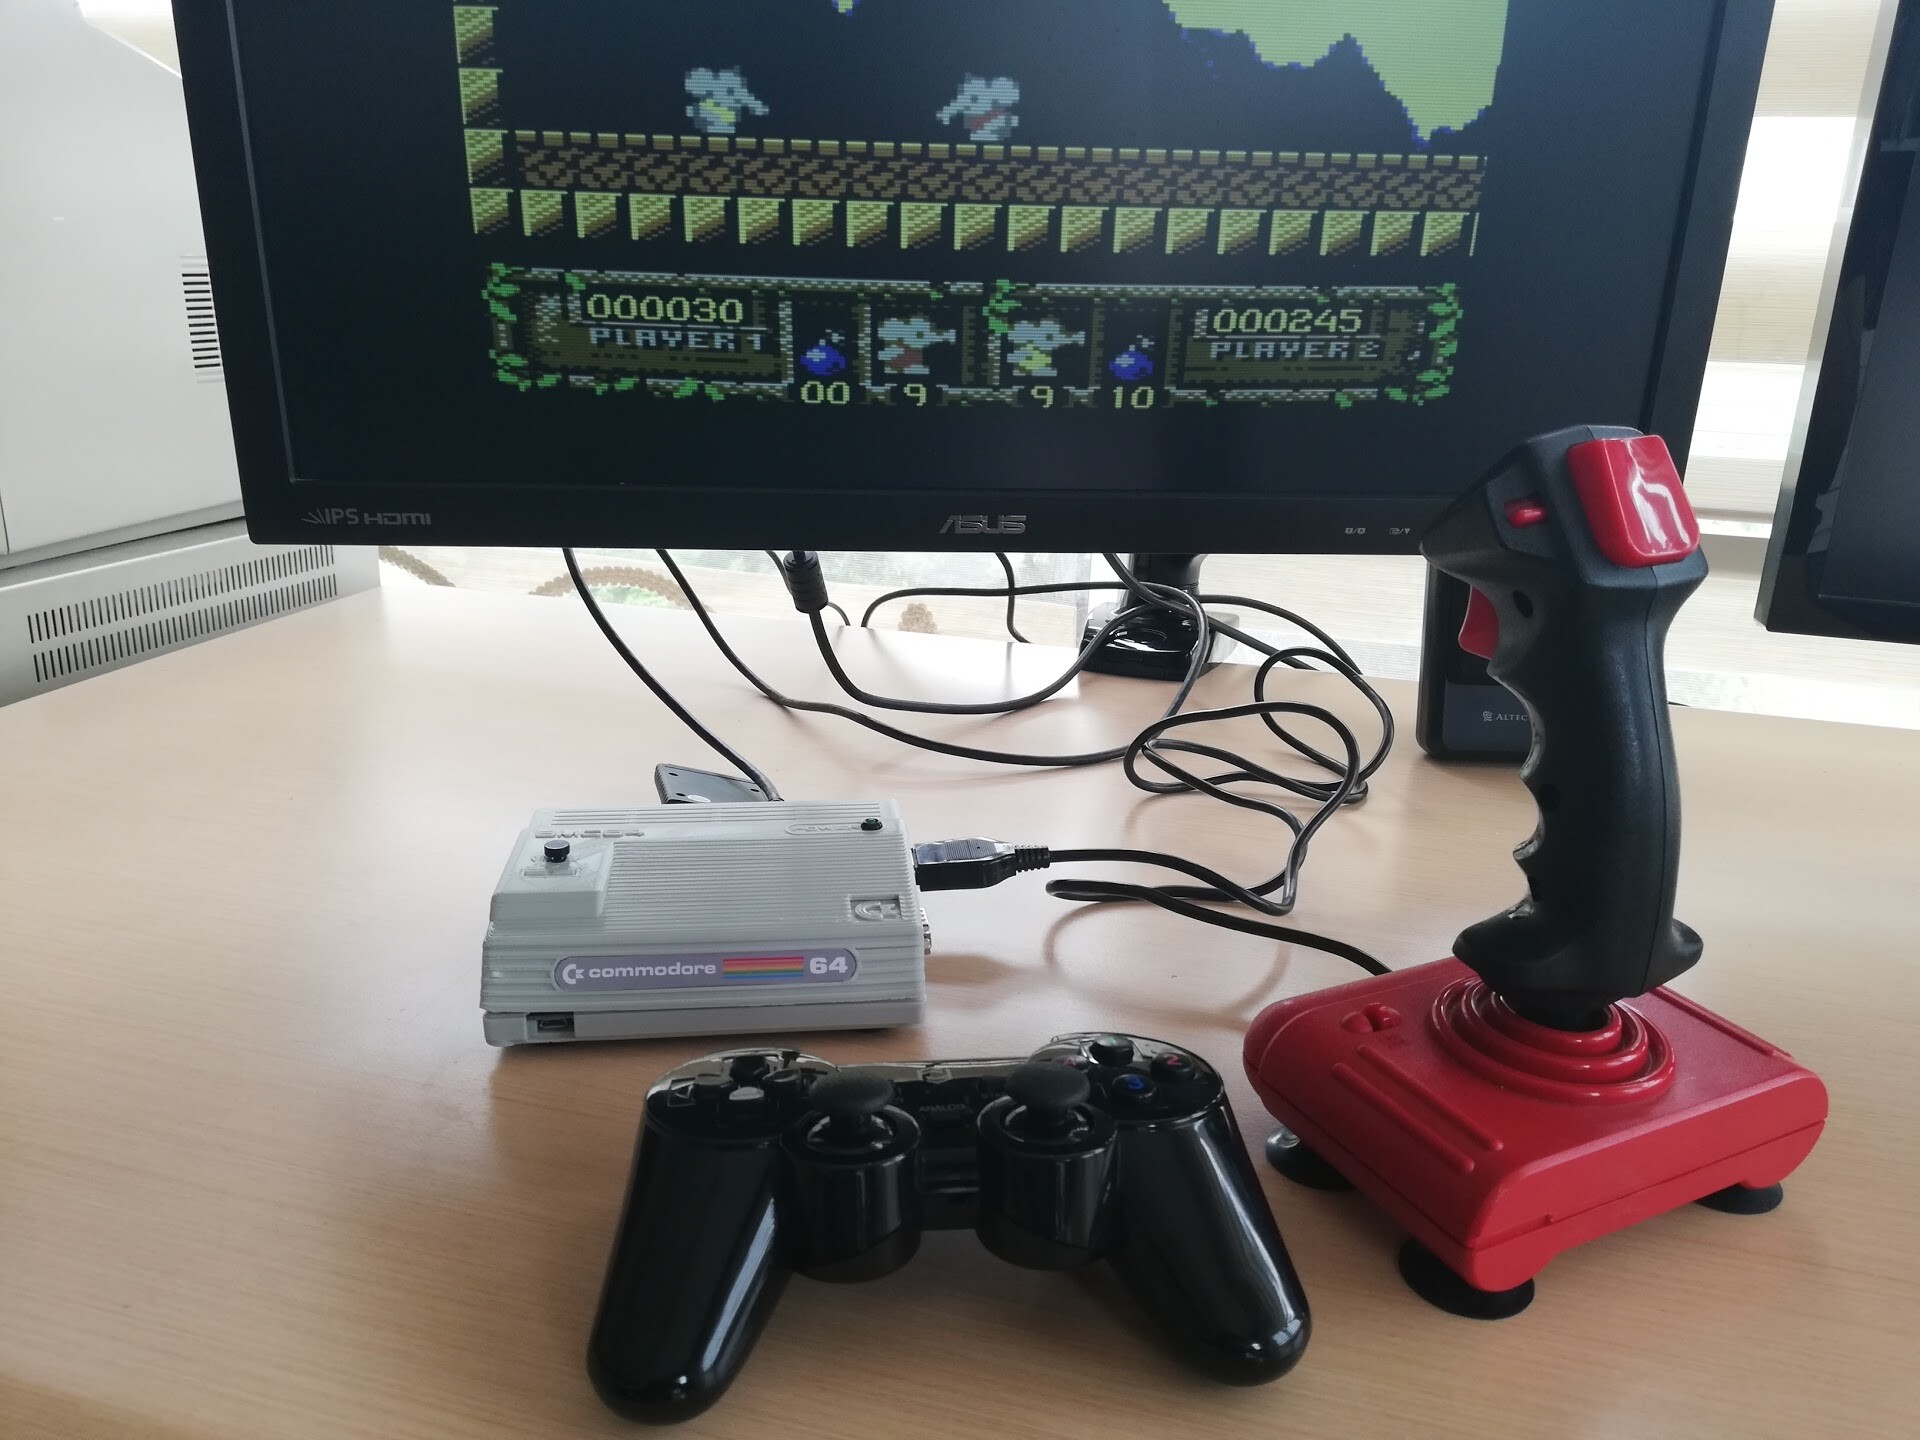
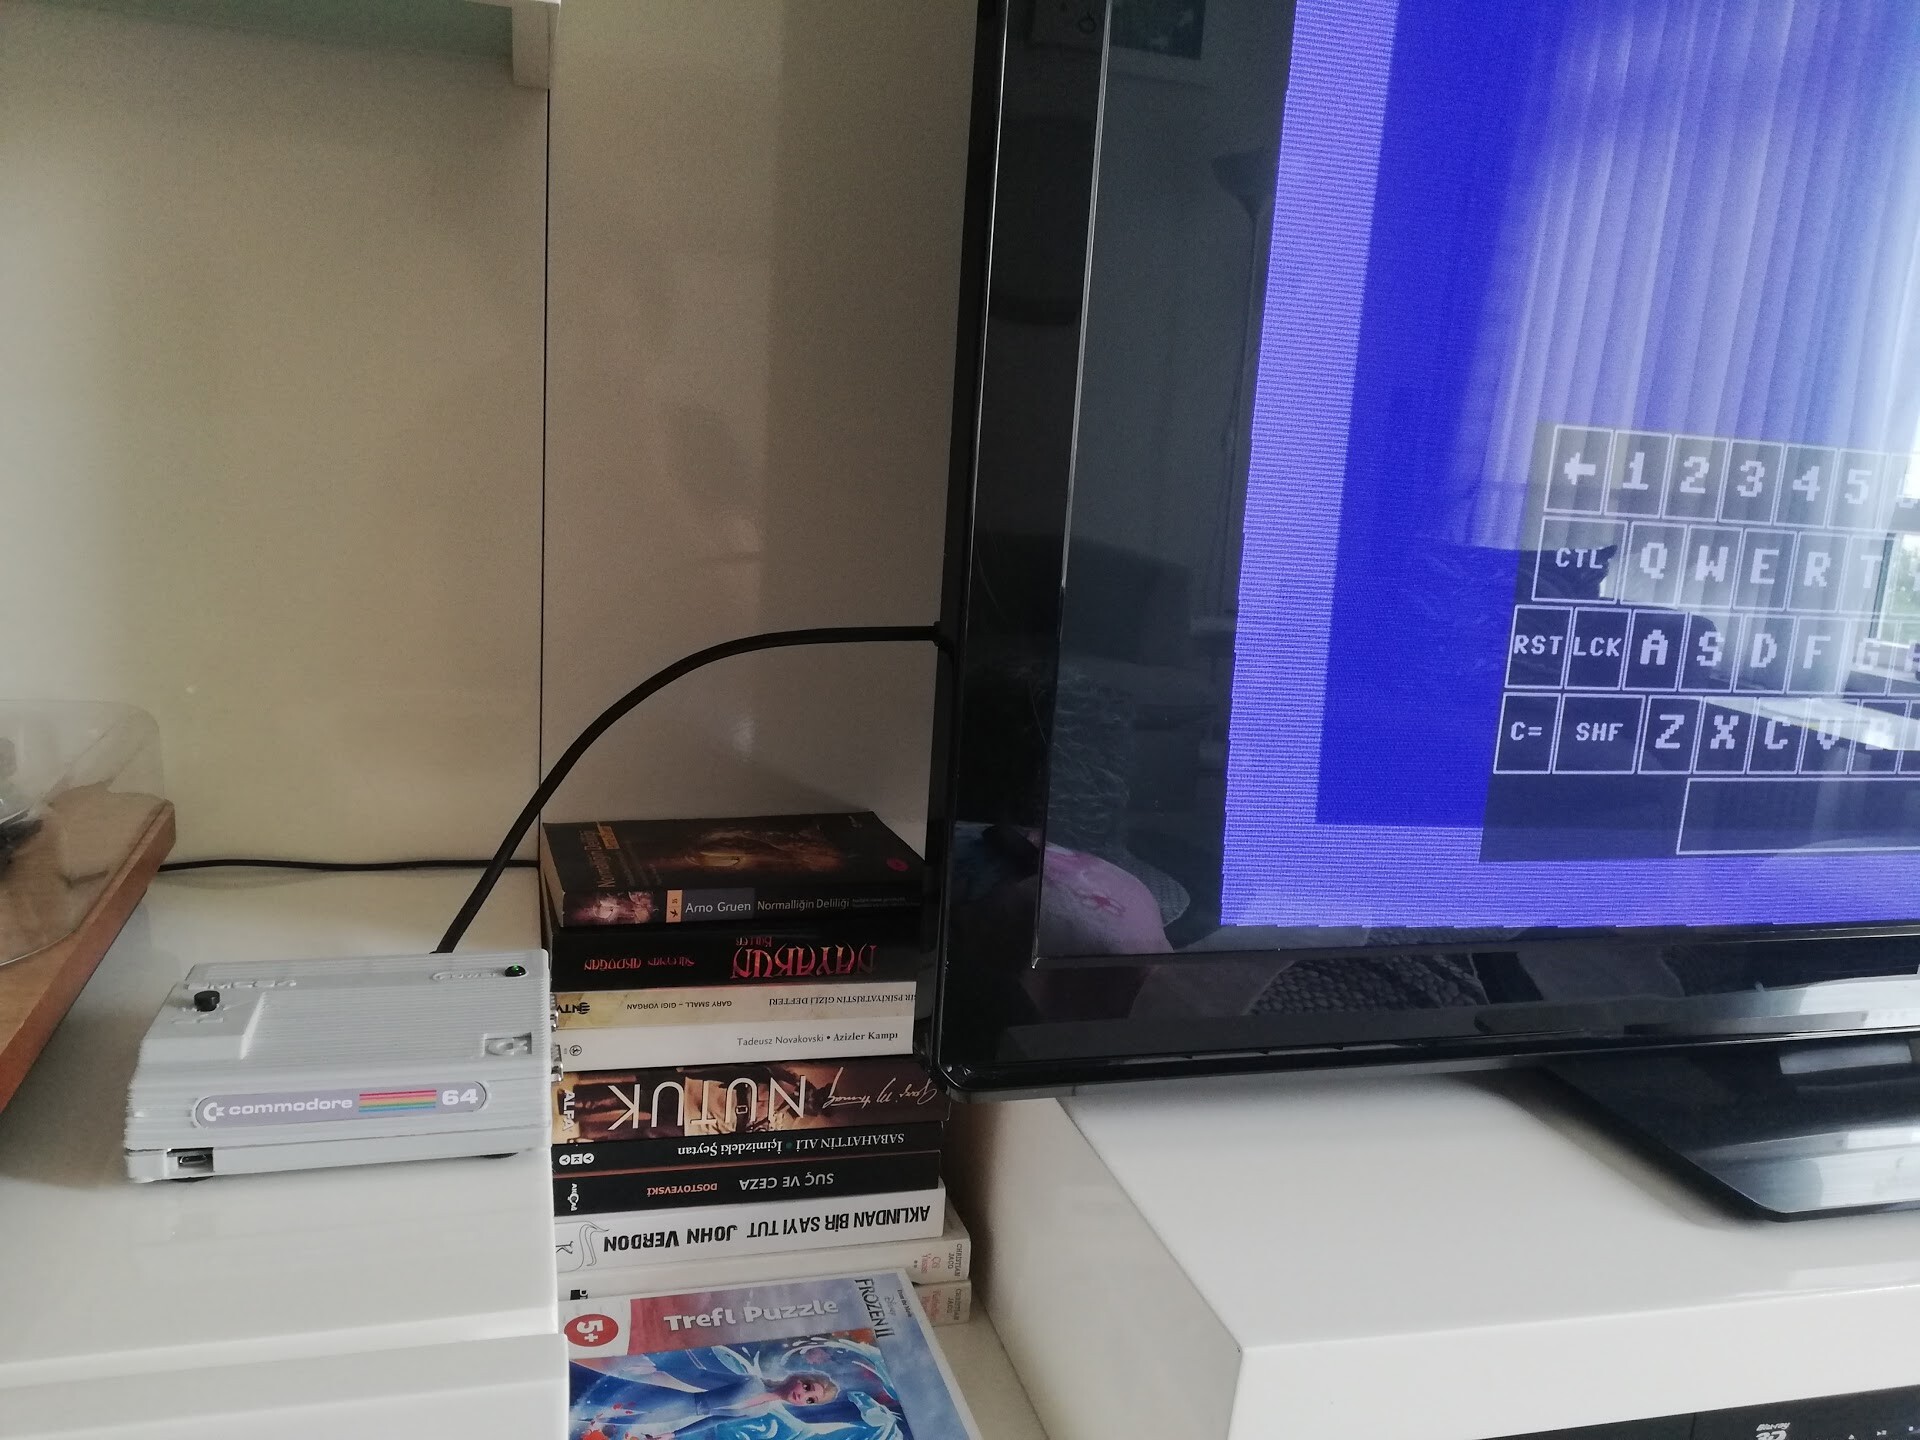
Hello! Check out the video first!
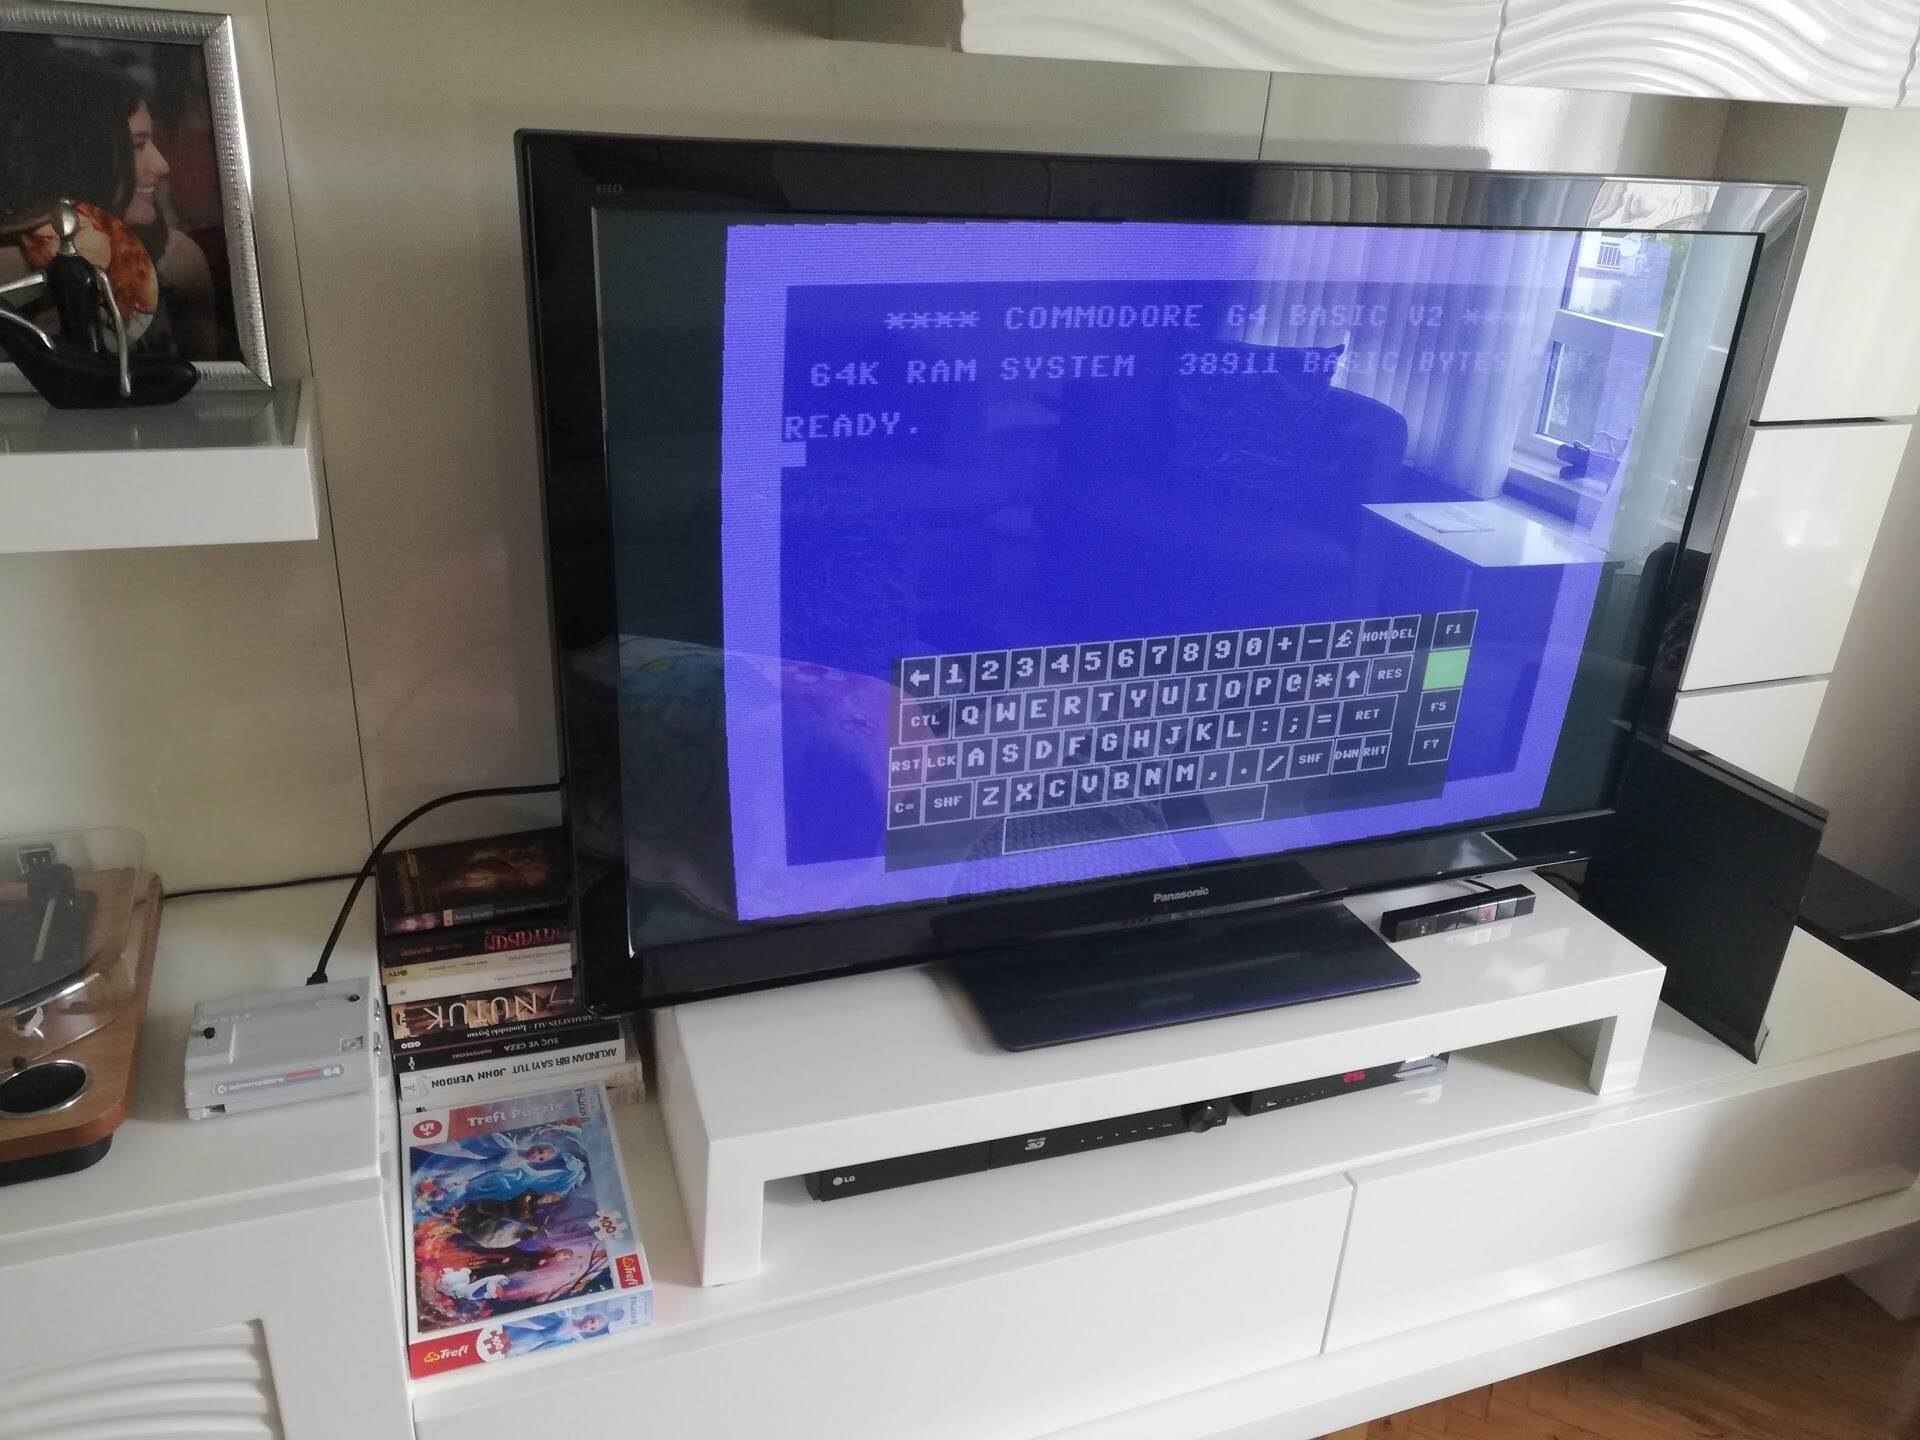
We were playing some Commodore 64 games with my daughter for a while. We are playing with raspberry pi zero which is a cheap hardware and runs BMC64 very smooth which is a Commodore 64 emulator.

I had made some case design for the Pi Zero before. Here is the link:
But since it's small but it needed a powersupply to power it up and also a controller is needed to use the device for accessing menus and loading programs or games. By itself, it is just boots. You can do nothing without additional controllers. Also, connecting real C64 joysticks to that case was hard. I had created another gizmo to use it as a joyport.
This time I decided to make a compact, all-in-one system for that device. So, I included:
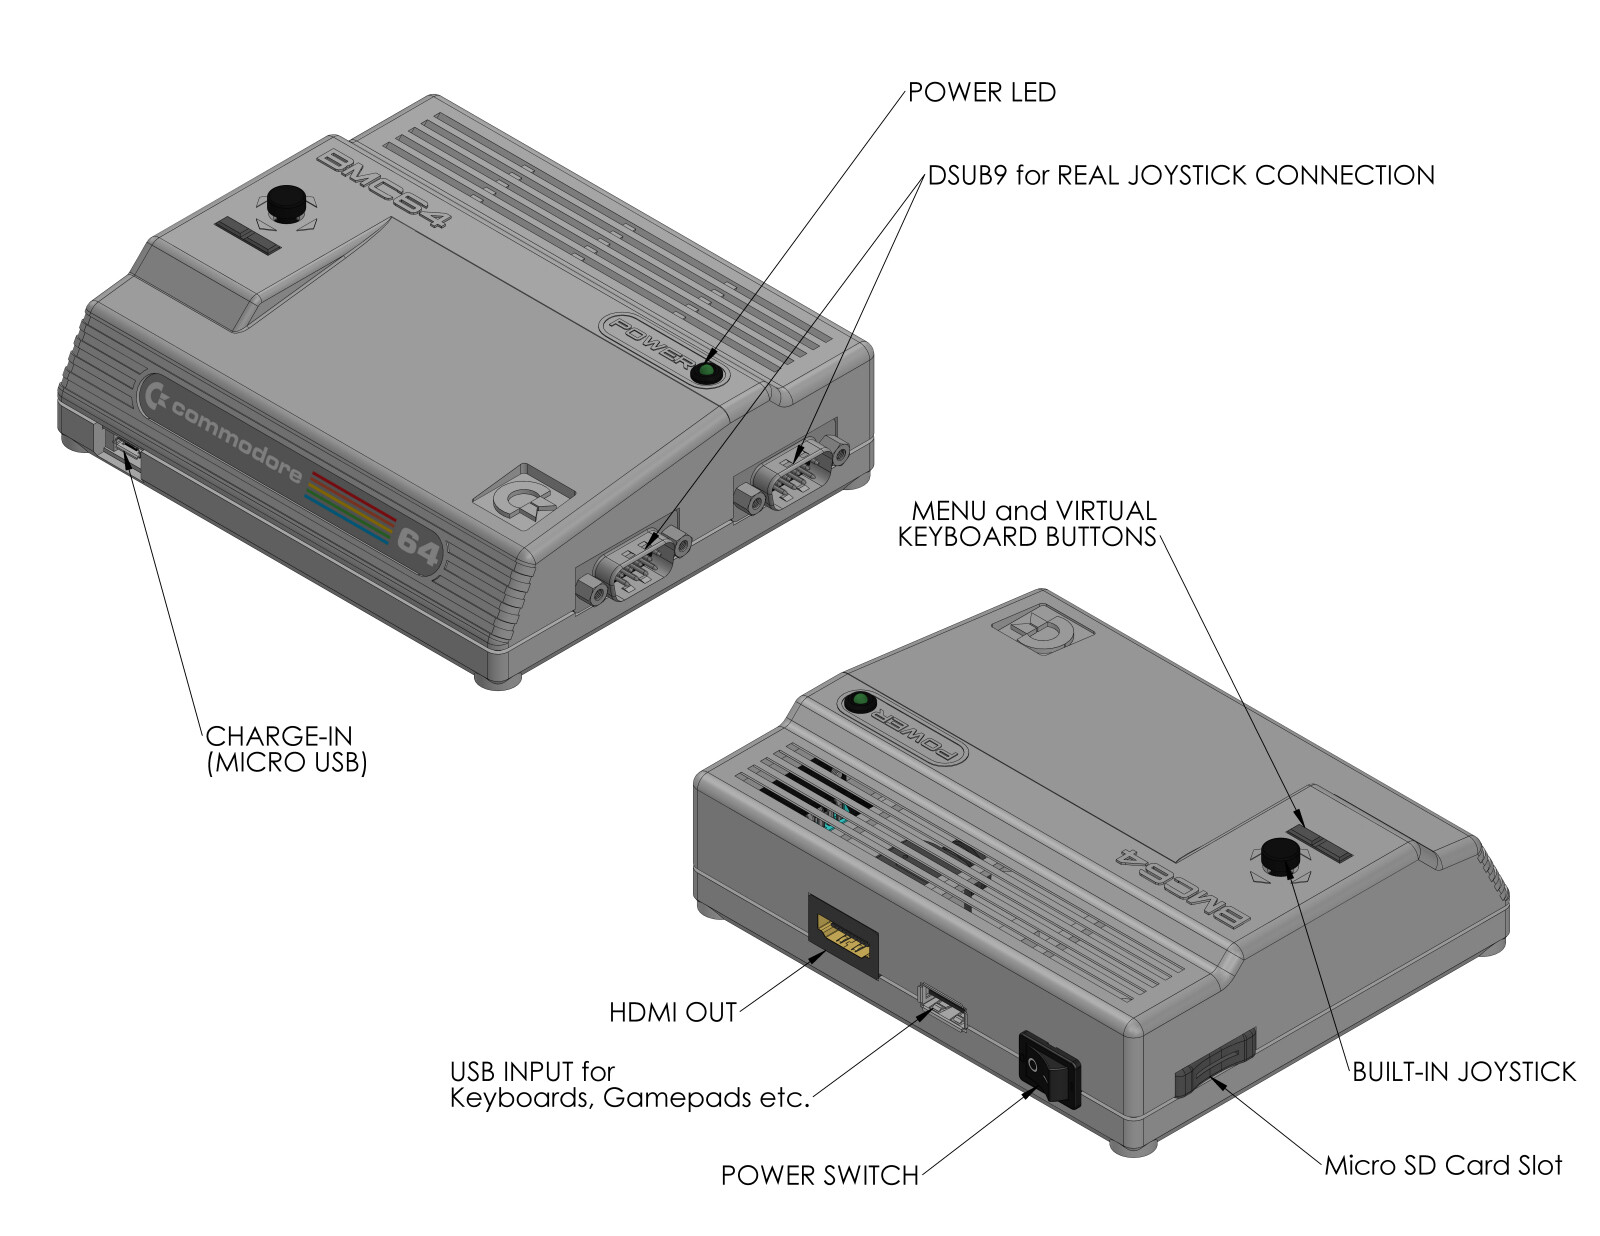
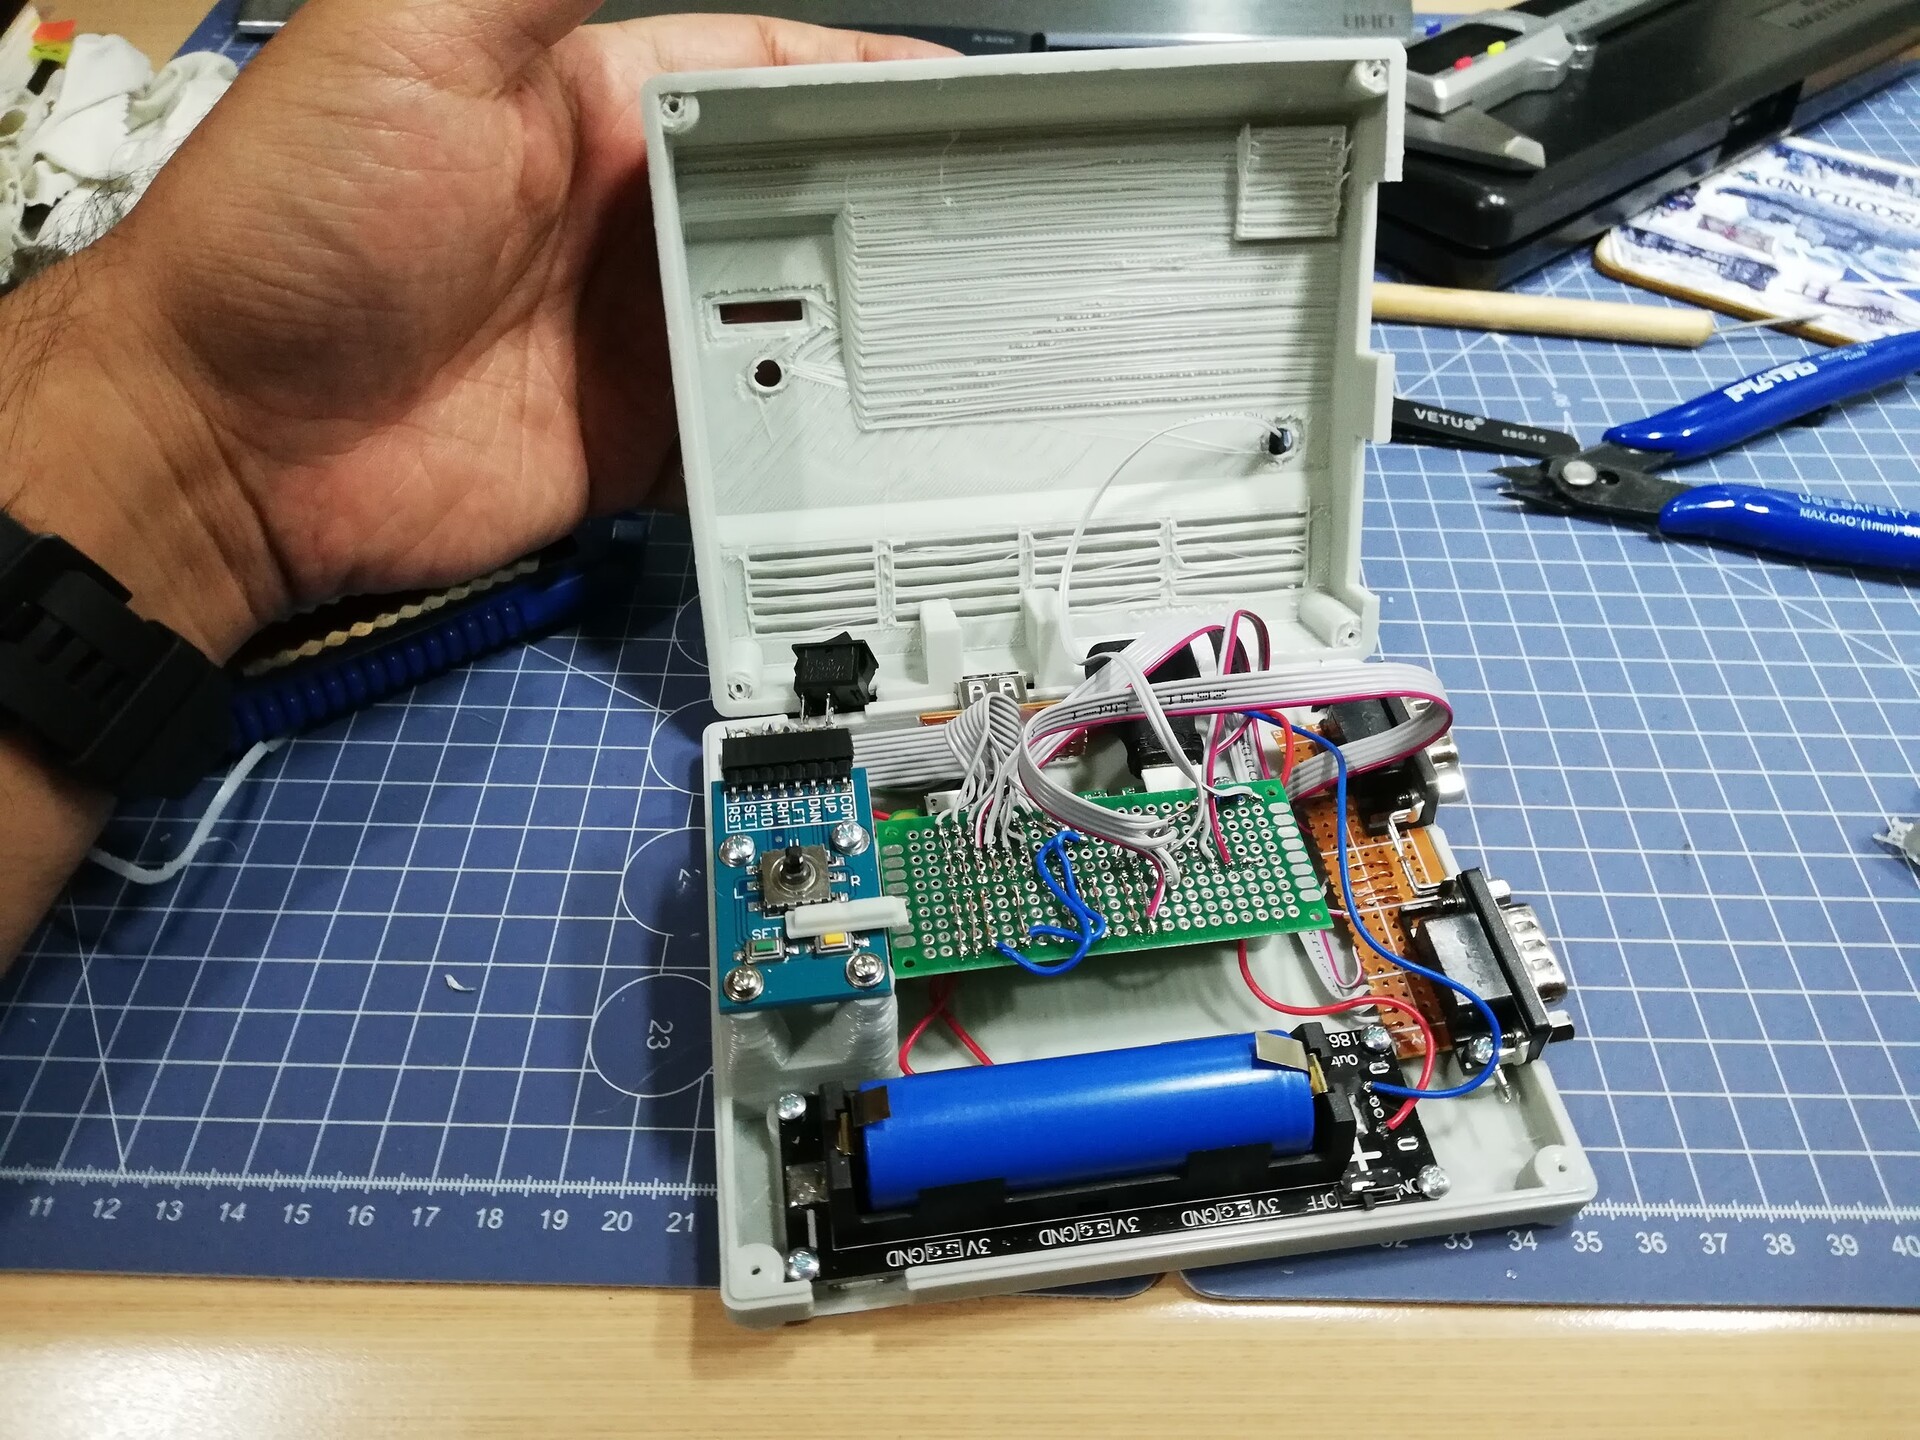
- A tactile joystick
- A chargable battery (1 x 18650)
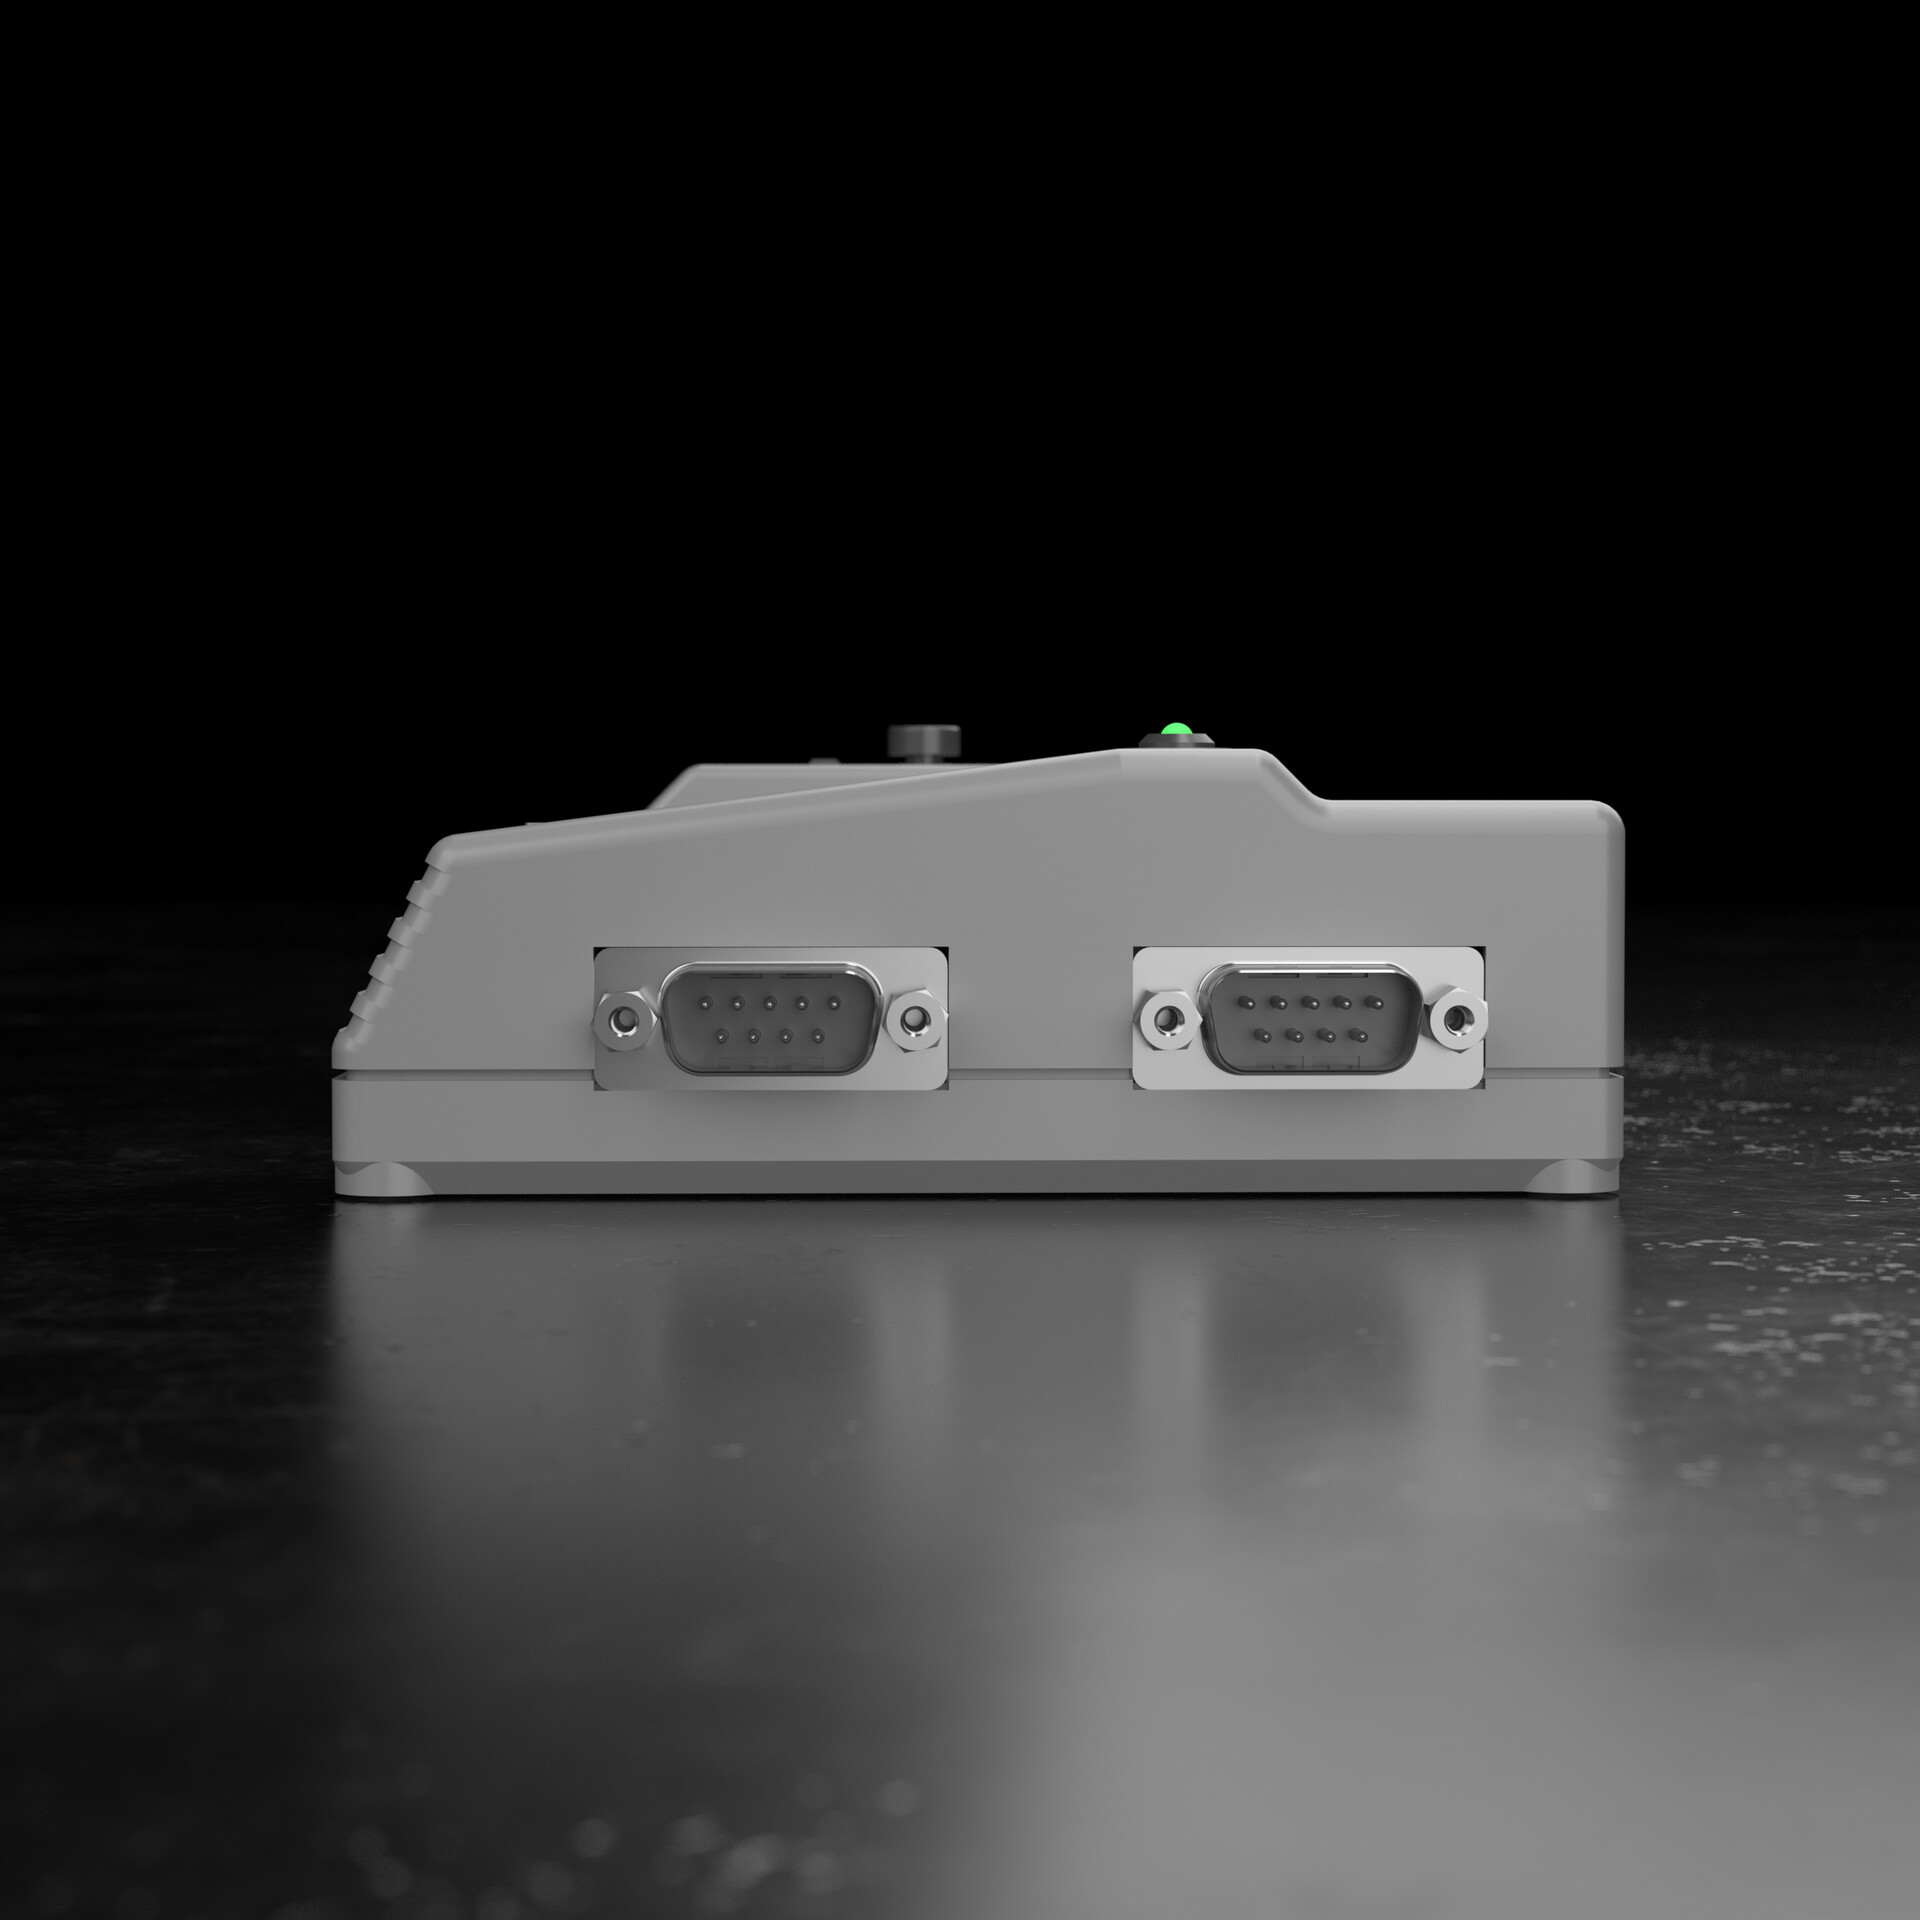
- DSub 9 joystick ports
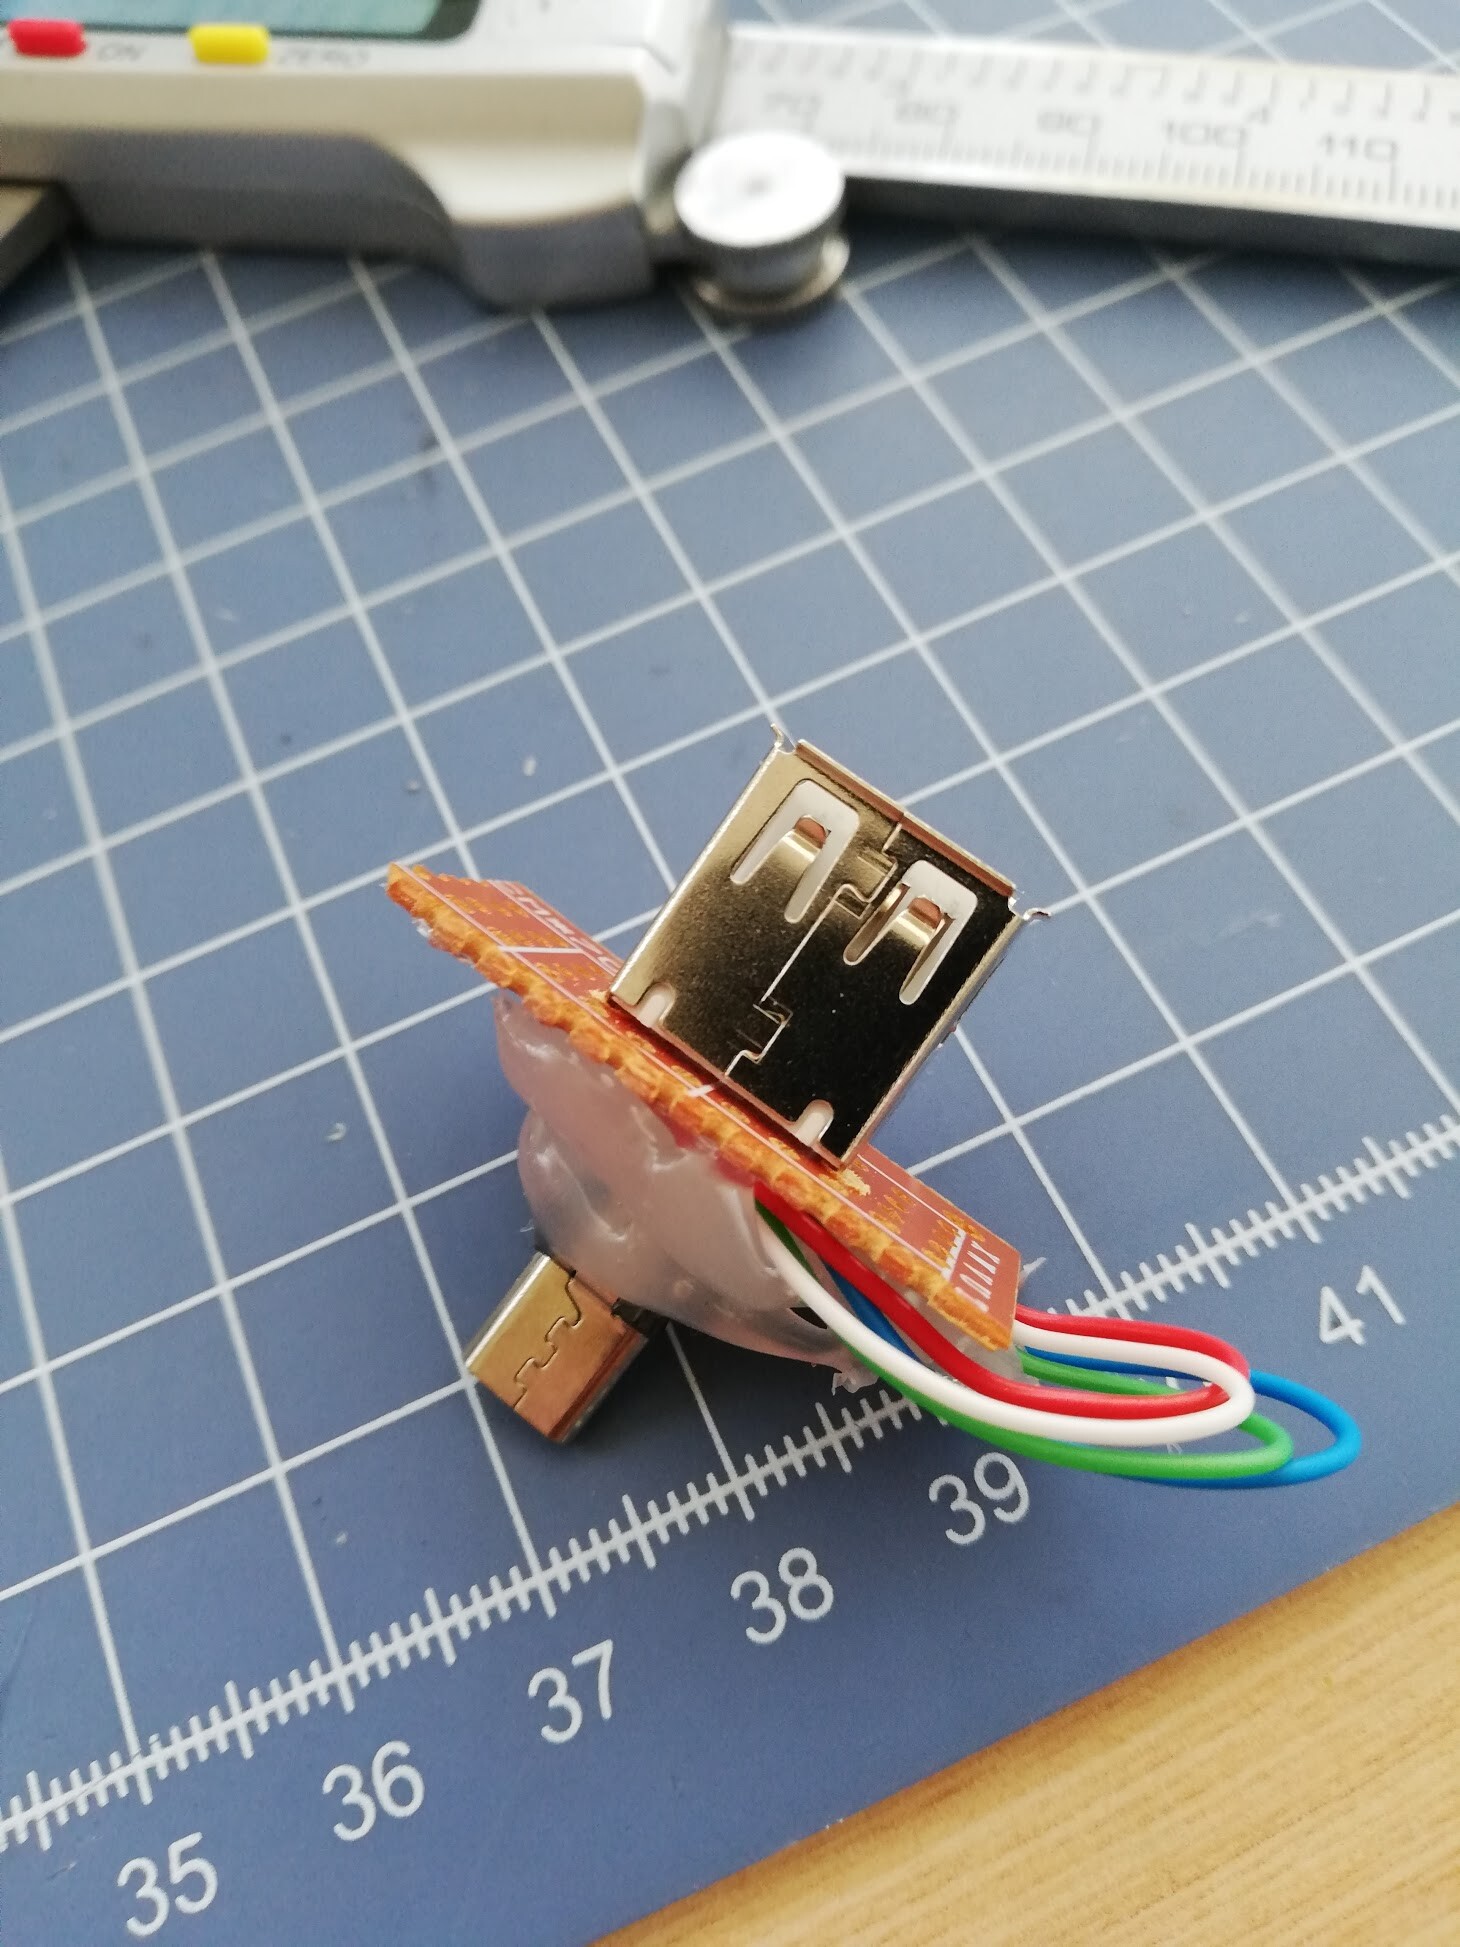
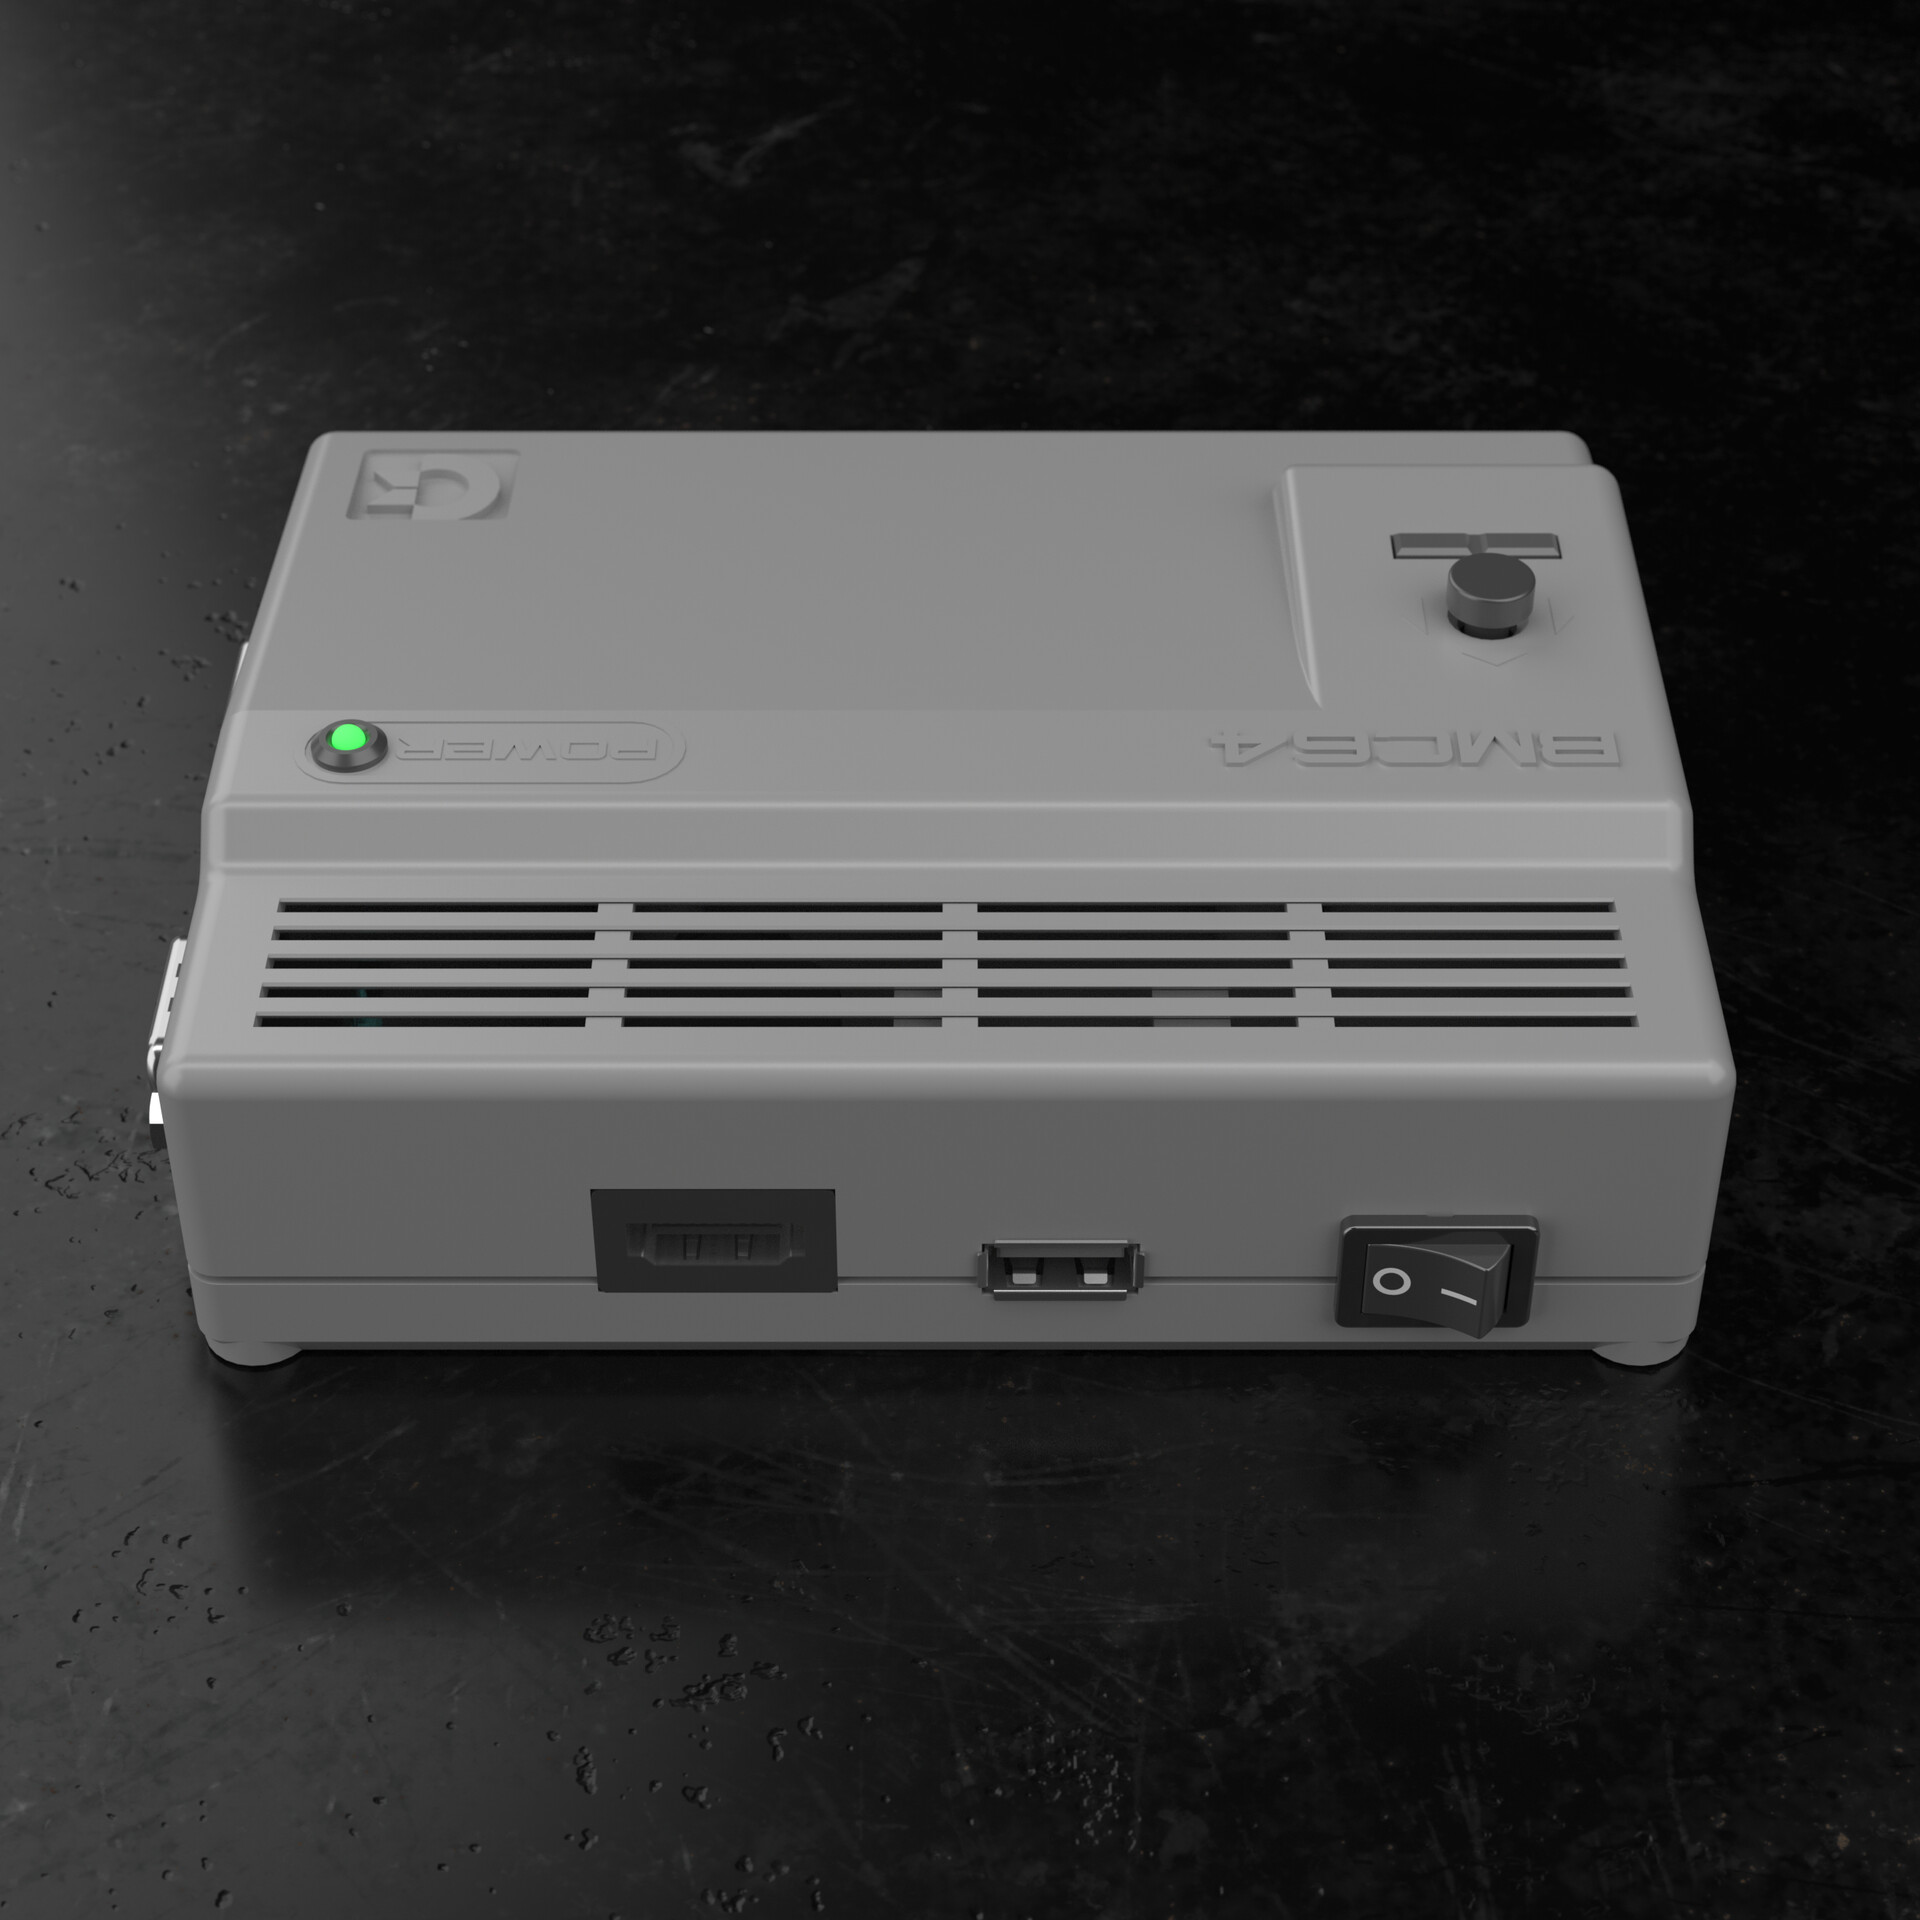
- Micro to standard USB expansion
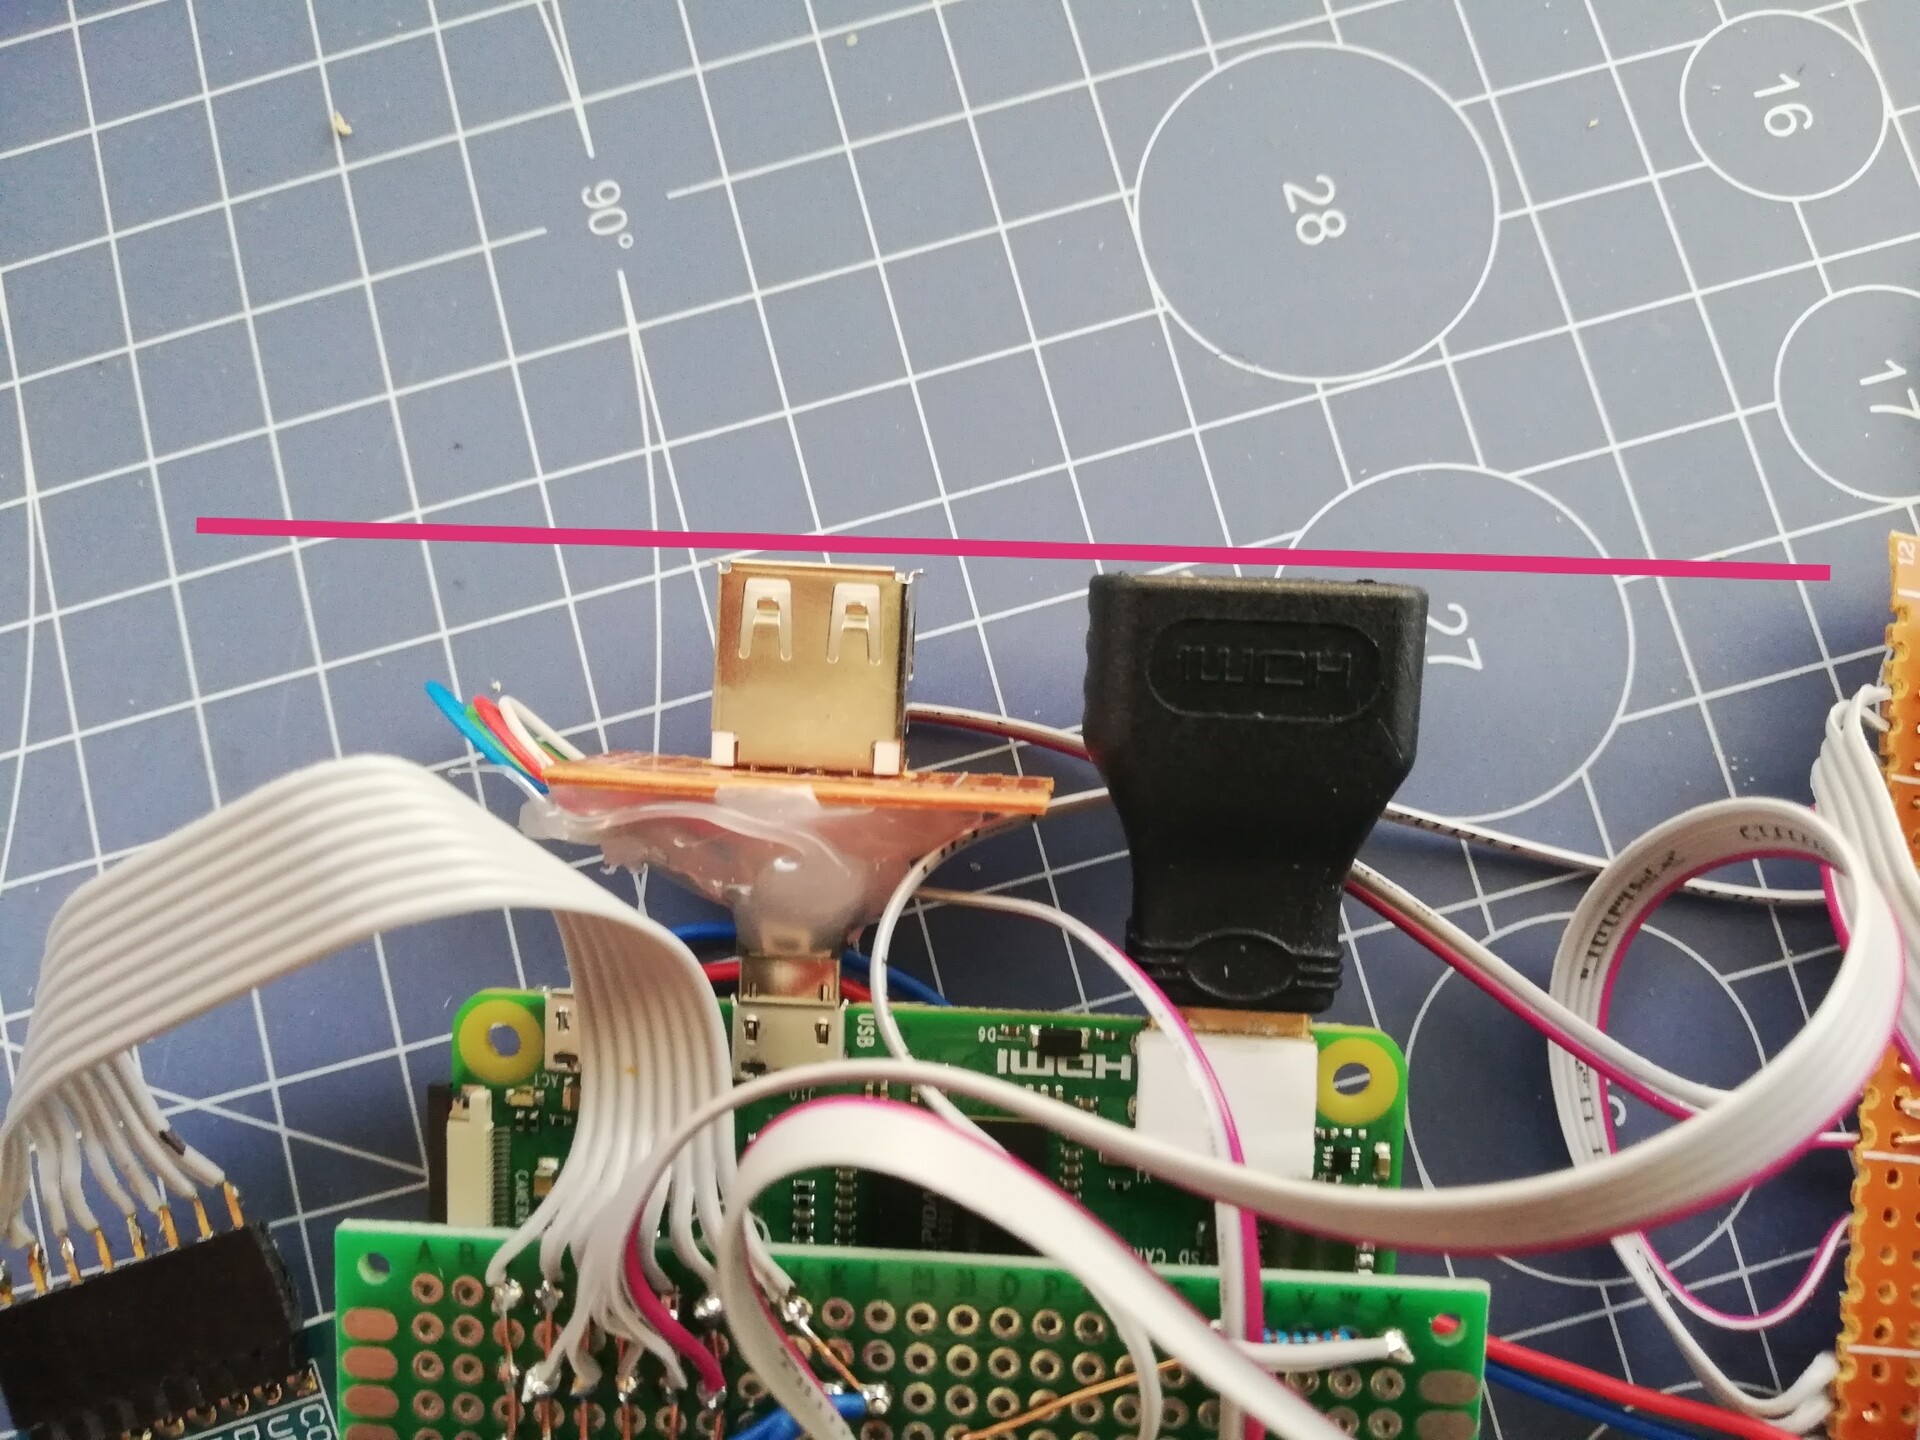
- Mini to Standard HDMI extension
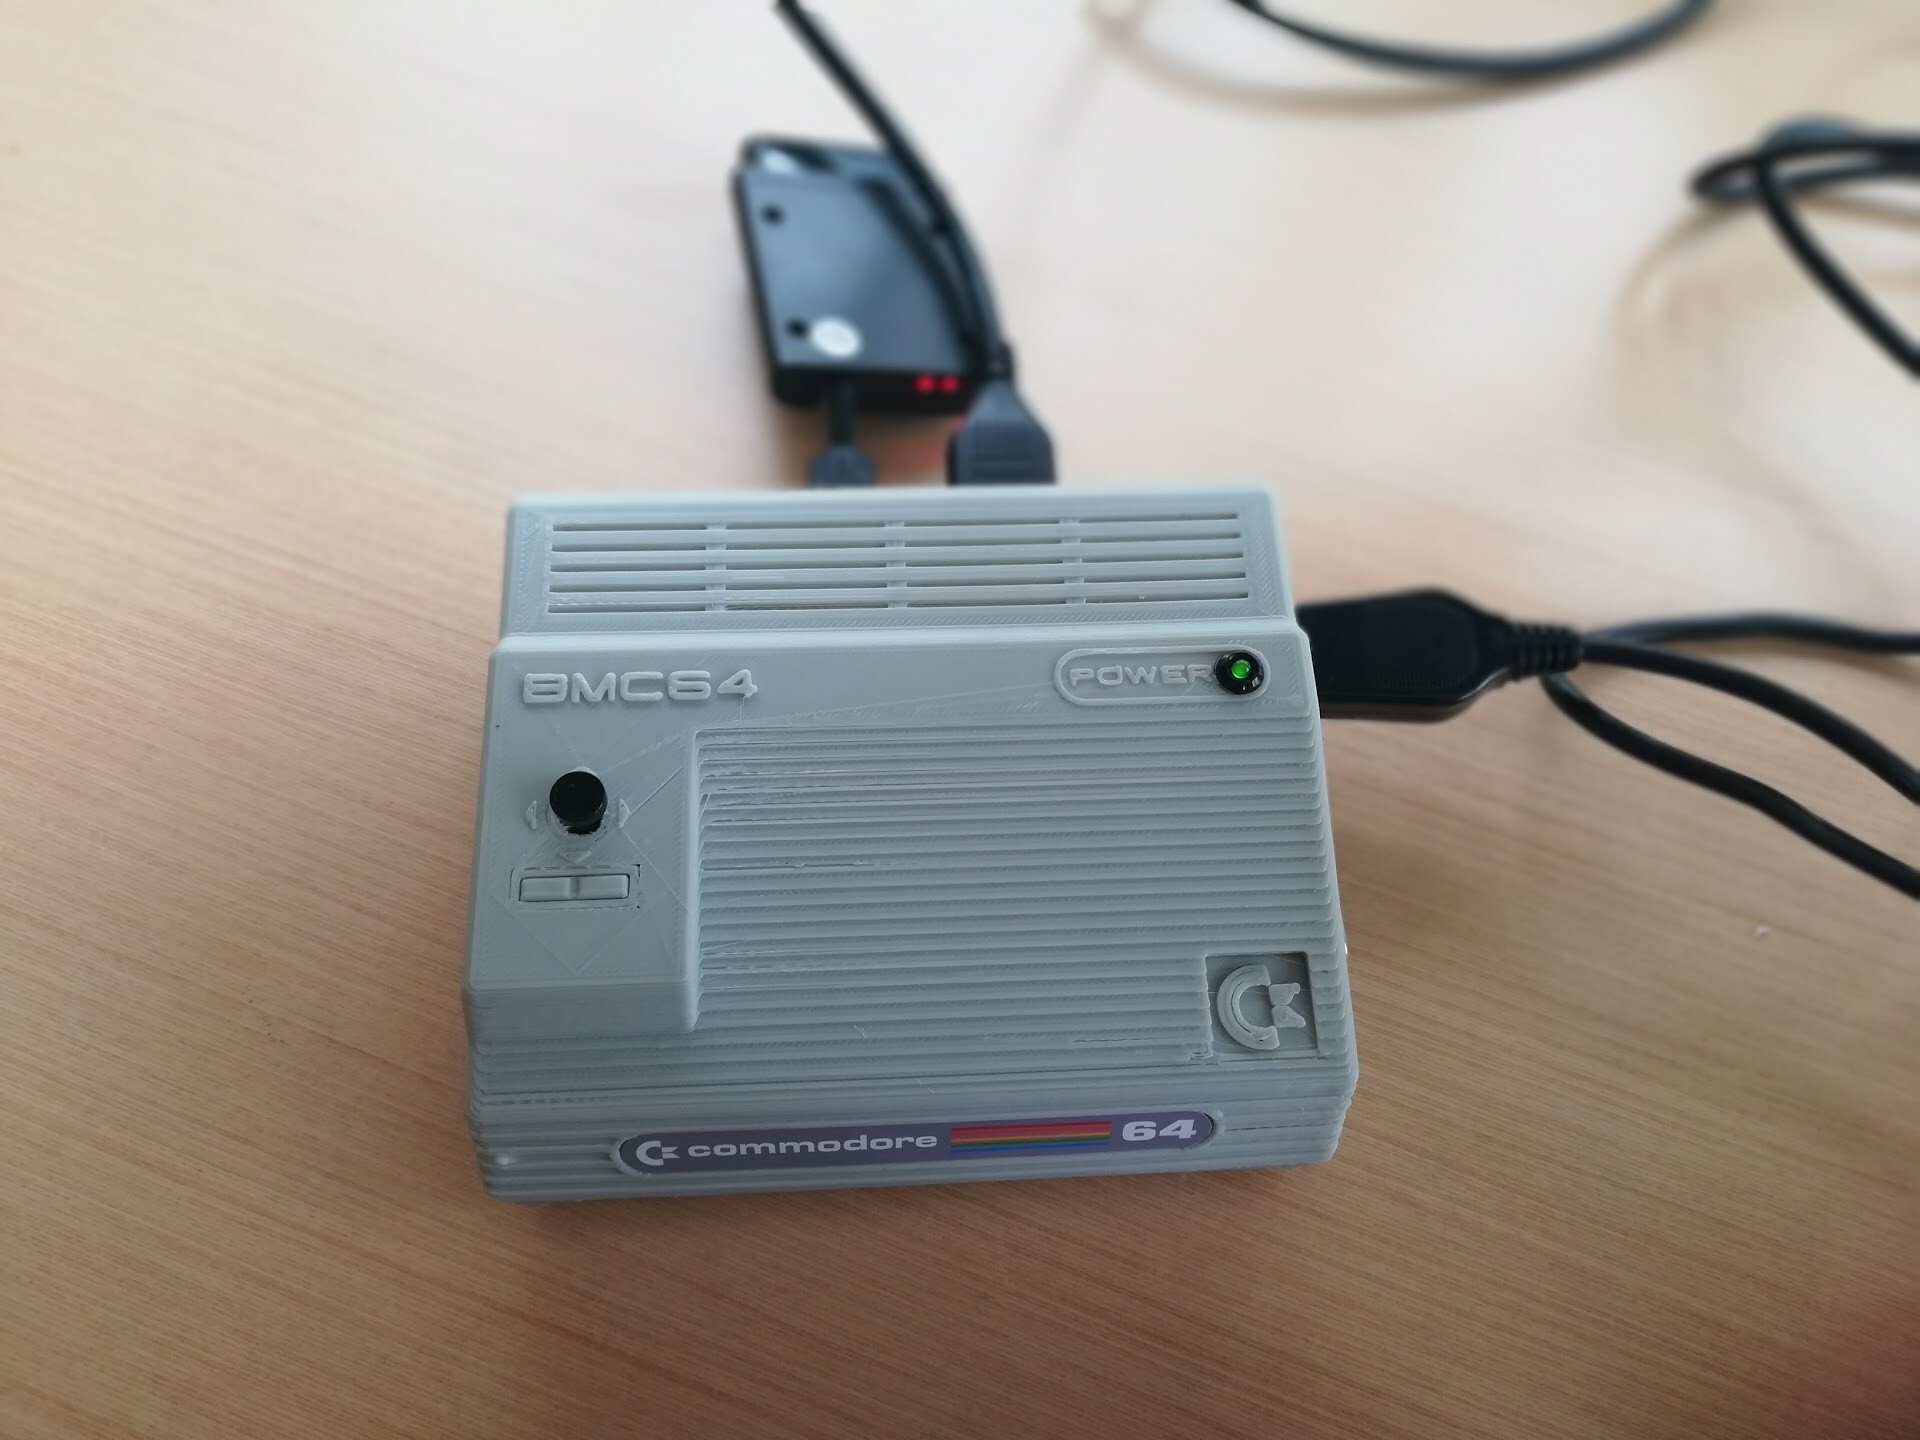
- And finally an On/Off Switch
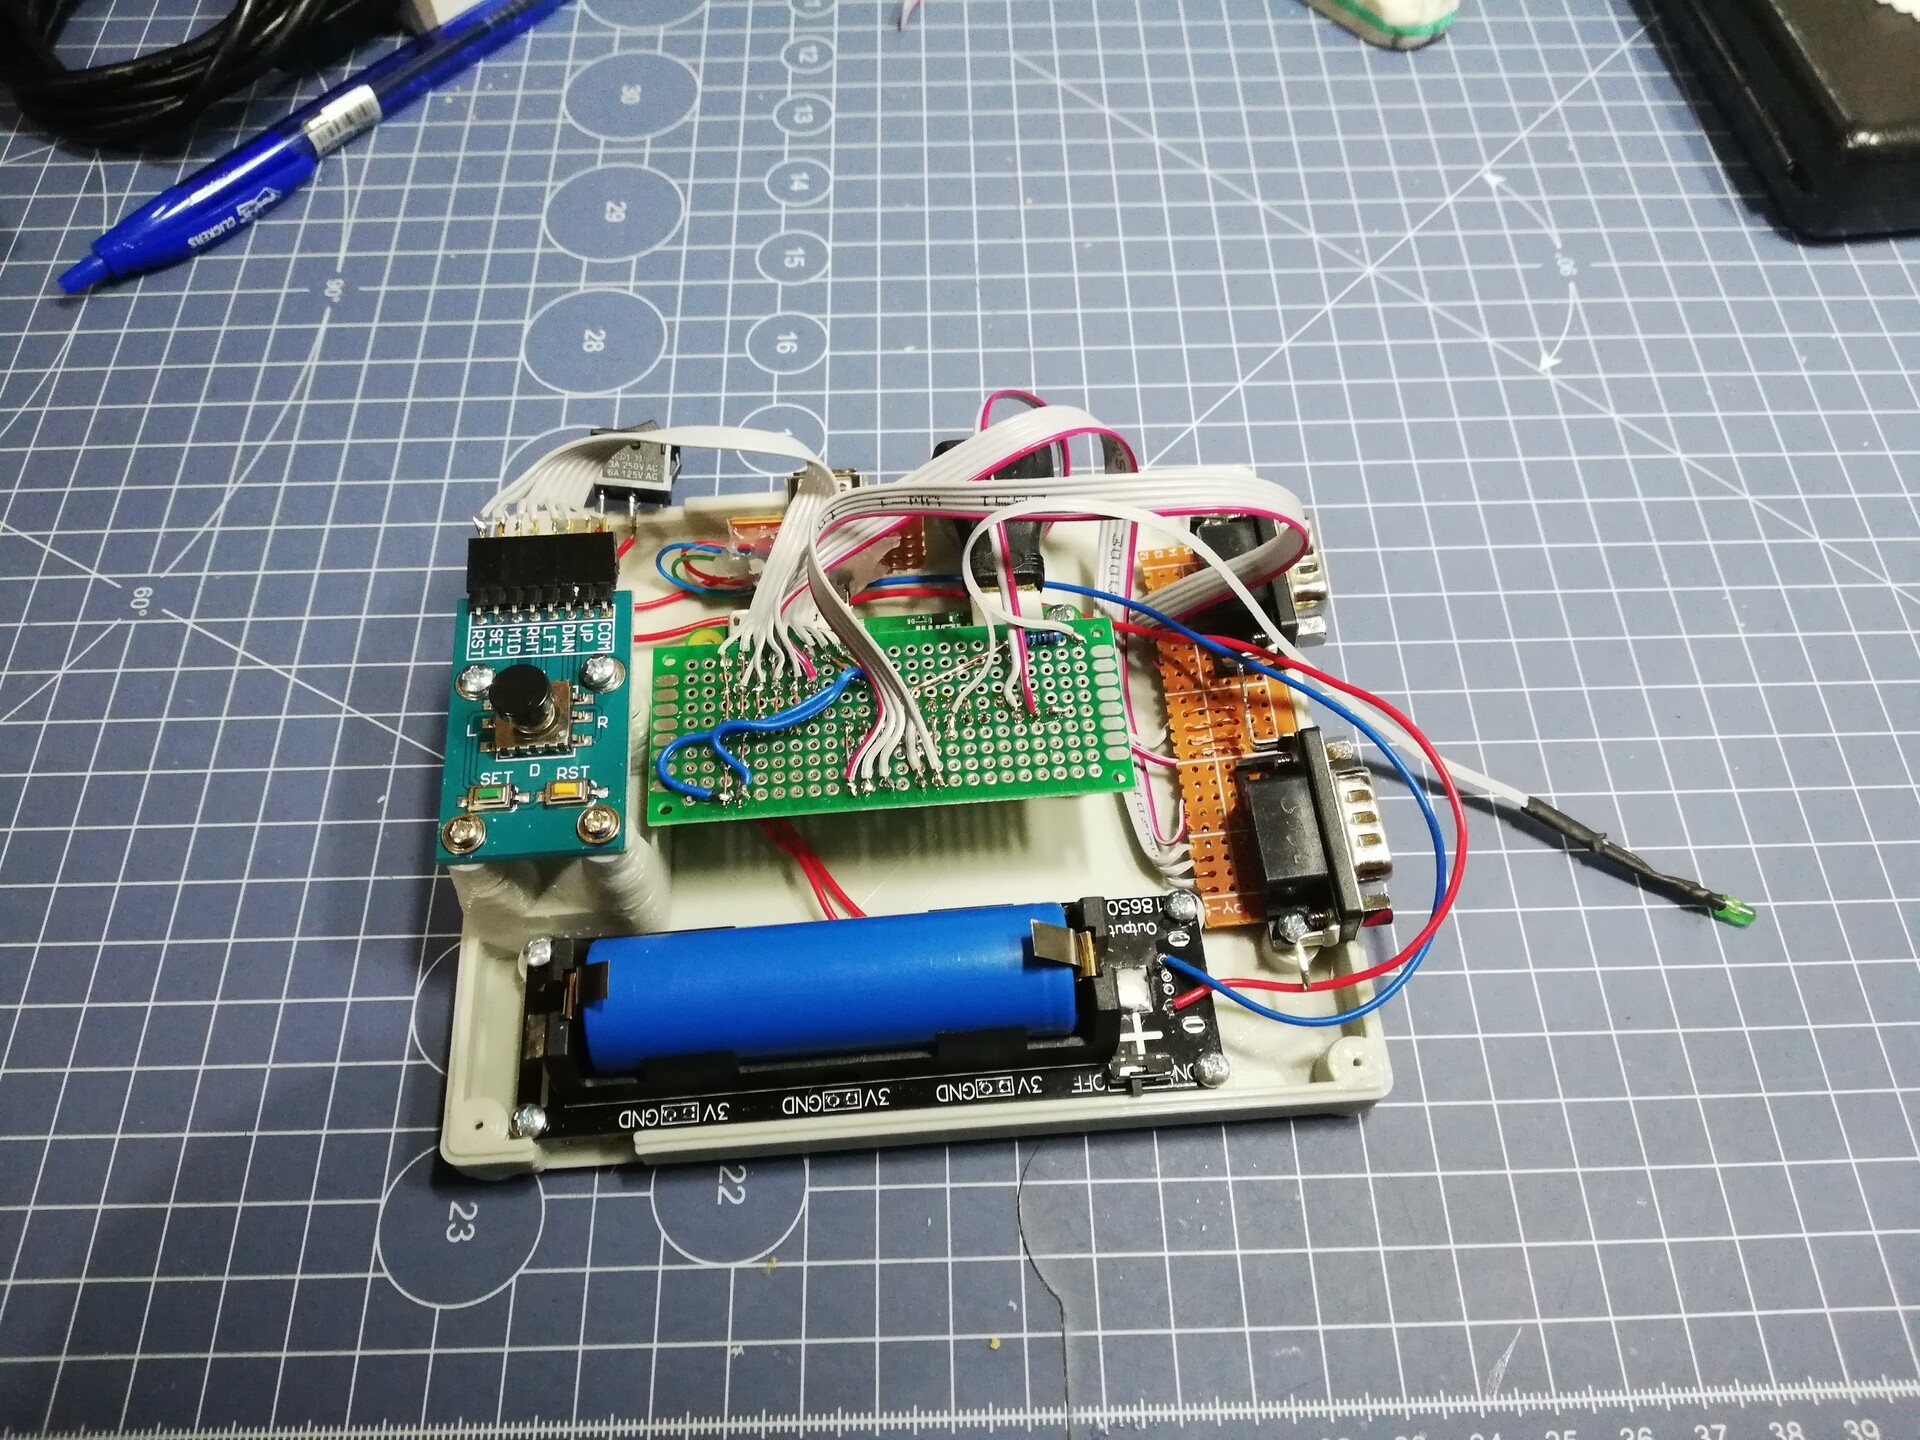
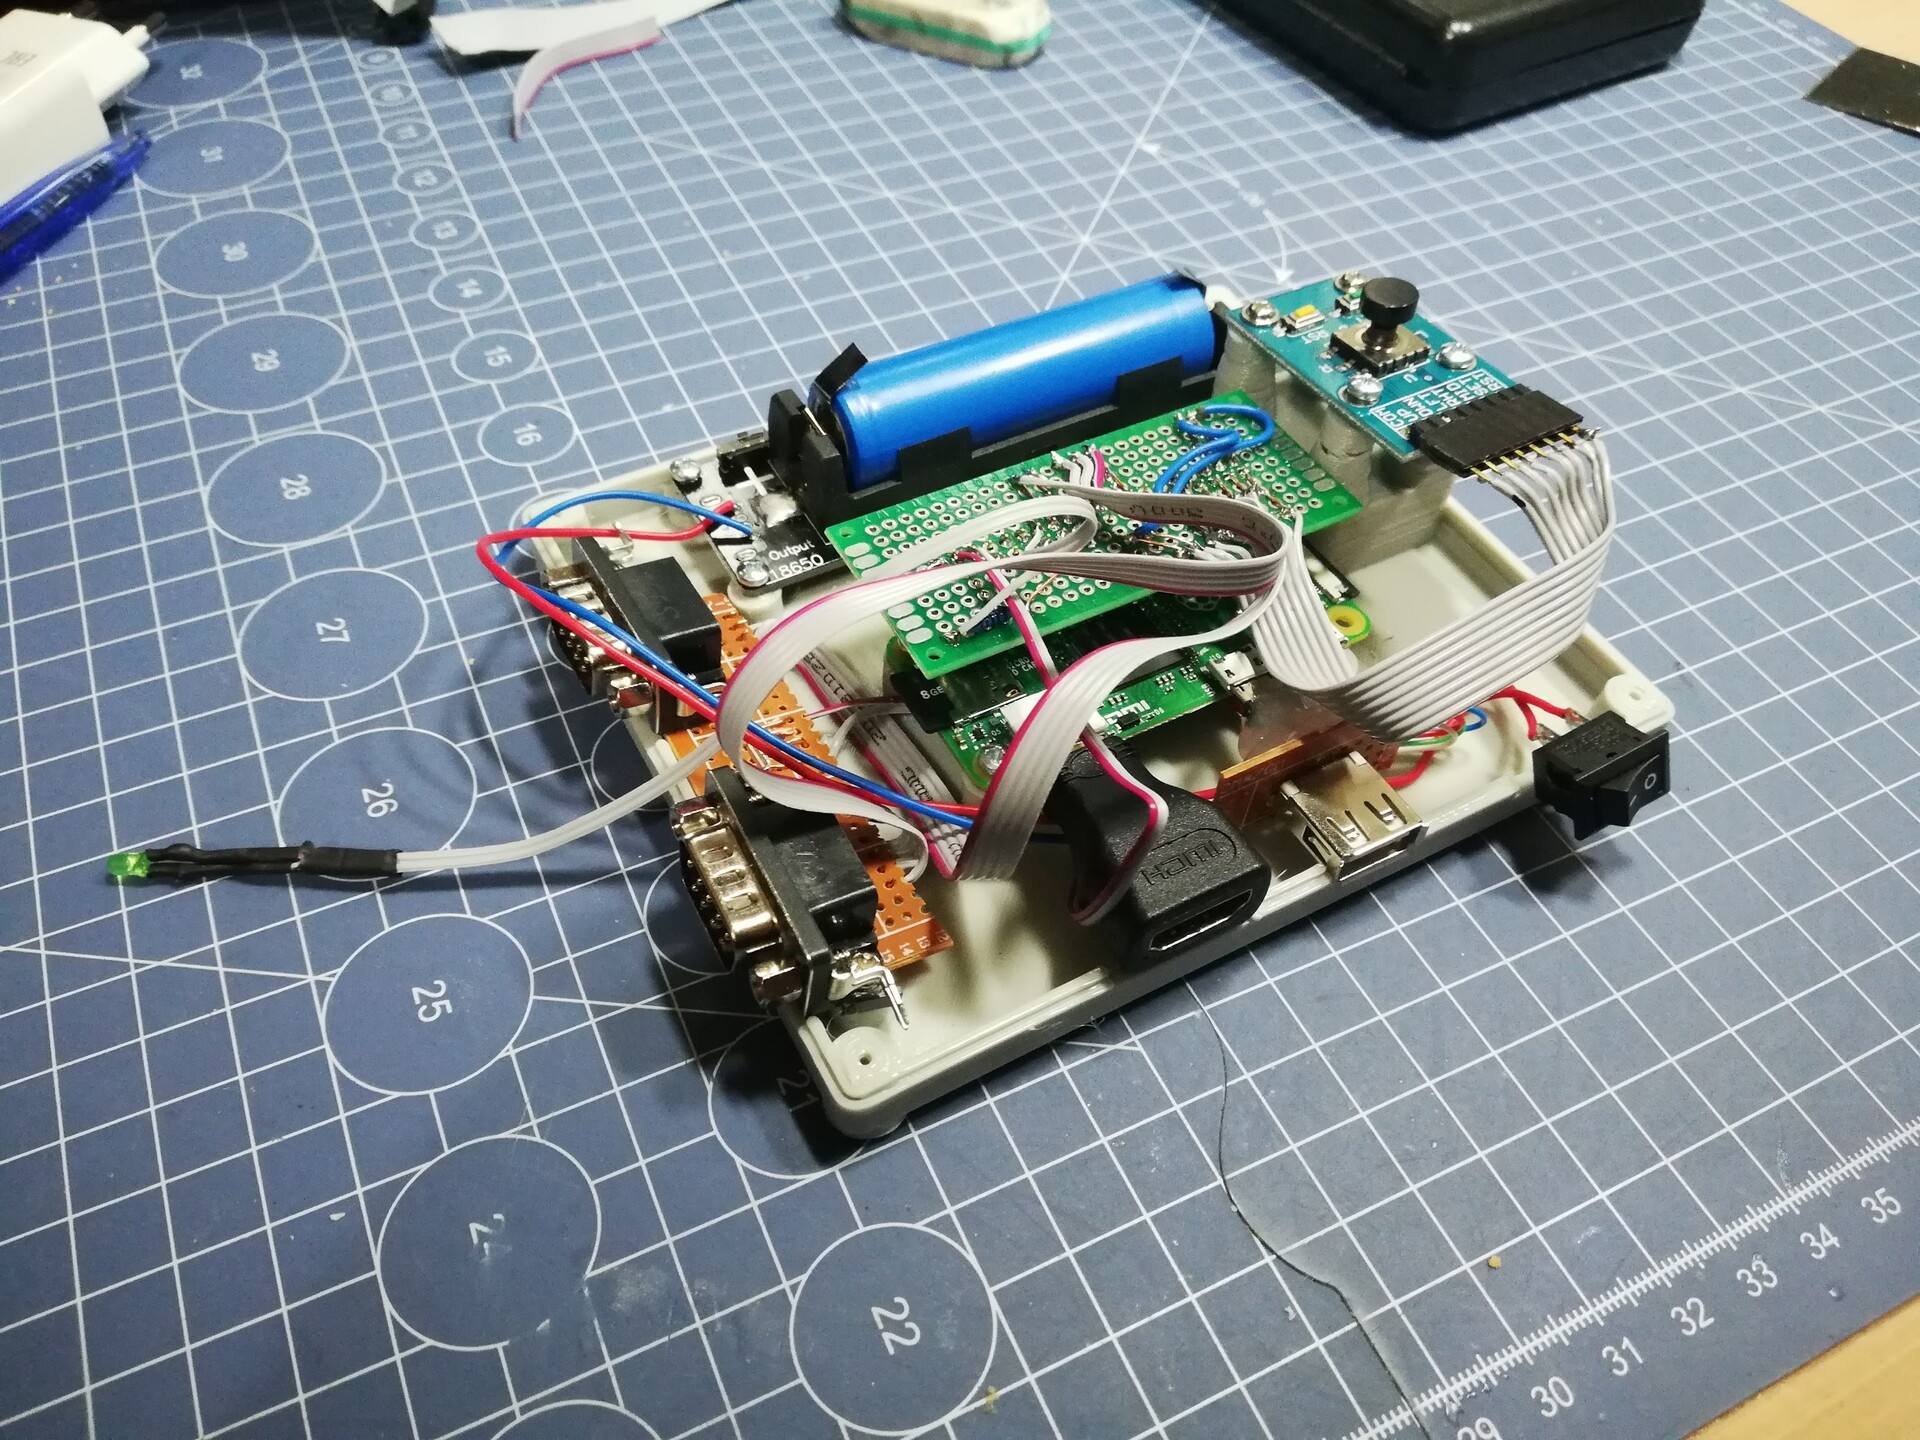
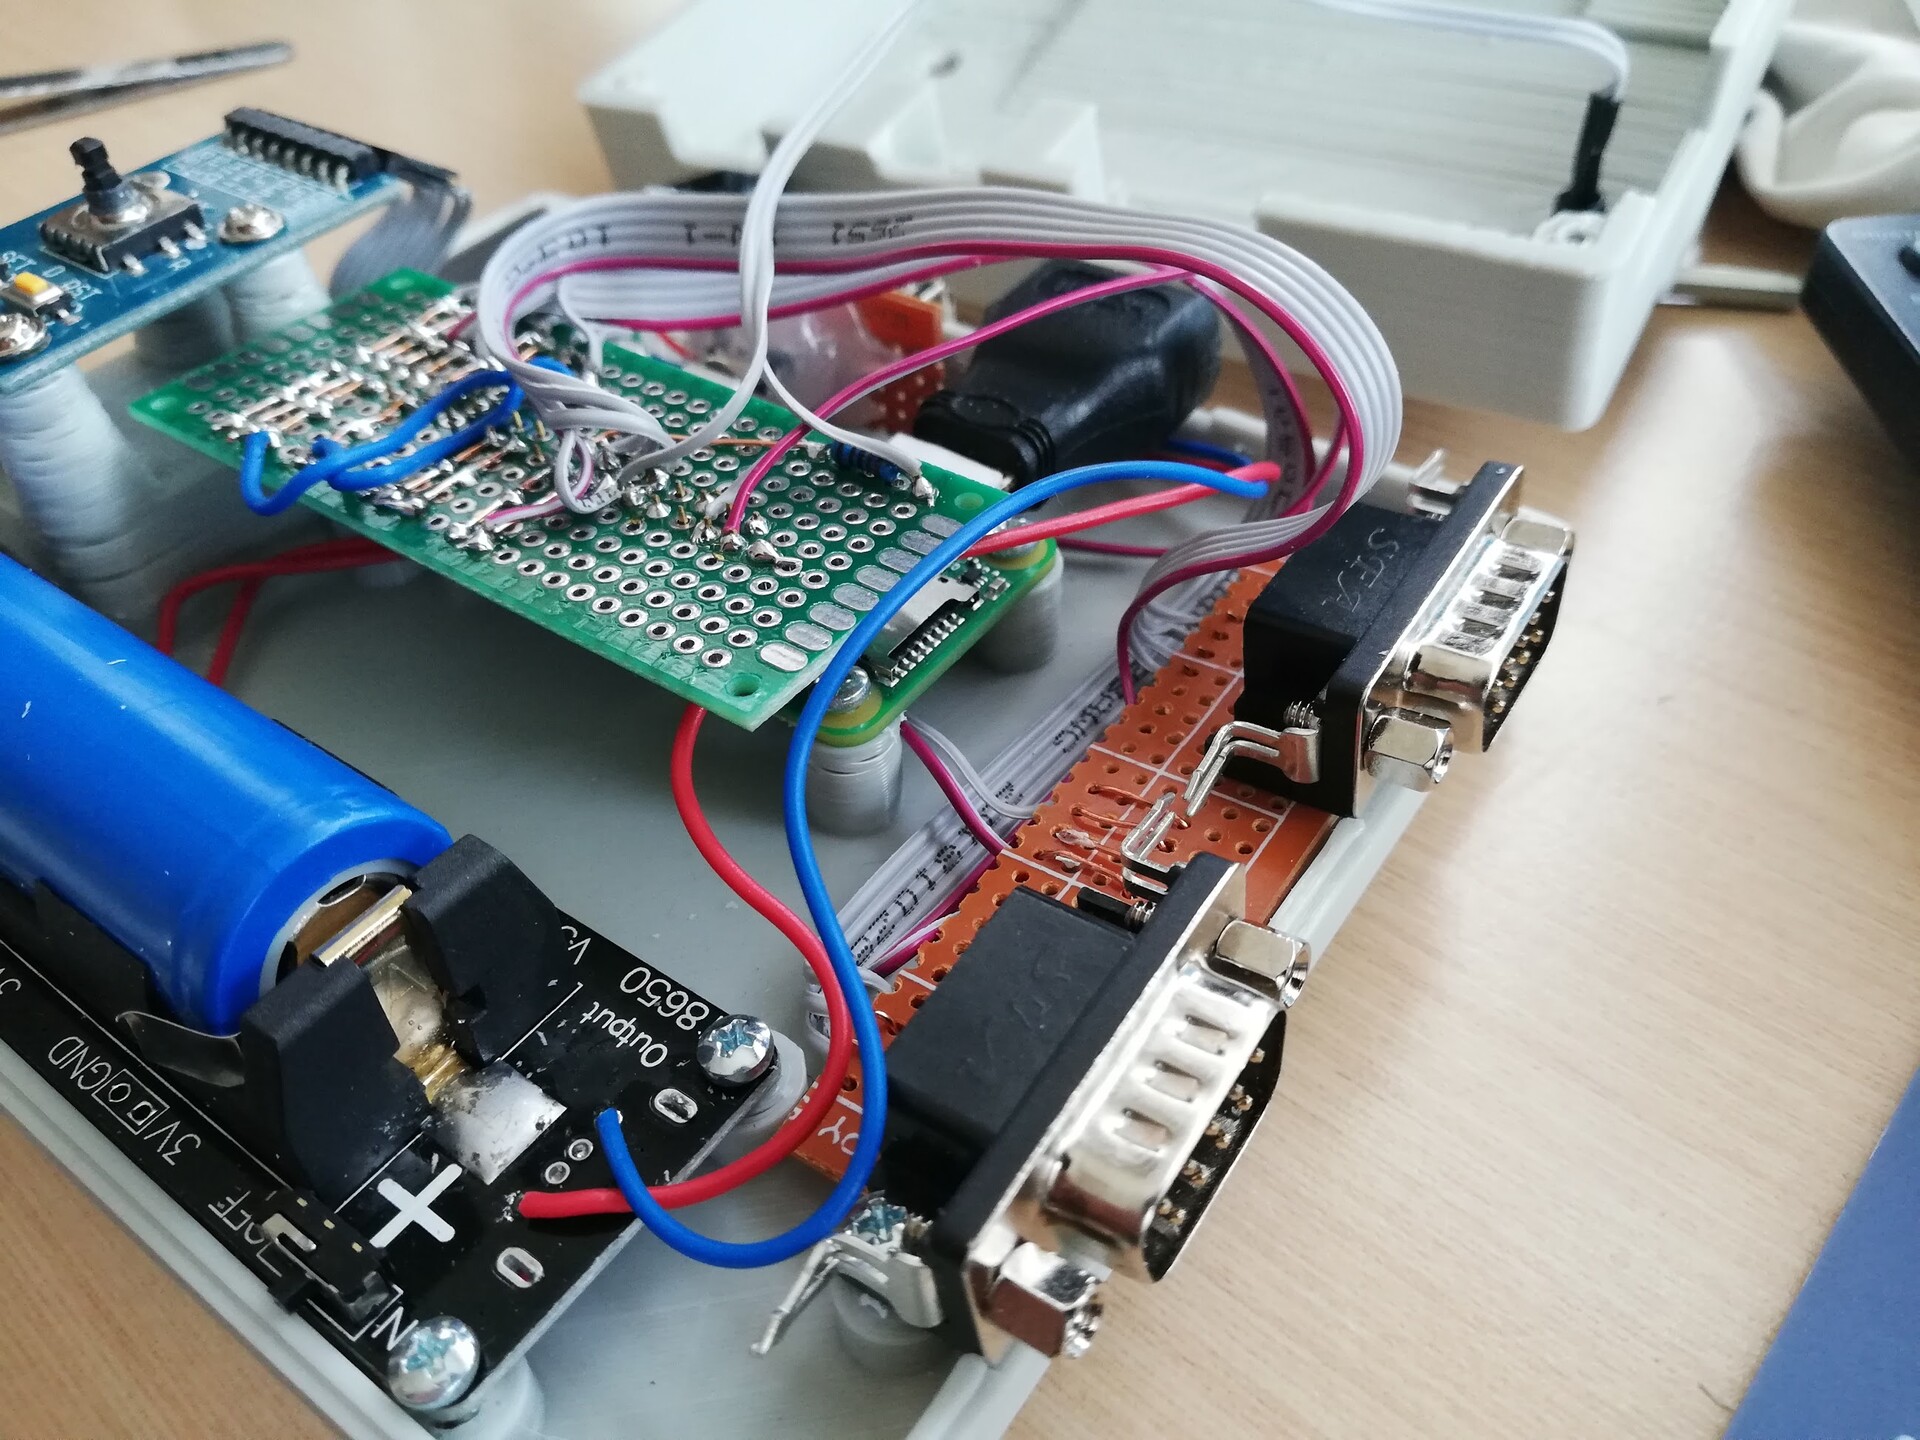
I started to solder the ports I needed by connecting the to some prototyping boards.

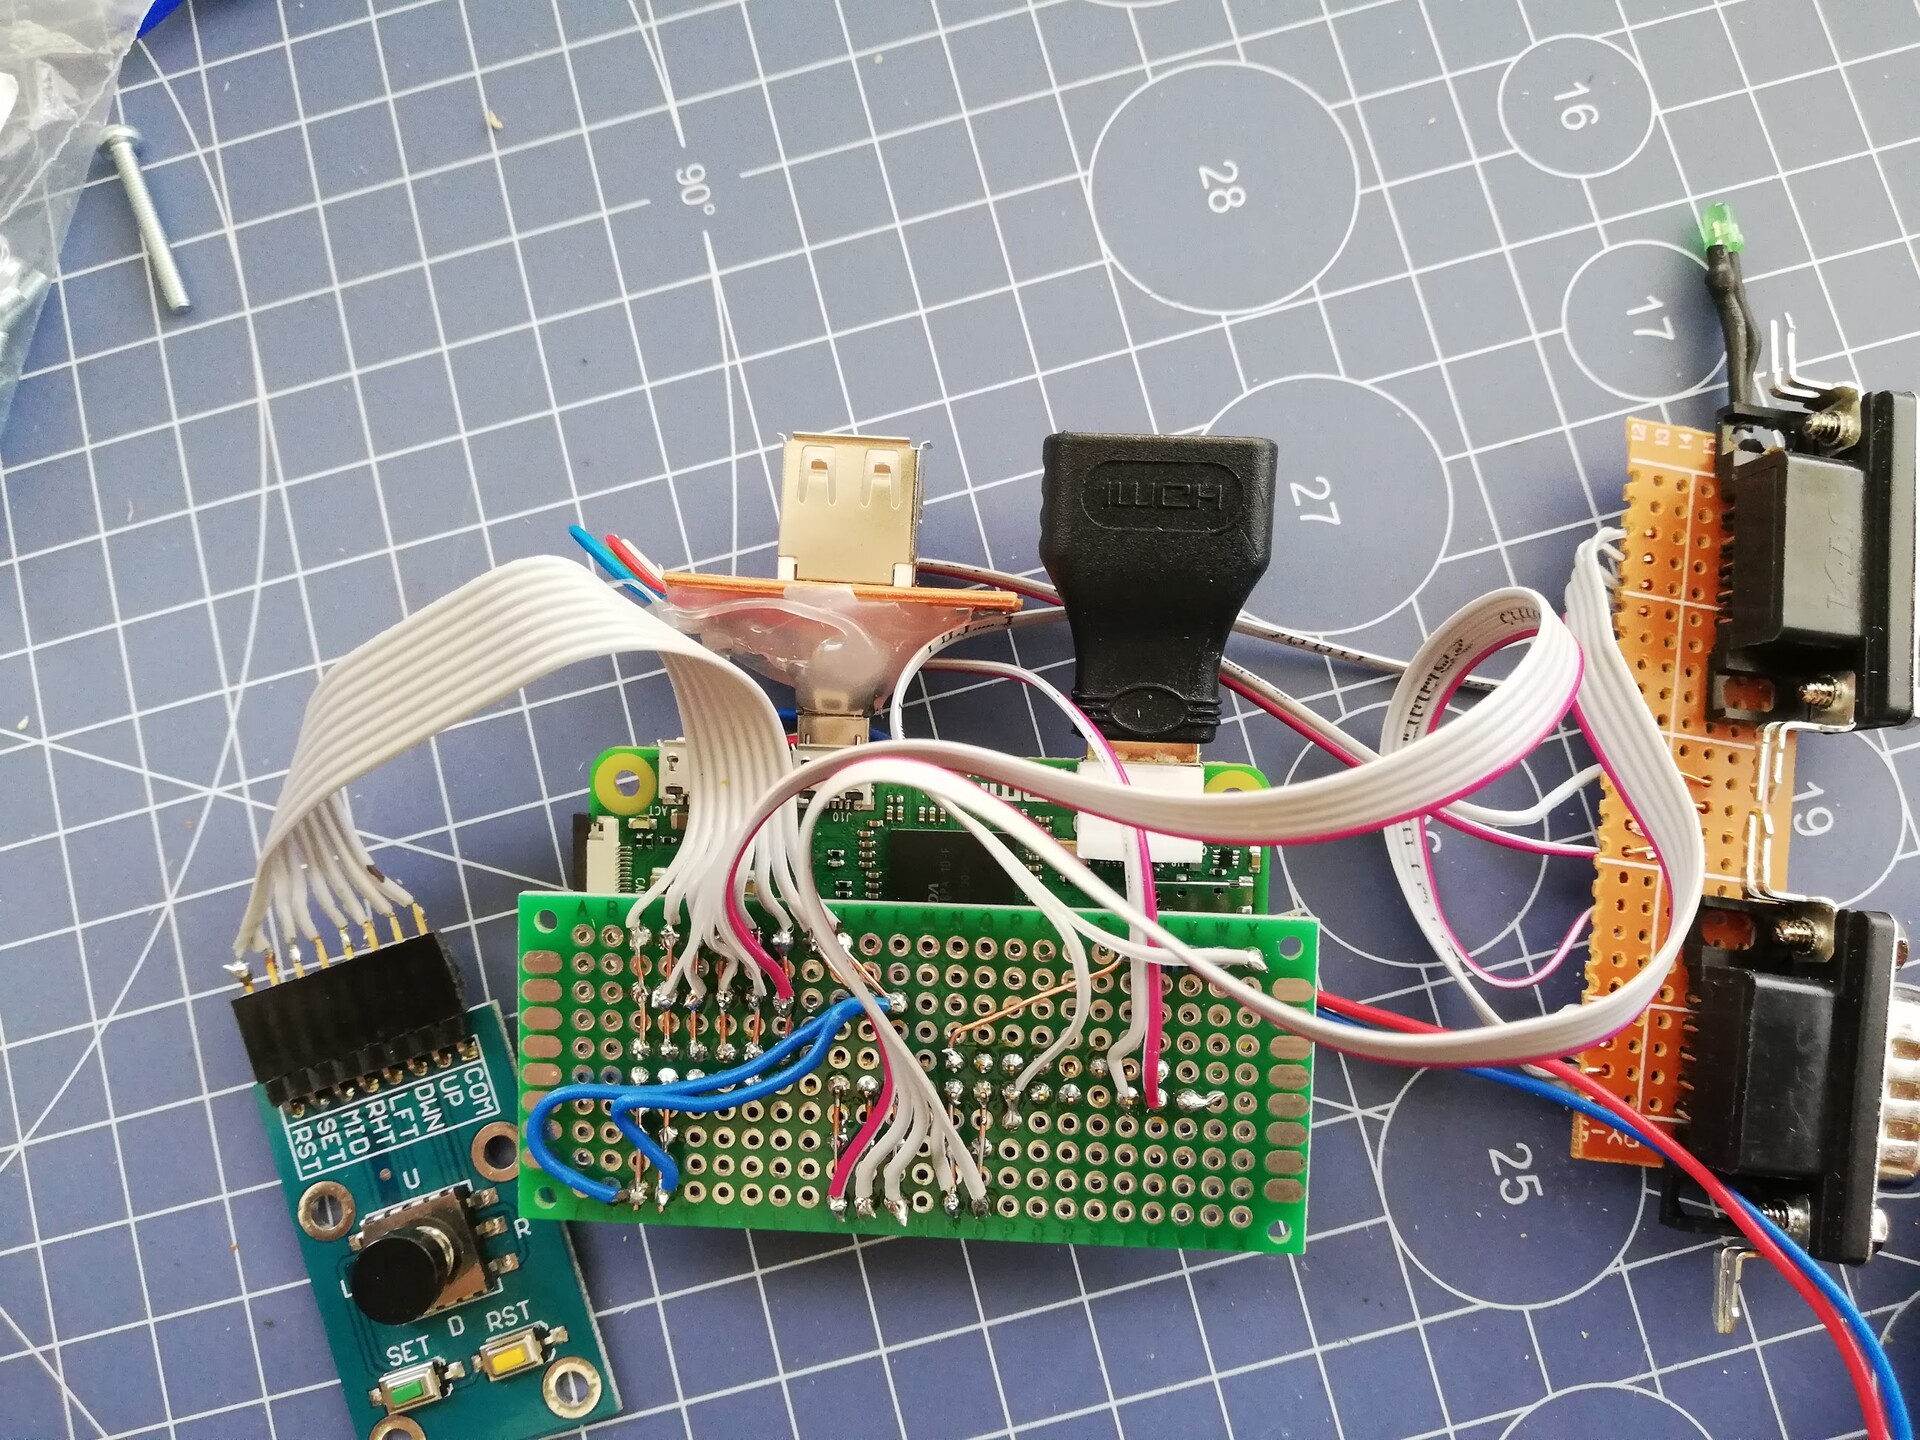
Raspberry Pi Zero has micro USB and mini HDMI inputs. This makes it harder to connect standart USB devices or standard USB HDMI cables to it. So I made a simple micro USB converter. I made this converter to align with the end of the HDMI port converter piece.
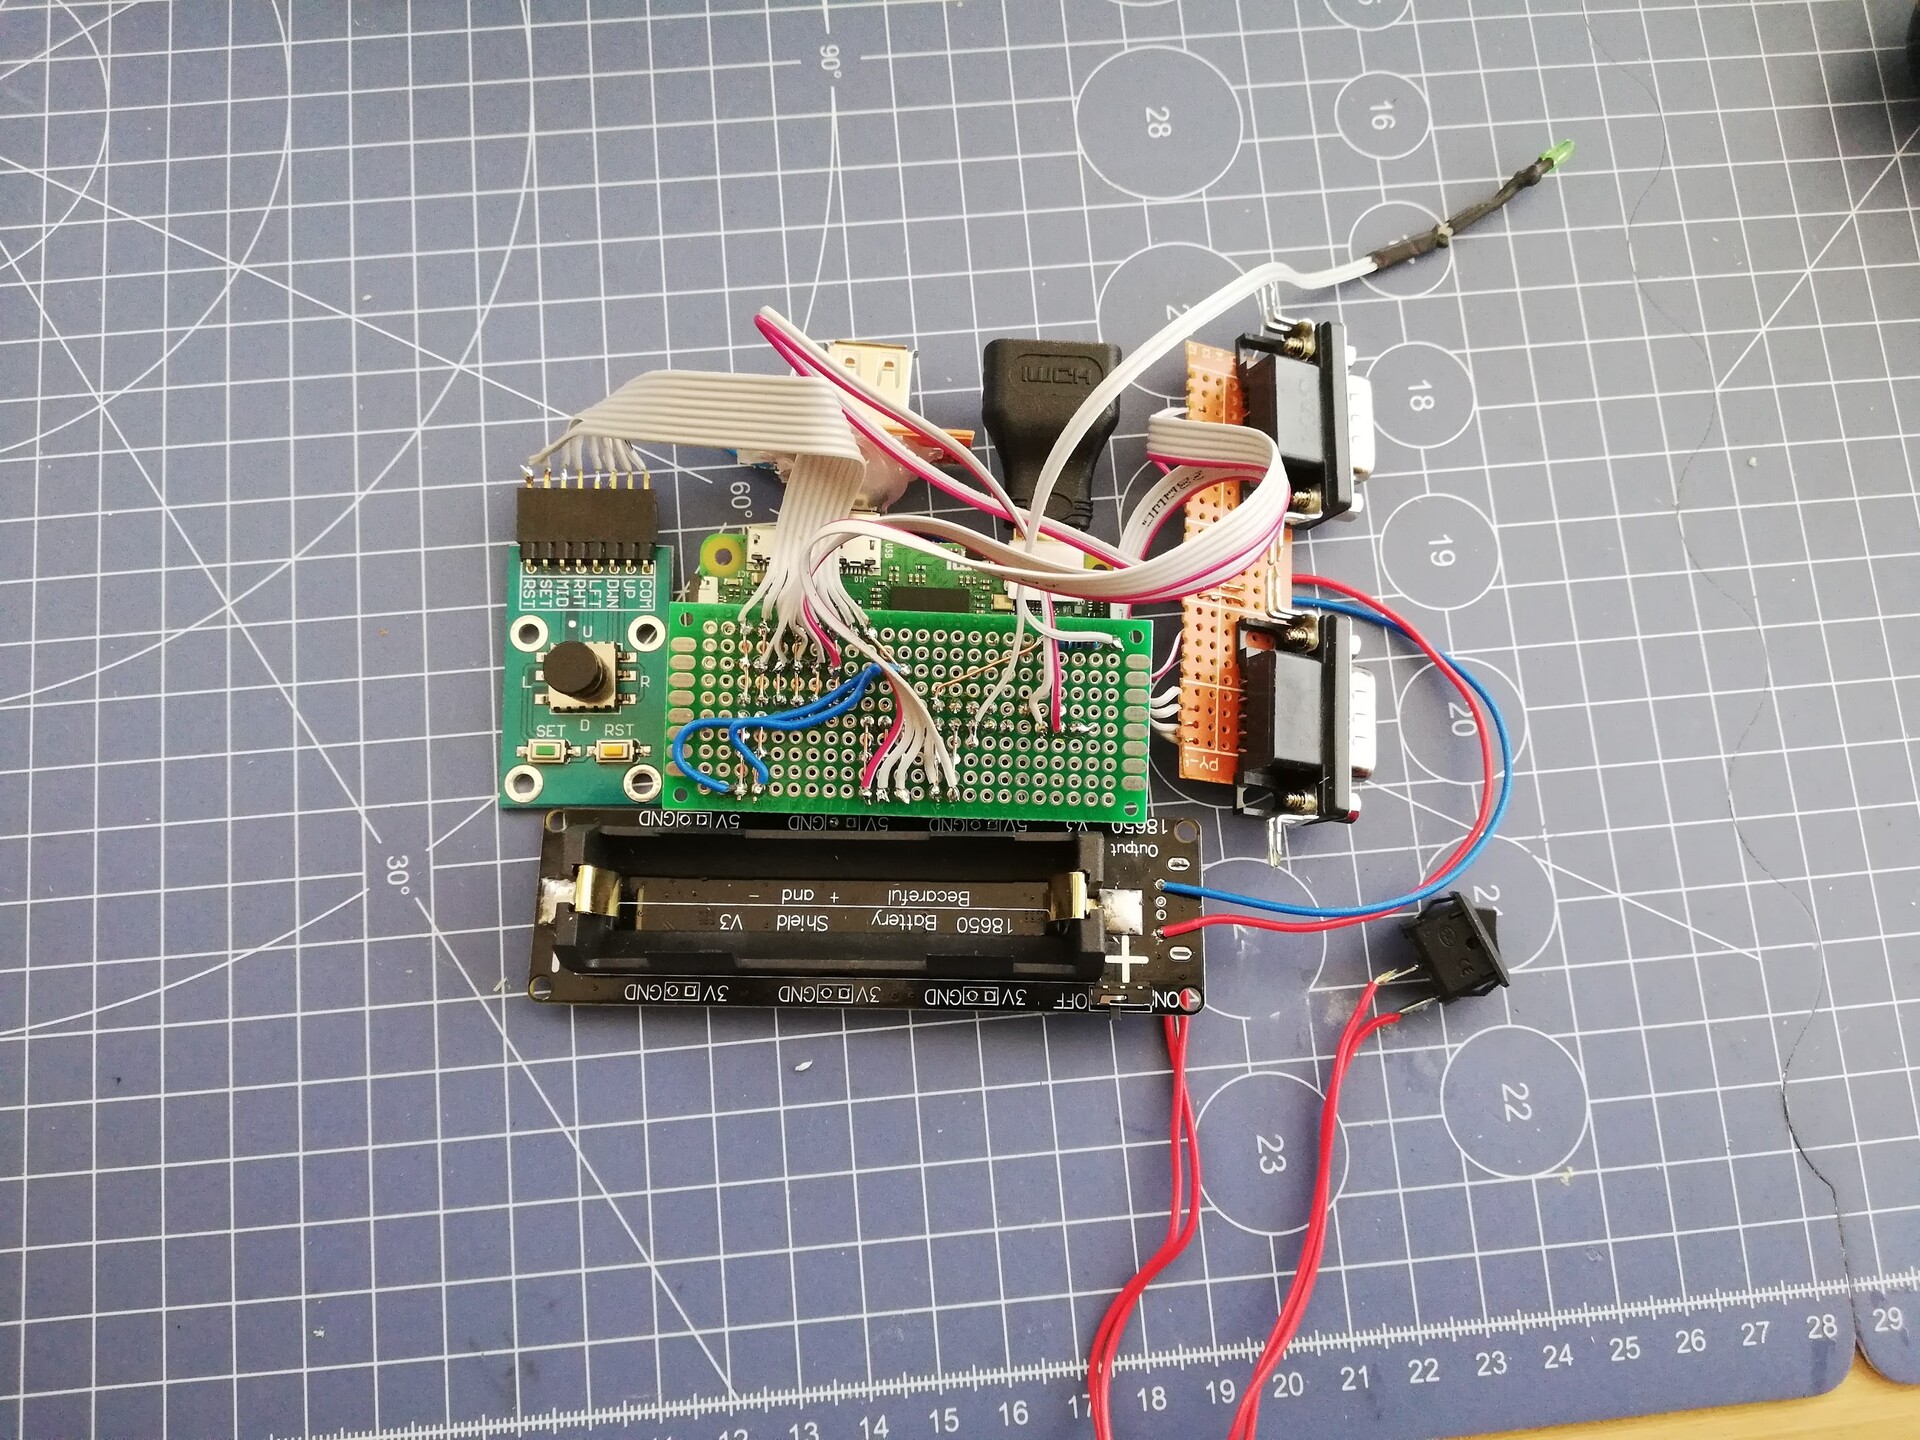
By adding the charge unit and the battery, I gathered all the objects, made a placement on the table to use it as a starter for the case design.
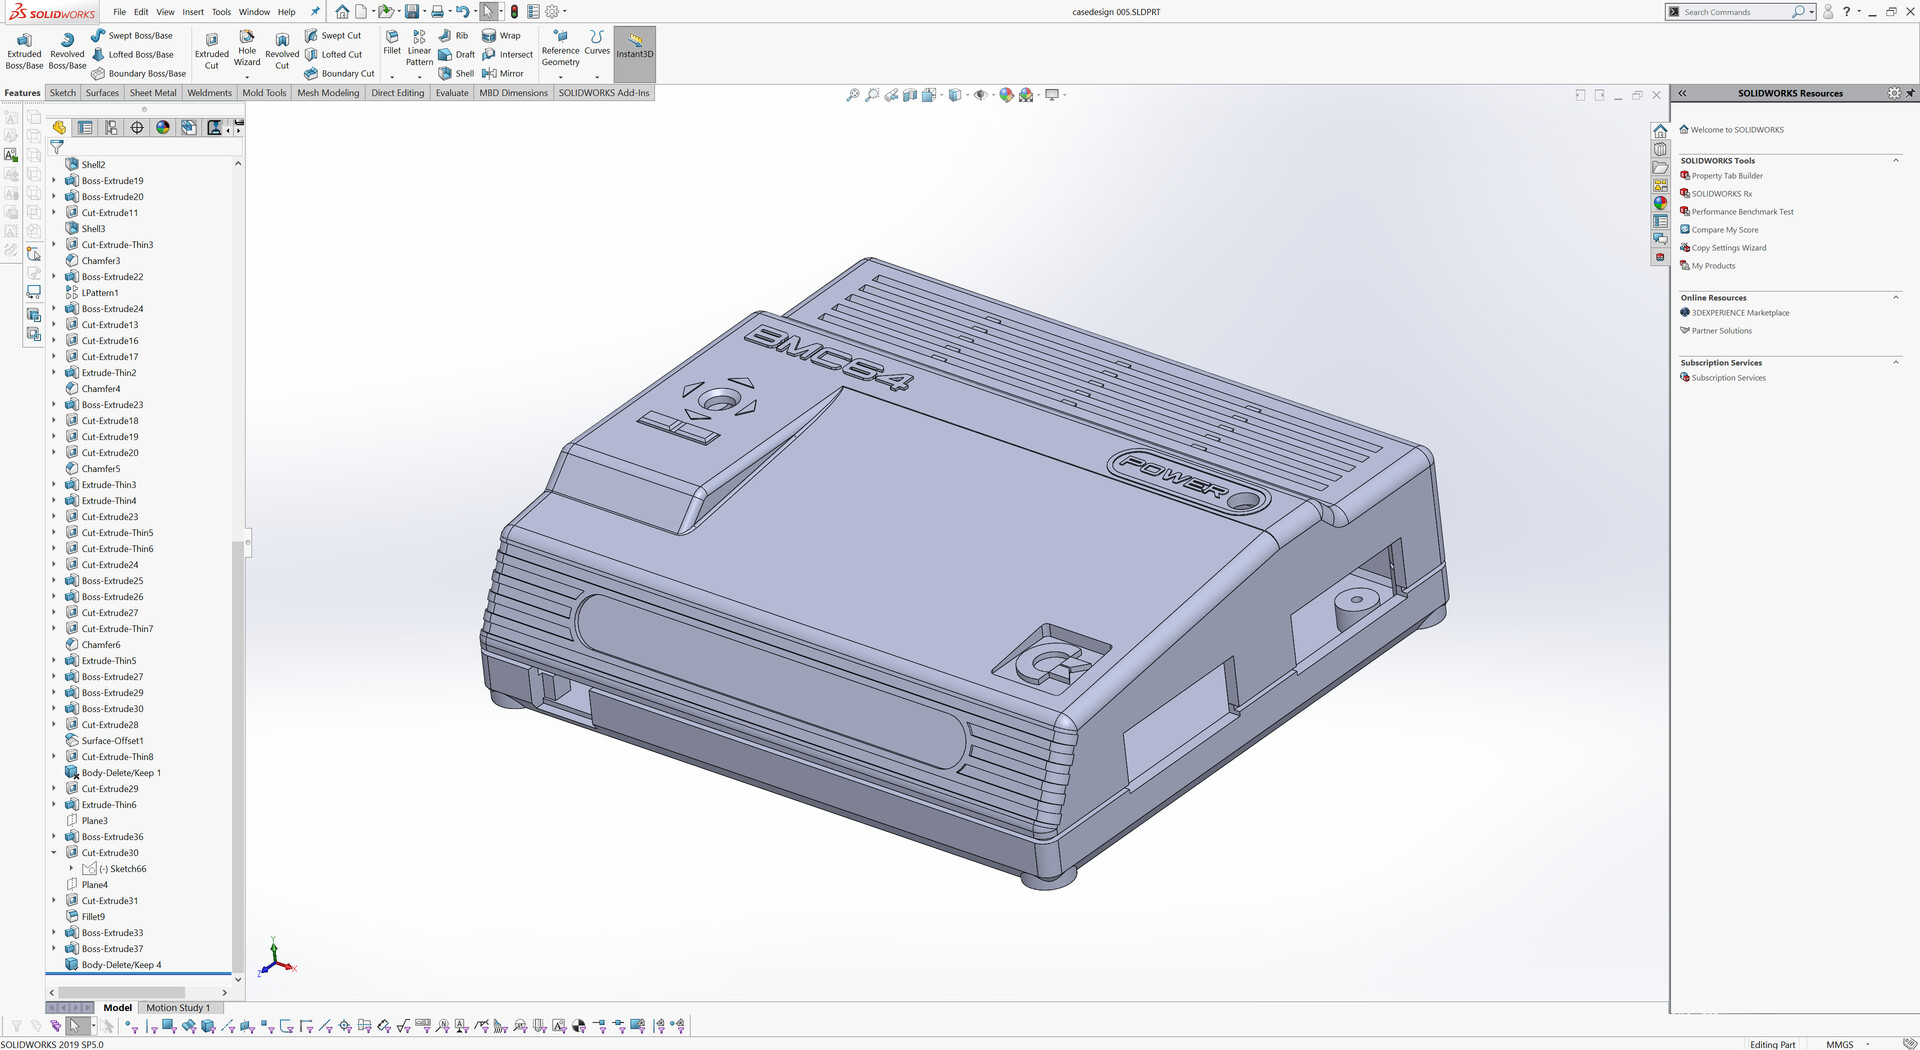
I use Solidworks to make the blockout of components and make the draft case design first.
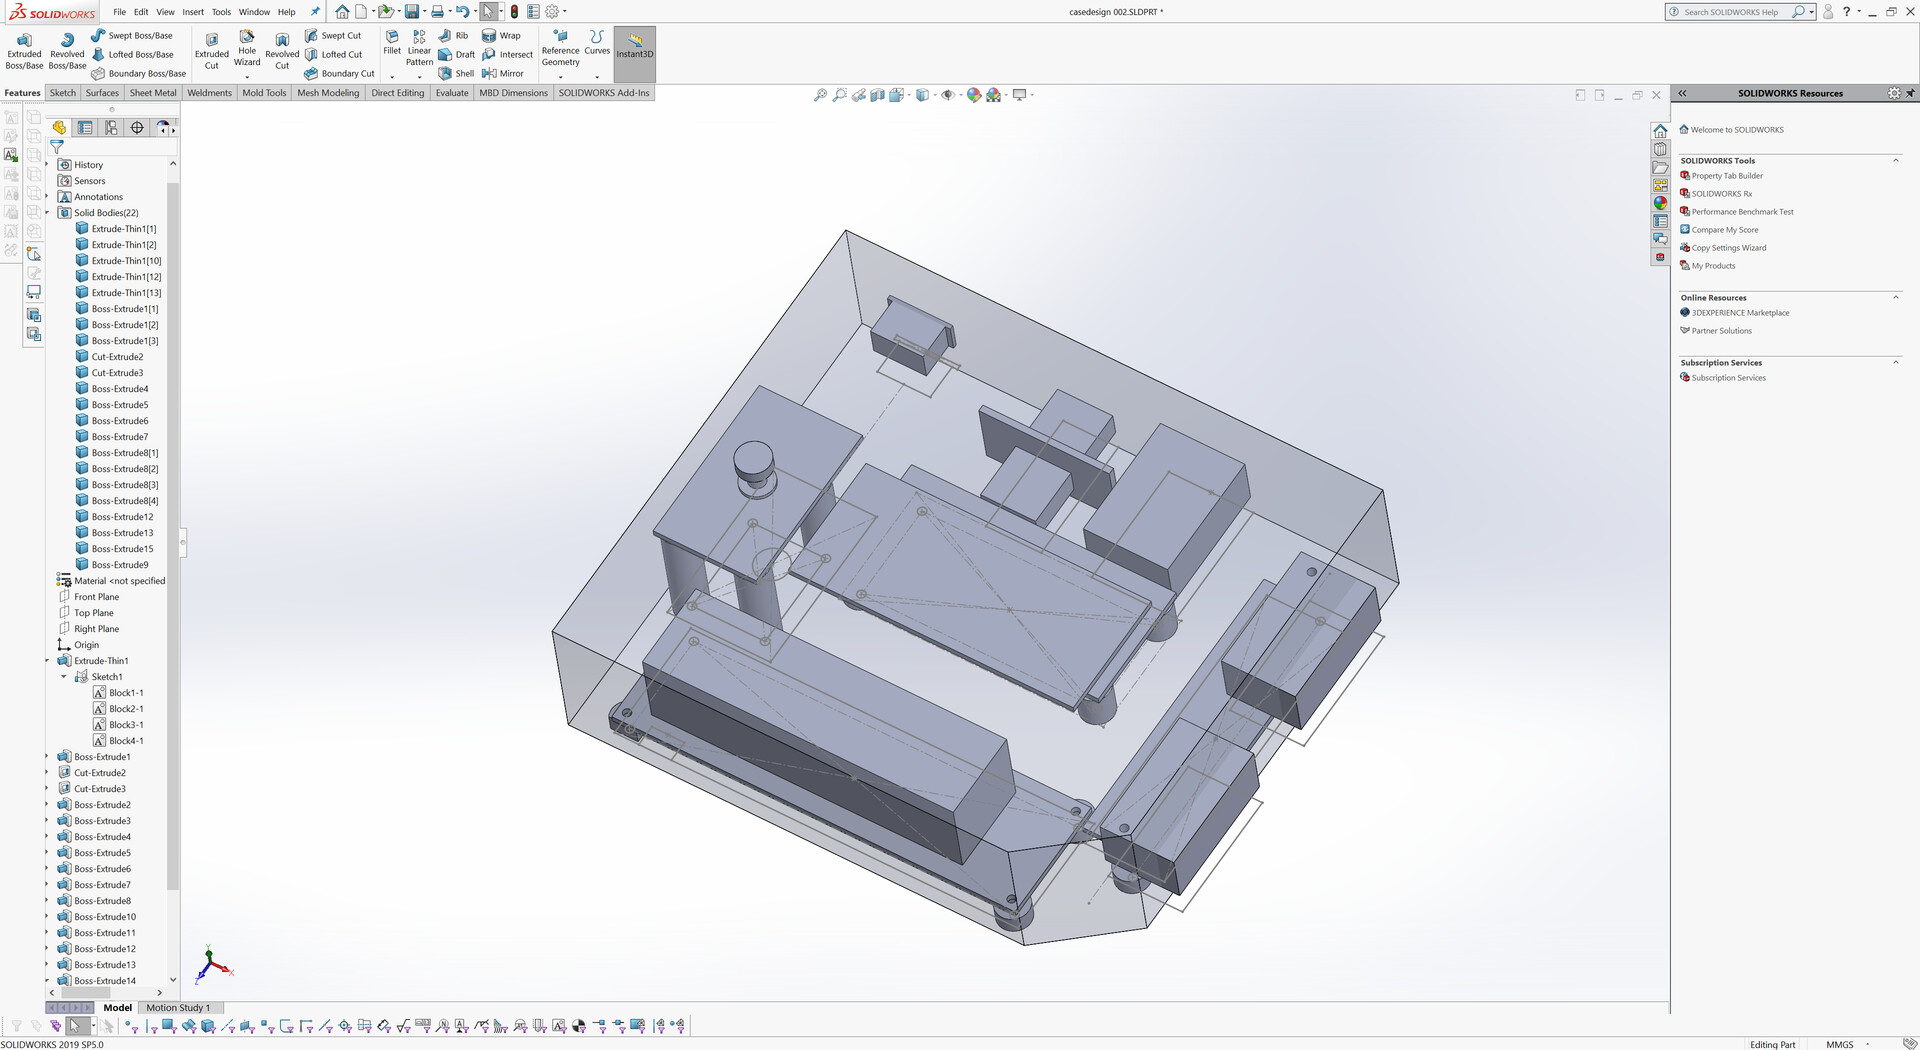
I advance the design by checkin all clearances and cables with the real object.
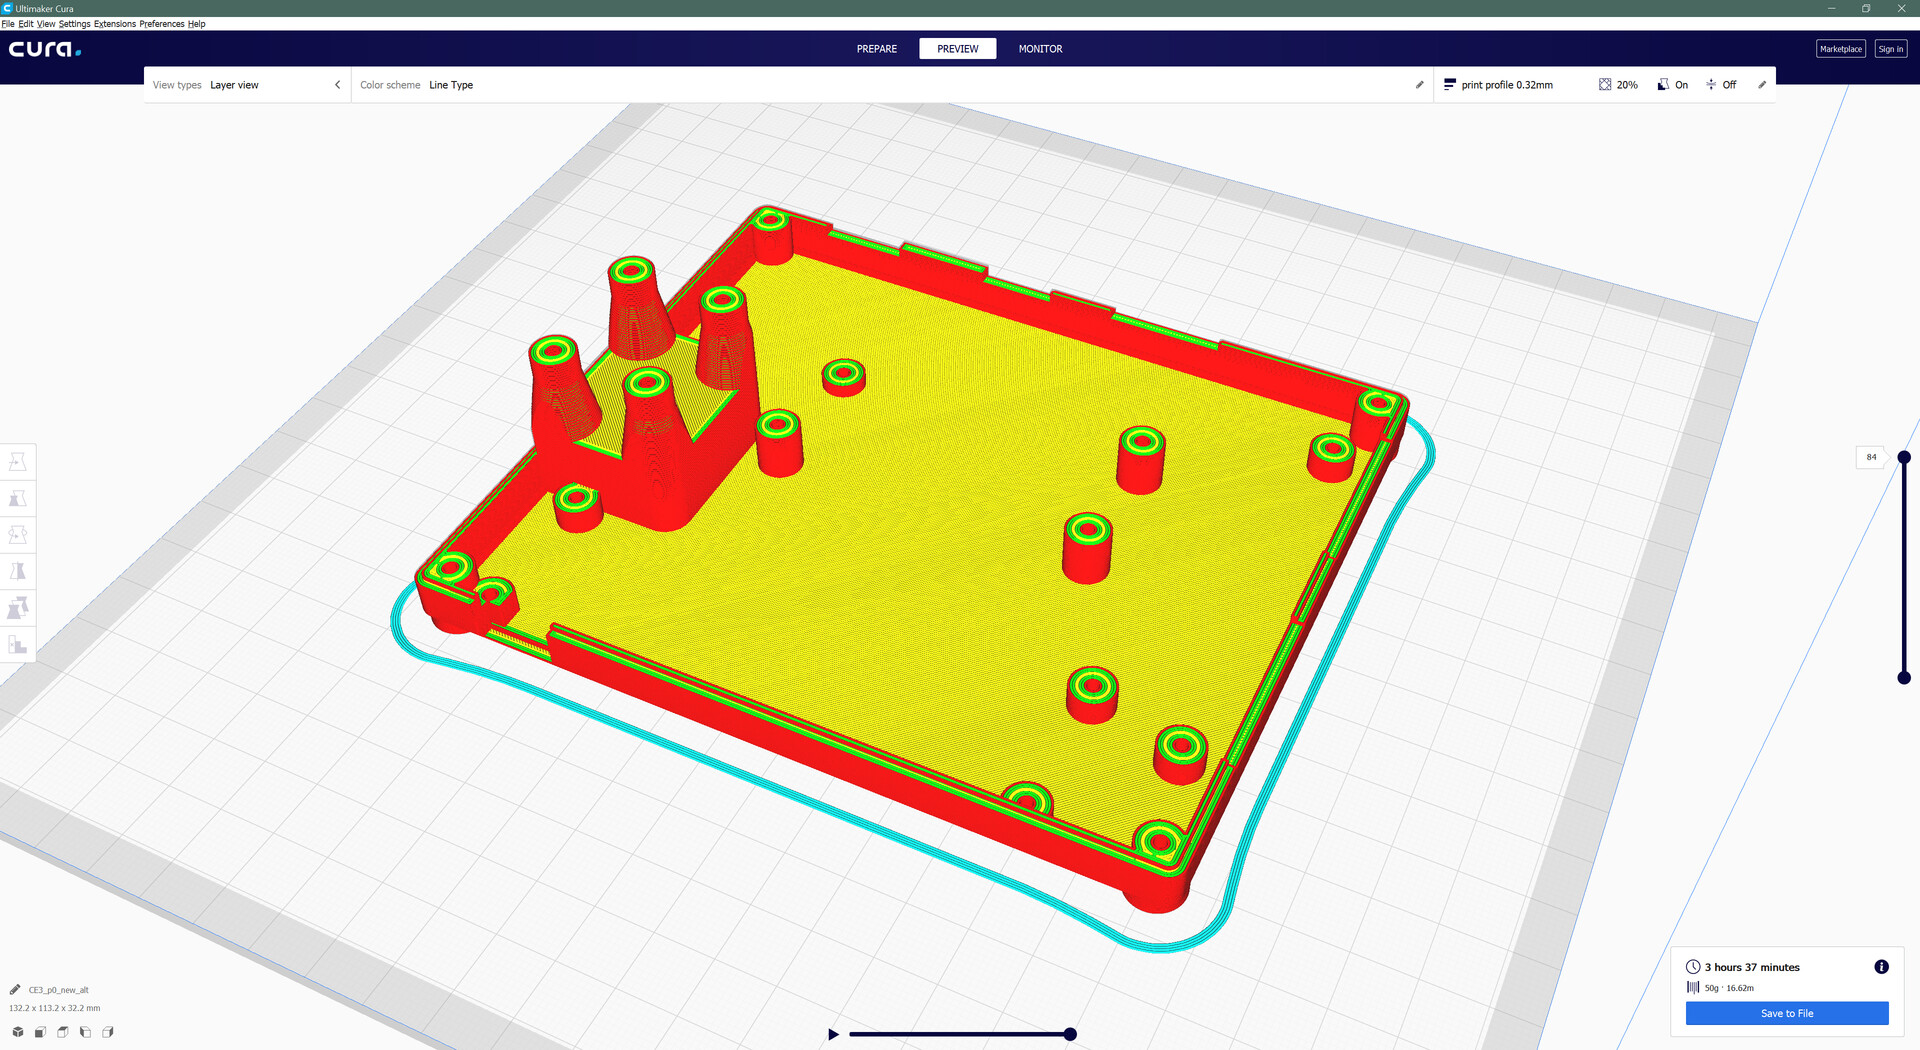
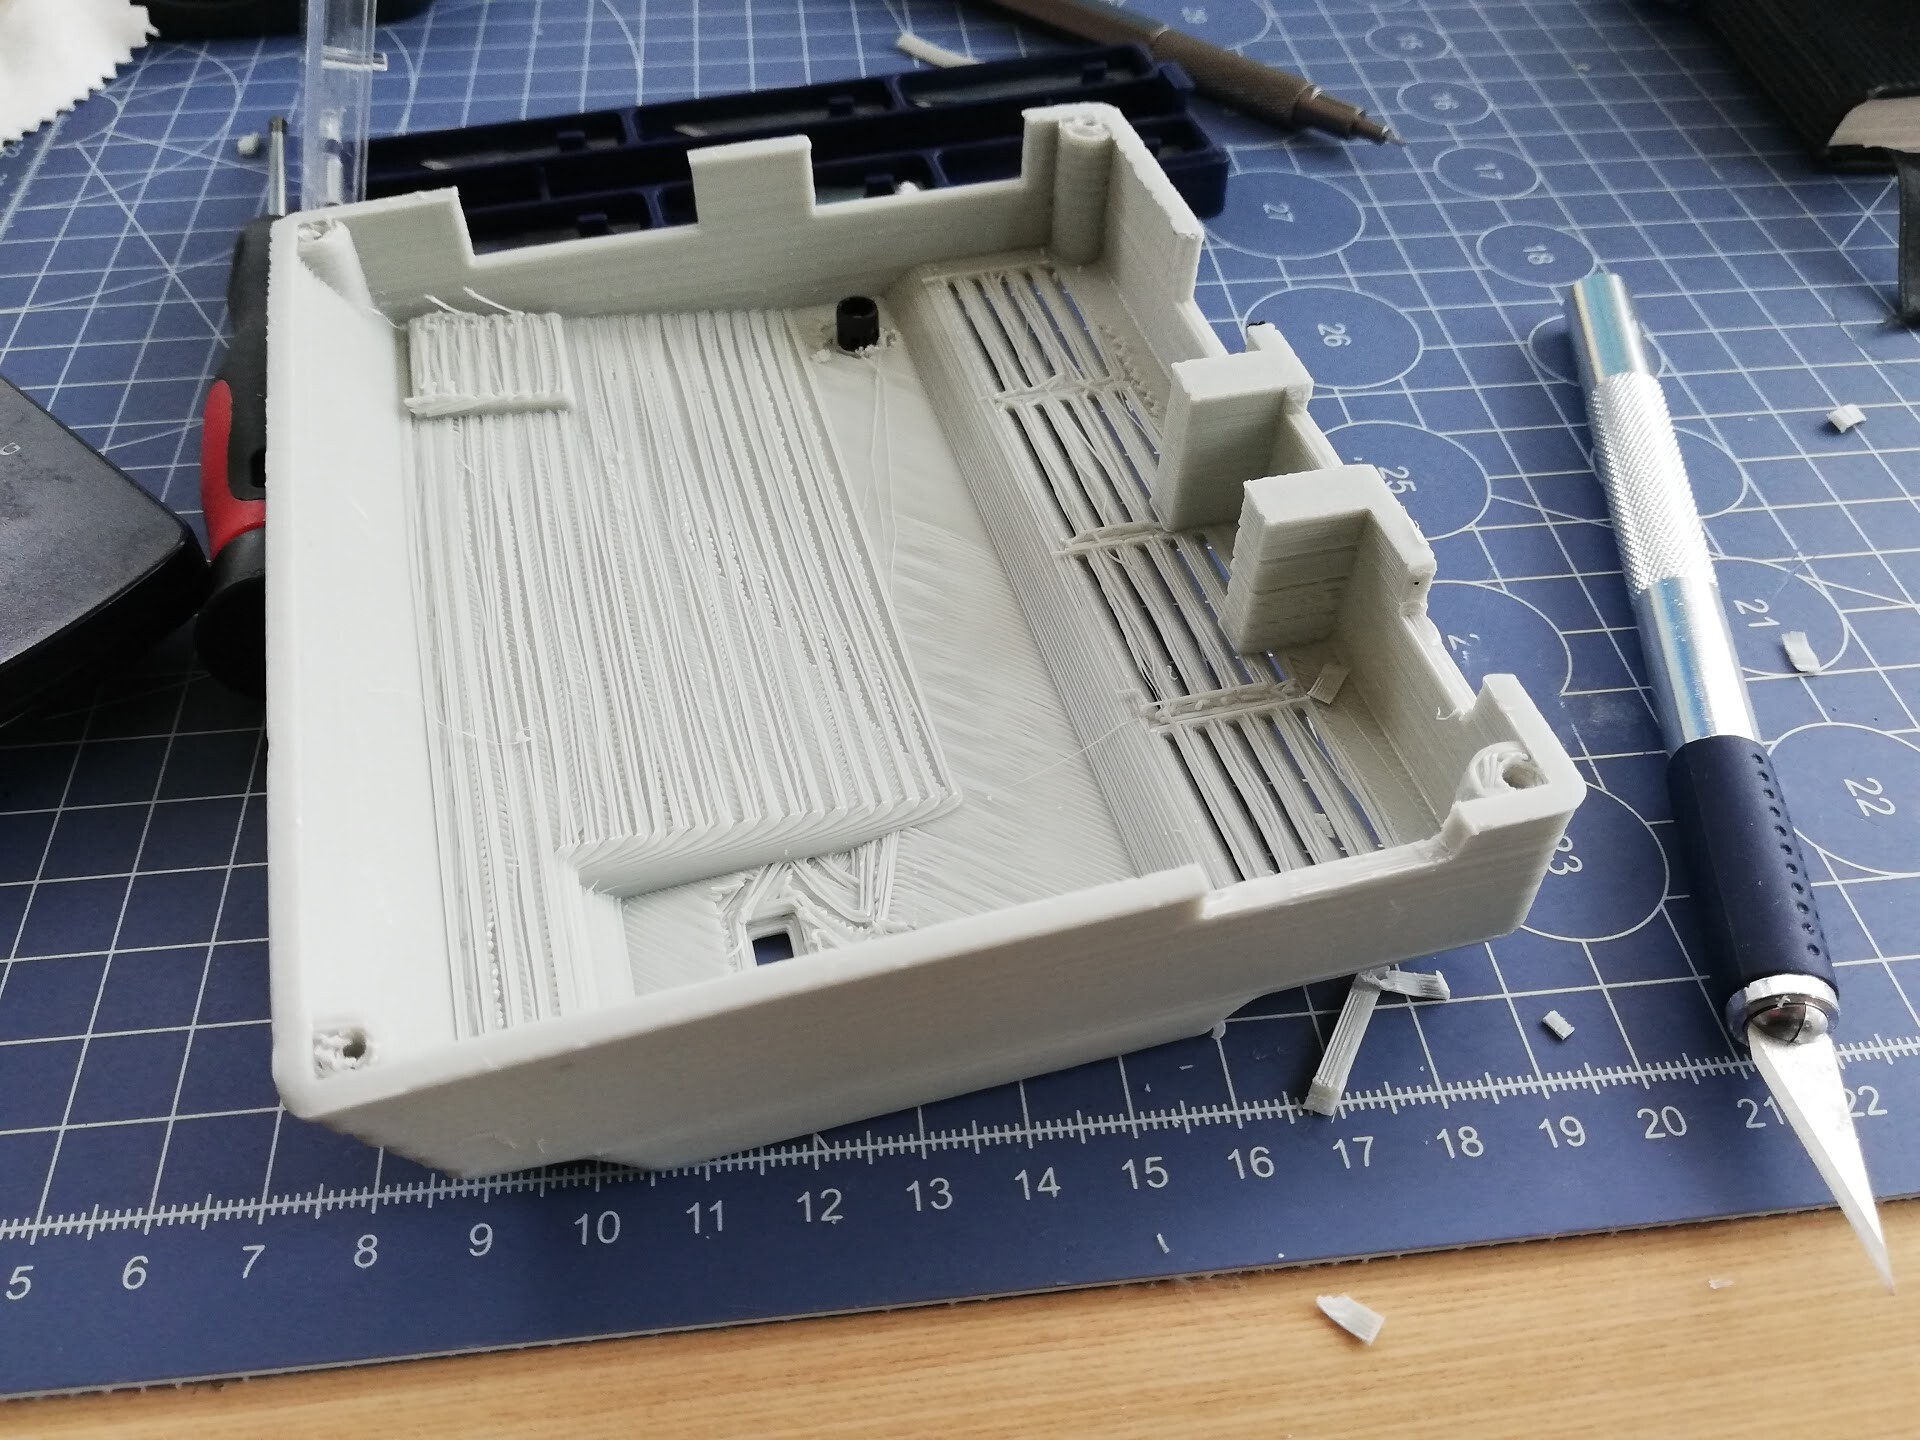
When I'm confident that the bottom part is ready, I 3d printed it before finalizing the top part. Because I needed to see that everything will fit, and there is no wrong measurement. Because 3D printing of the top part will take more time.
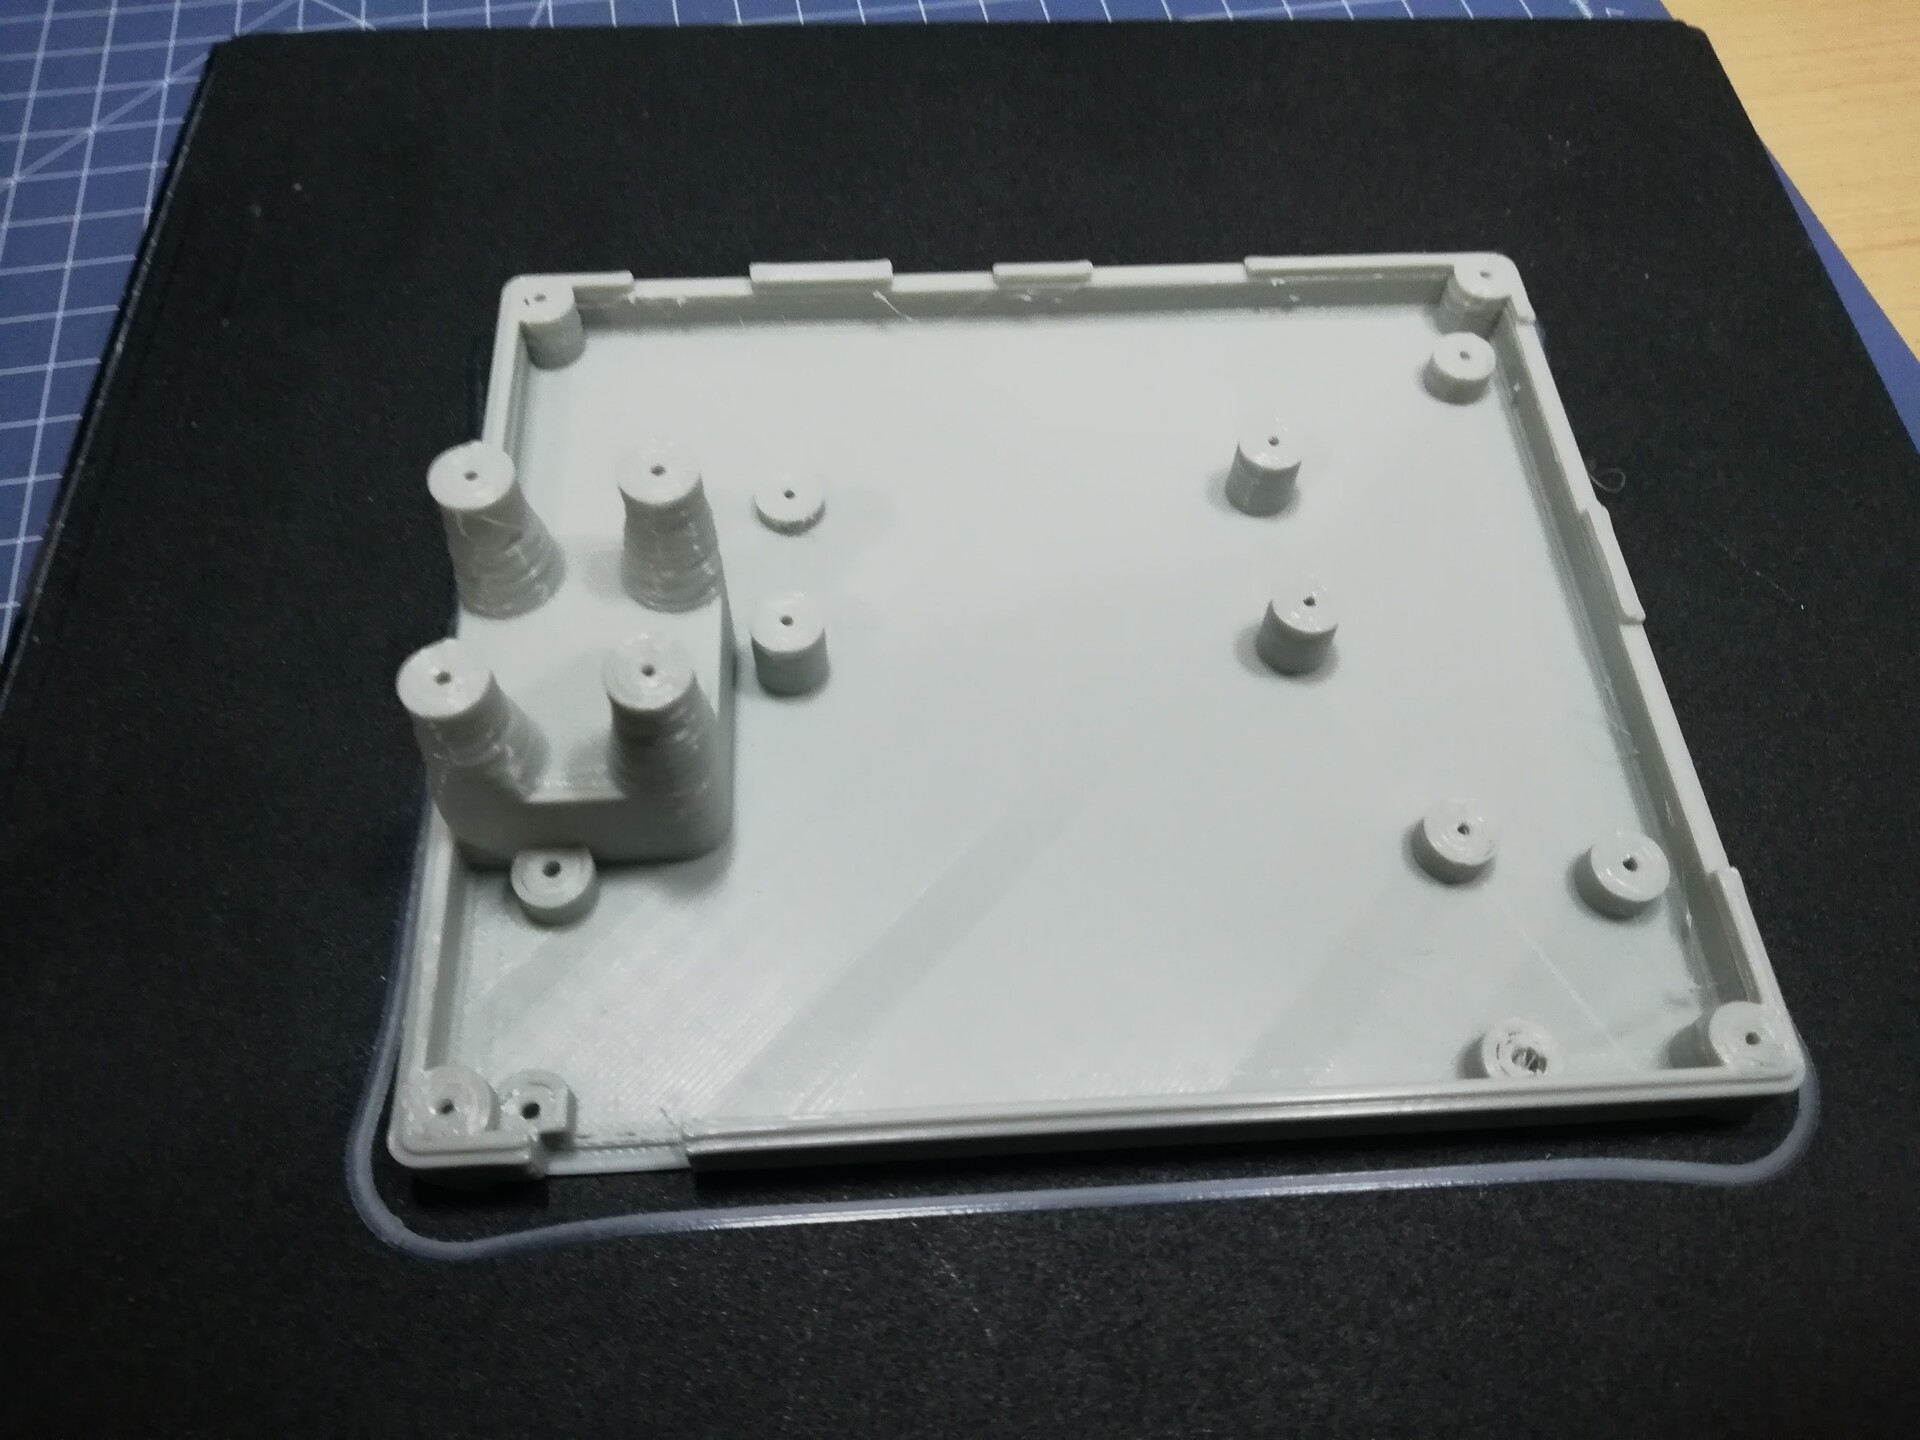
Everything is at where it's supposed to be.


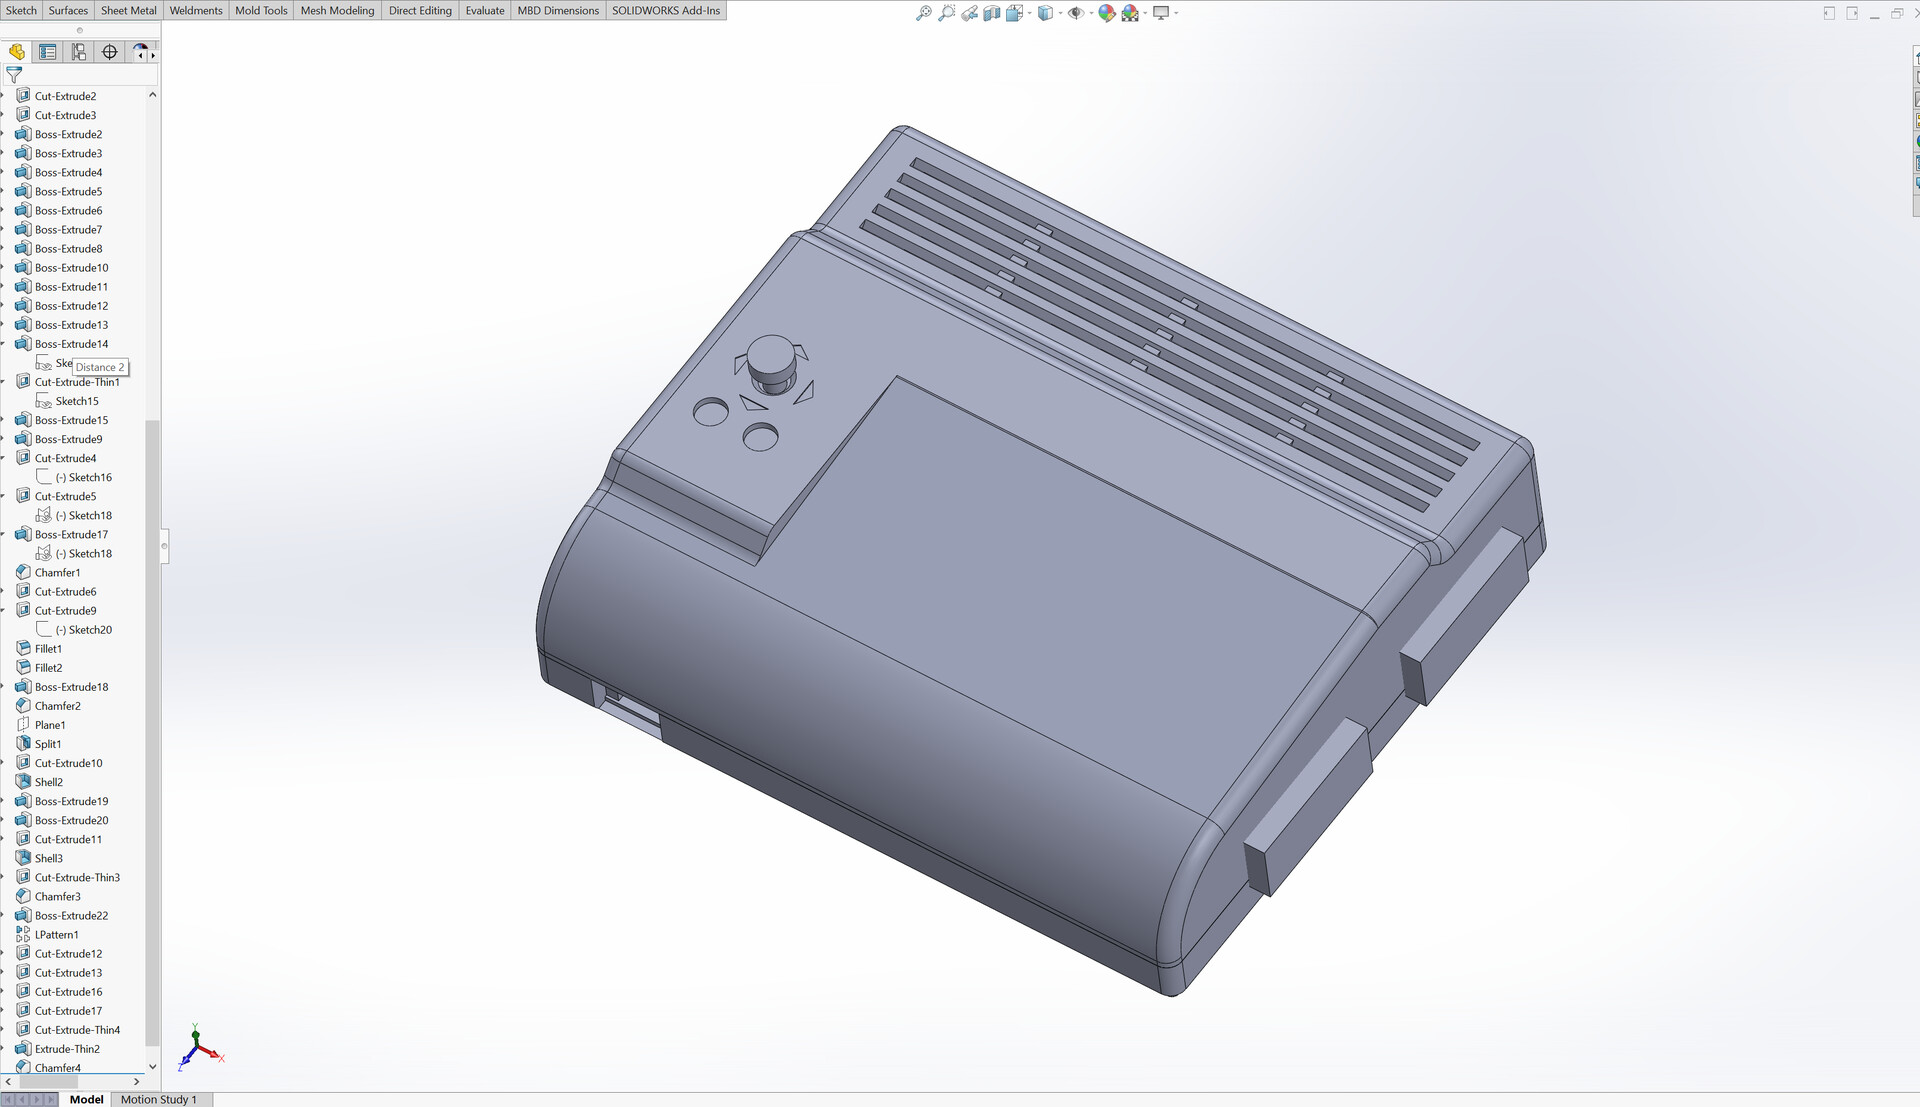
Then I finished the top part design by just adding minor details.
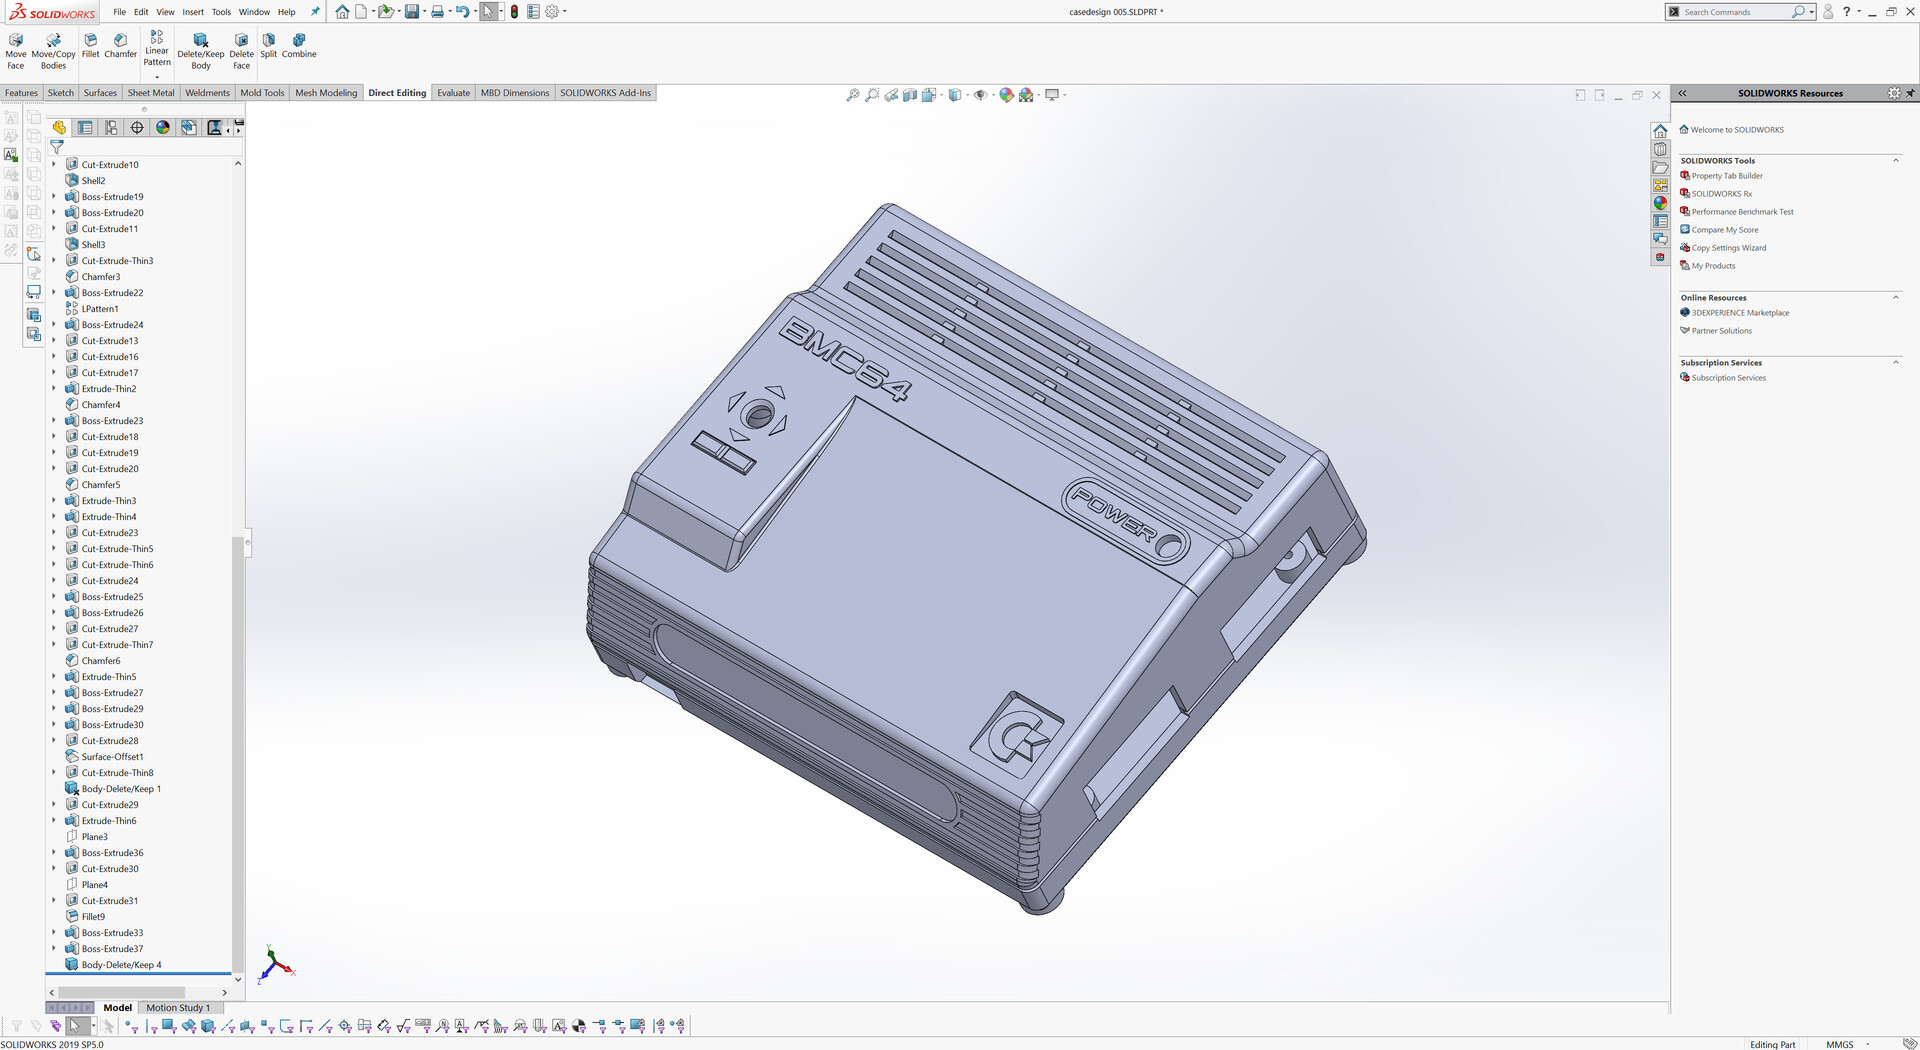

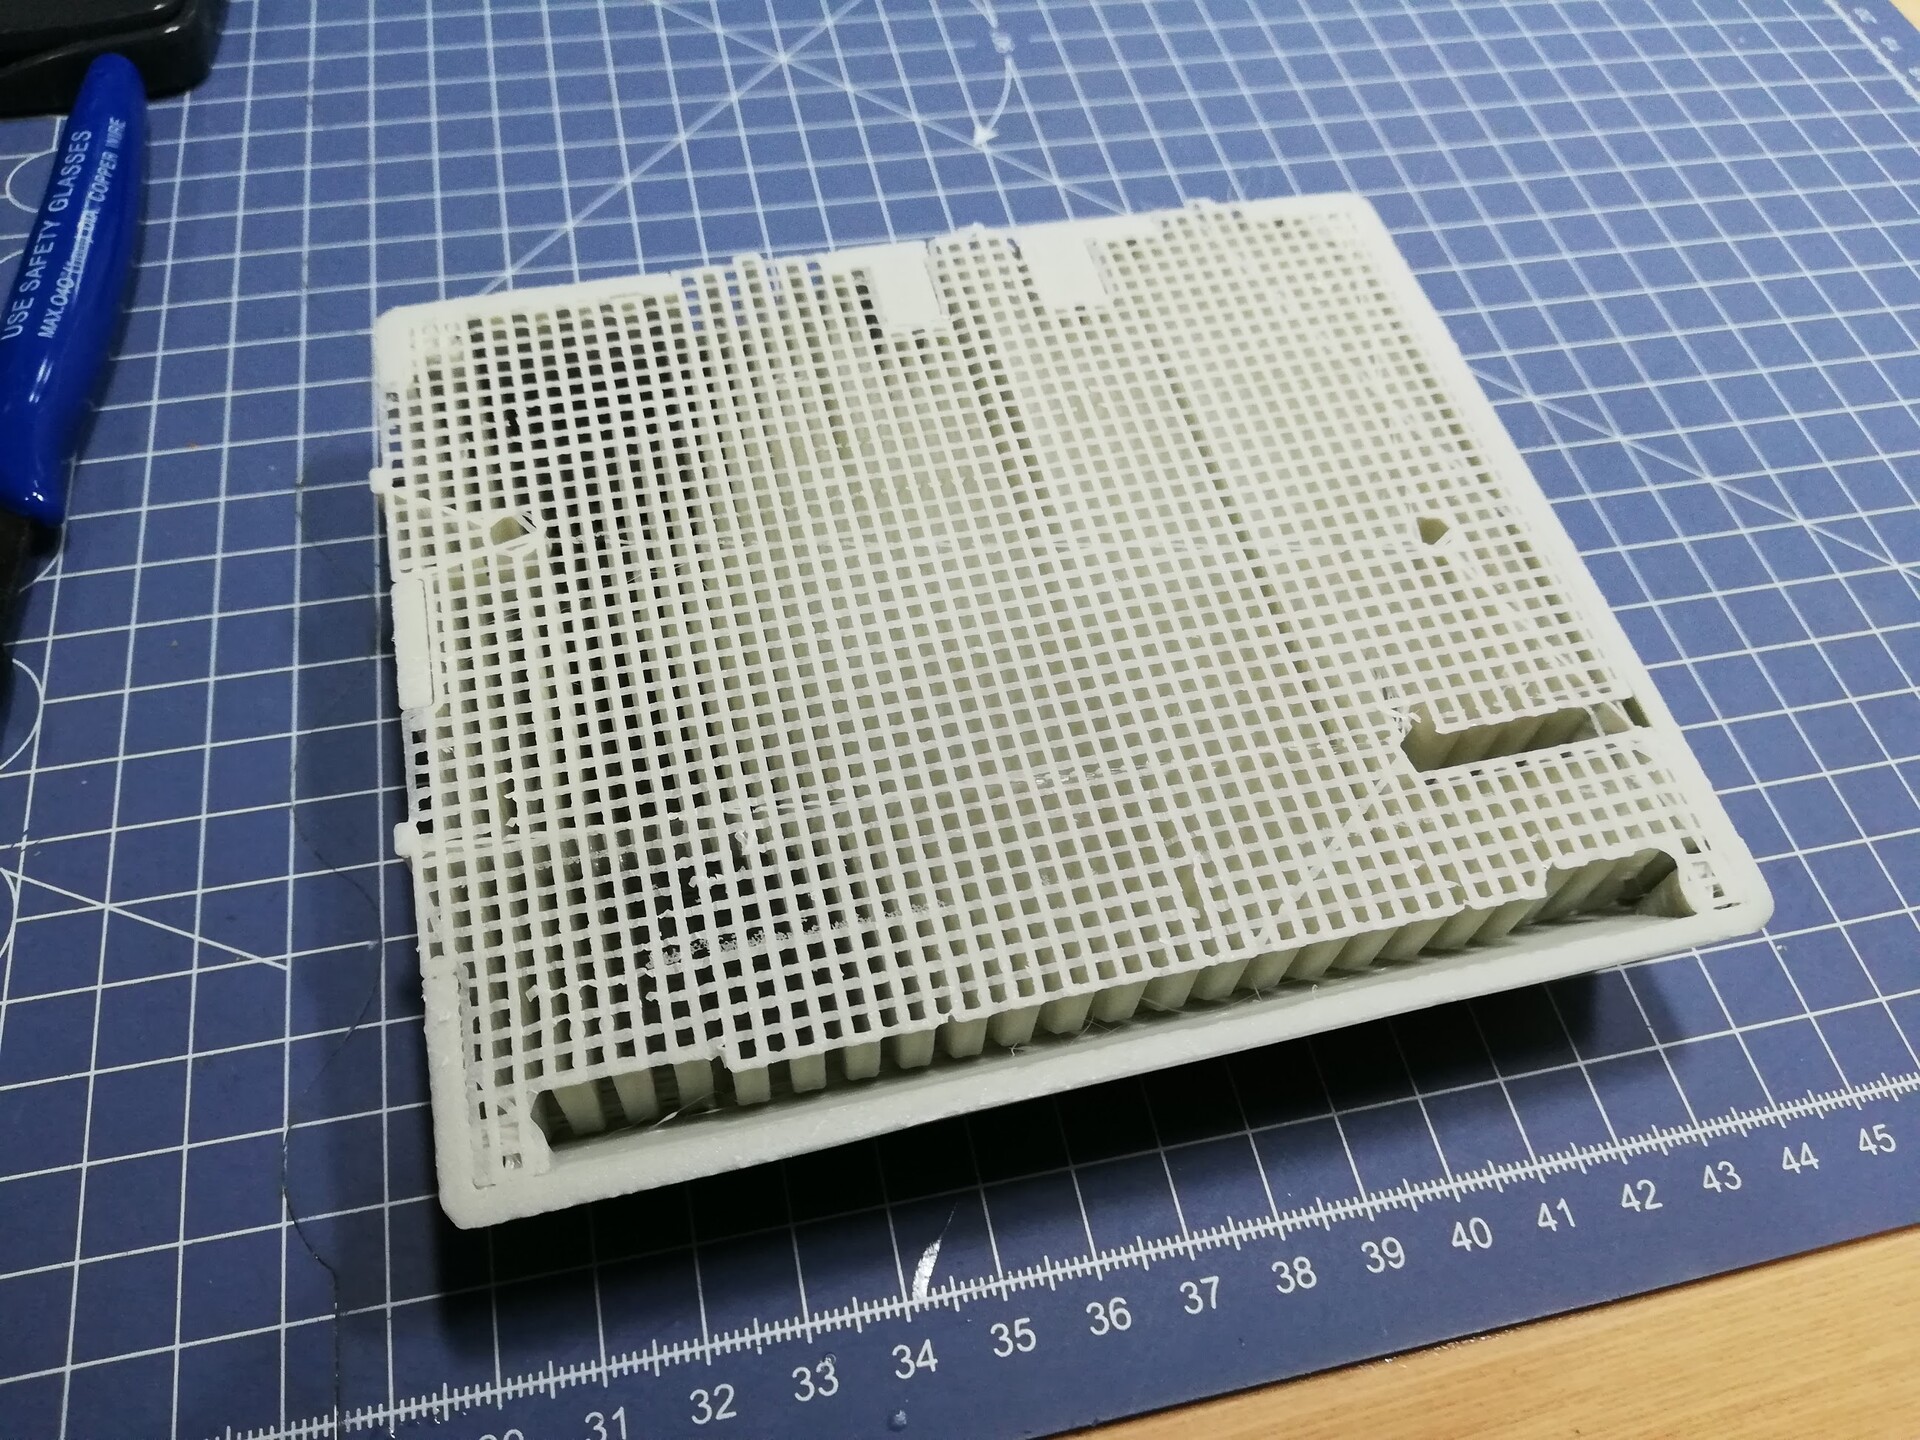
Finally I made the 3d printing of the top part.


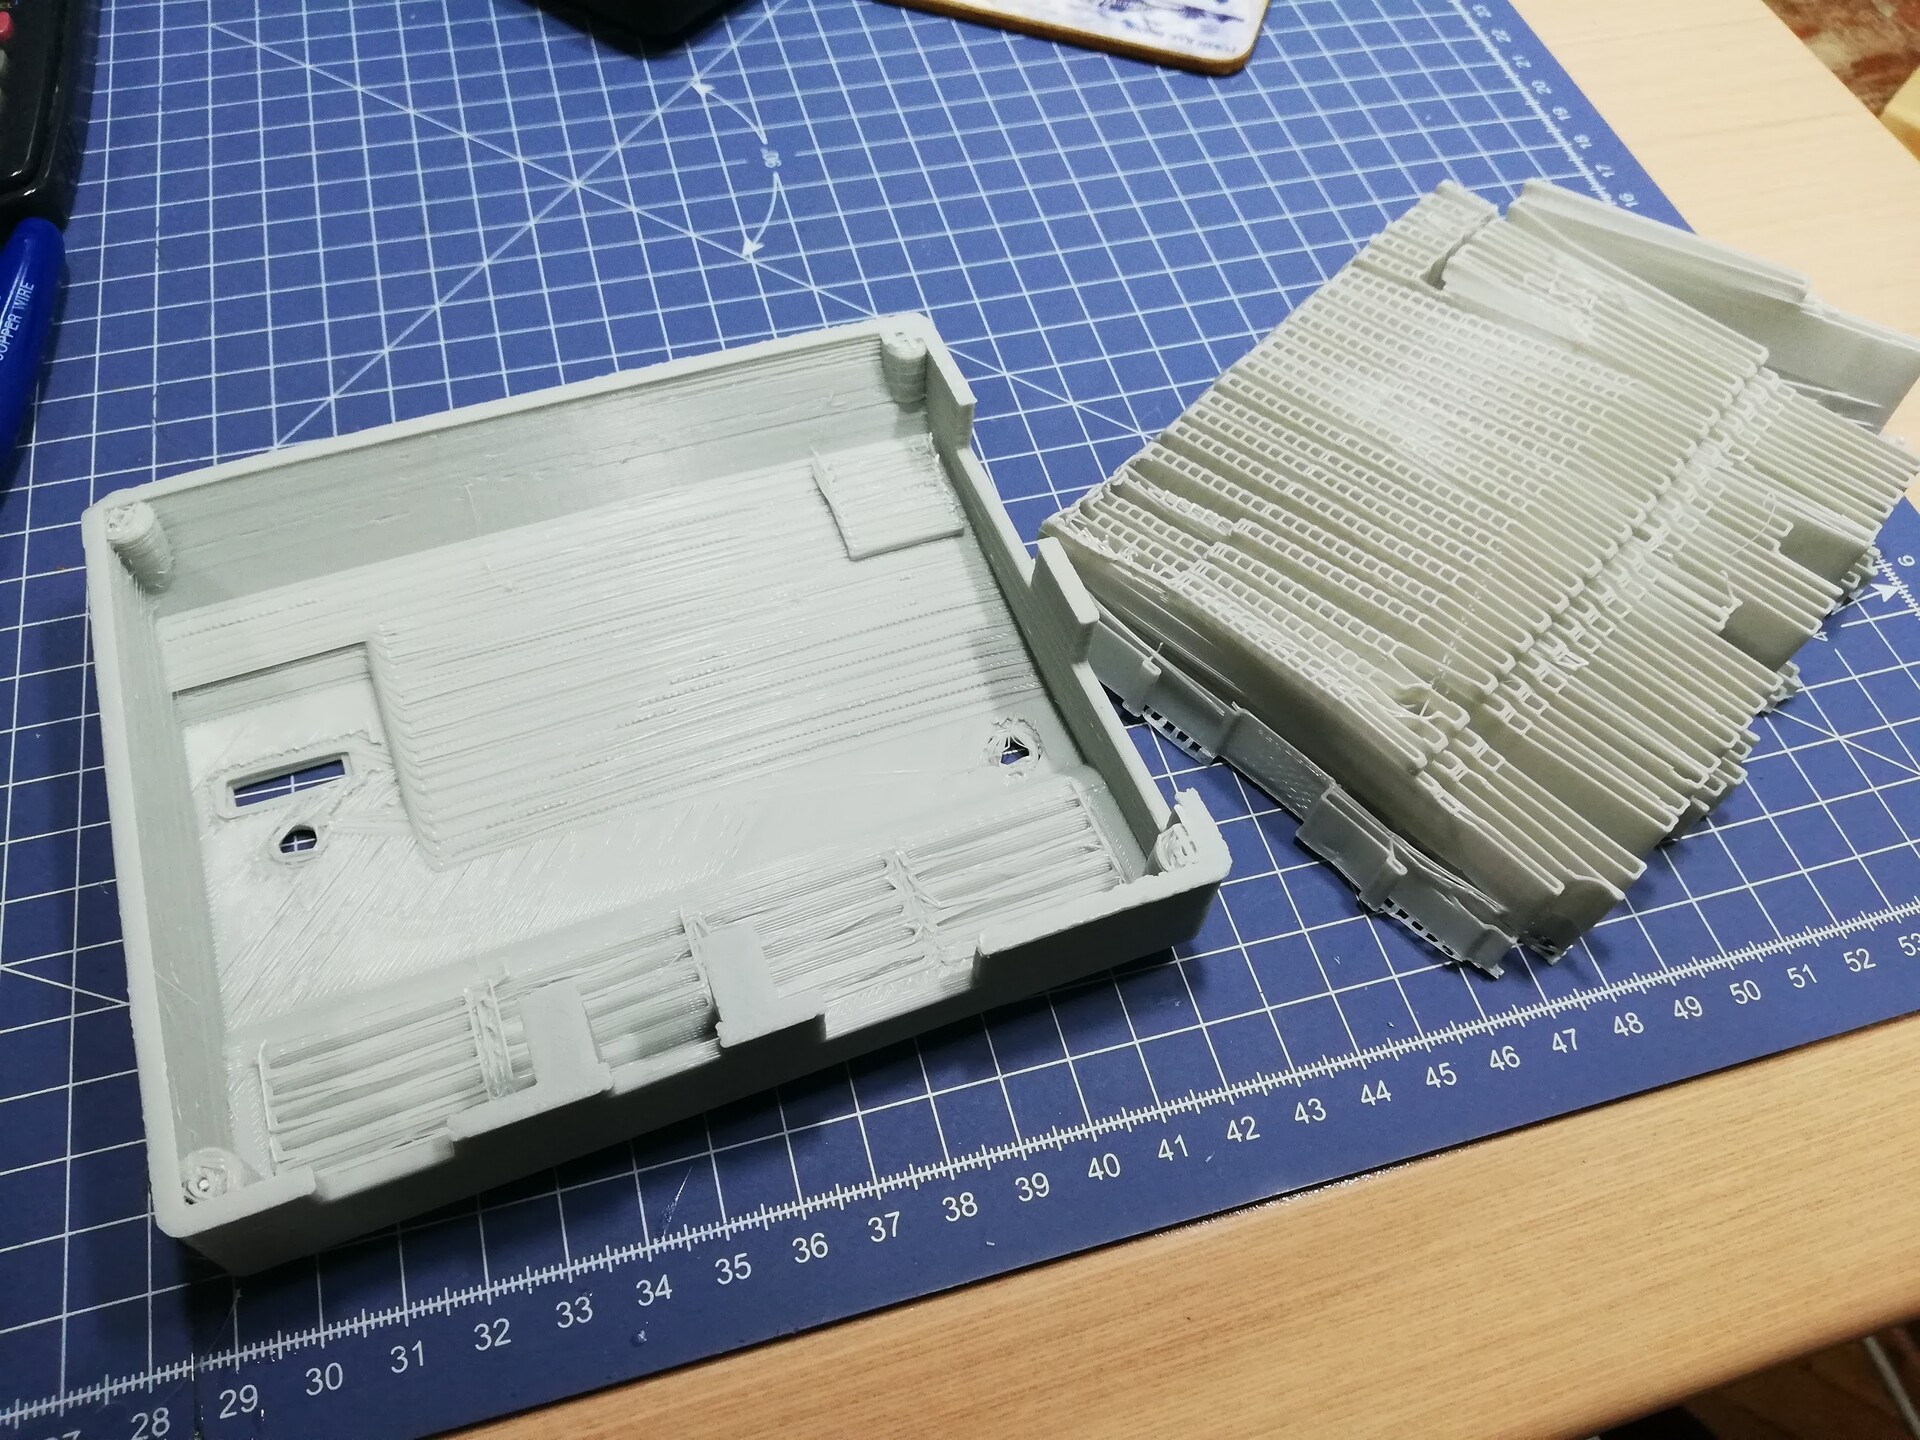
Time to remove the supports.
And close the case.

Lets charge it!
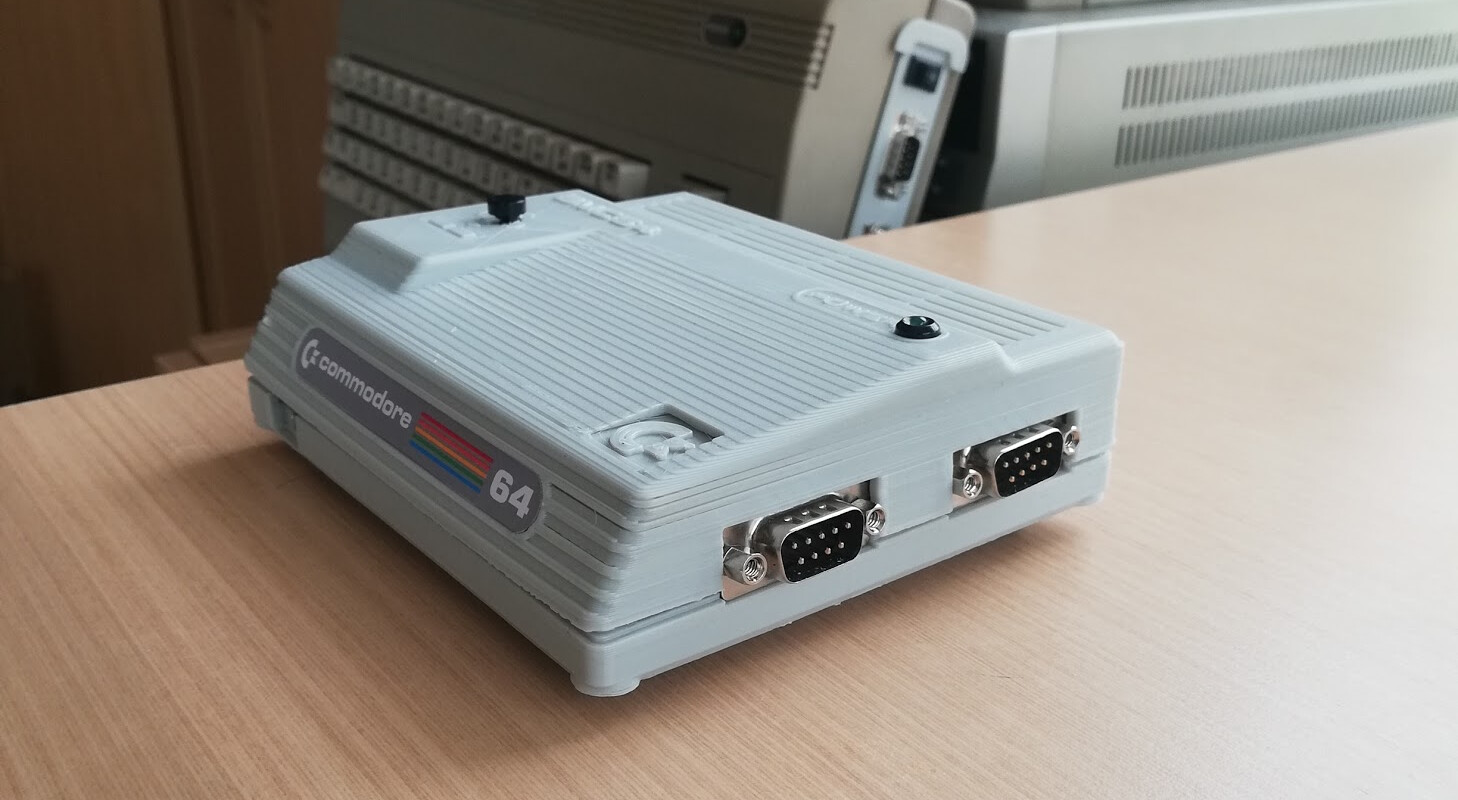
And put a label...
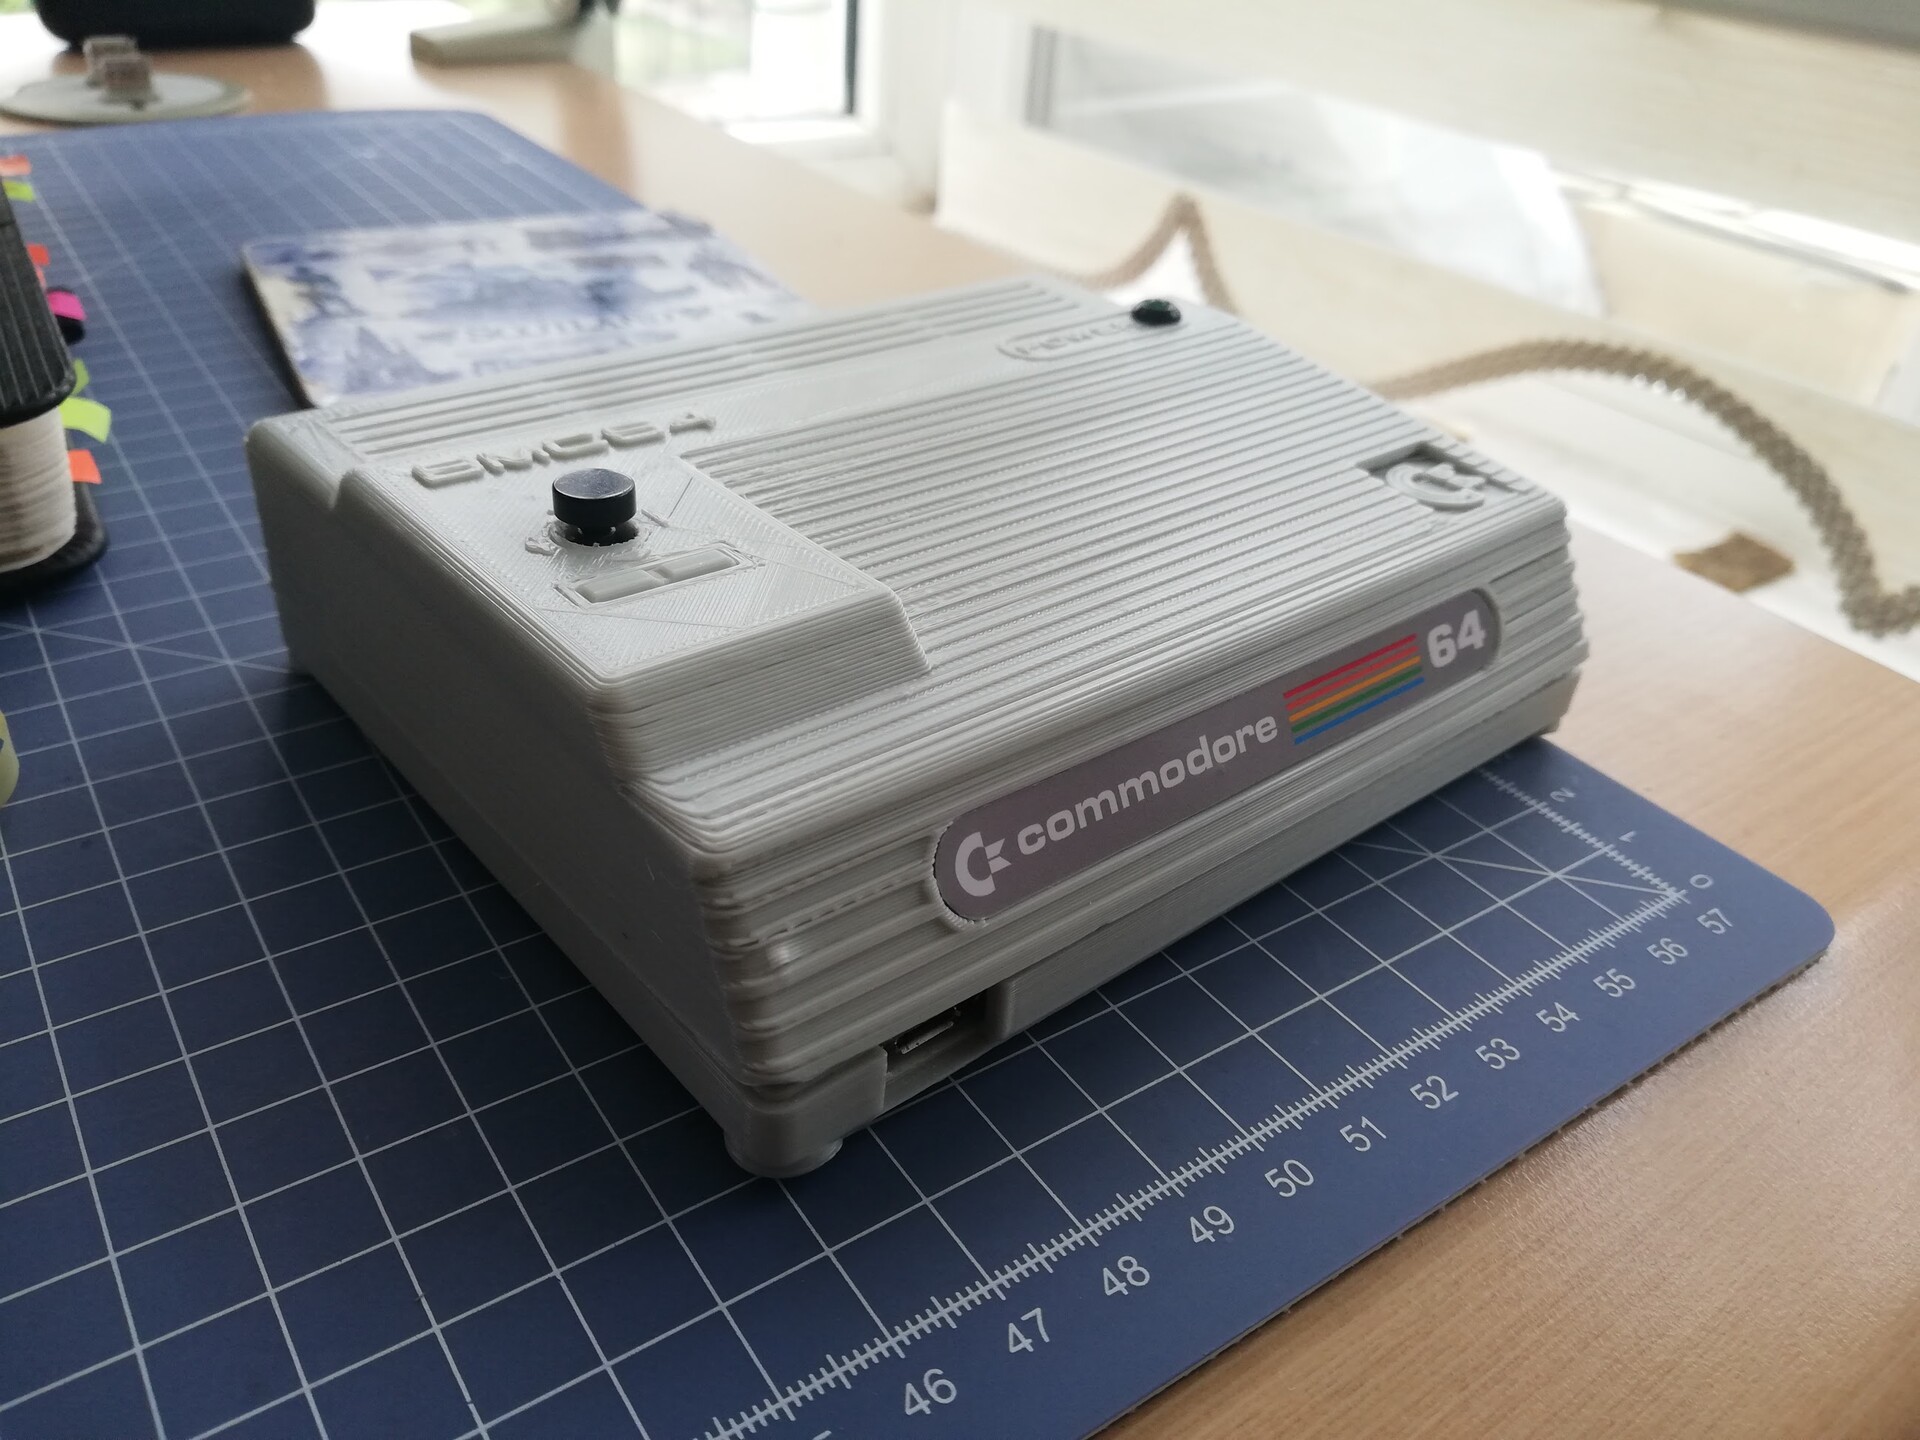
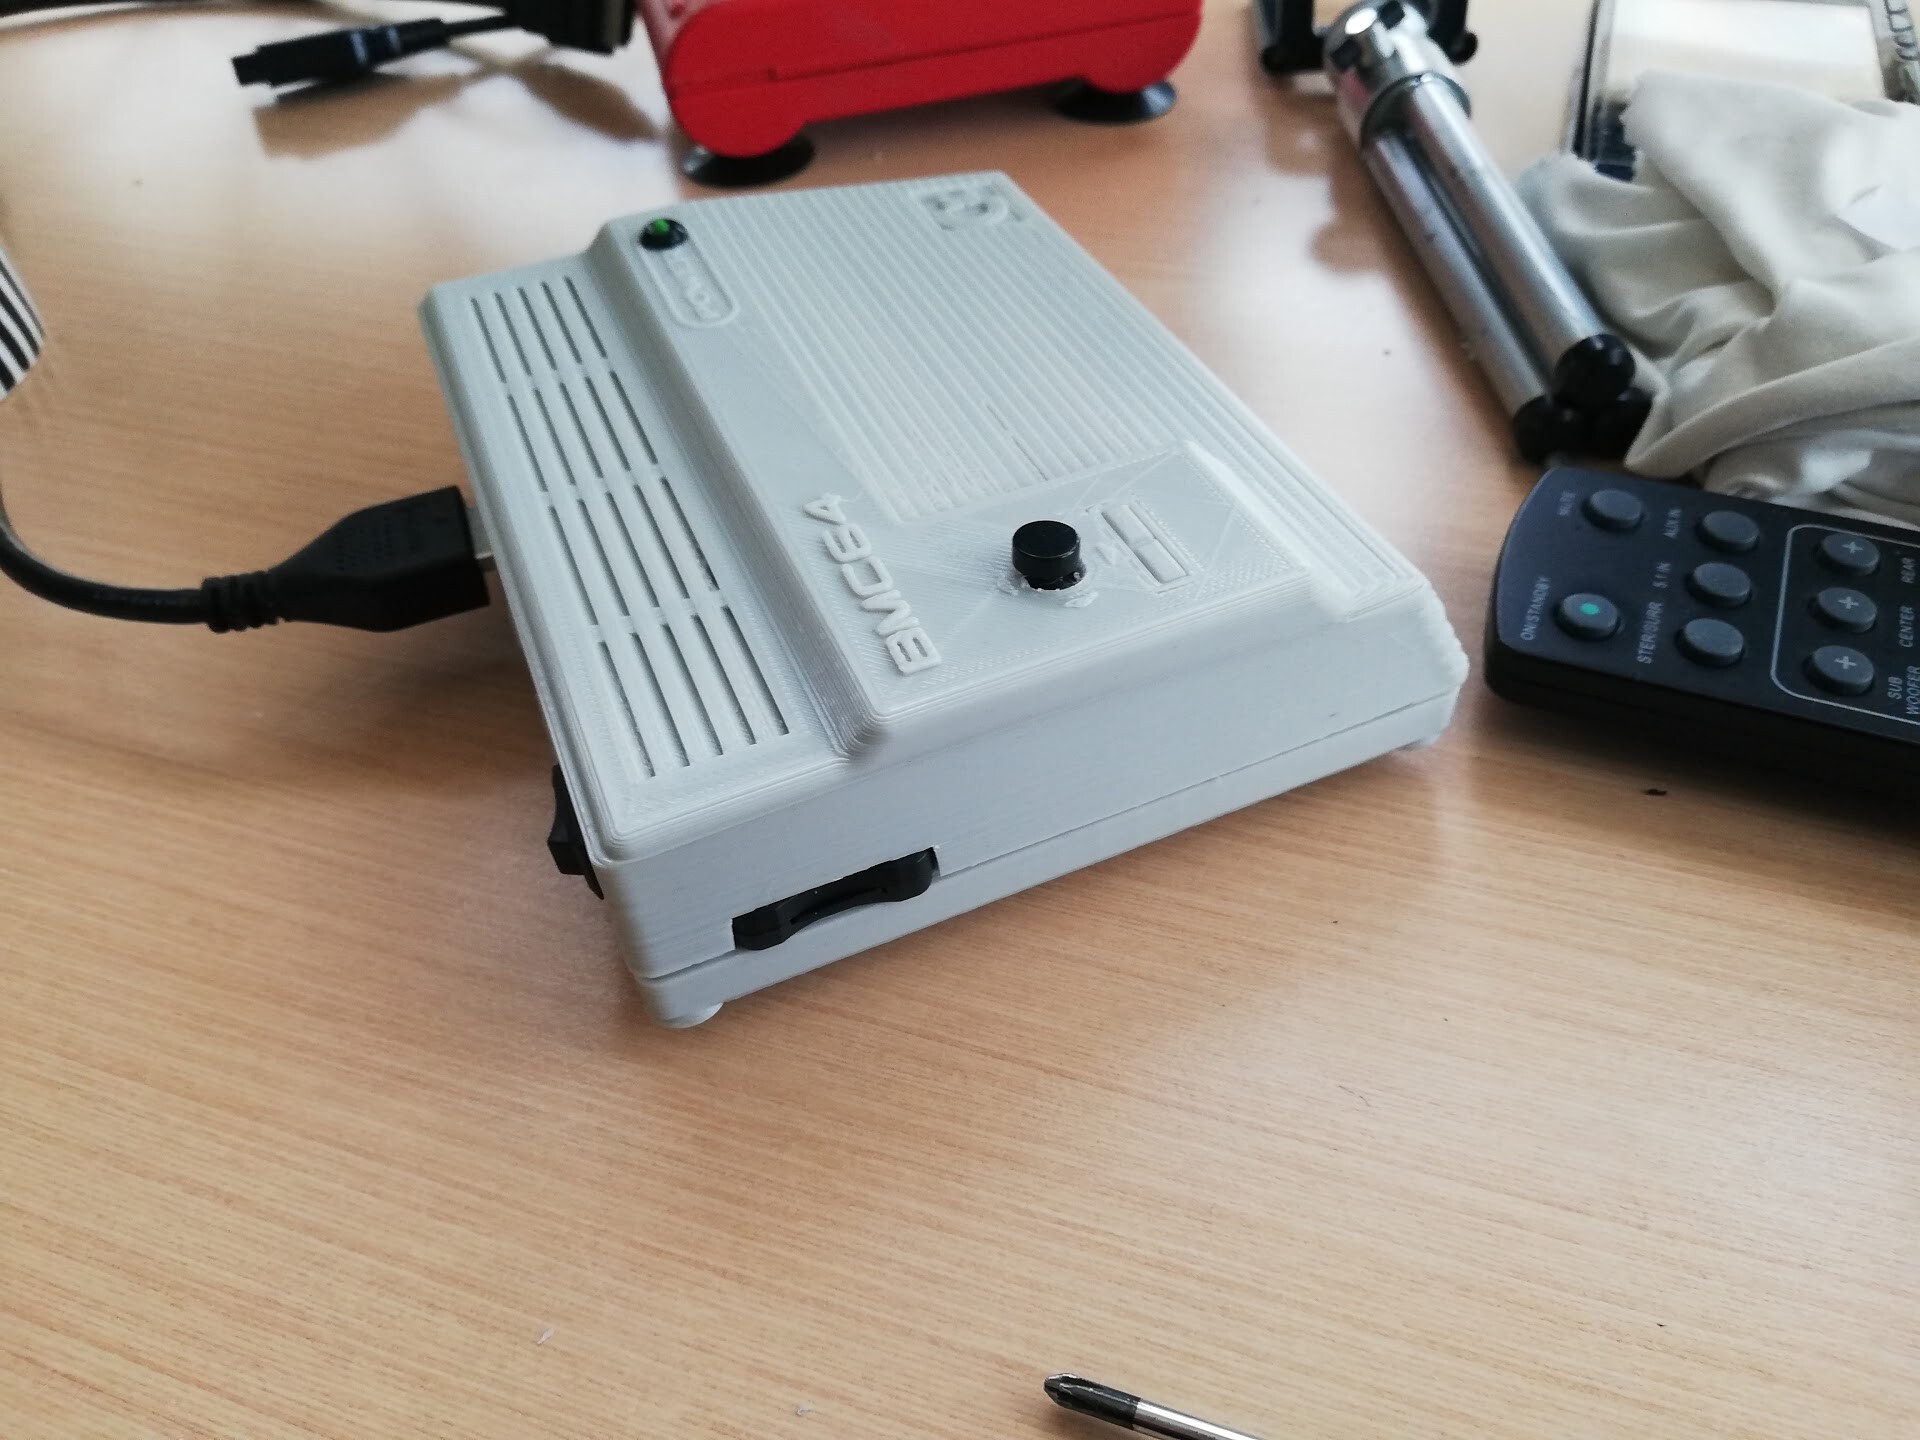
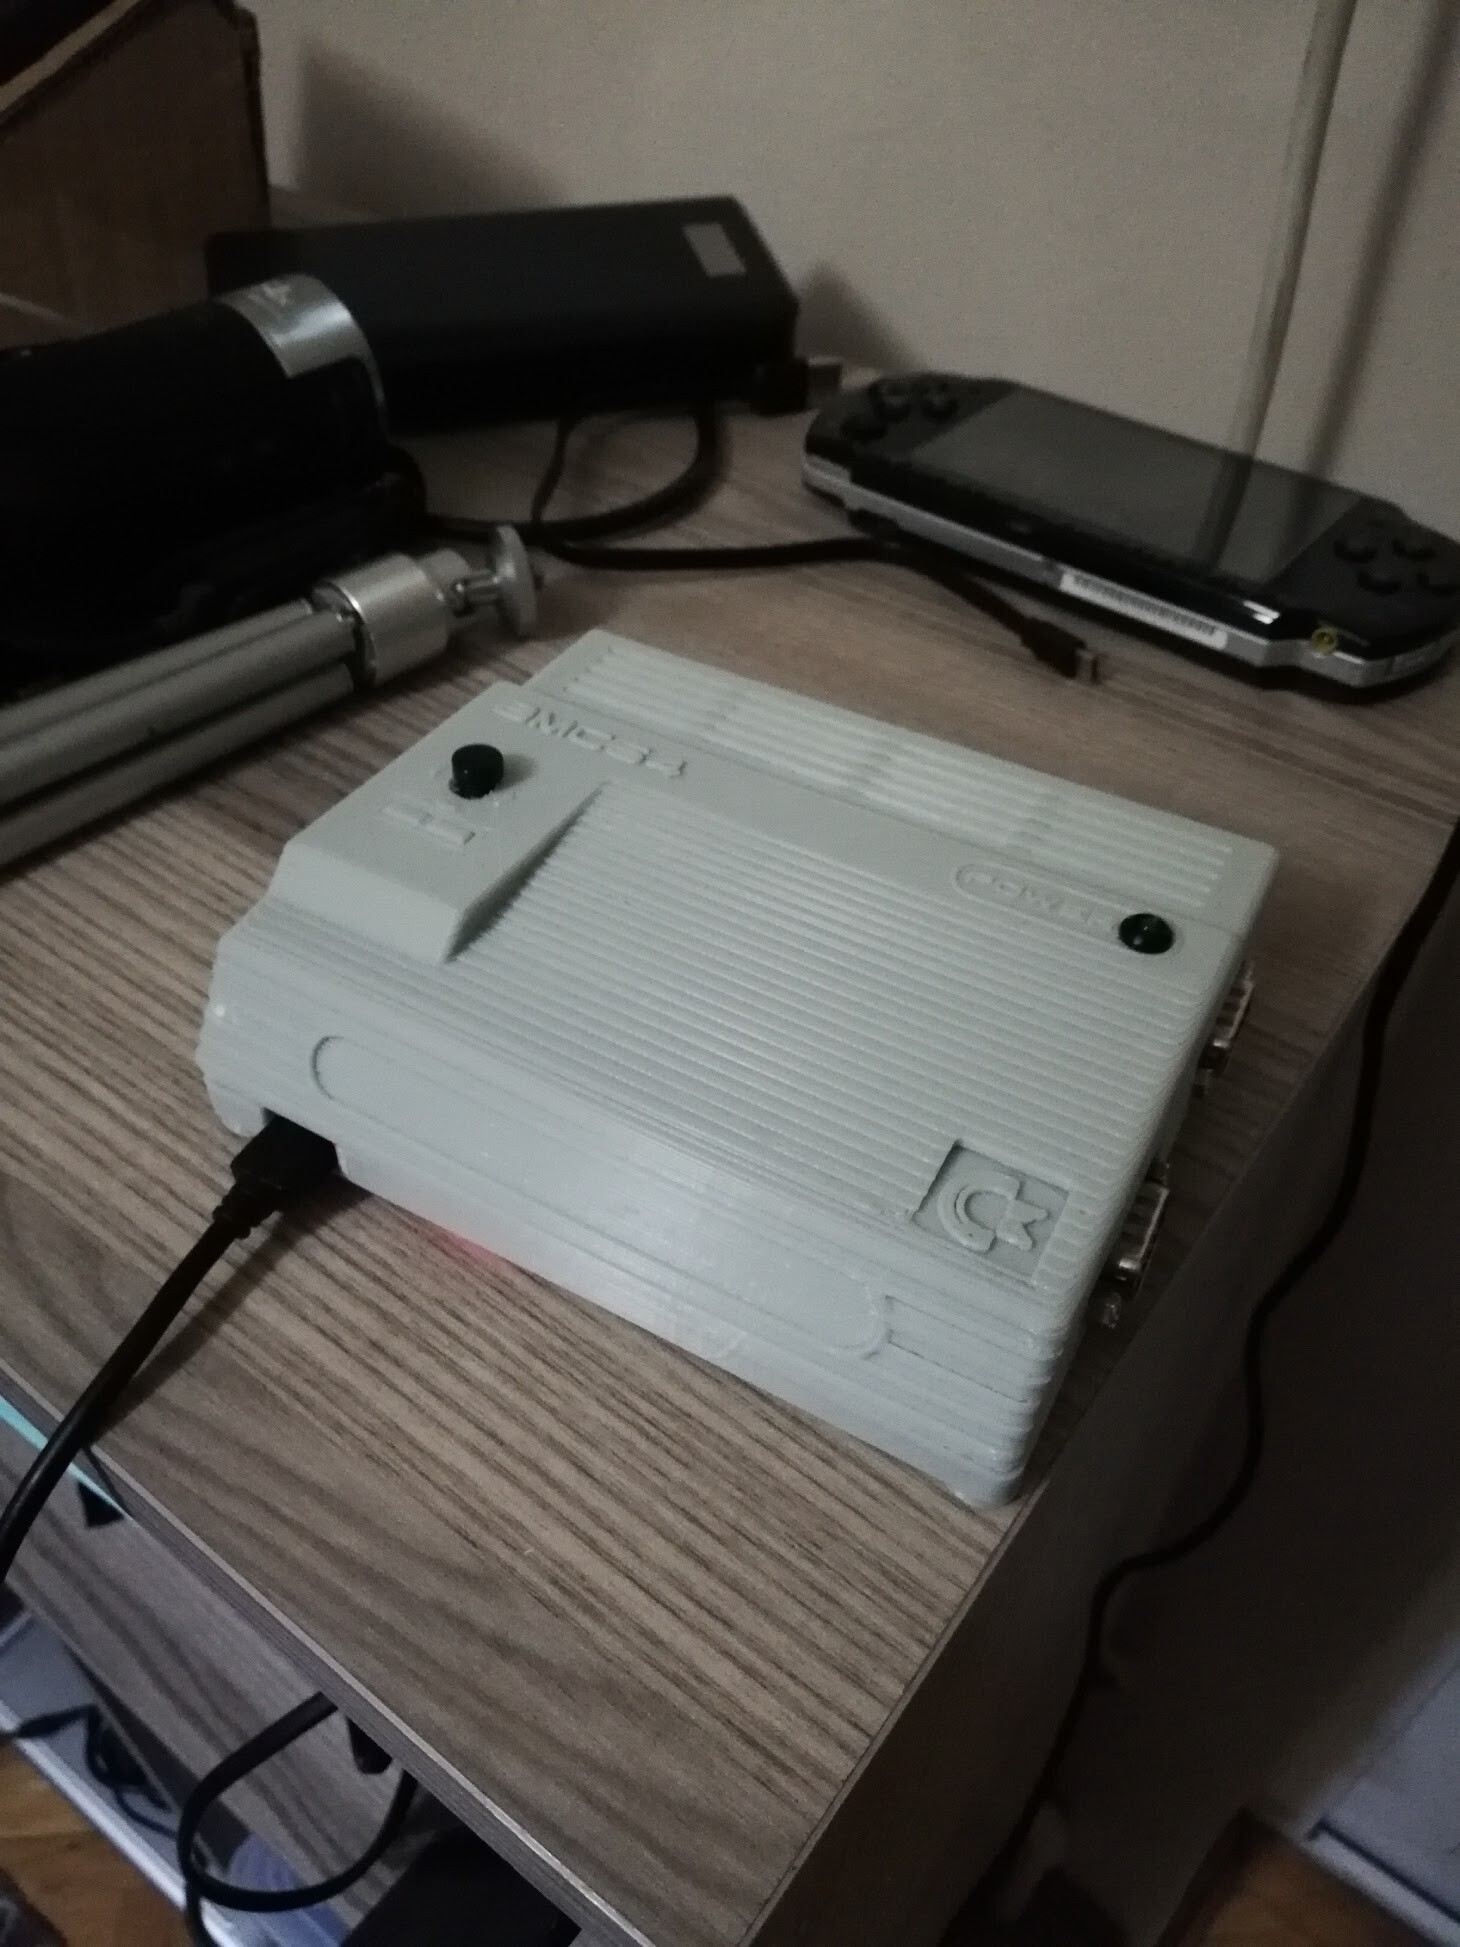
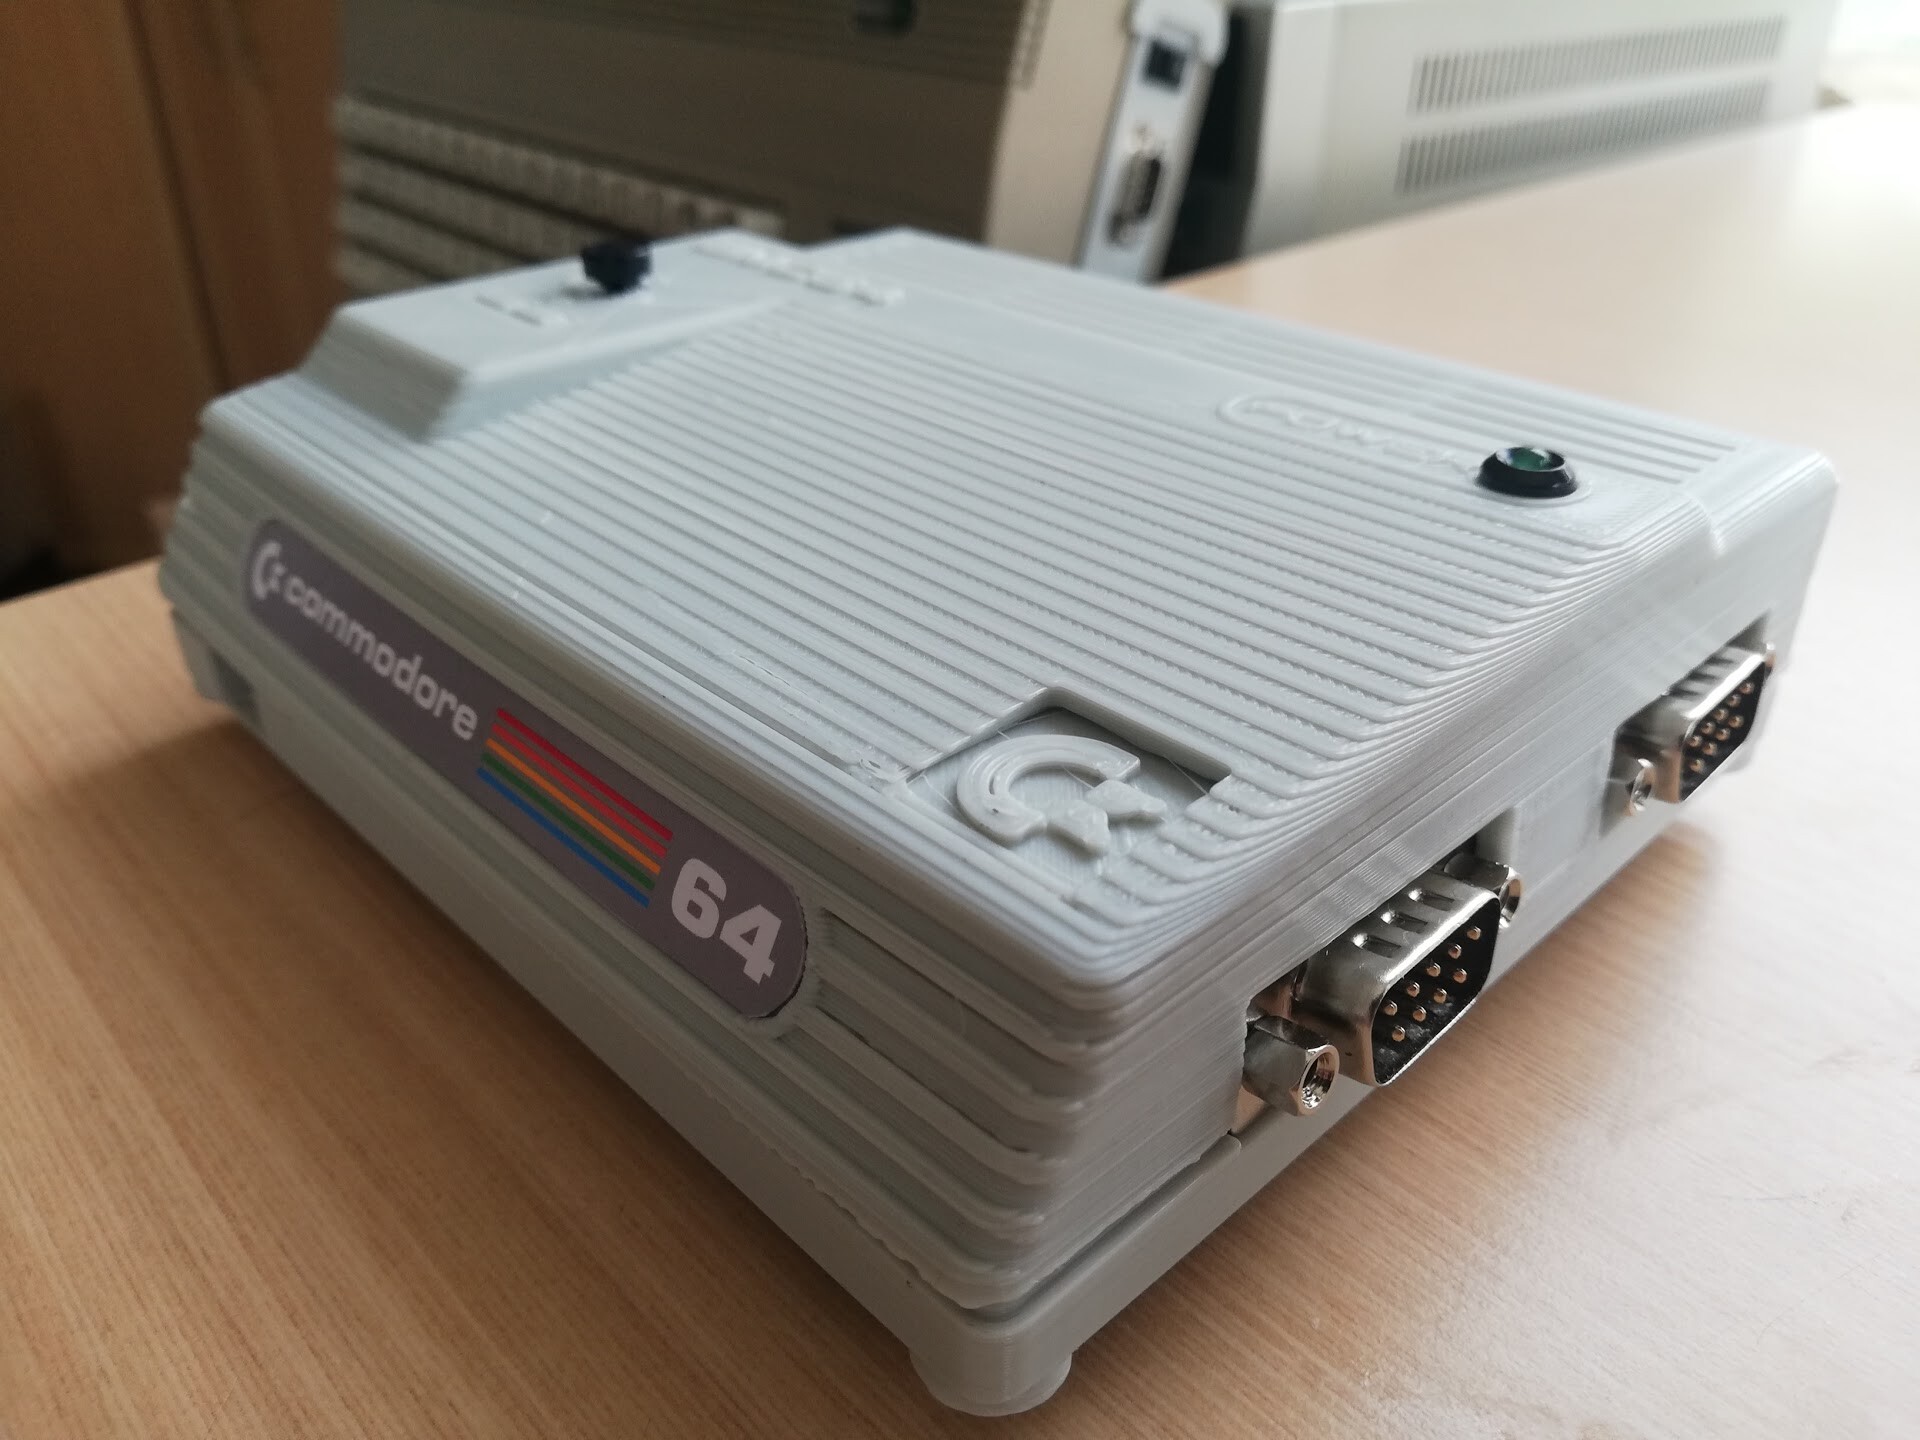
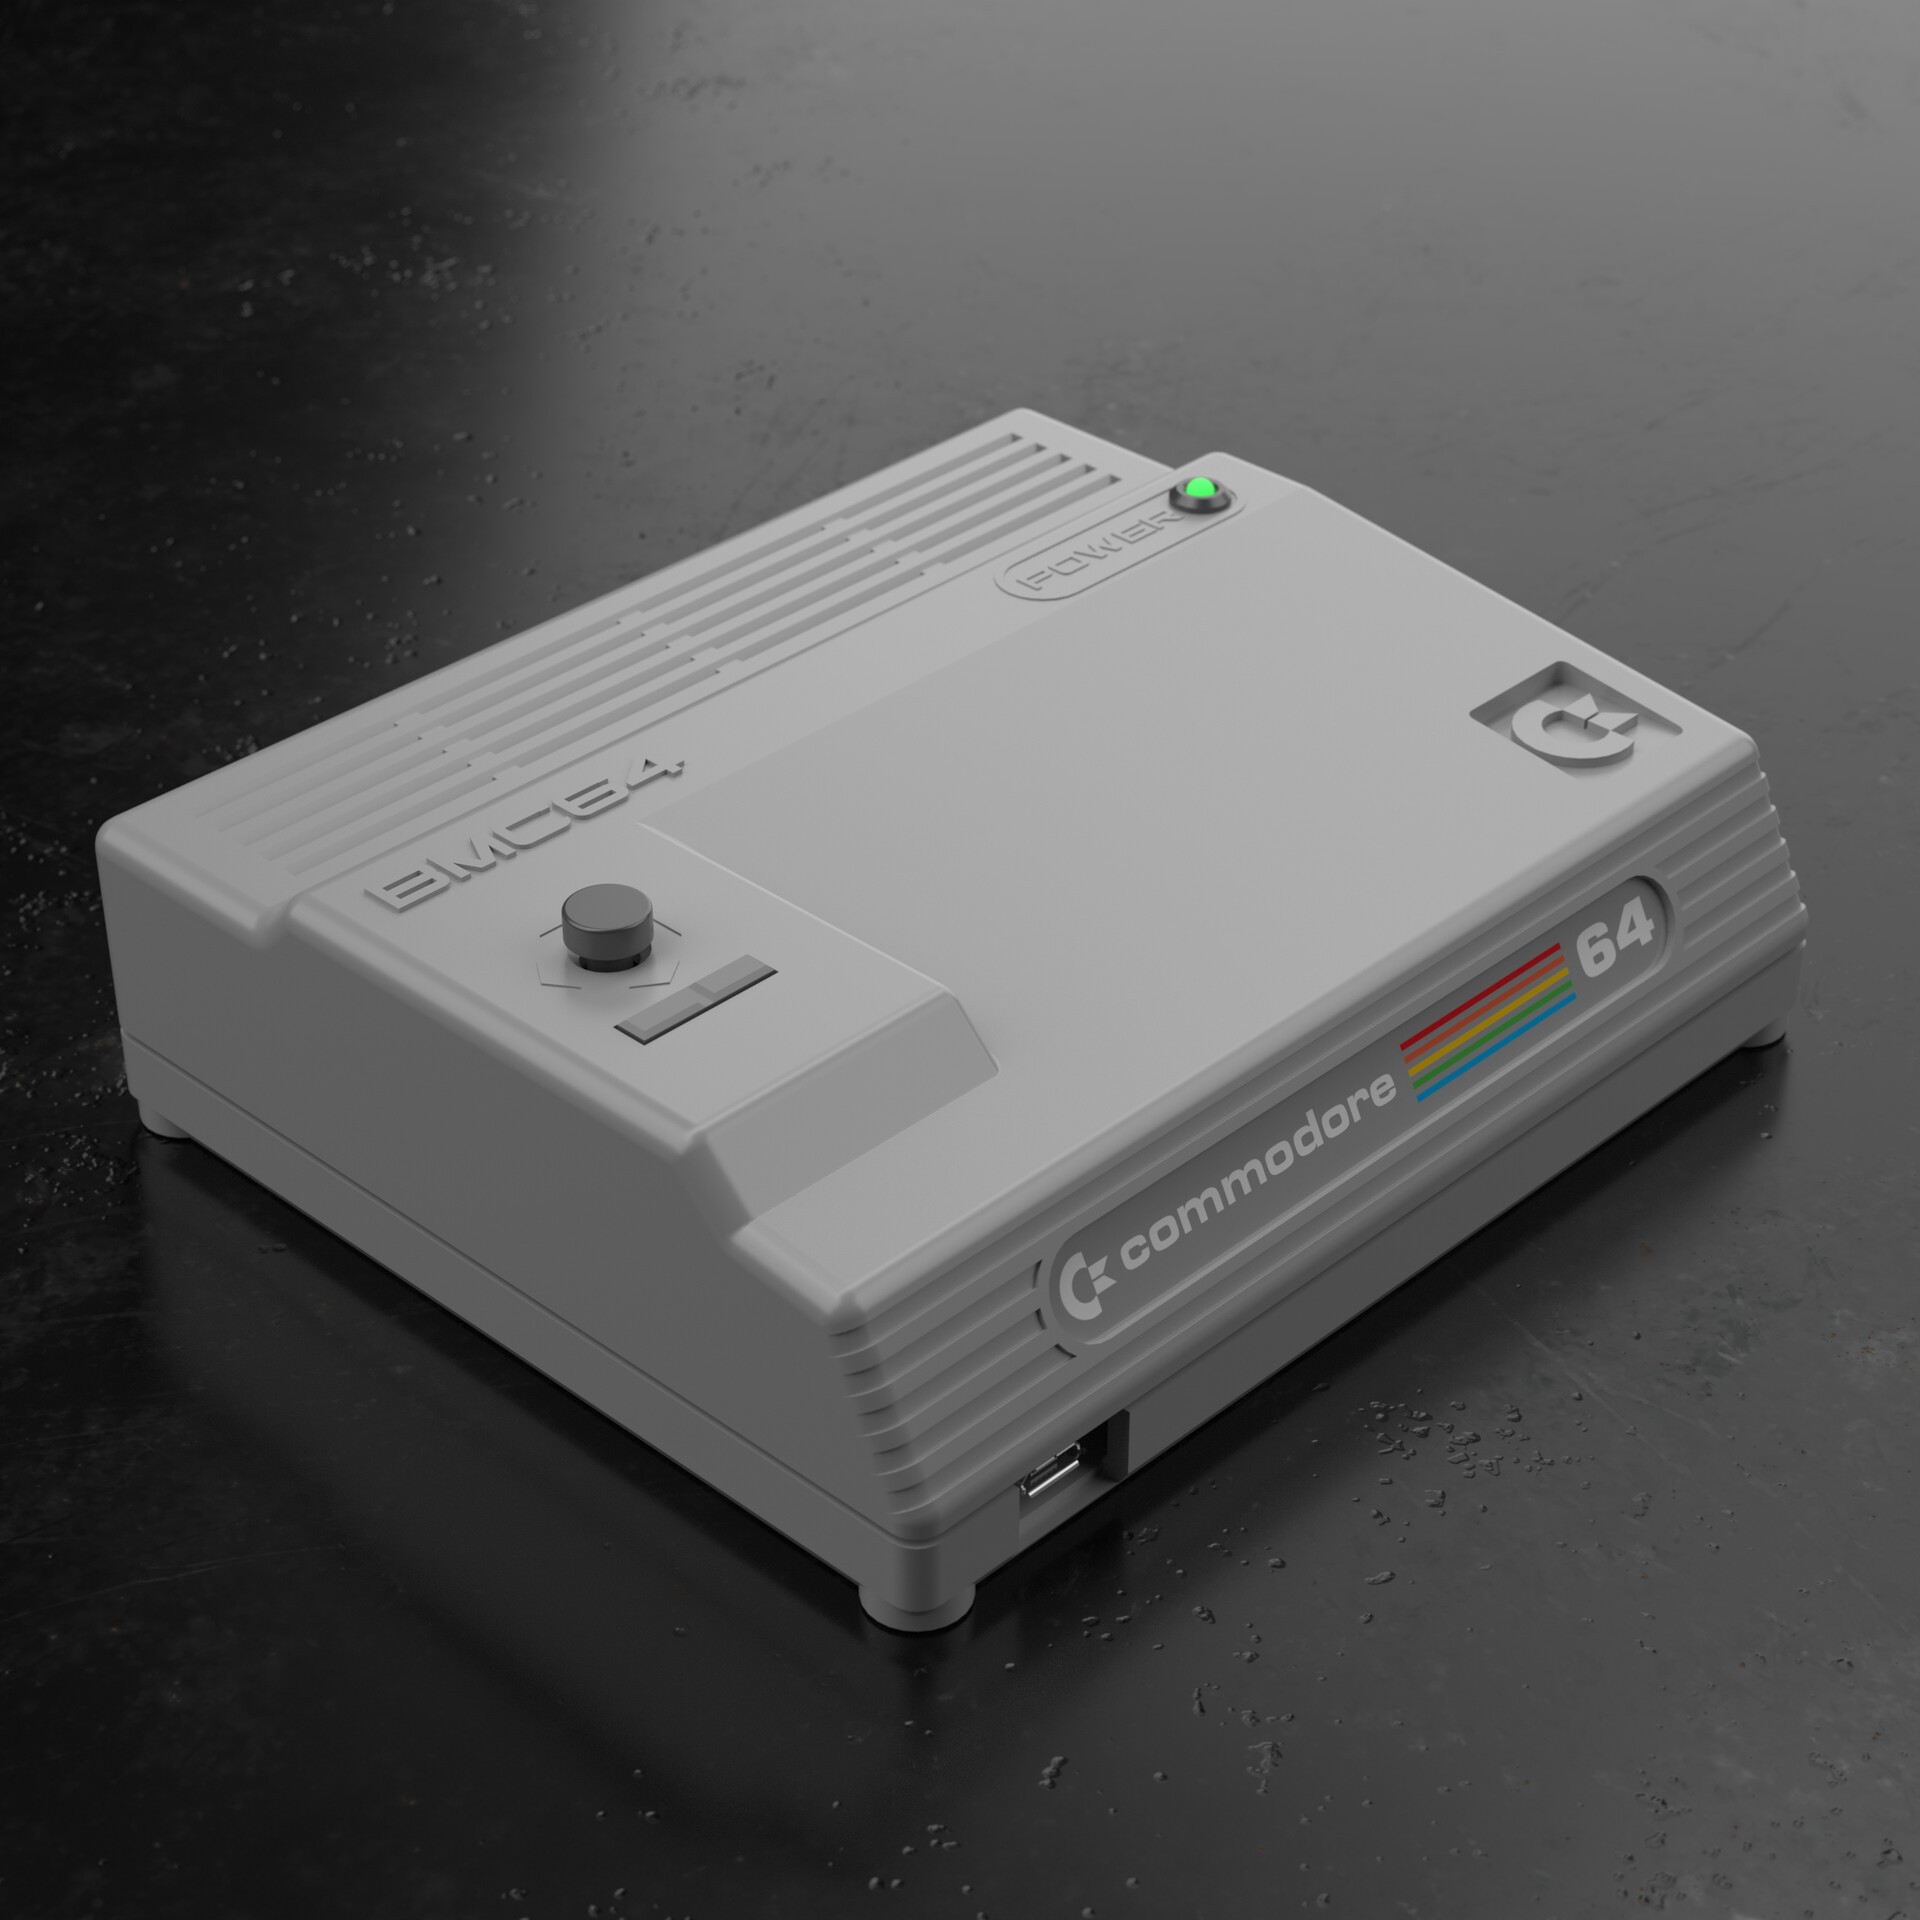
Here are some shots of the final device.


...and some draft renders:


BMC64 Homepage: https://accentual.com/bmc64/
Update!
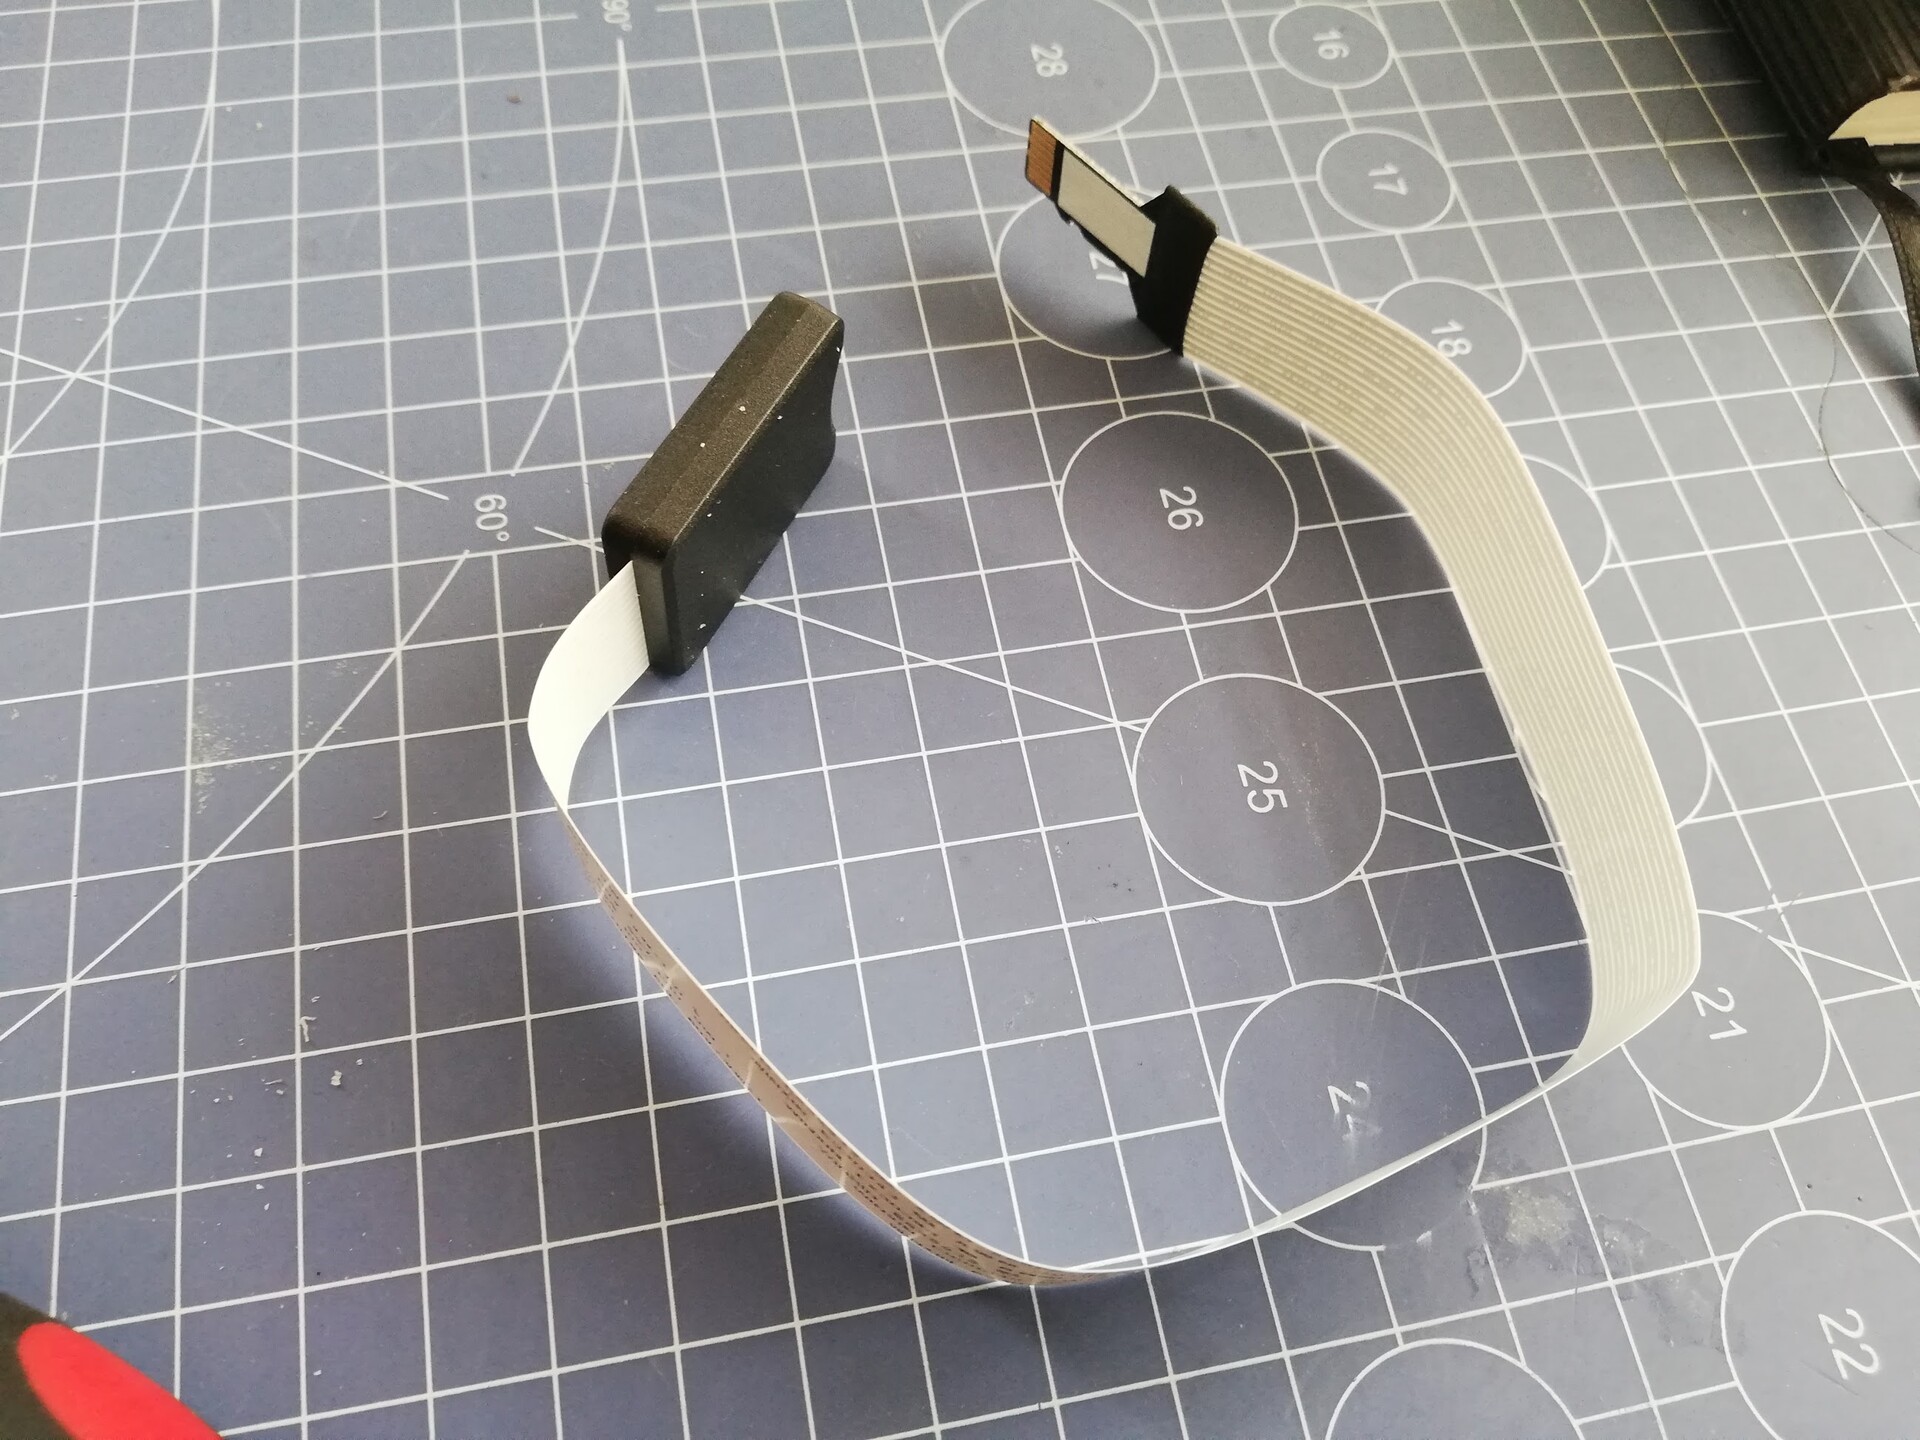
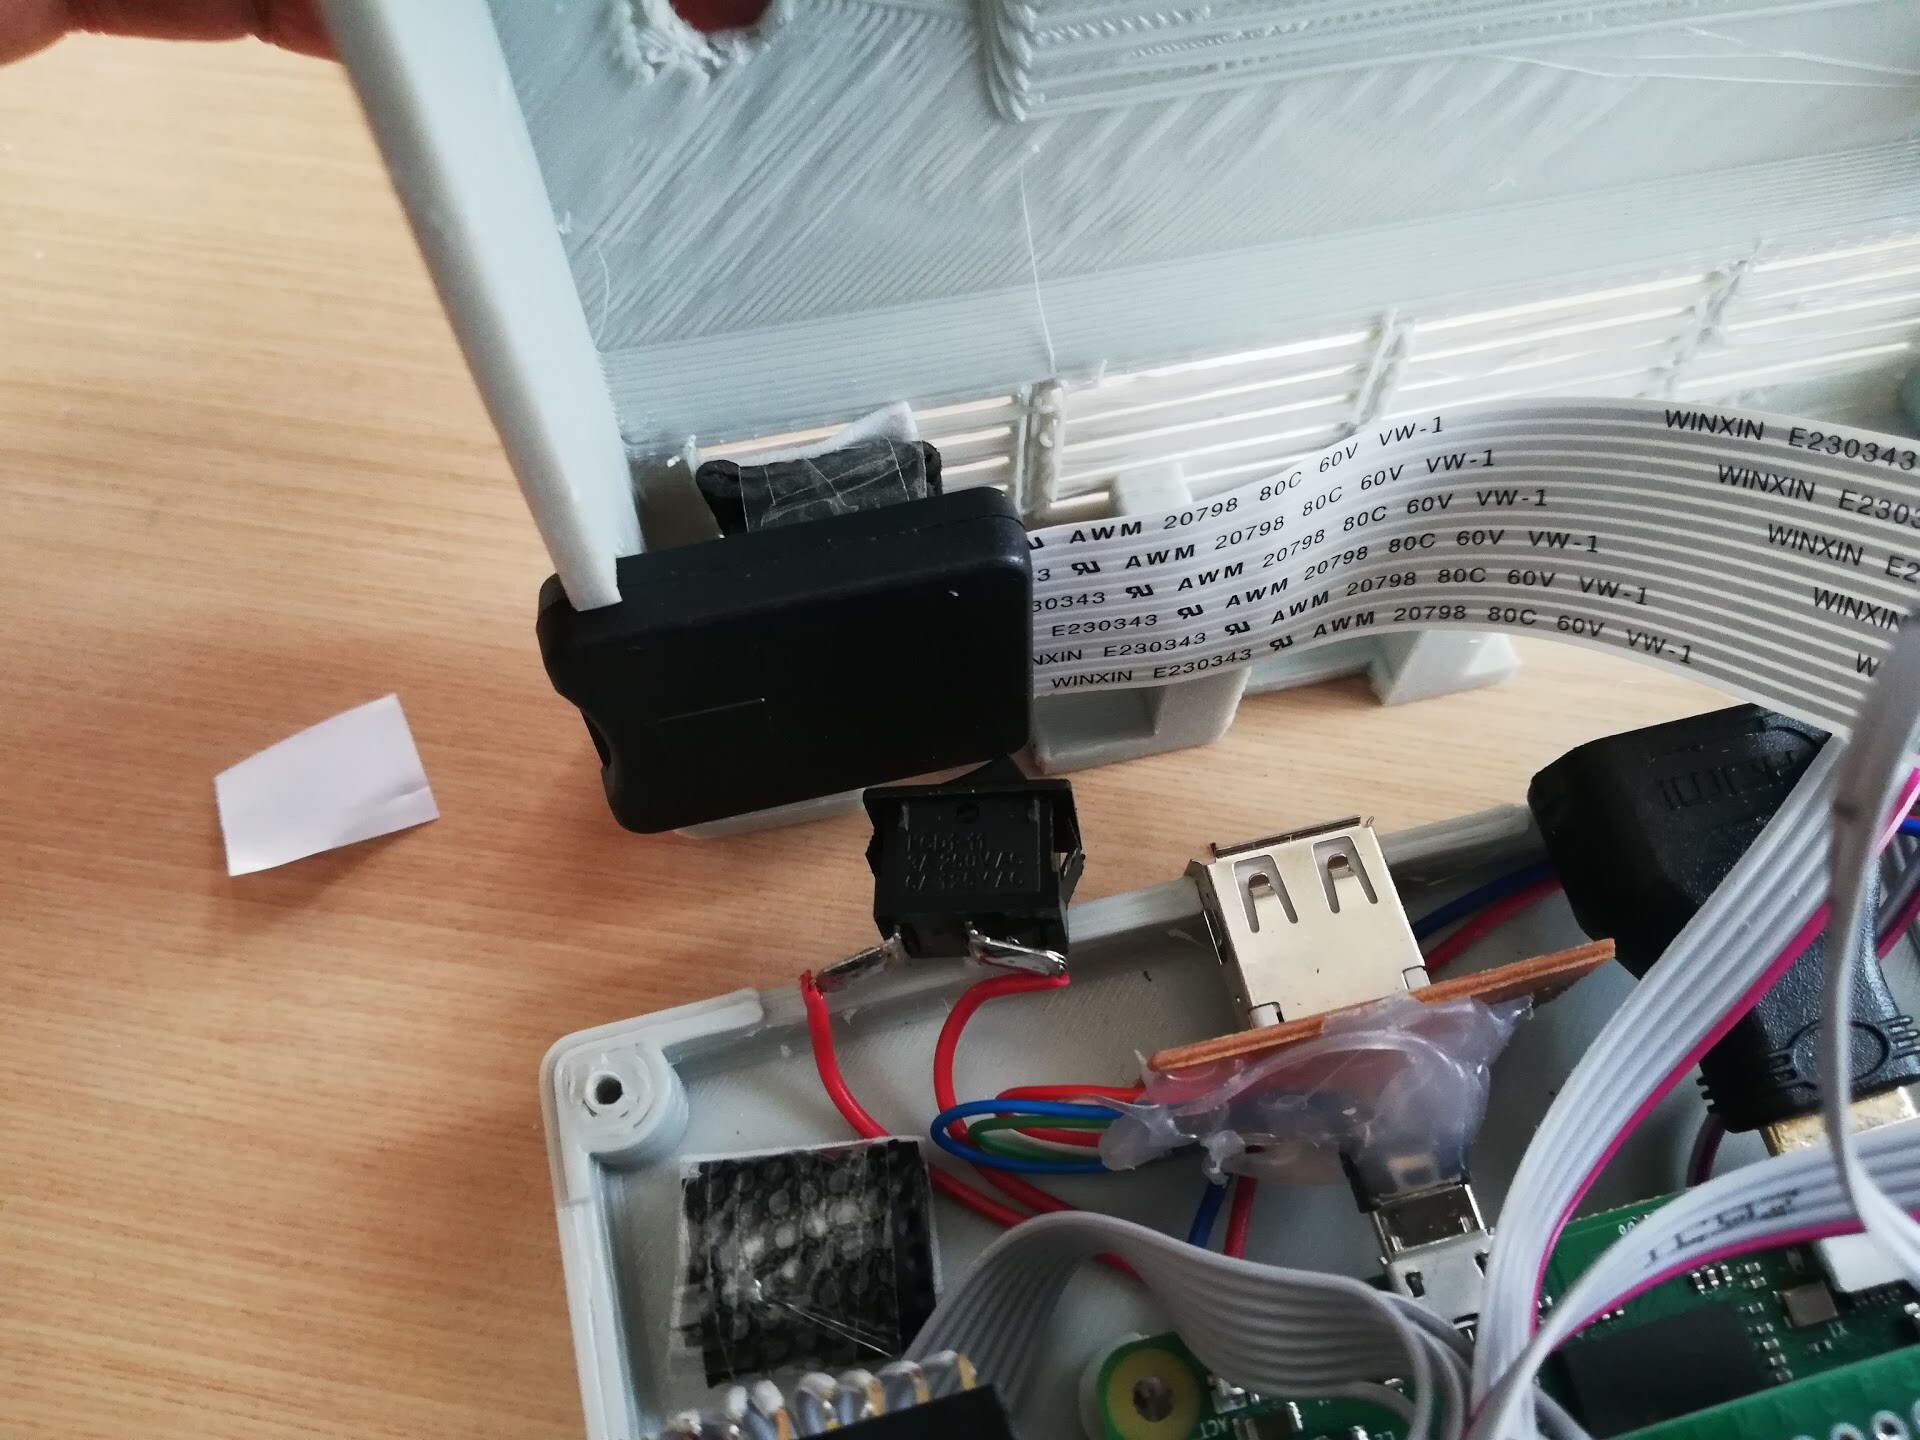
SD card slot was inside the case (on raspberry pi), so when I needed to change the content of the SD card, I needed to open the case by unscrewing.
I used a flex SD card extension to the case by cutting the side wall.
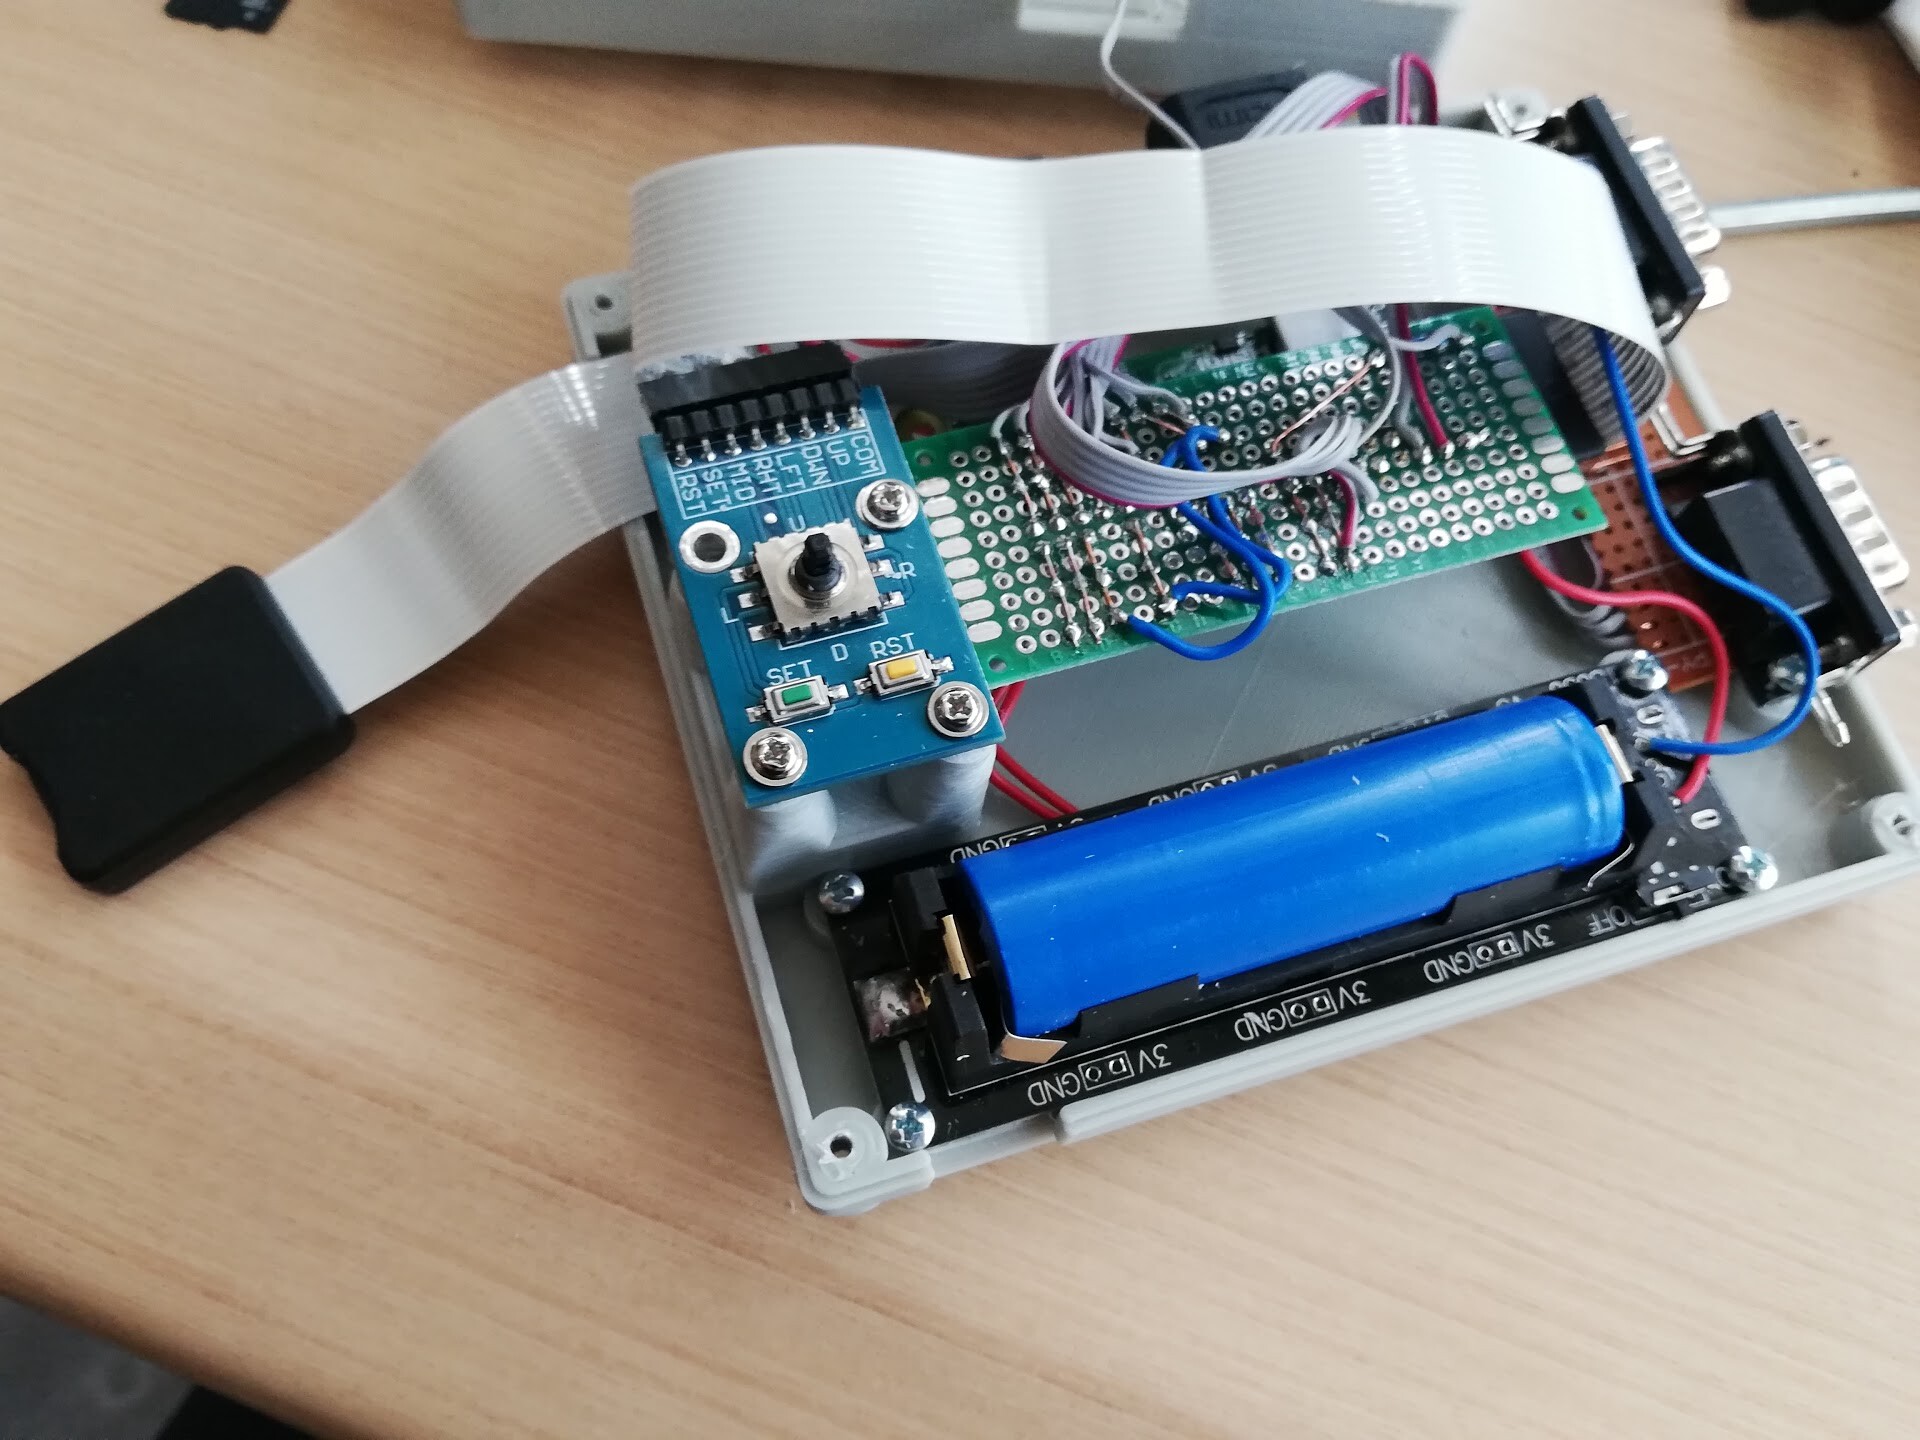

I used some folded foam layer to stabilize the SD card slot.
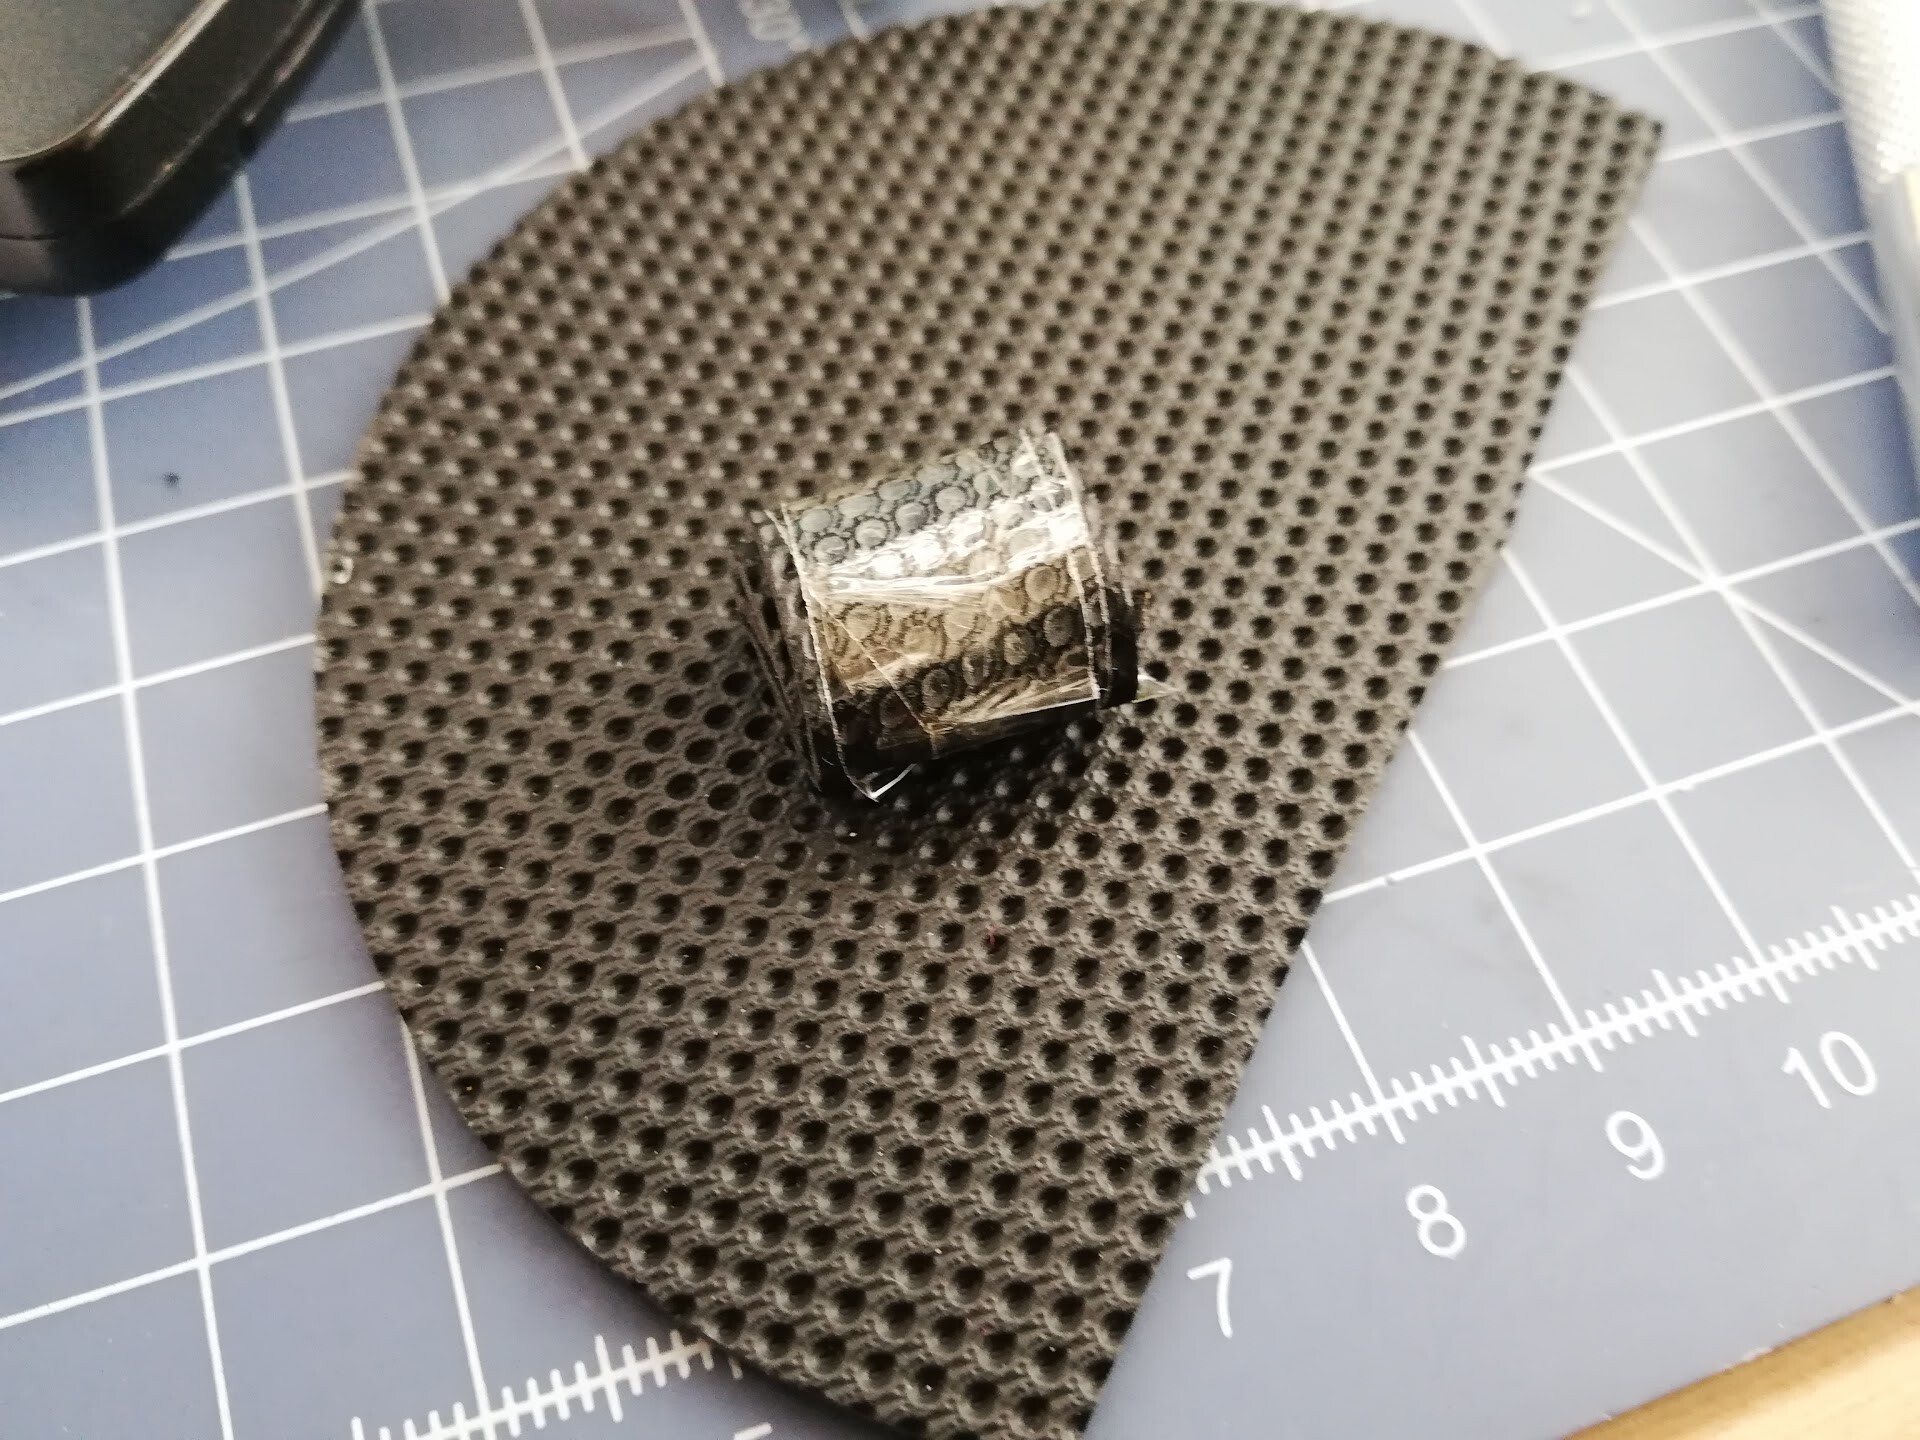
And finally now it's easy to add remove backup files without opening the case.