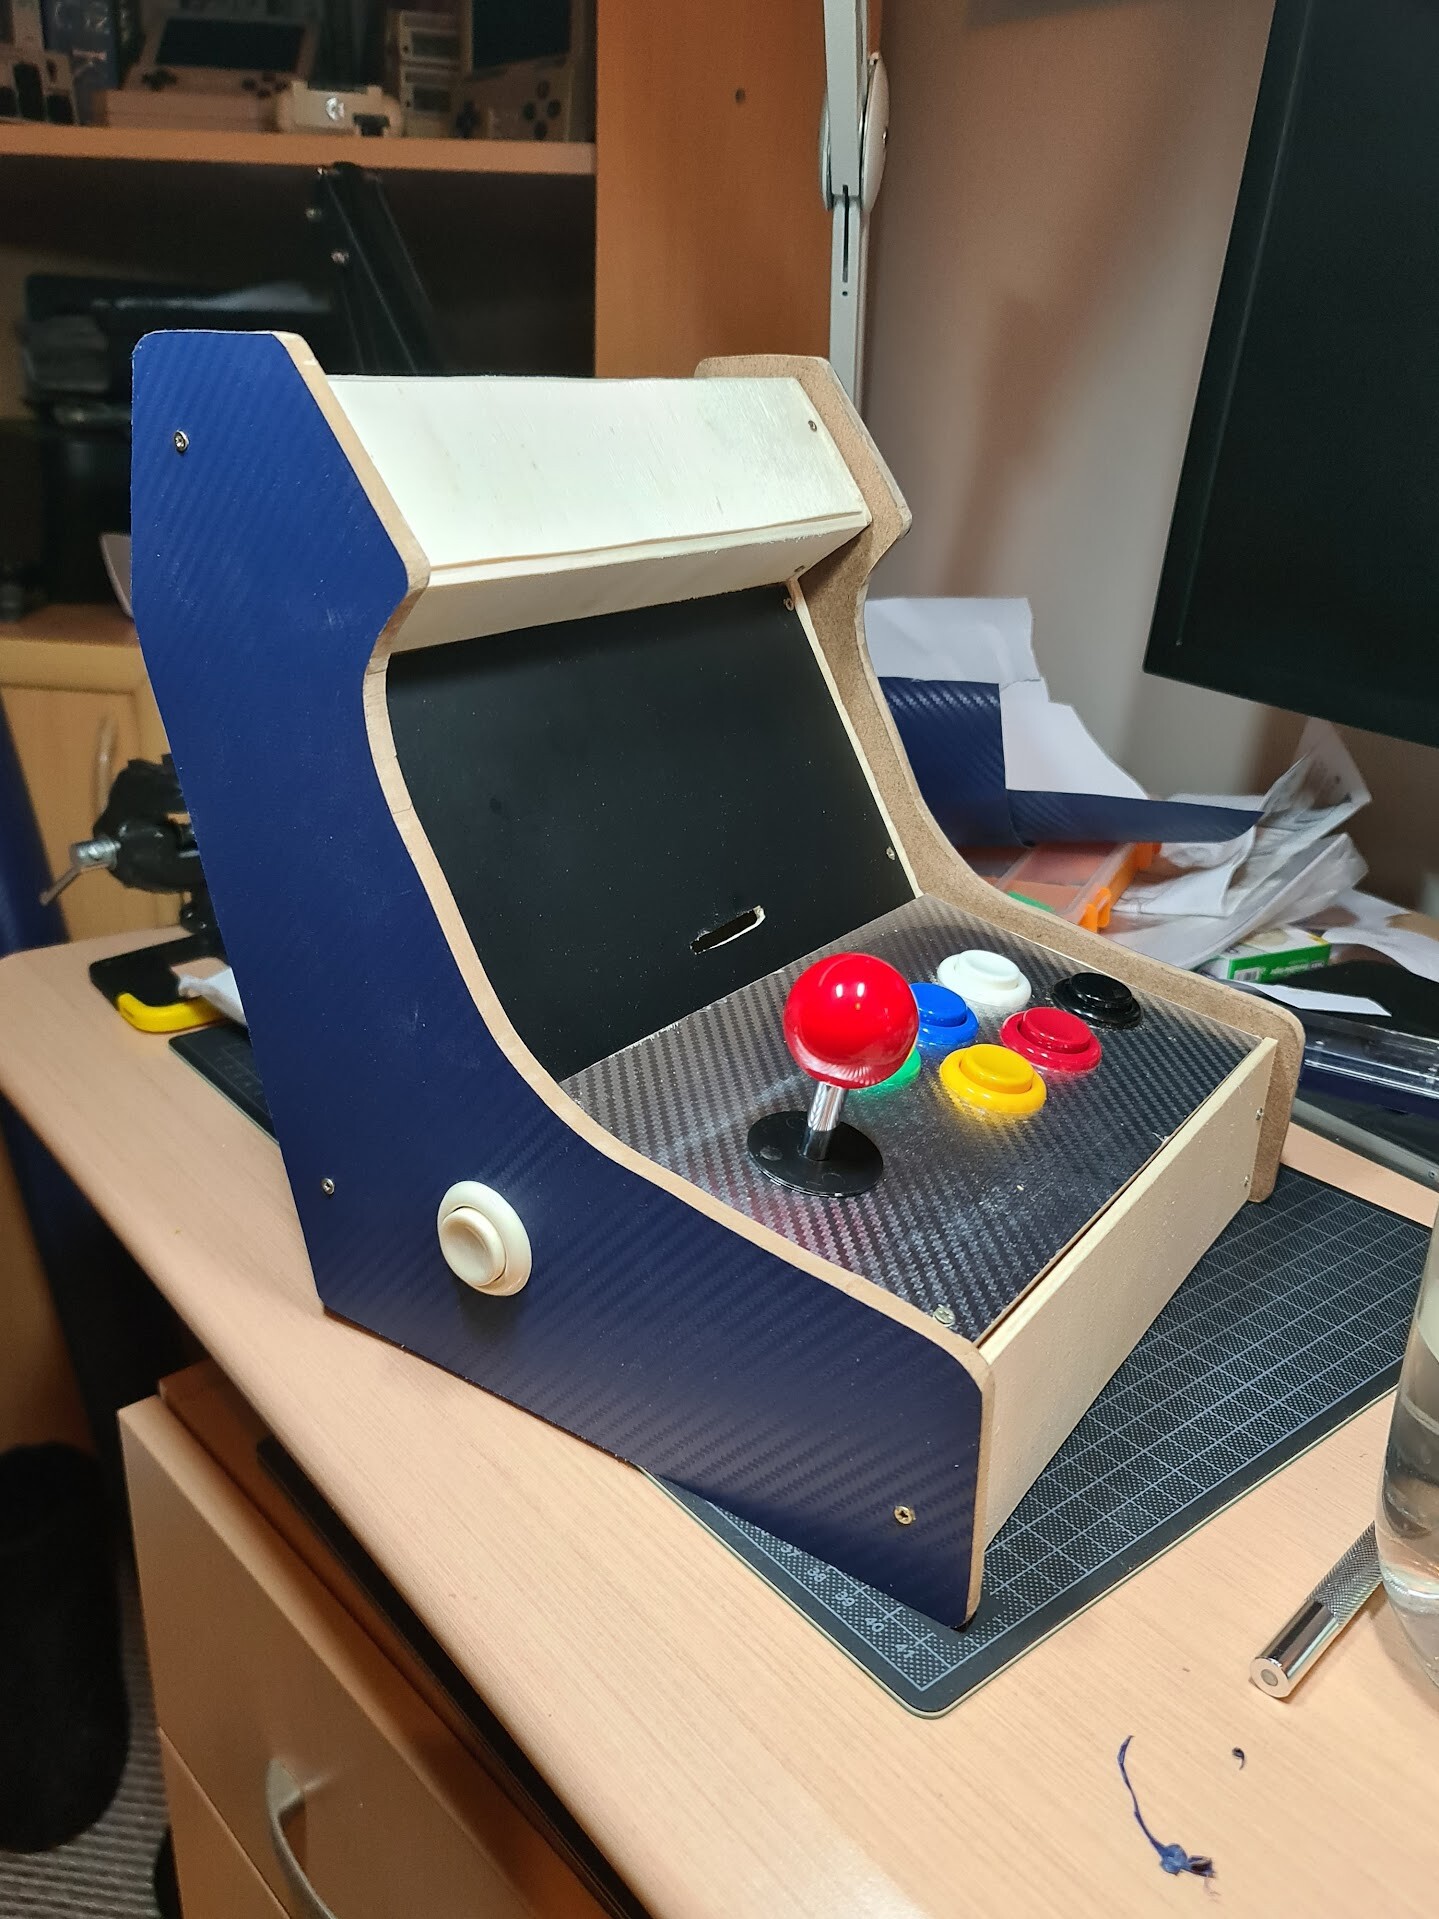
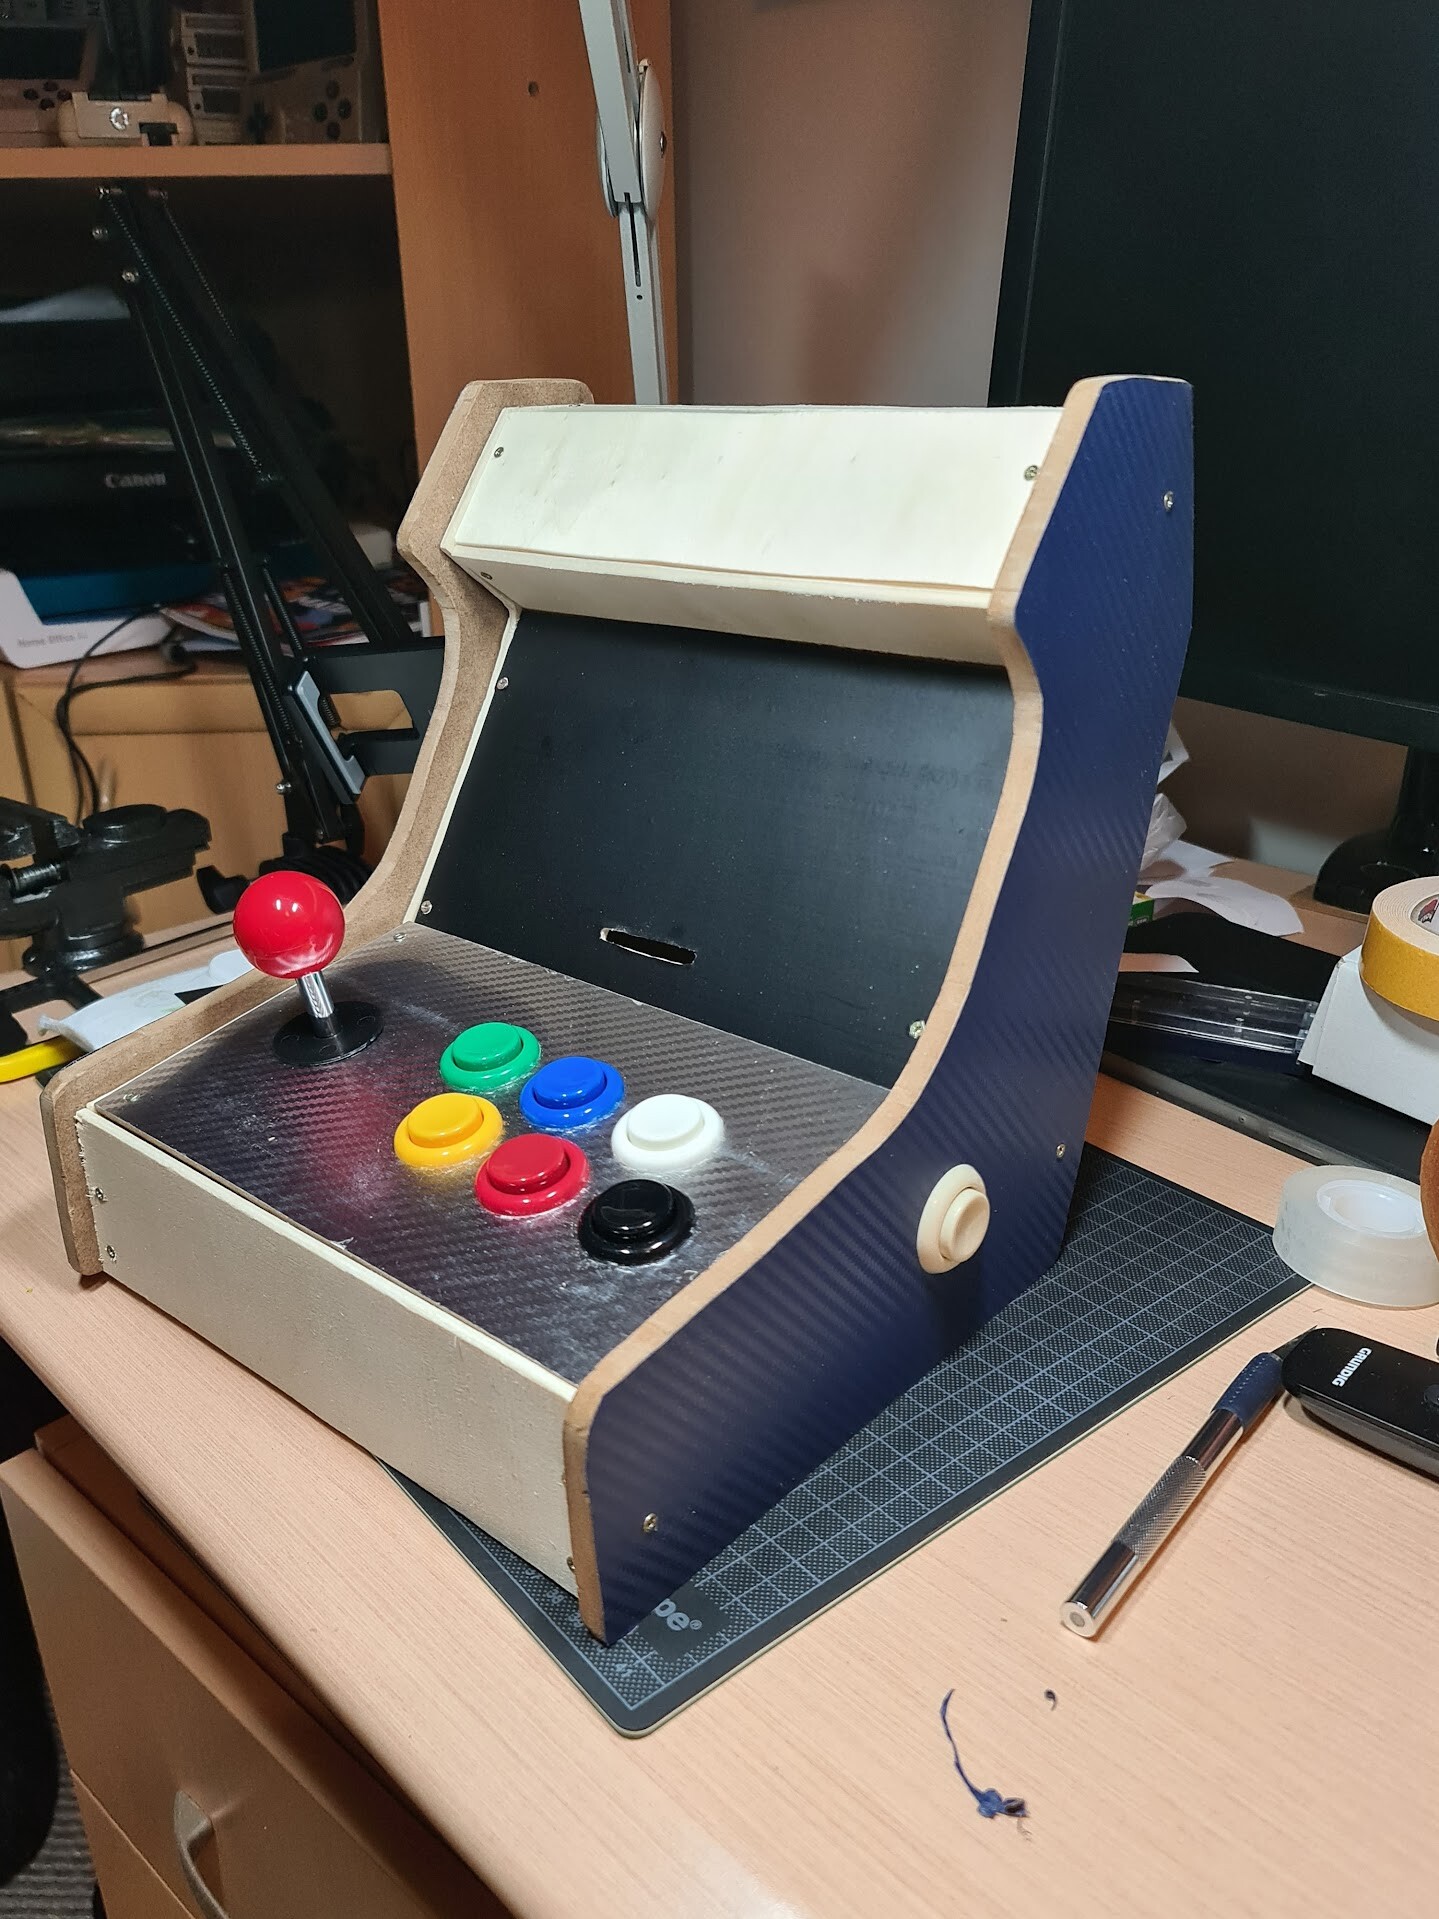
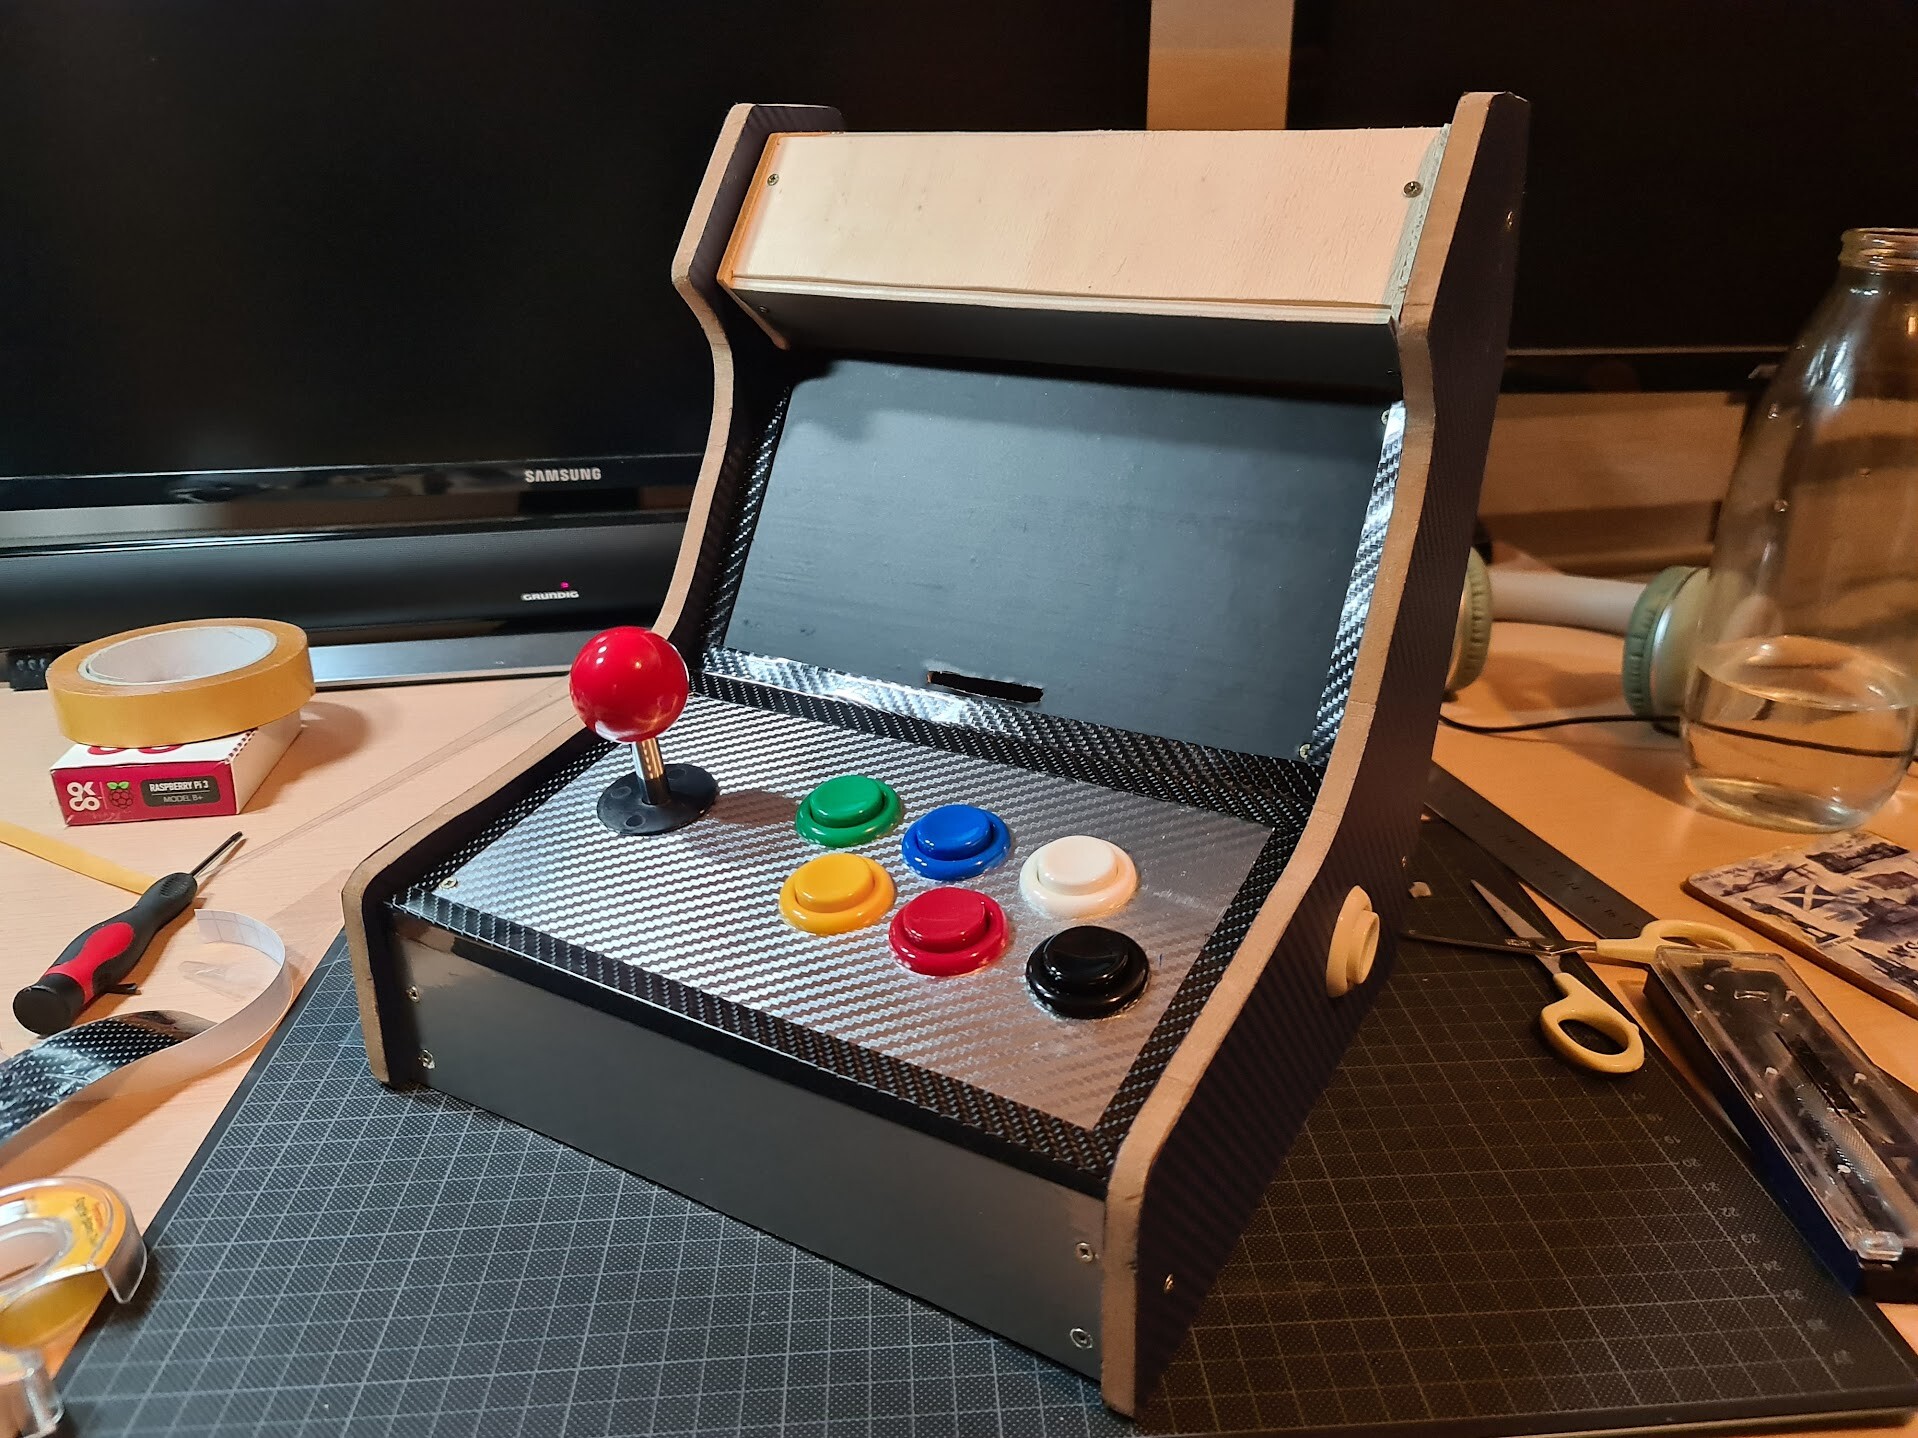
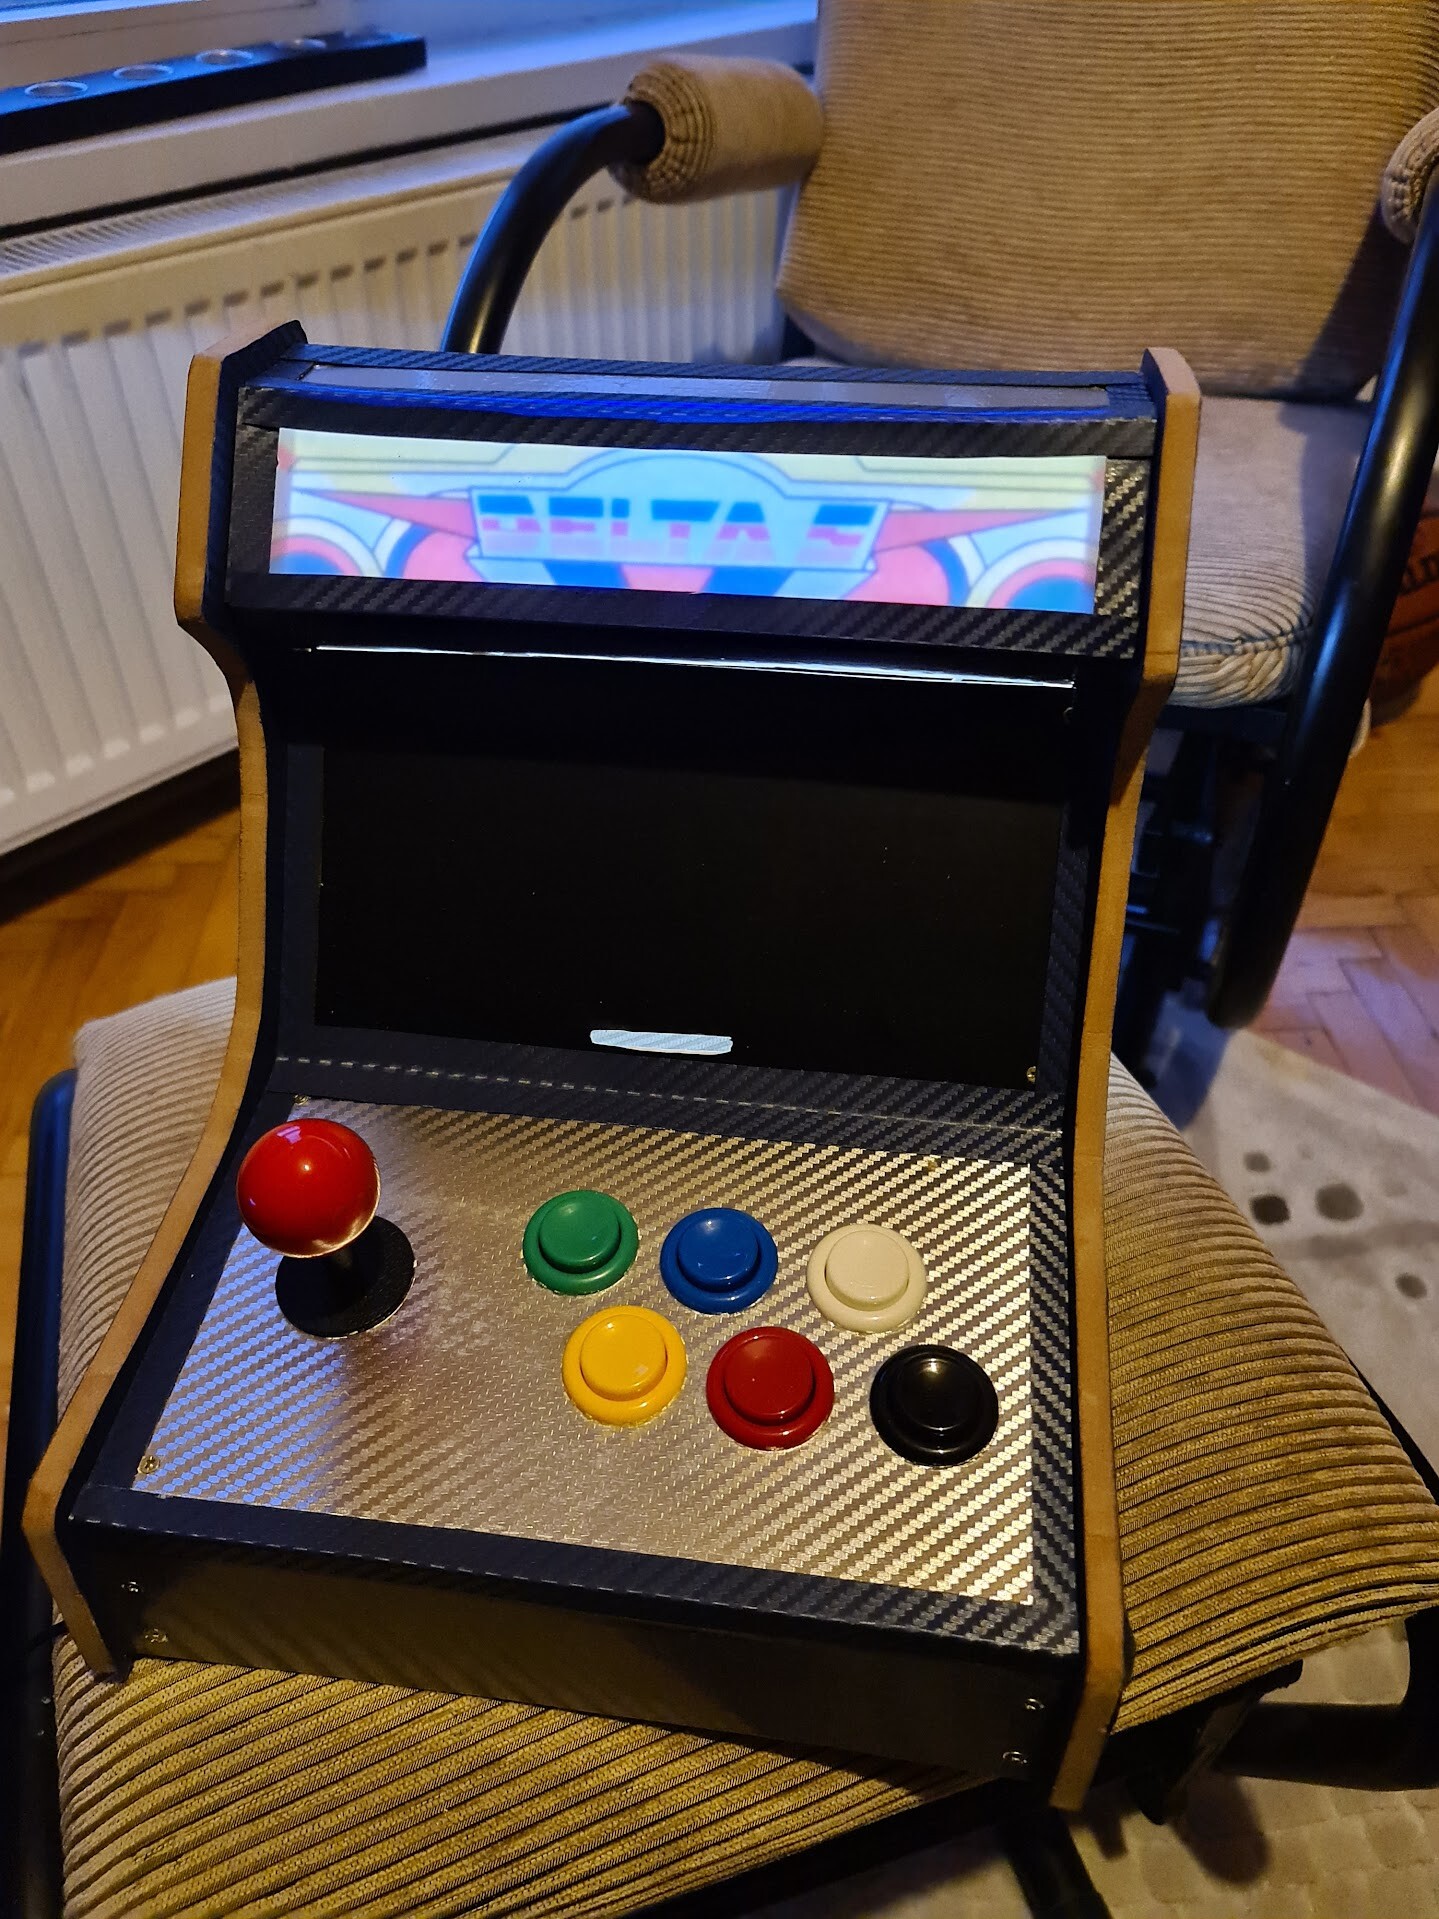
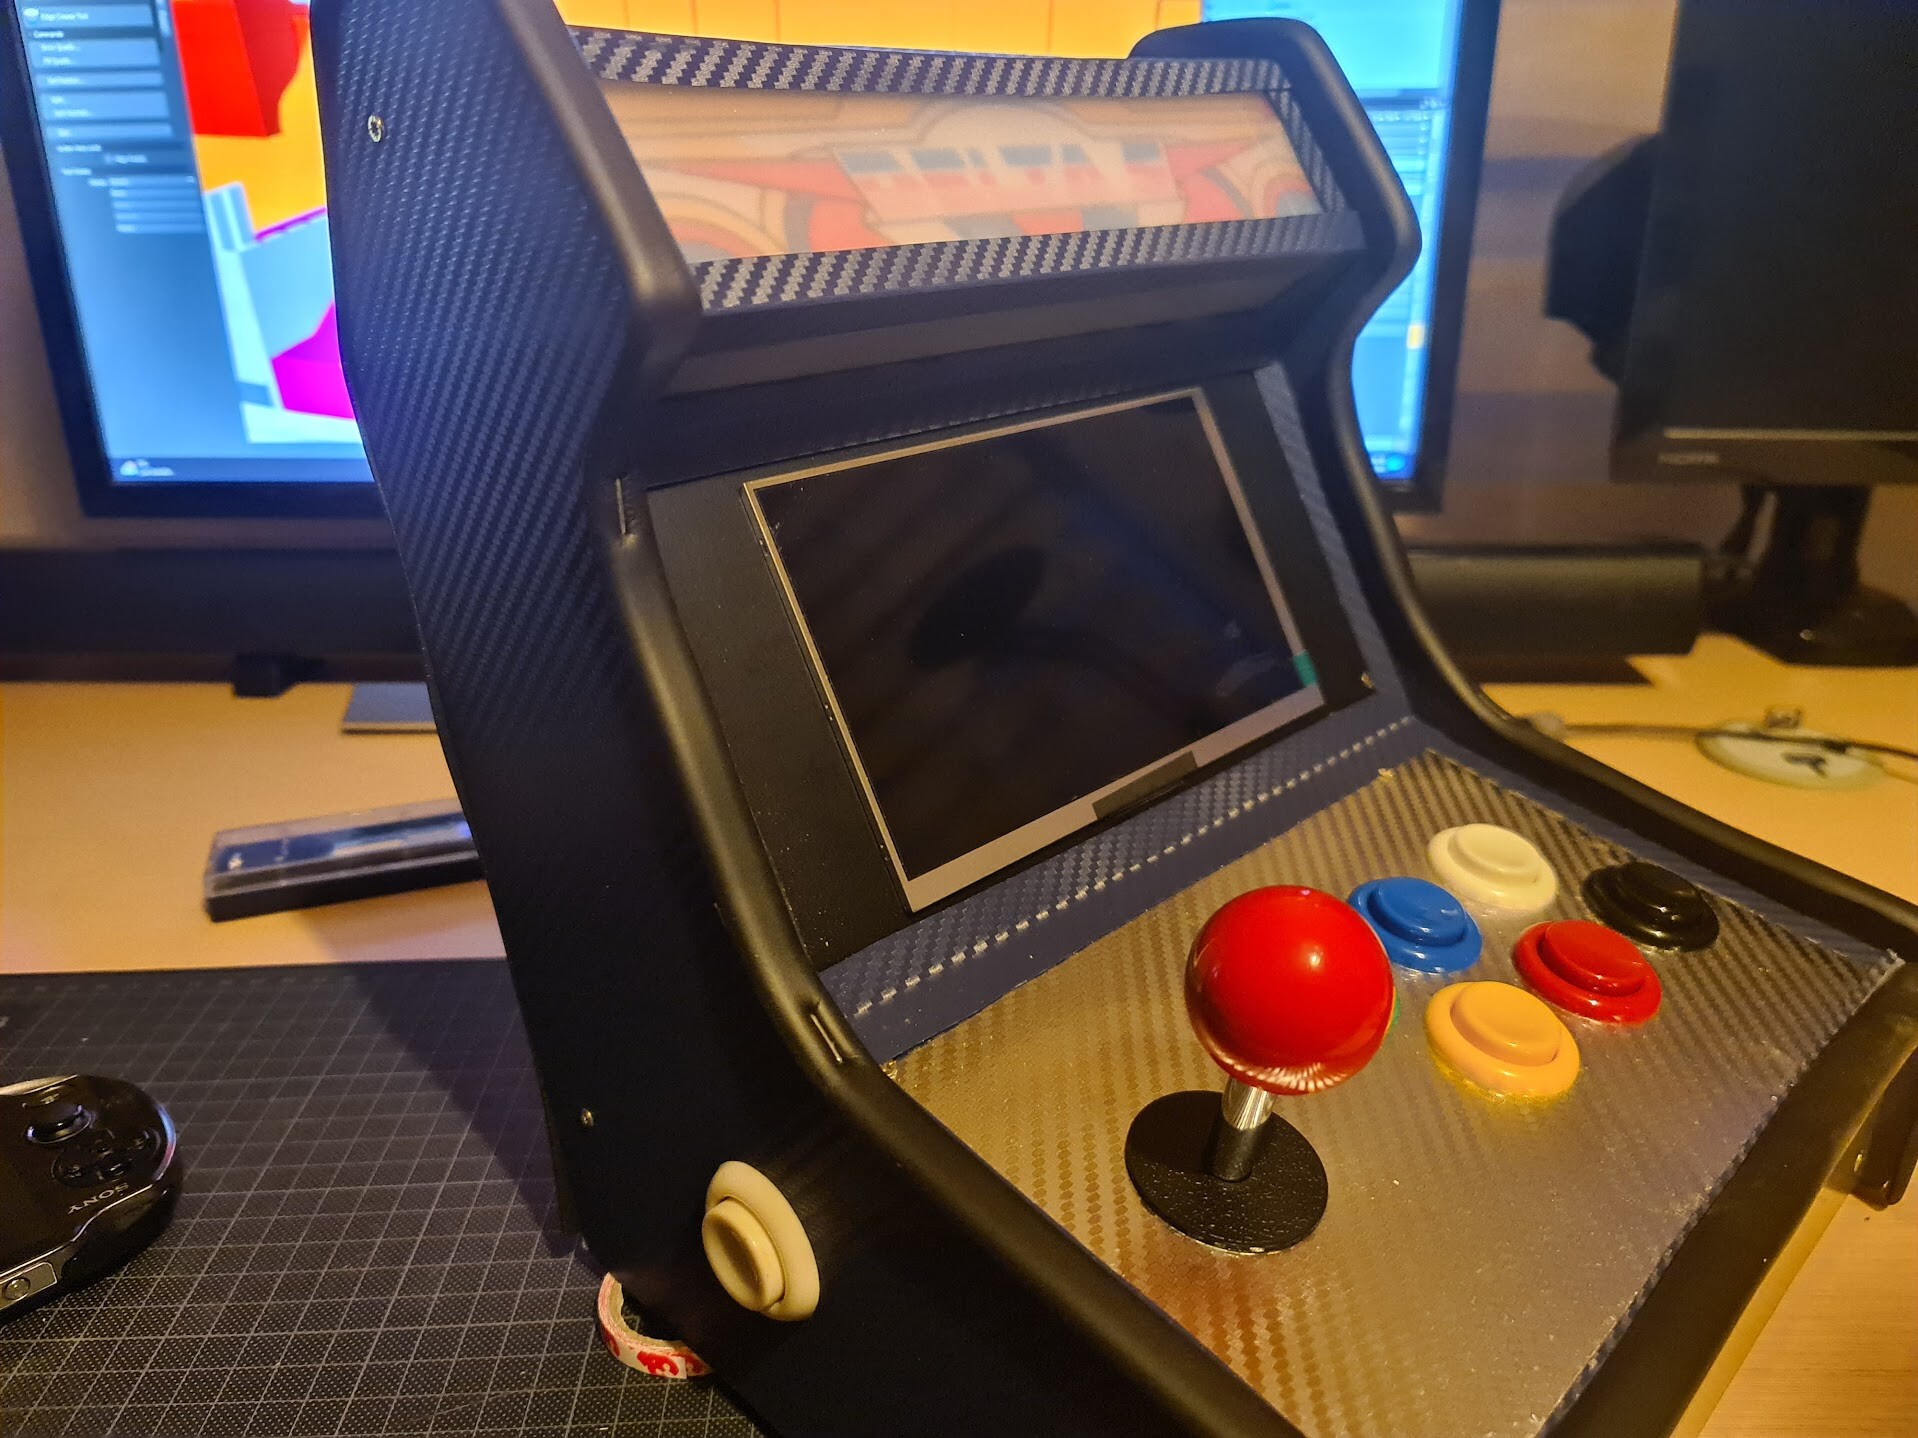
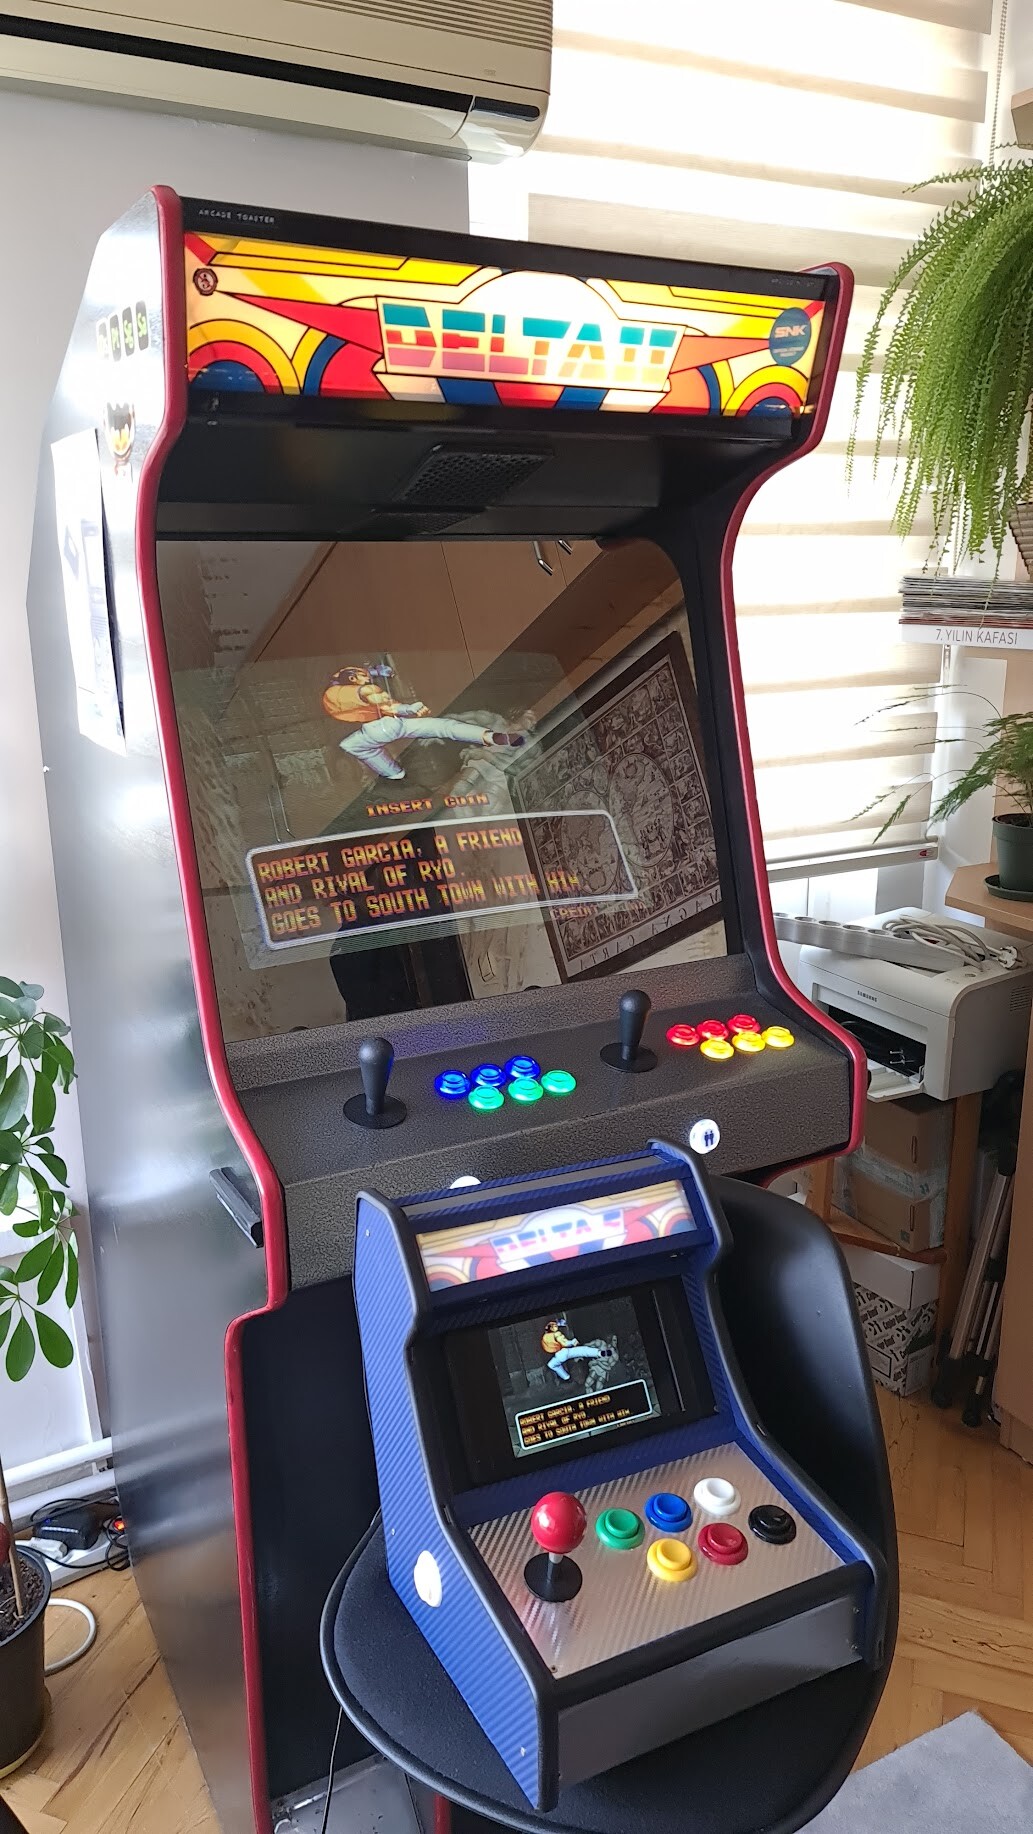
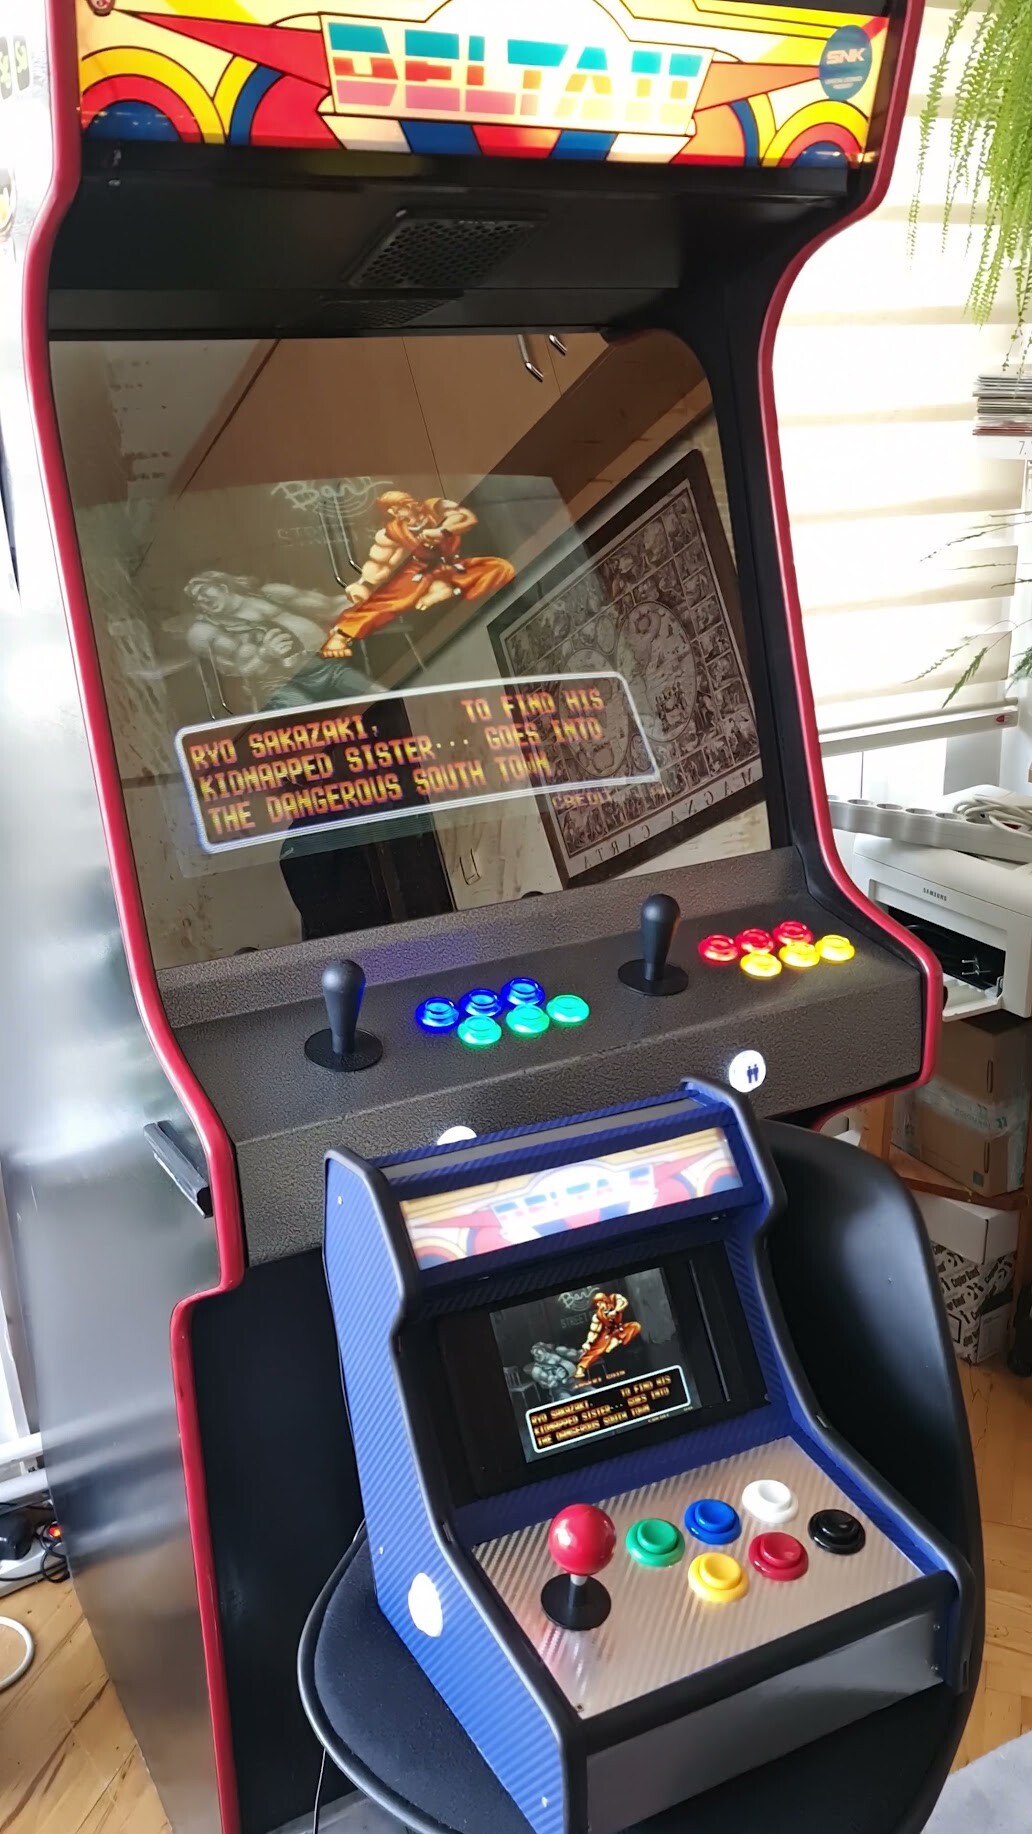
Hello, in this post I will show the progress of a mini arcade cabinet creation. This is not a regular arcade cabinet, it's more like the ones that called "table-top" designs. This is how it looks:

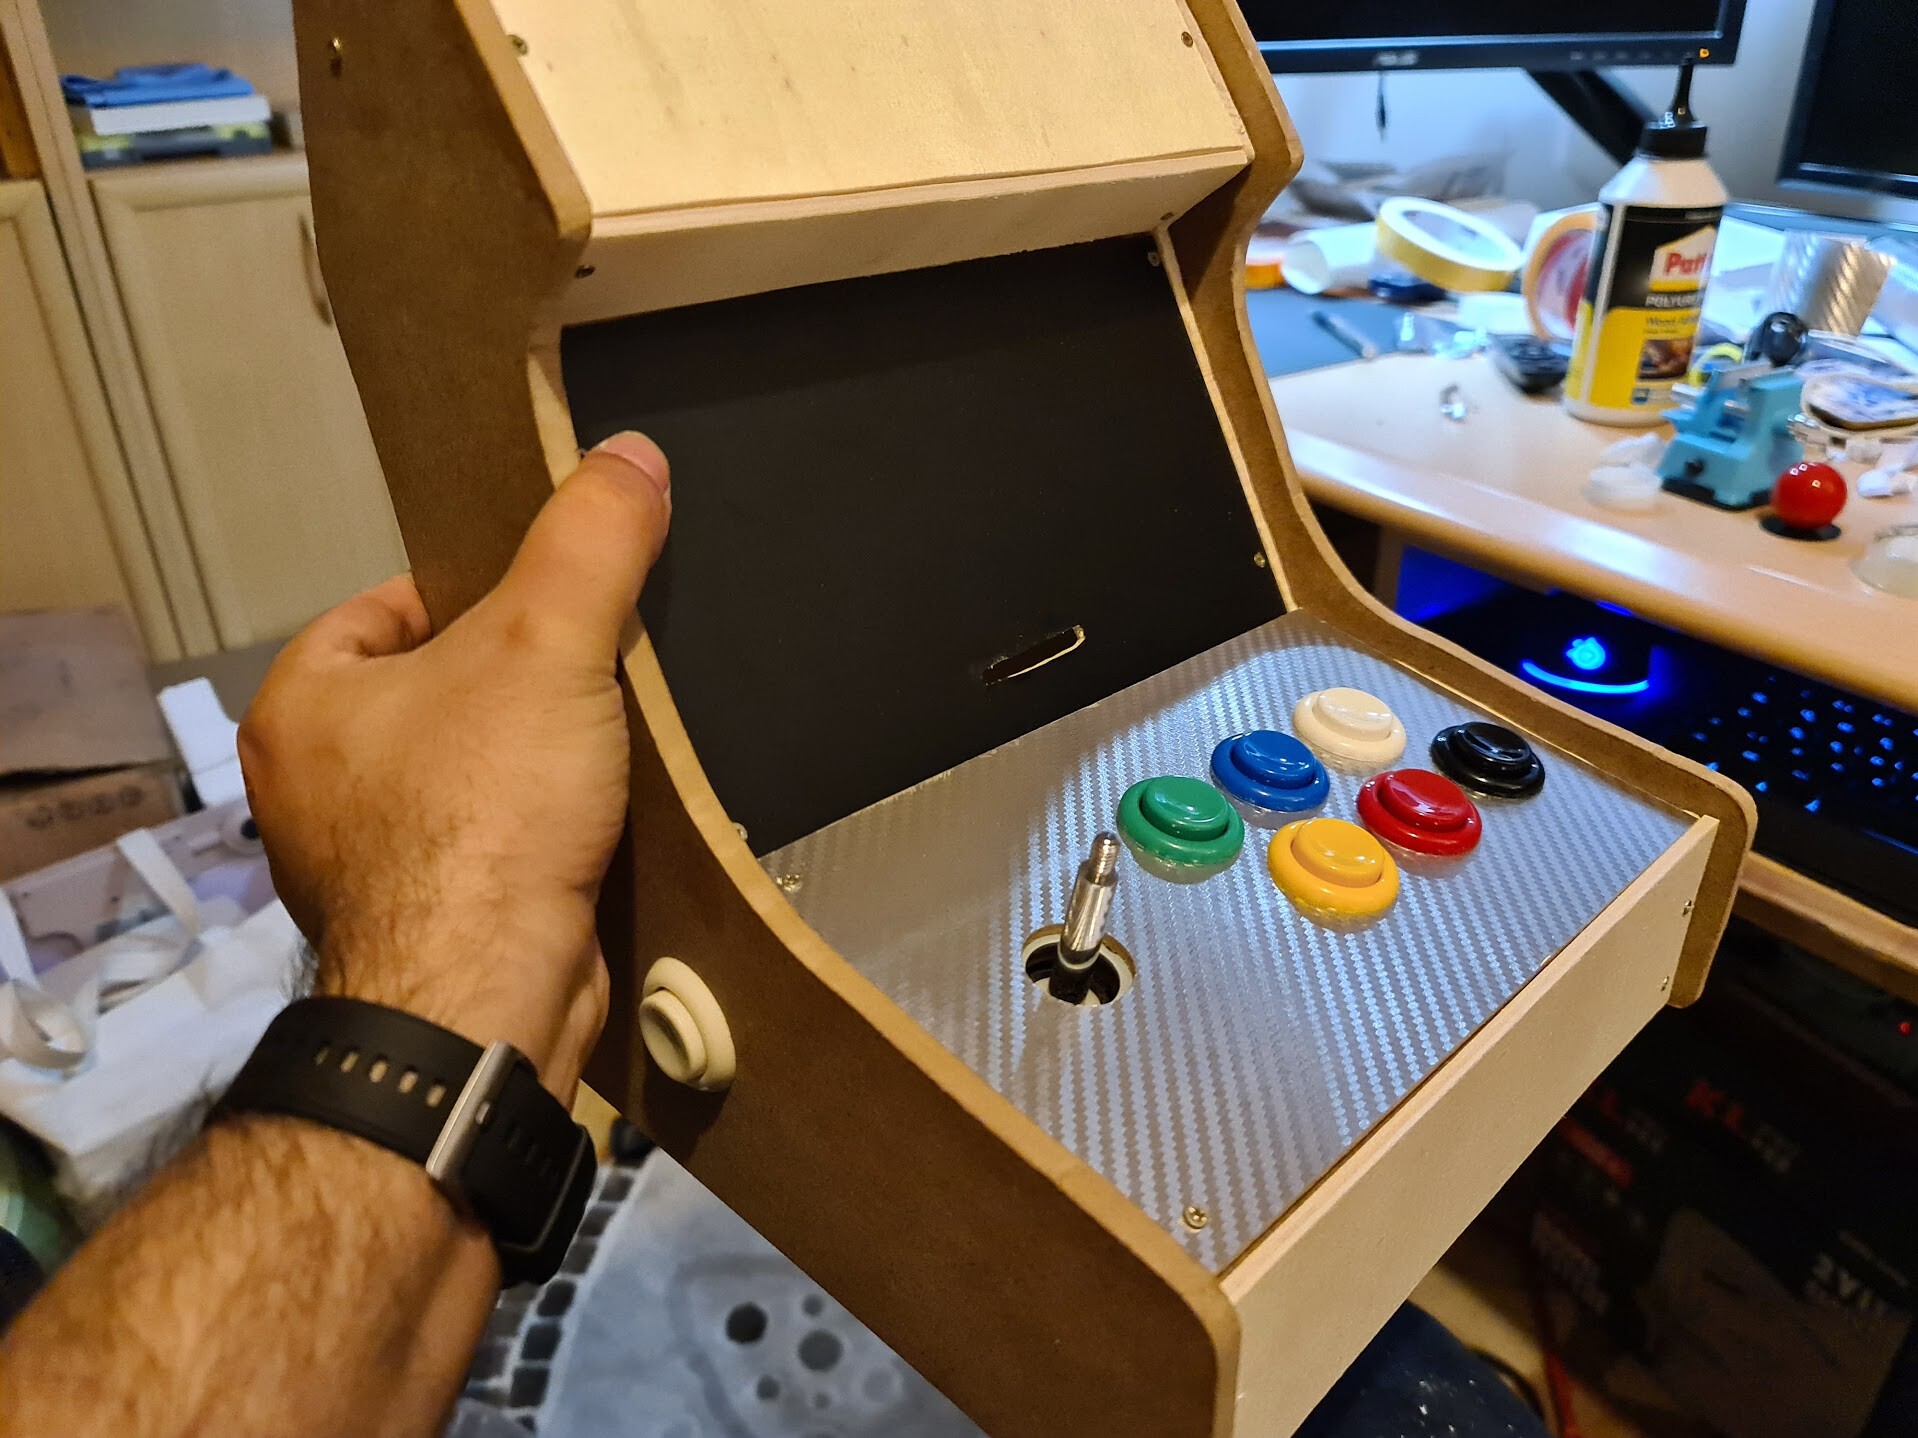
And this is how it's played by:
The idea has came from that I had some spare buttons and joysticks when I used on the real arcade cabinet that I acquired. So with that spare parts and more importantly the 7" screen that I had for long time, I decided to assemble a mini cabinet with a Raspberry Pi.
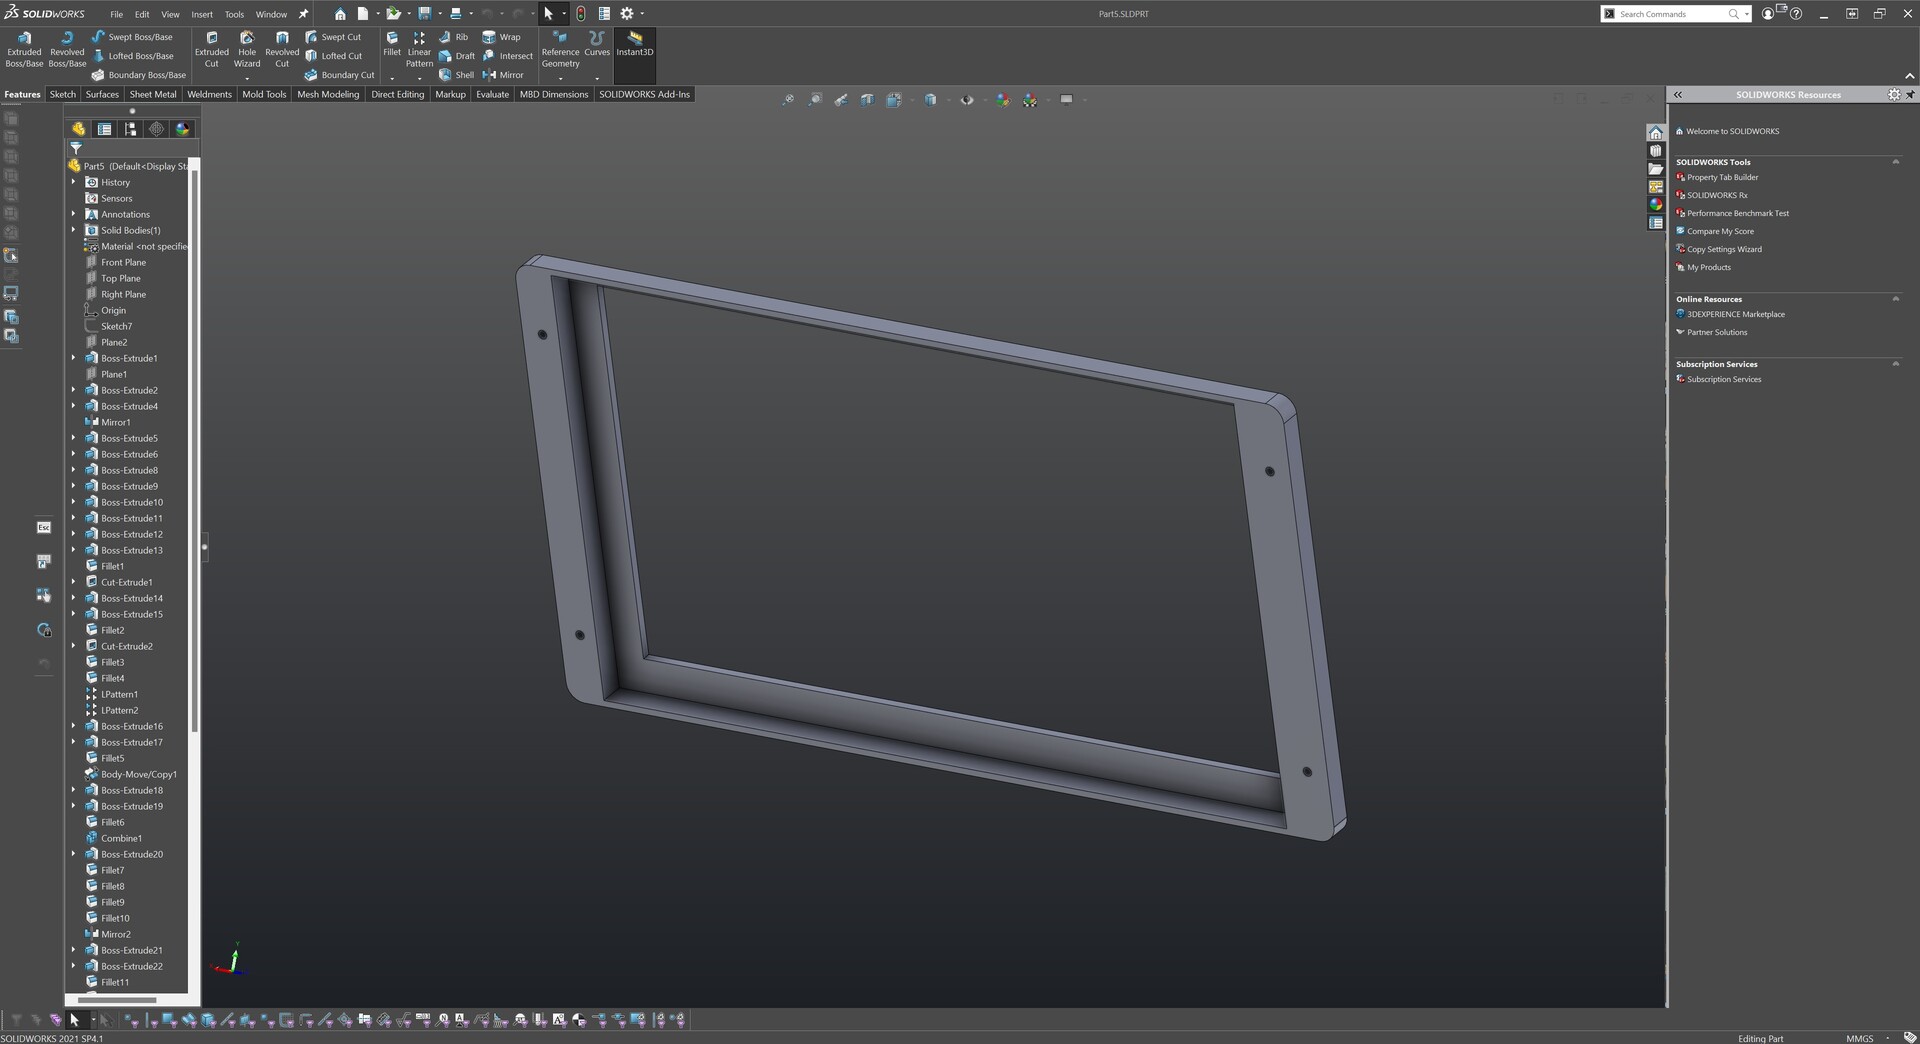
So first, I made a quick design on Solidworks.
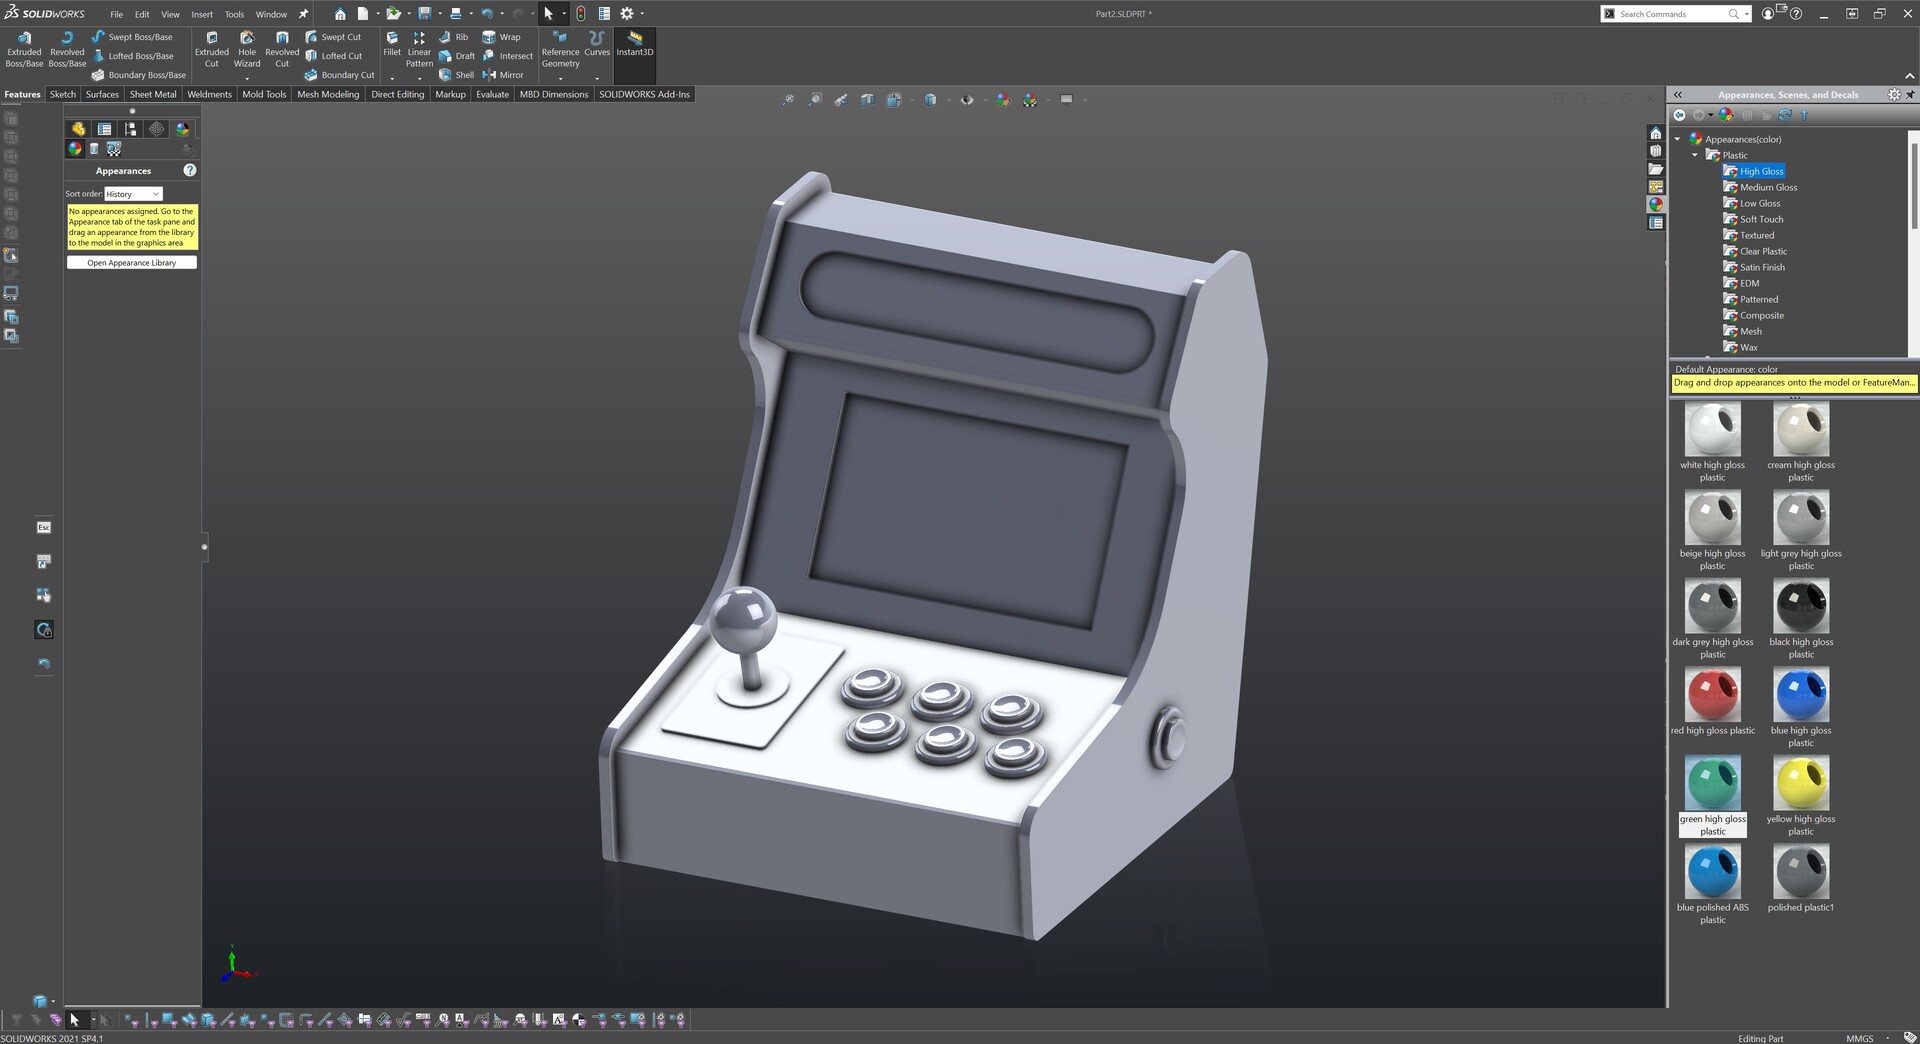
Made some coloring and texturing by the library.
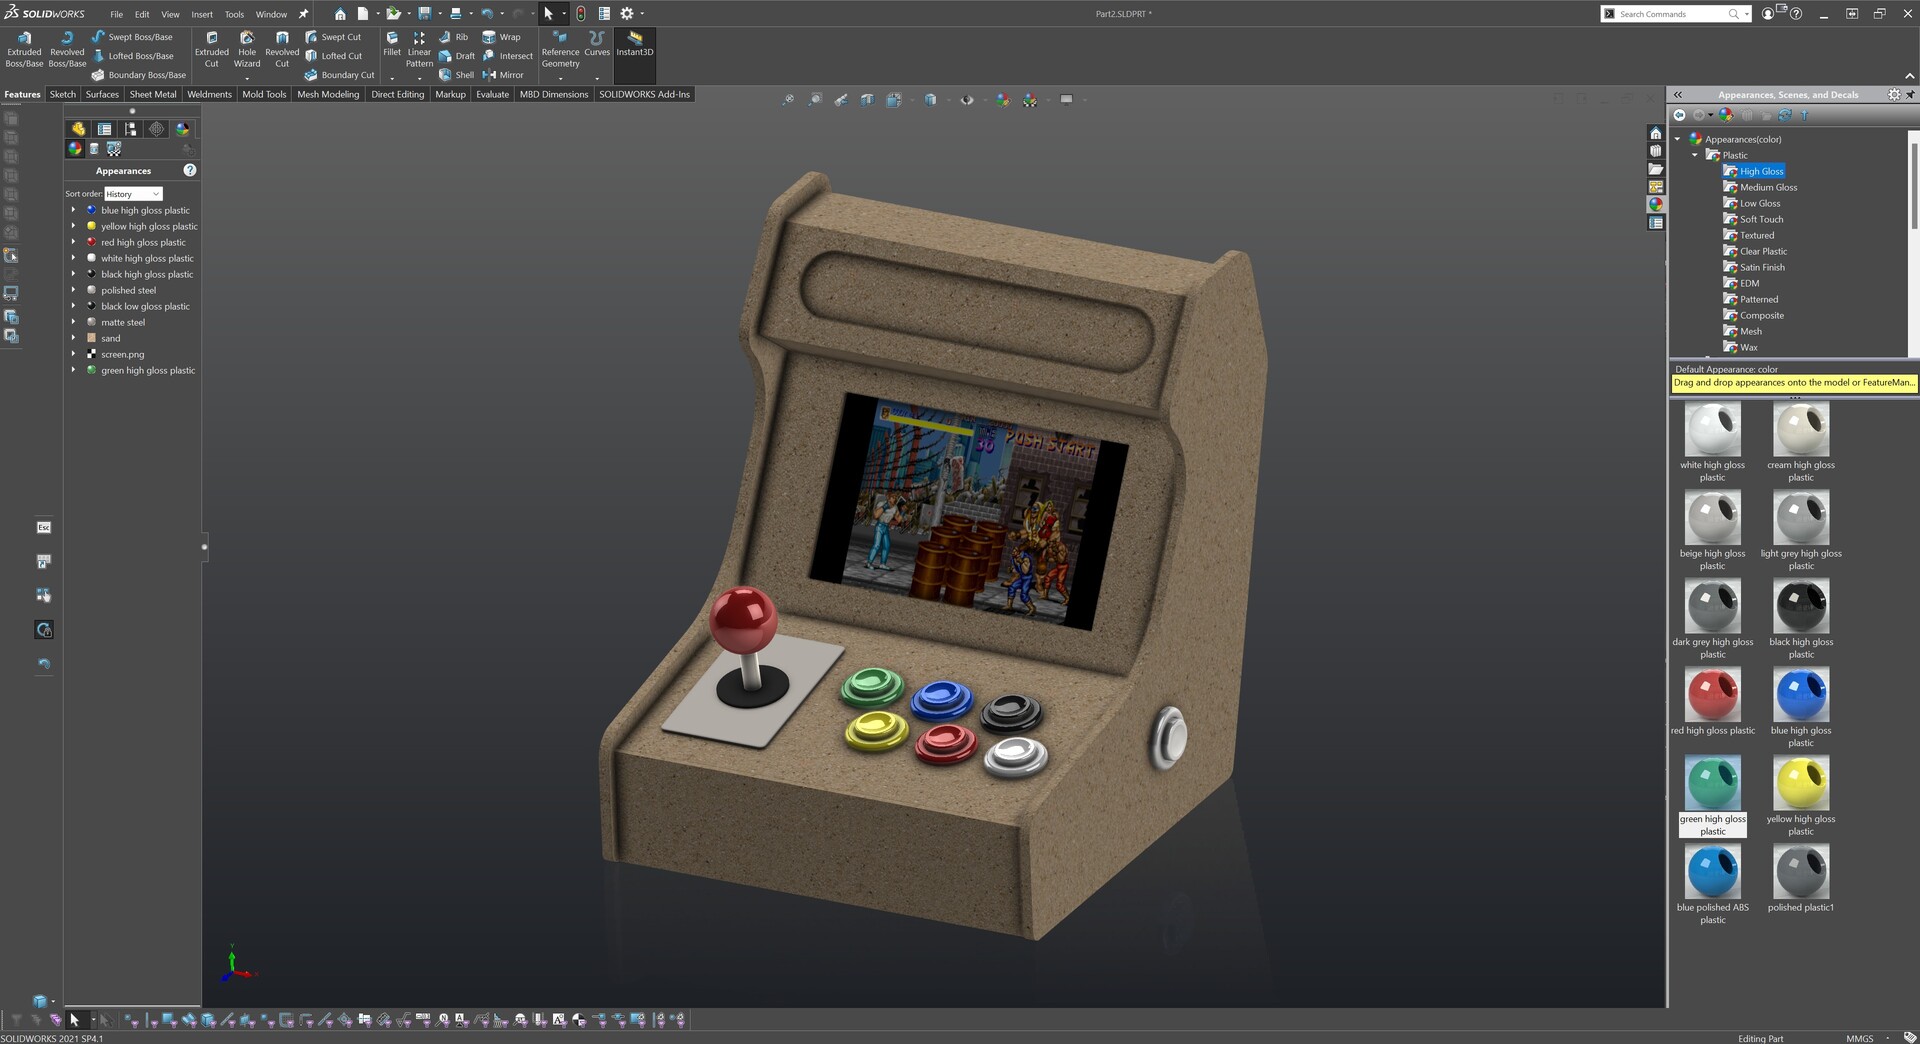

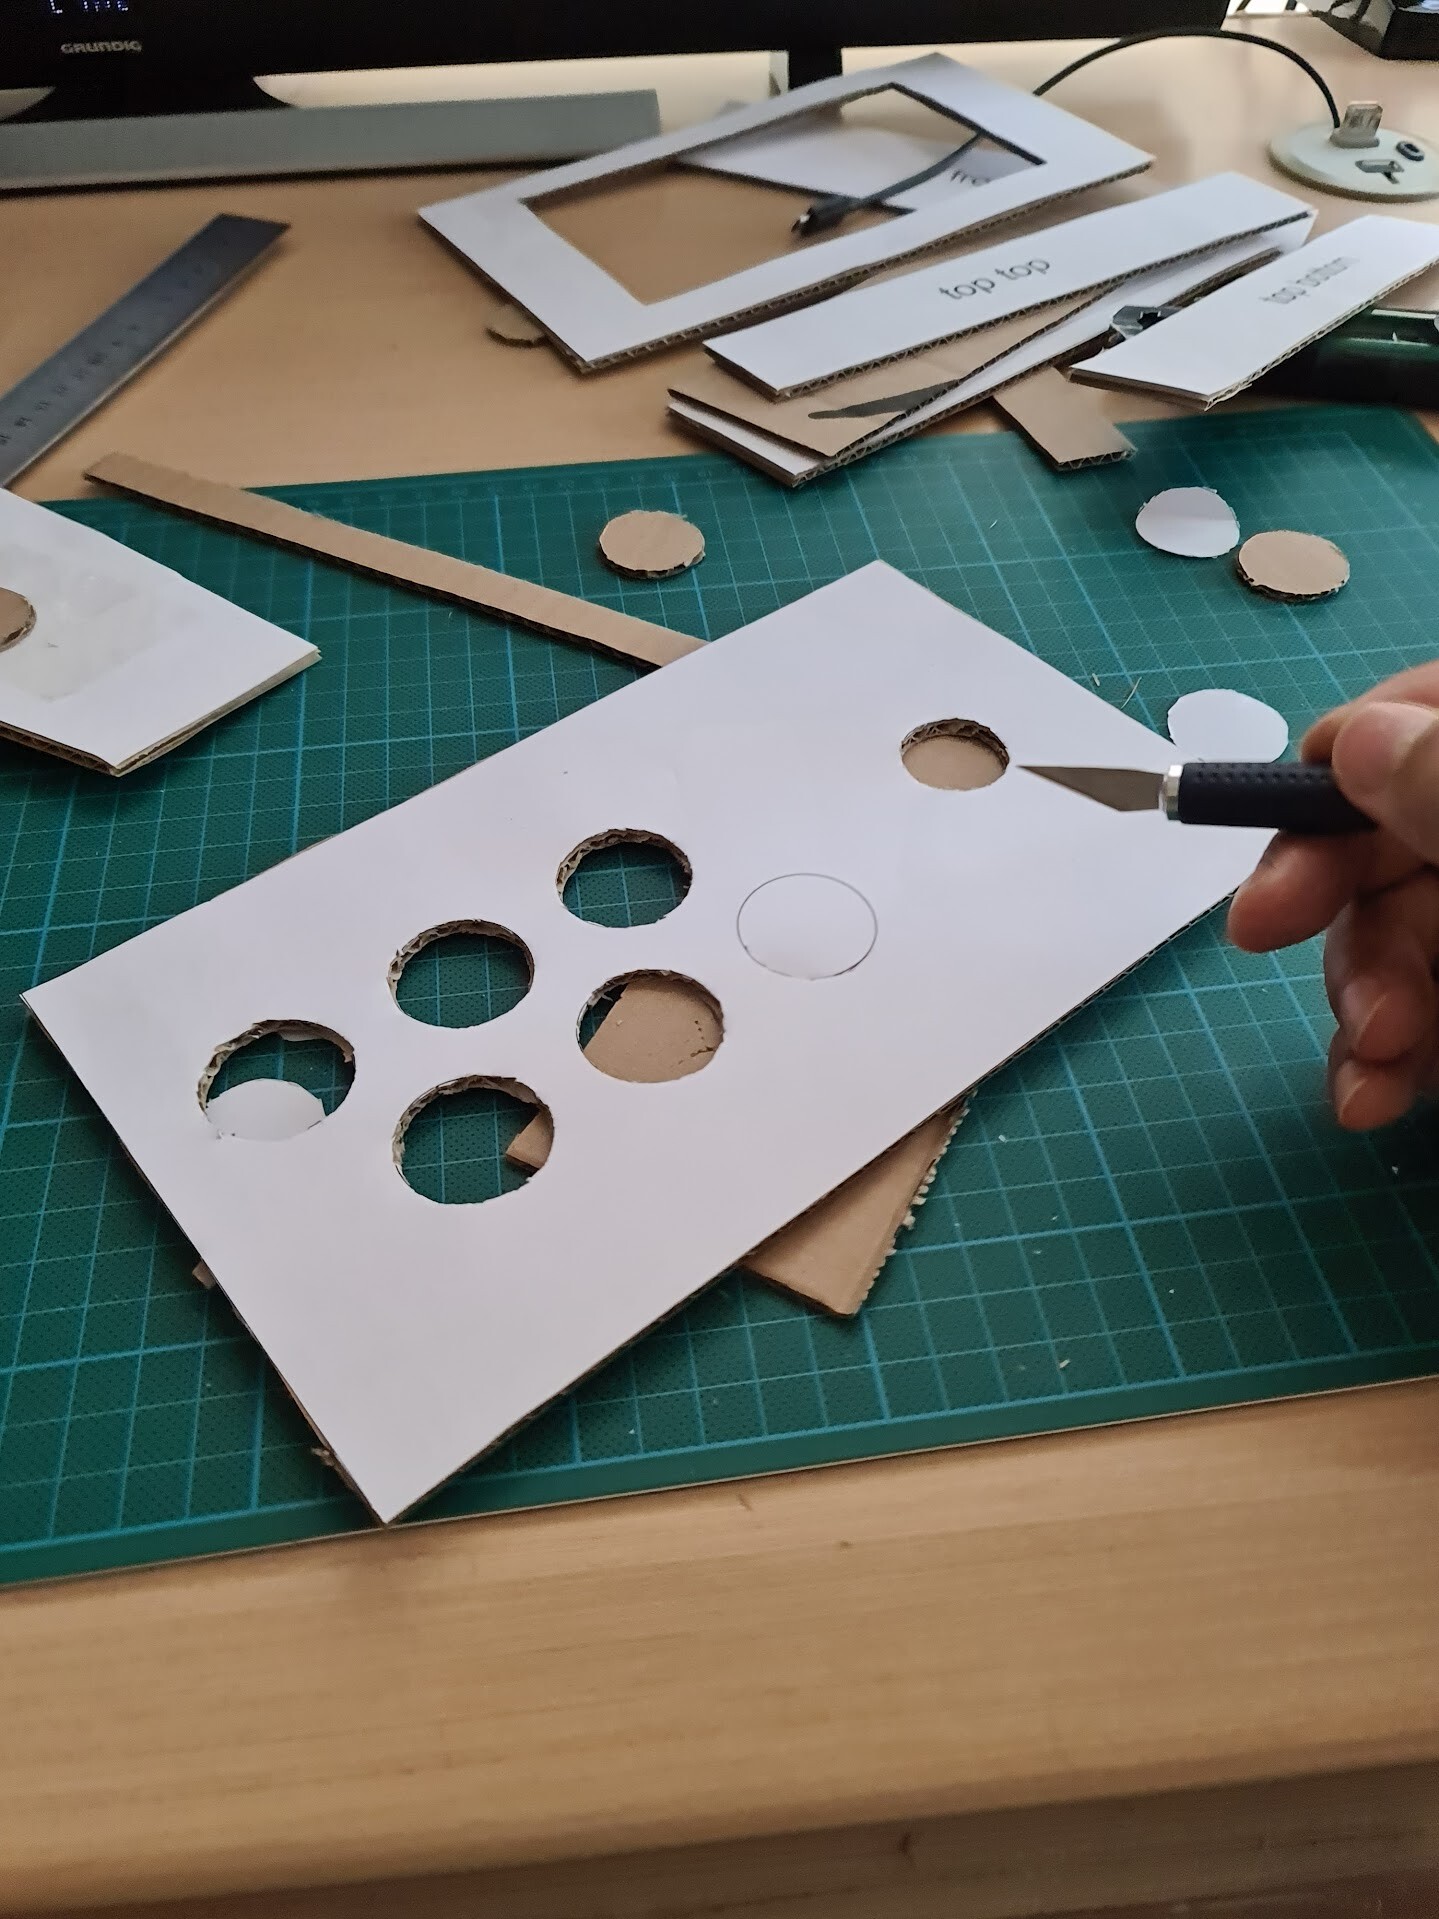
So with the screen size, form factor and the buttons and joystick I have at hand, I pretty satisfied with the result, so it was OK to continue making this real. But first I made a cardboard production. It's easier, less time consuming and low on cost to see how the thing will look like.
I extracted the surfaces from solidworks like this:

And printed these curves to use them as an overlay on cutting the cardboards. Regular printers are good devices that prints in a precise scale of your CAD software. So it2s the most important part that you had the correct scale of the production relative to your 3d model.

I easily managed to build the shape by packing tape.

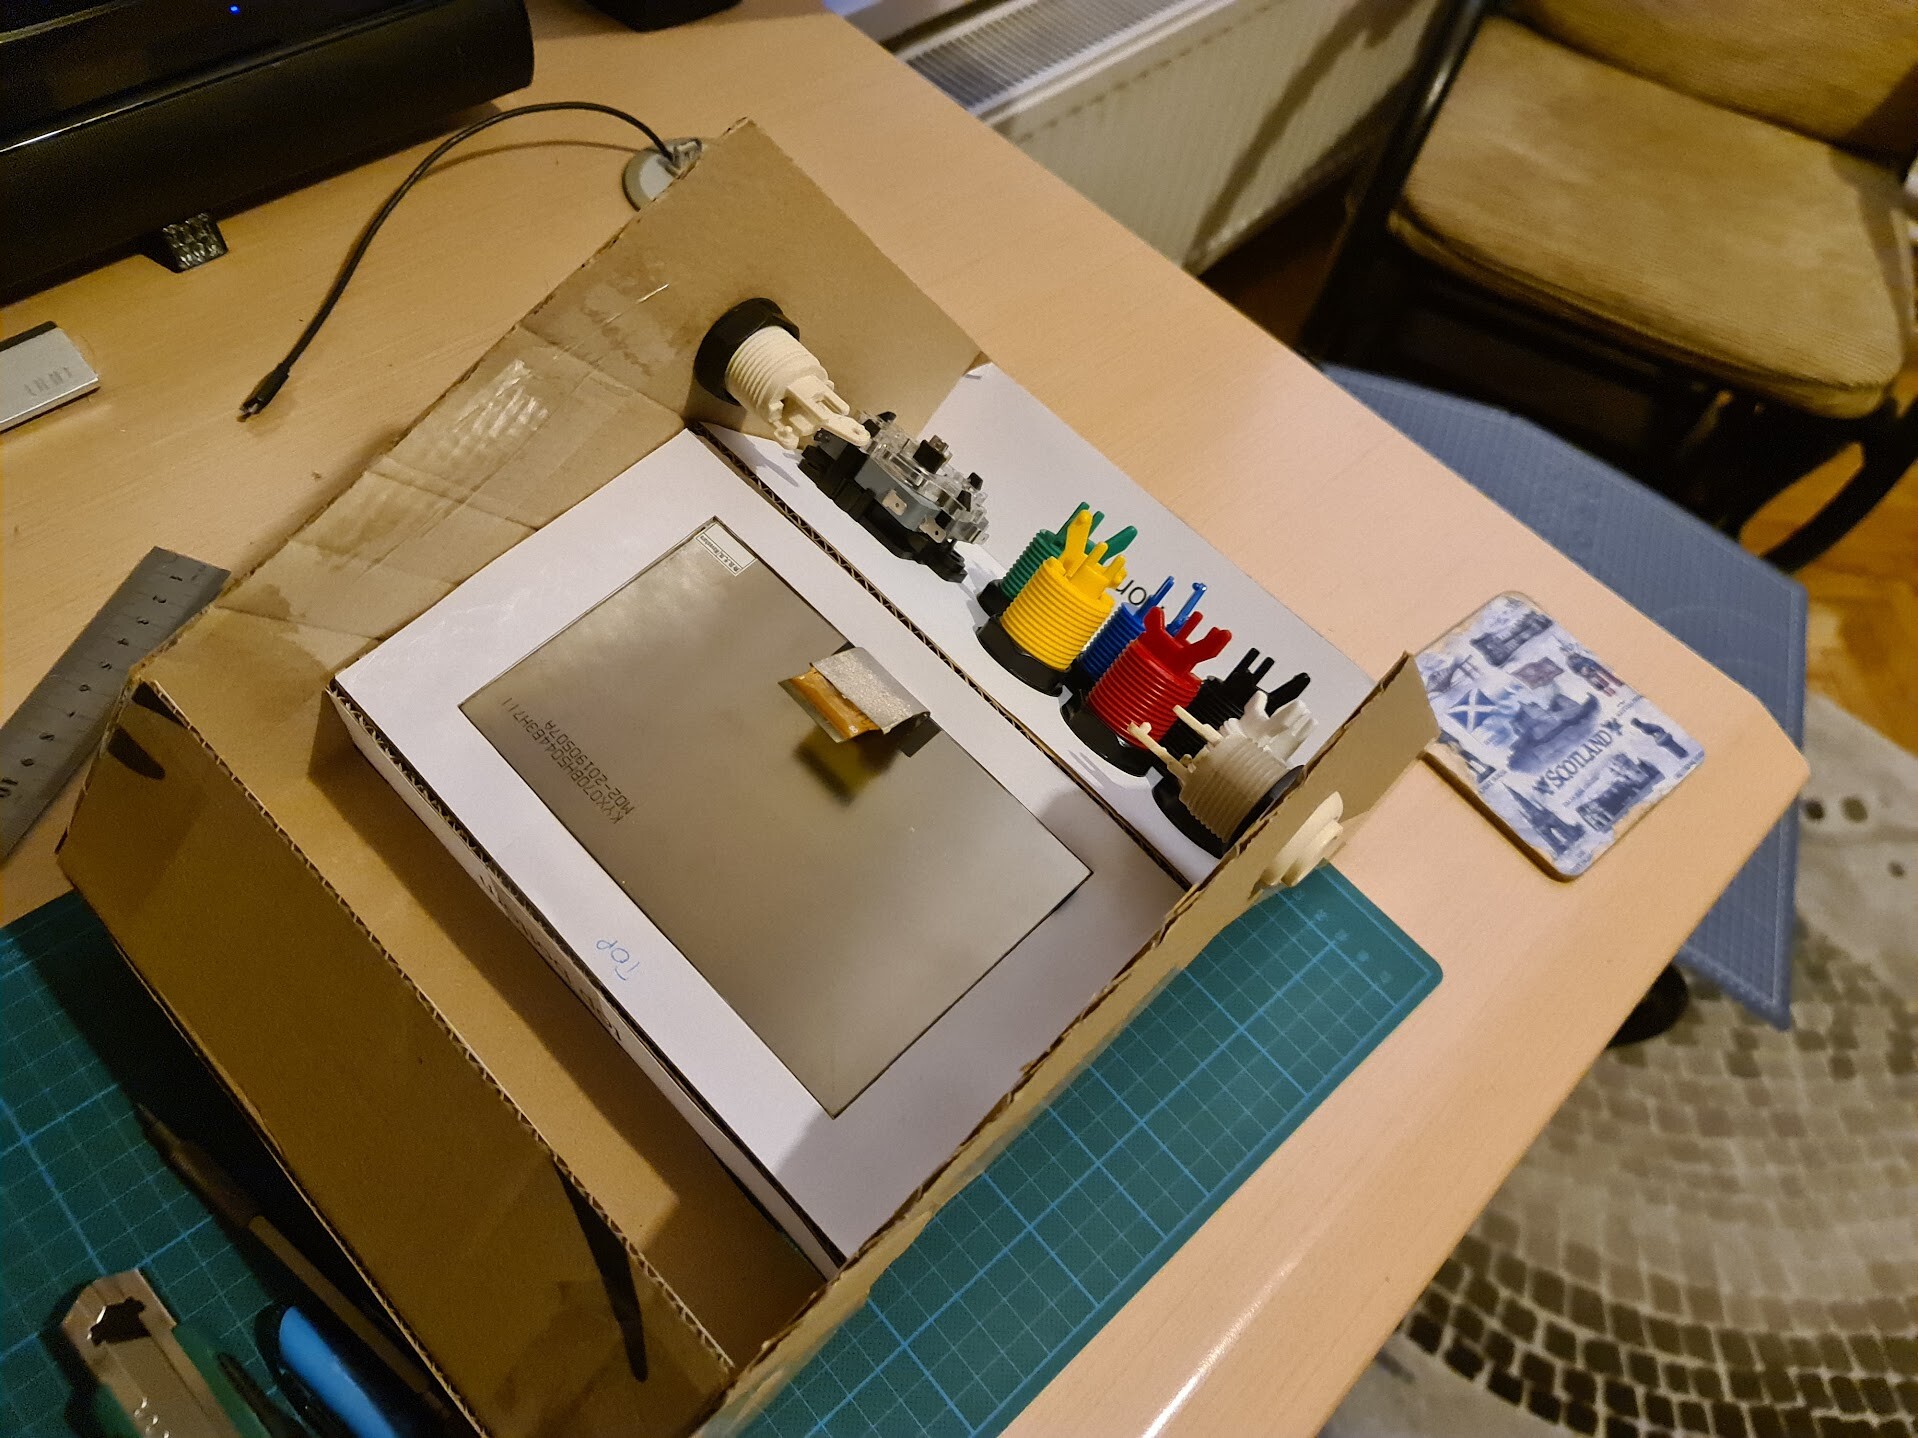

So the general size, and the components look allright, cosidering the inner parts to have enough clearance to put electronic components as well. With that confirmed, I went for shopping some Plywood, MDF etc.
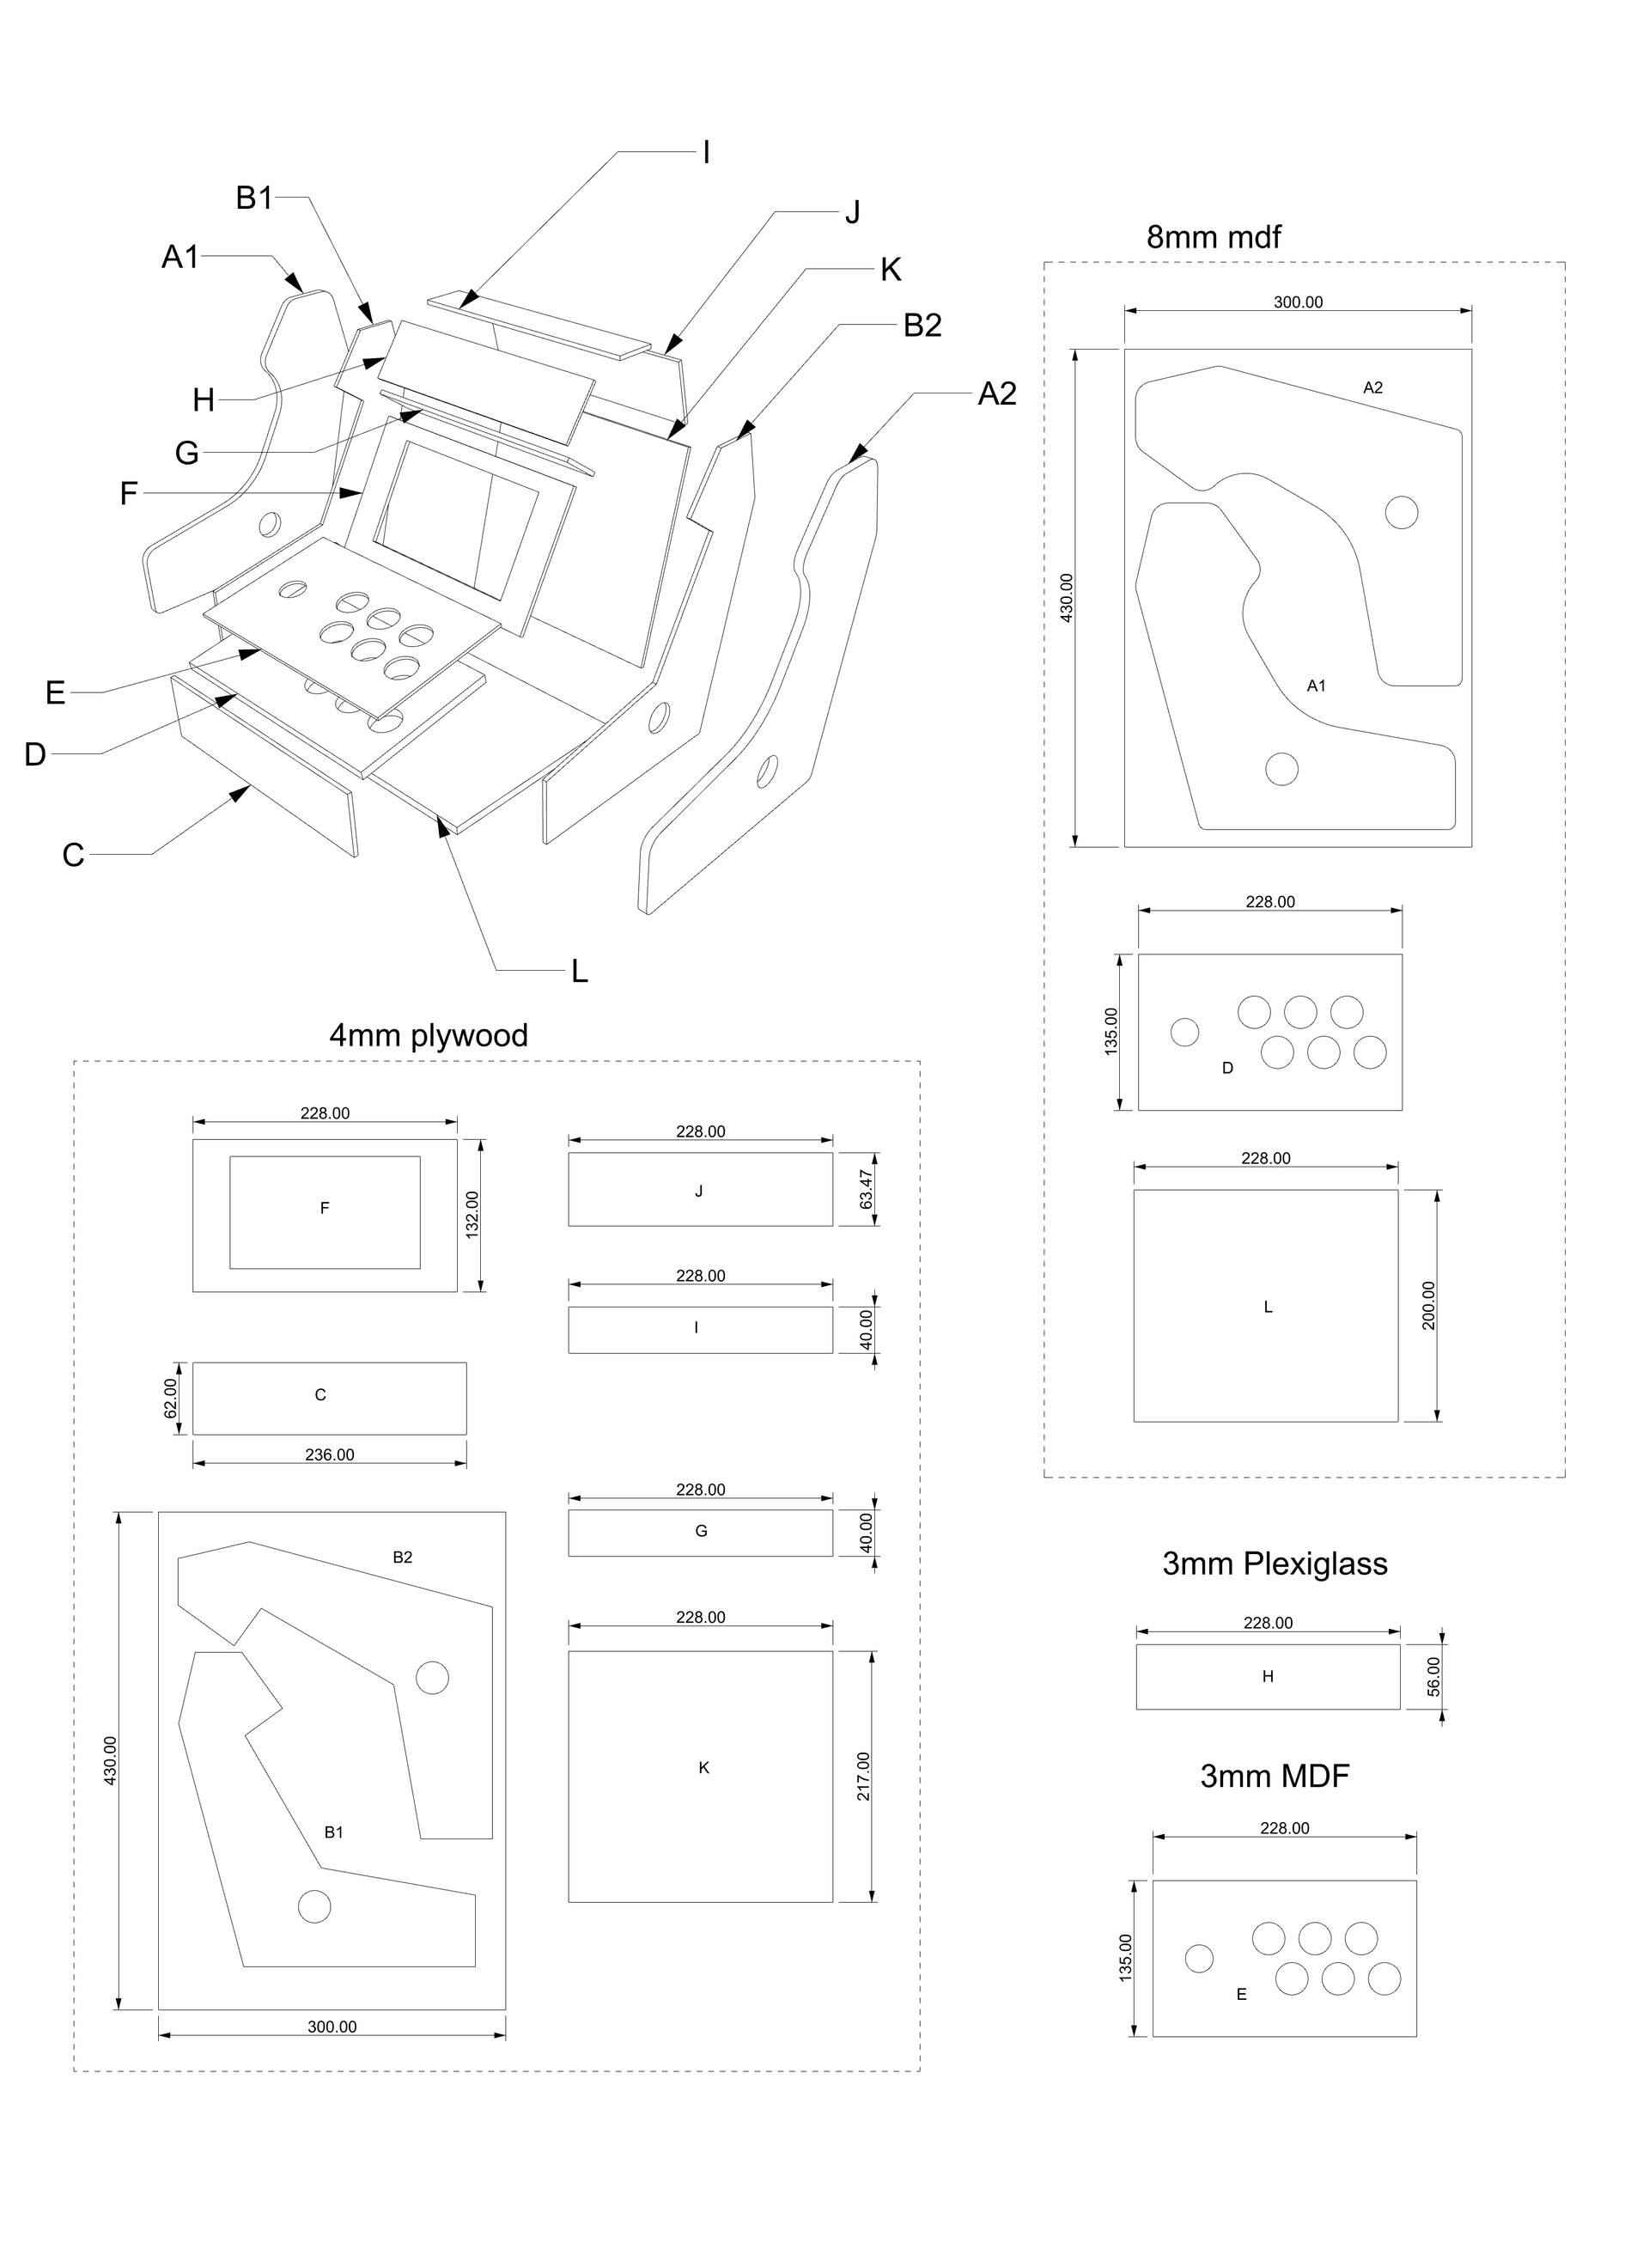
I bought 4mm Plywood (lighter wood), 8mm MDF (darker one), 3mm MDF (with white layer coated). This is the bill of materials. PDF version can be downloaded by this link (if you're going to use, don't forget to check the dimensions and scaling):
https://drive.google.com/file/d/11J50BwOvIOB7_zke6LjI_HYhrdQiZcWt/view?usp=sharing

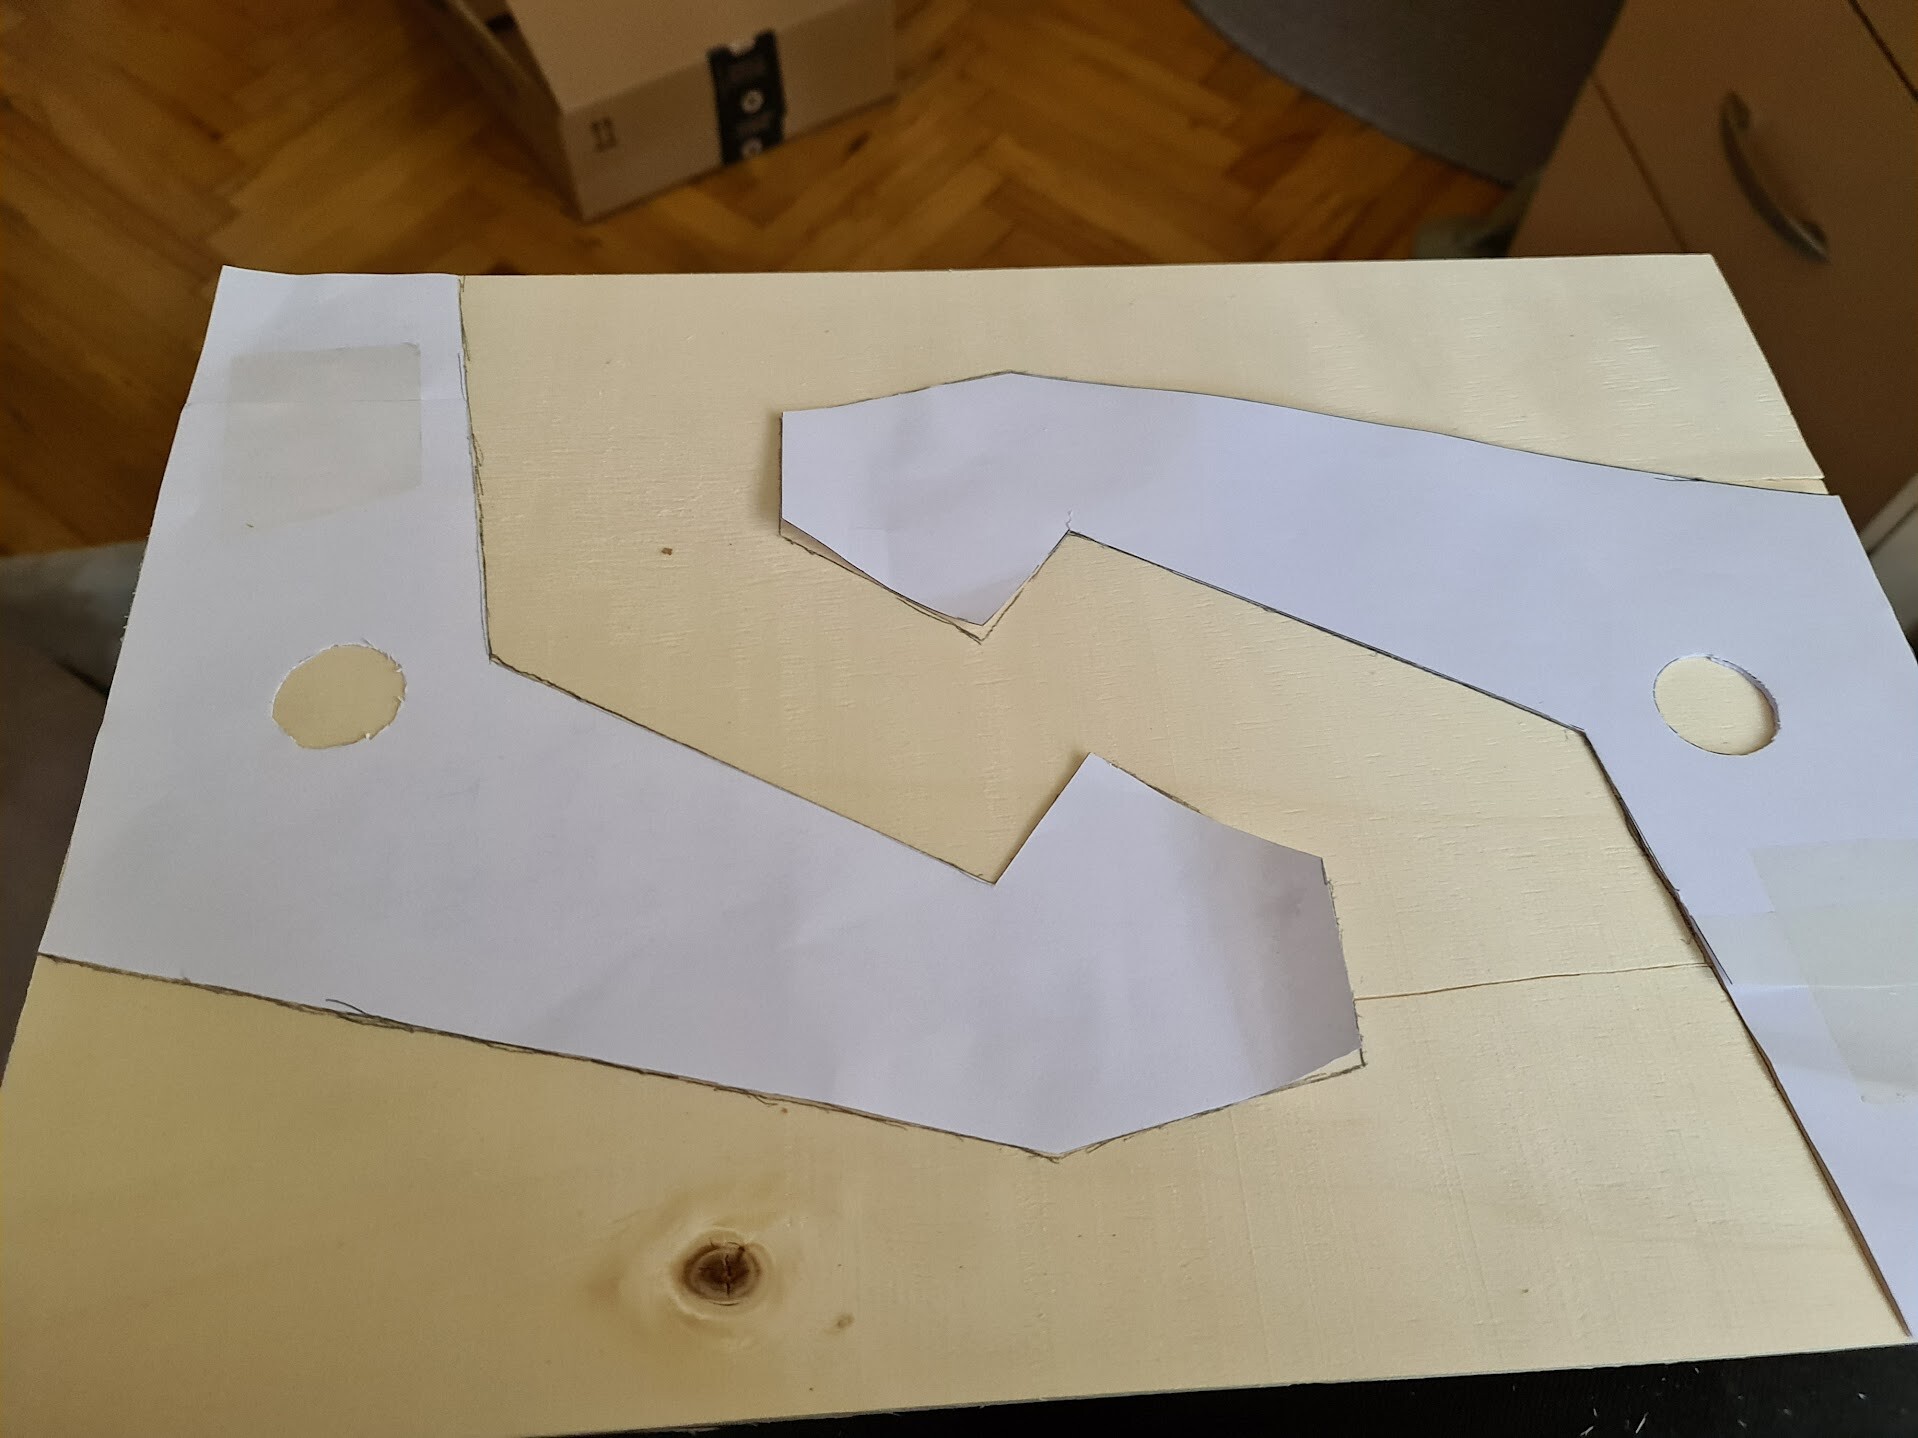
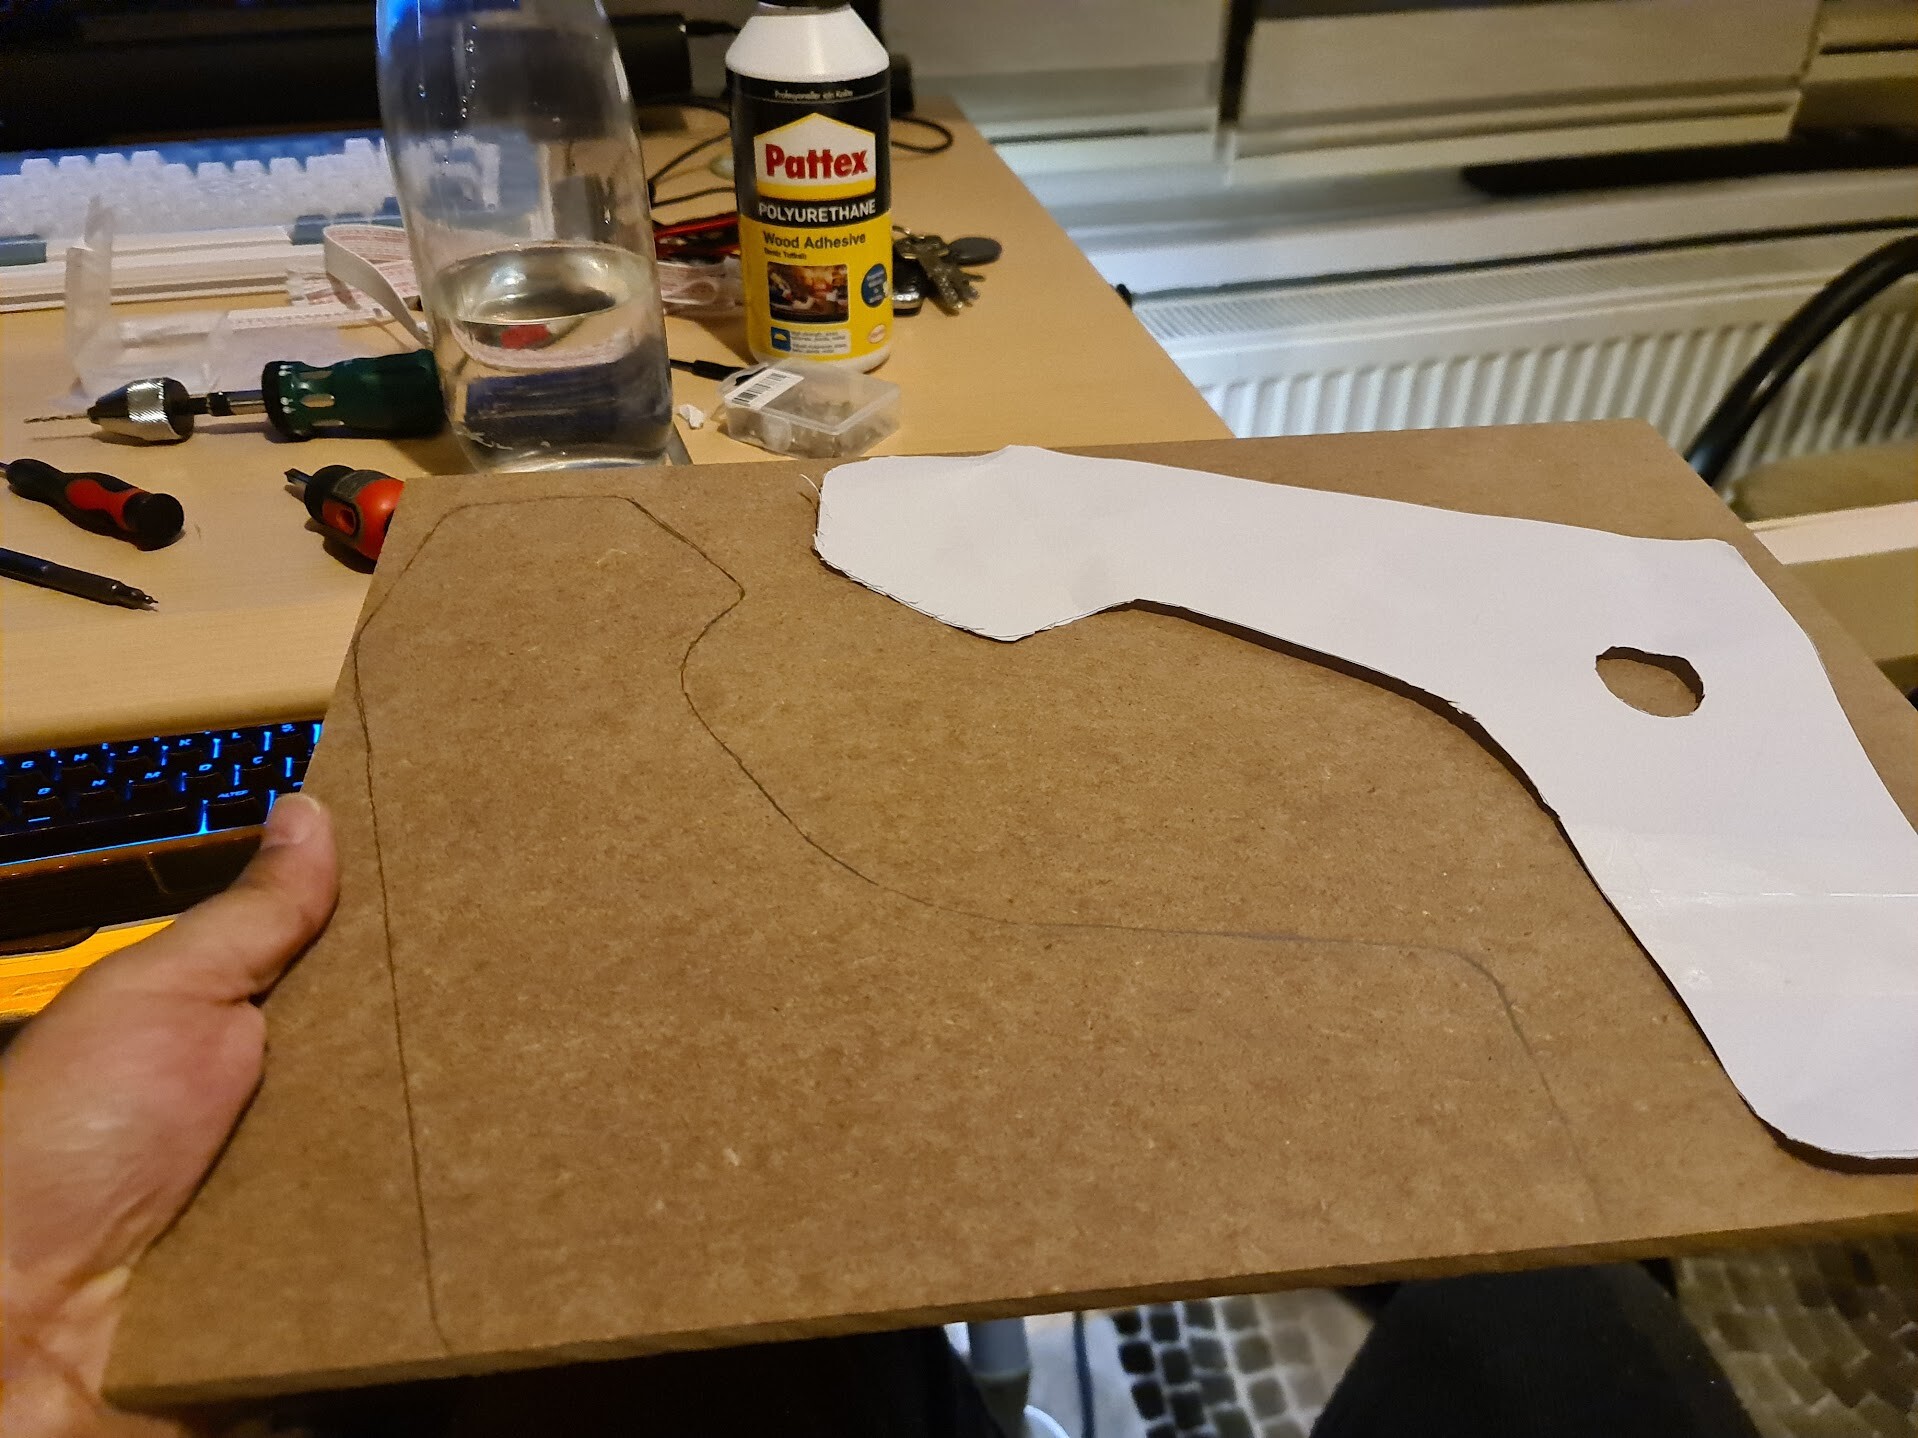
First I put the templates that I printed with a regular printer over the wooden boards and draw the boarders around the templates. Then I started cutting with fretsaw.

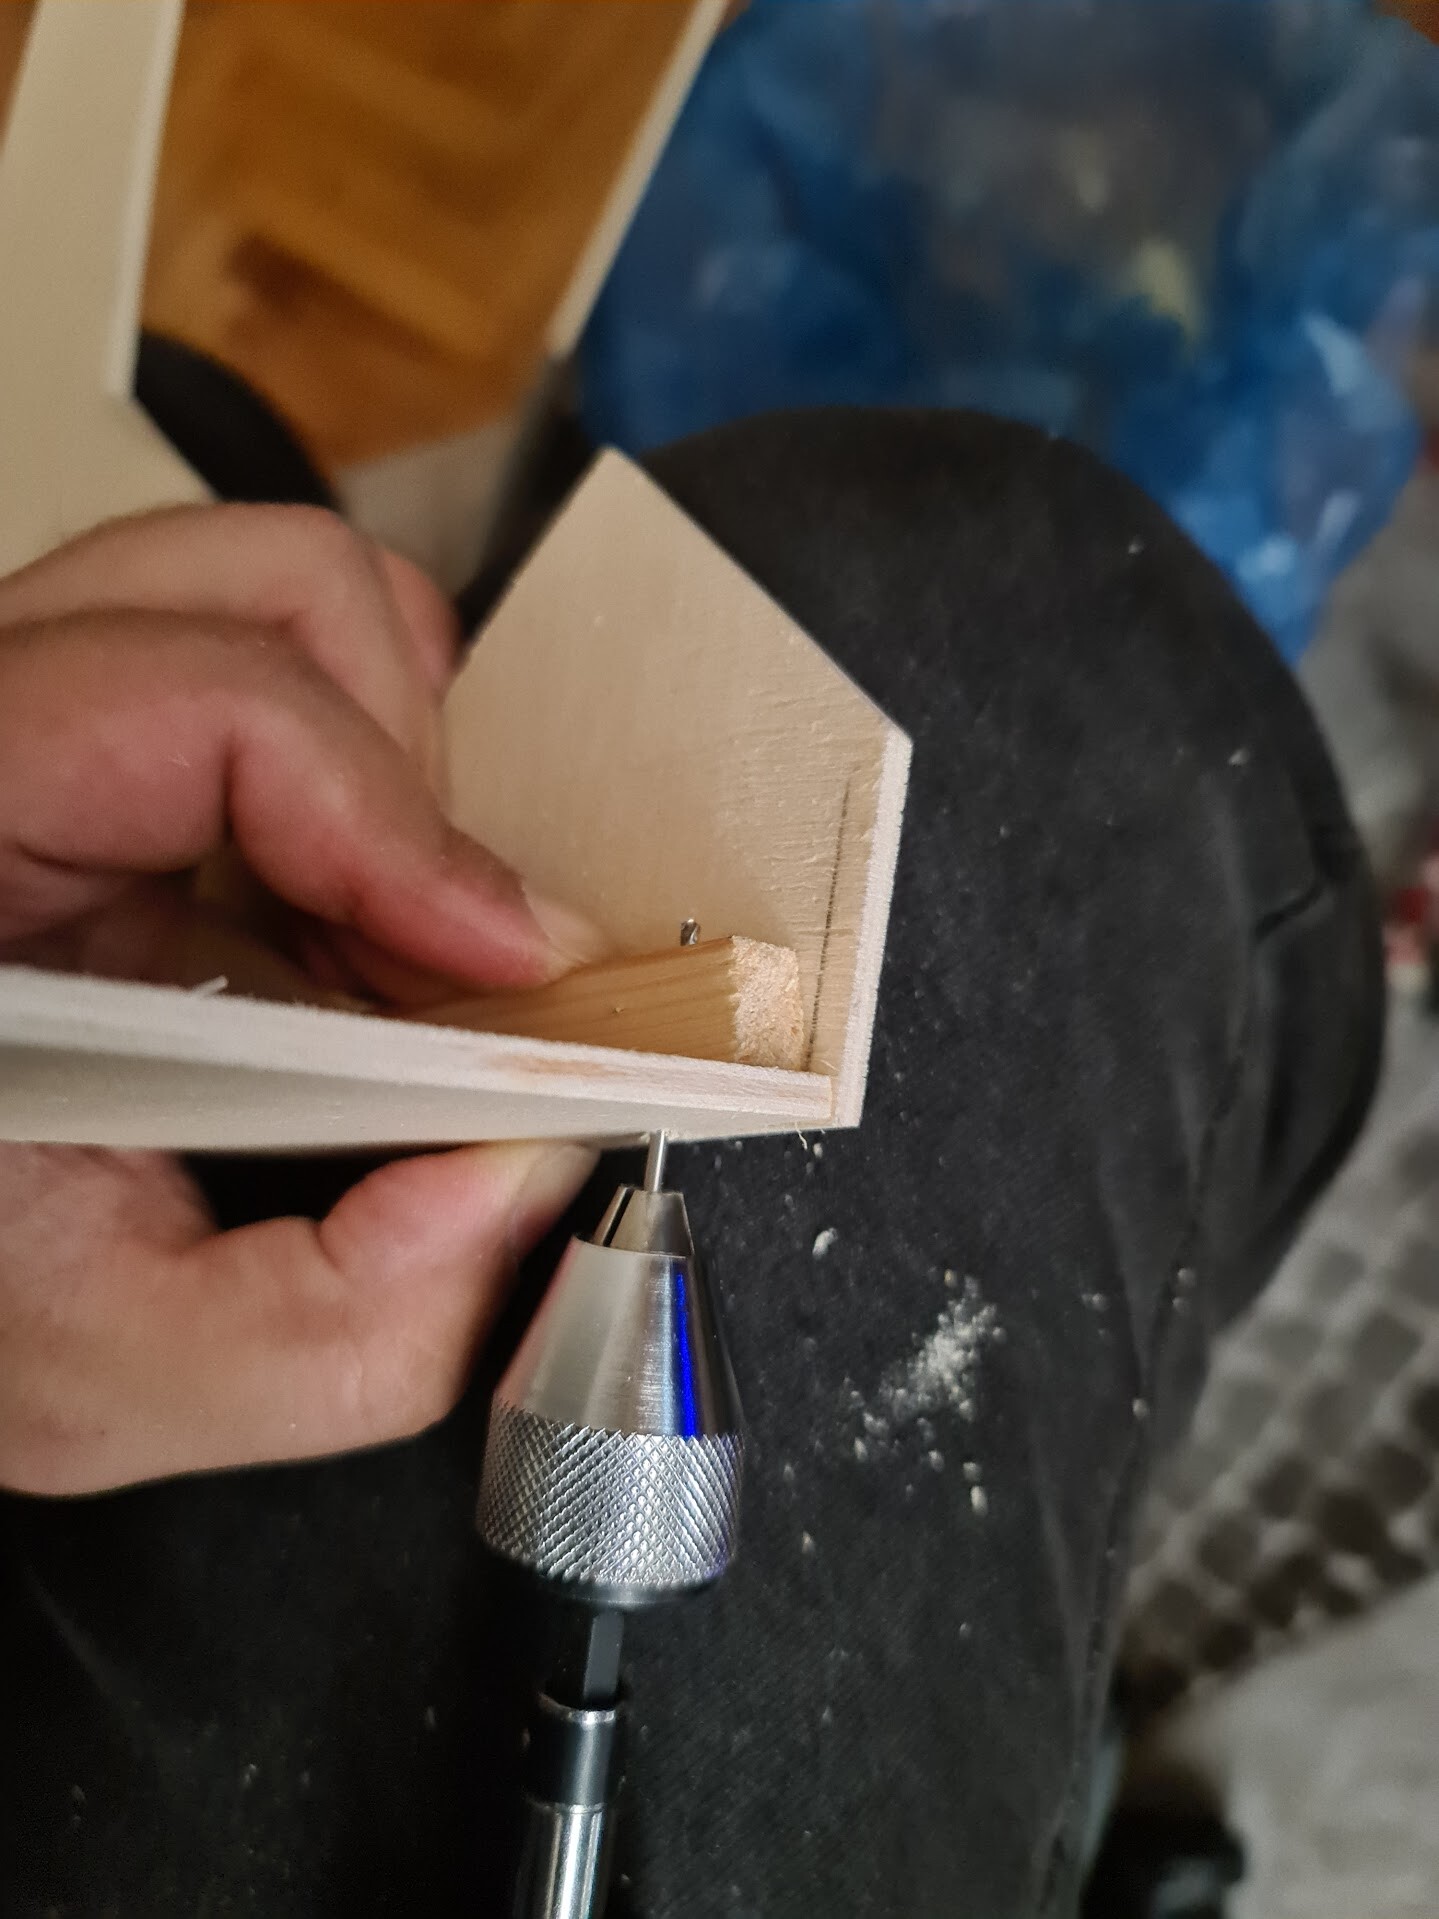
I used wooden sticks to connect perpendicular boards together. I used self tapping screws to connect the sticks with the boards.

To make the 90 degrees connections I used a hand drill to make the hole for the self tapping screw, and then drive it through.
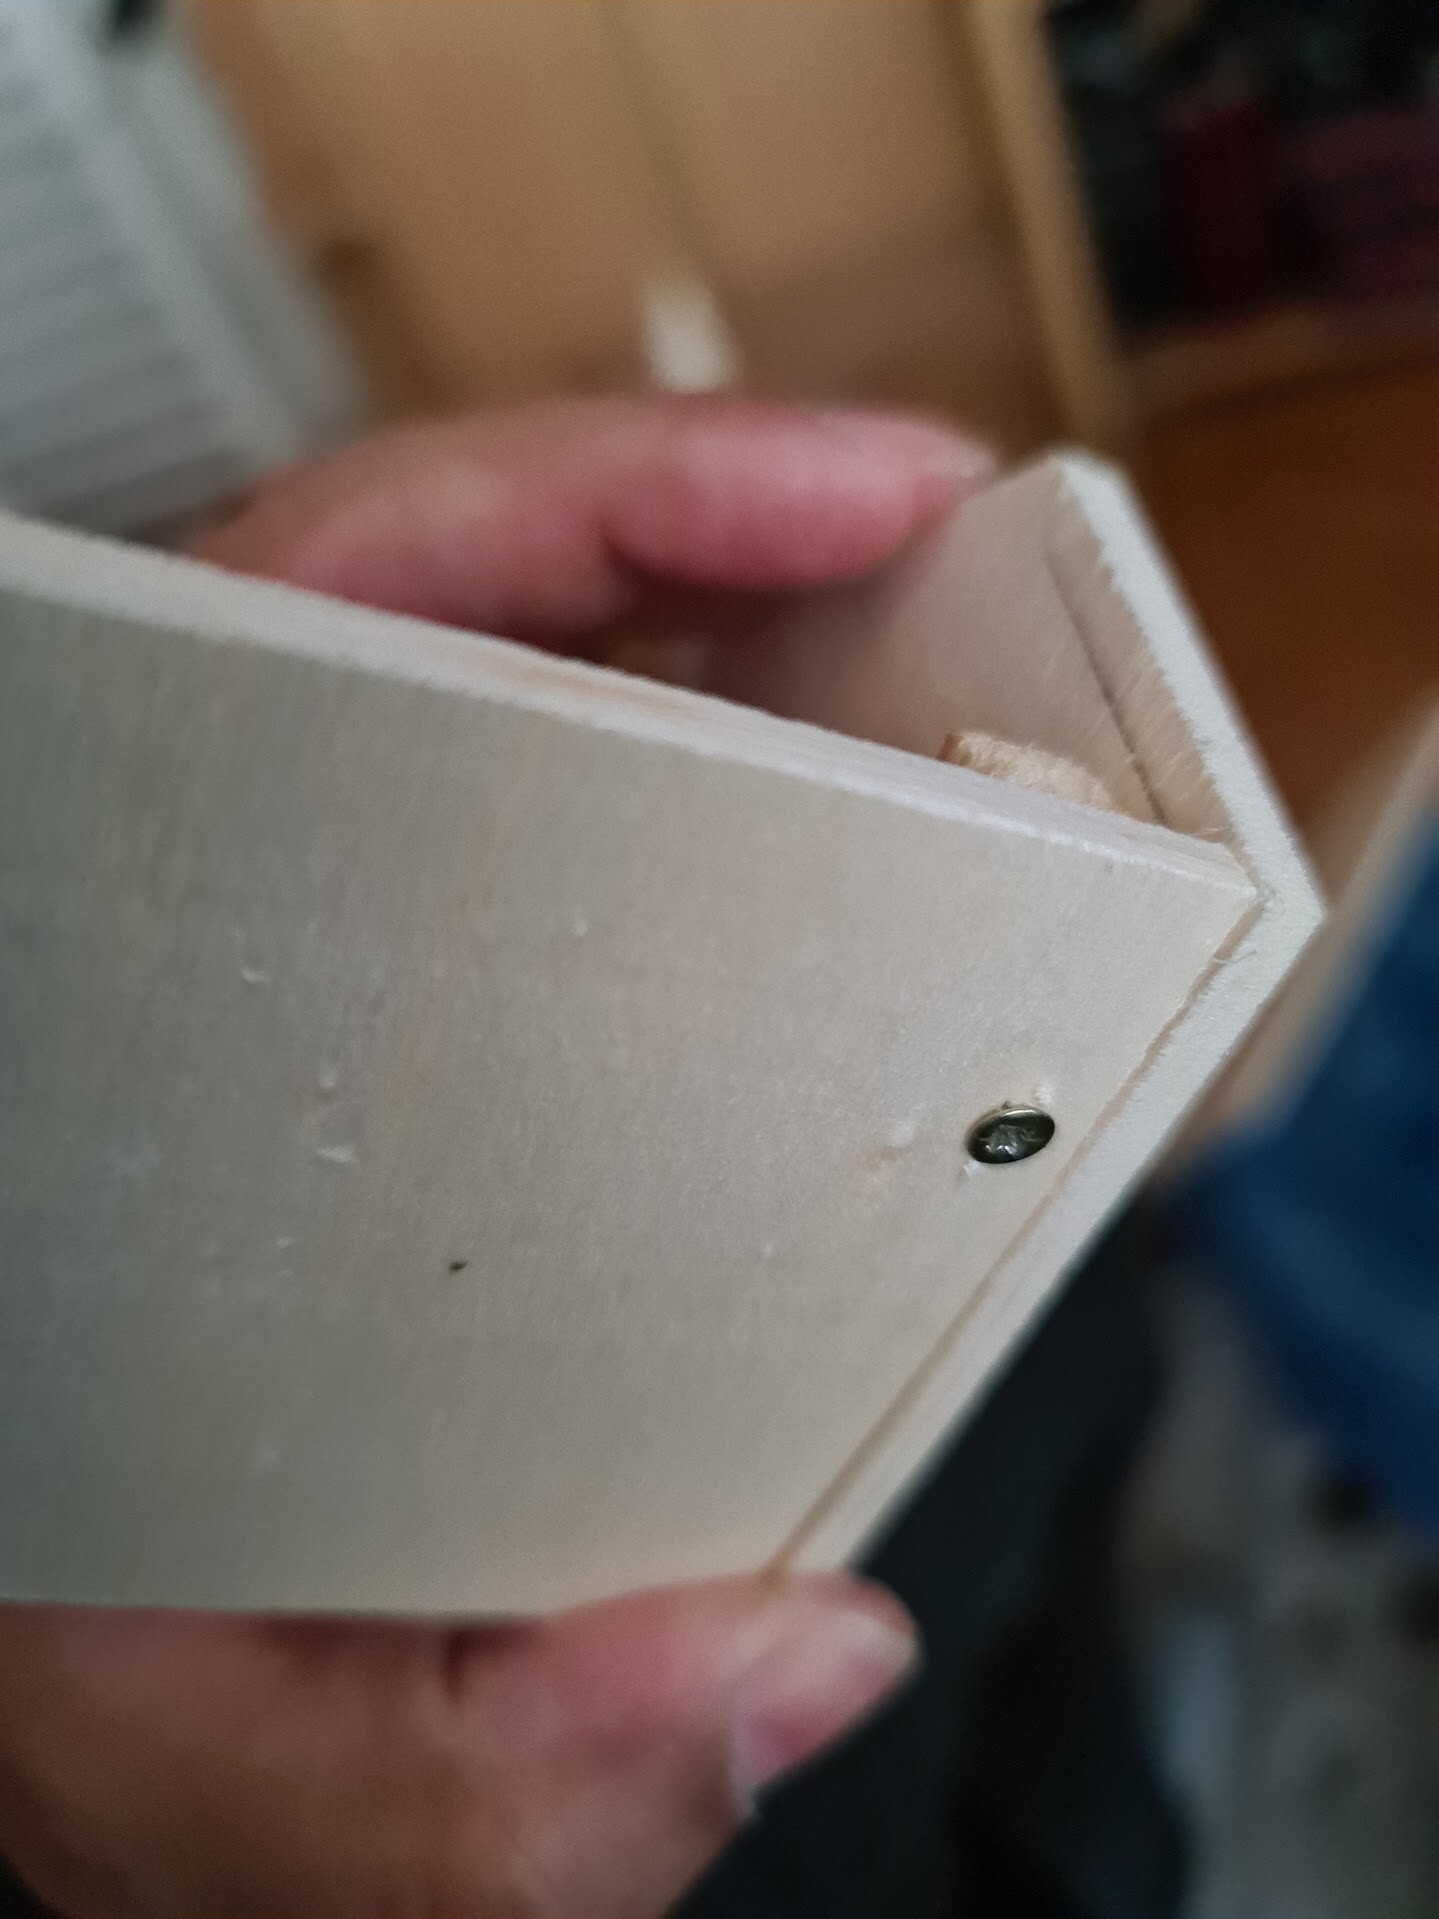
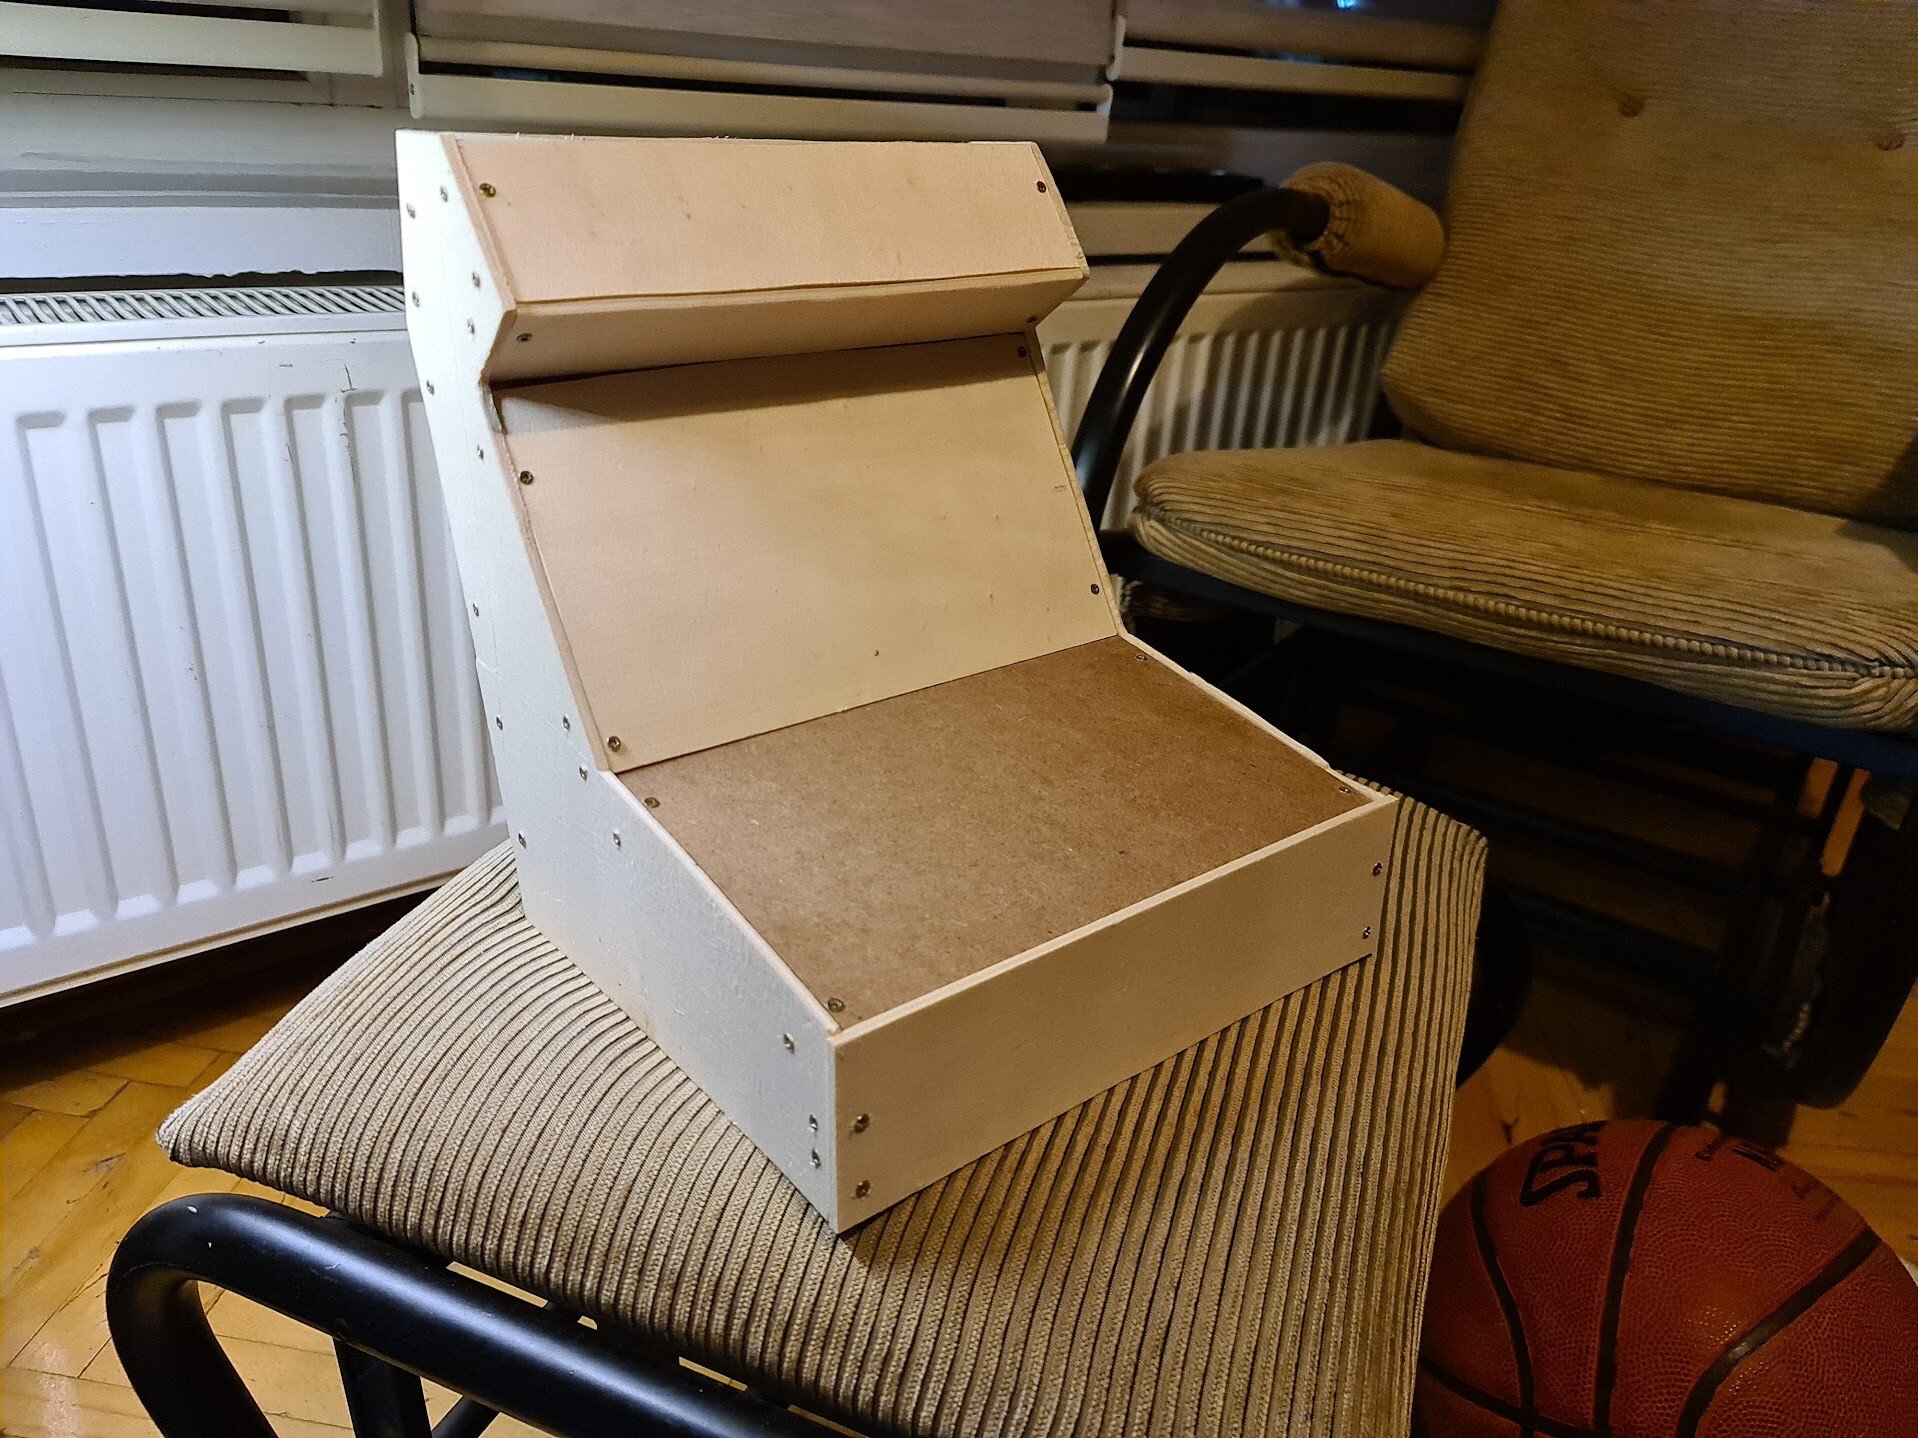
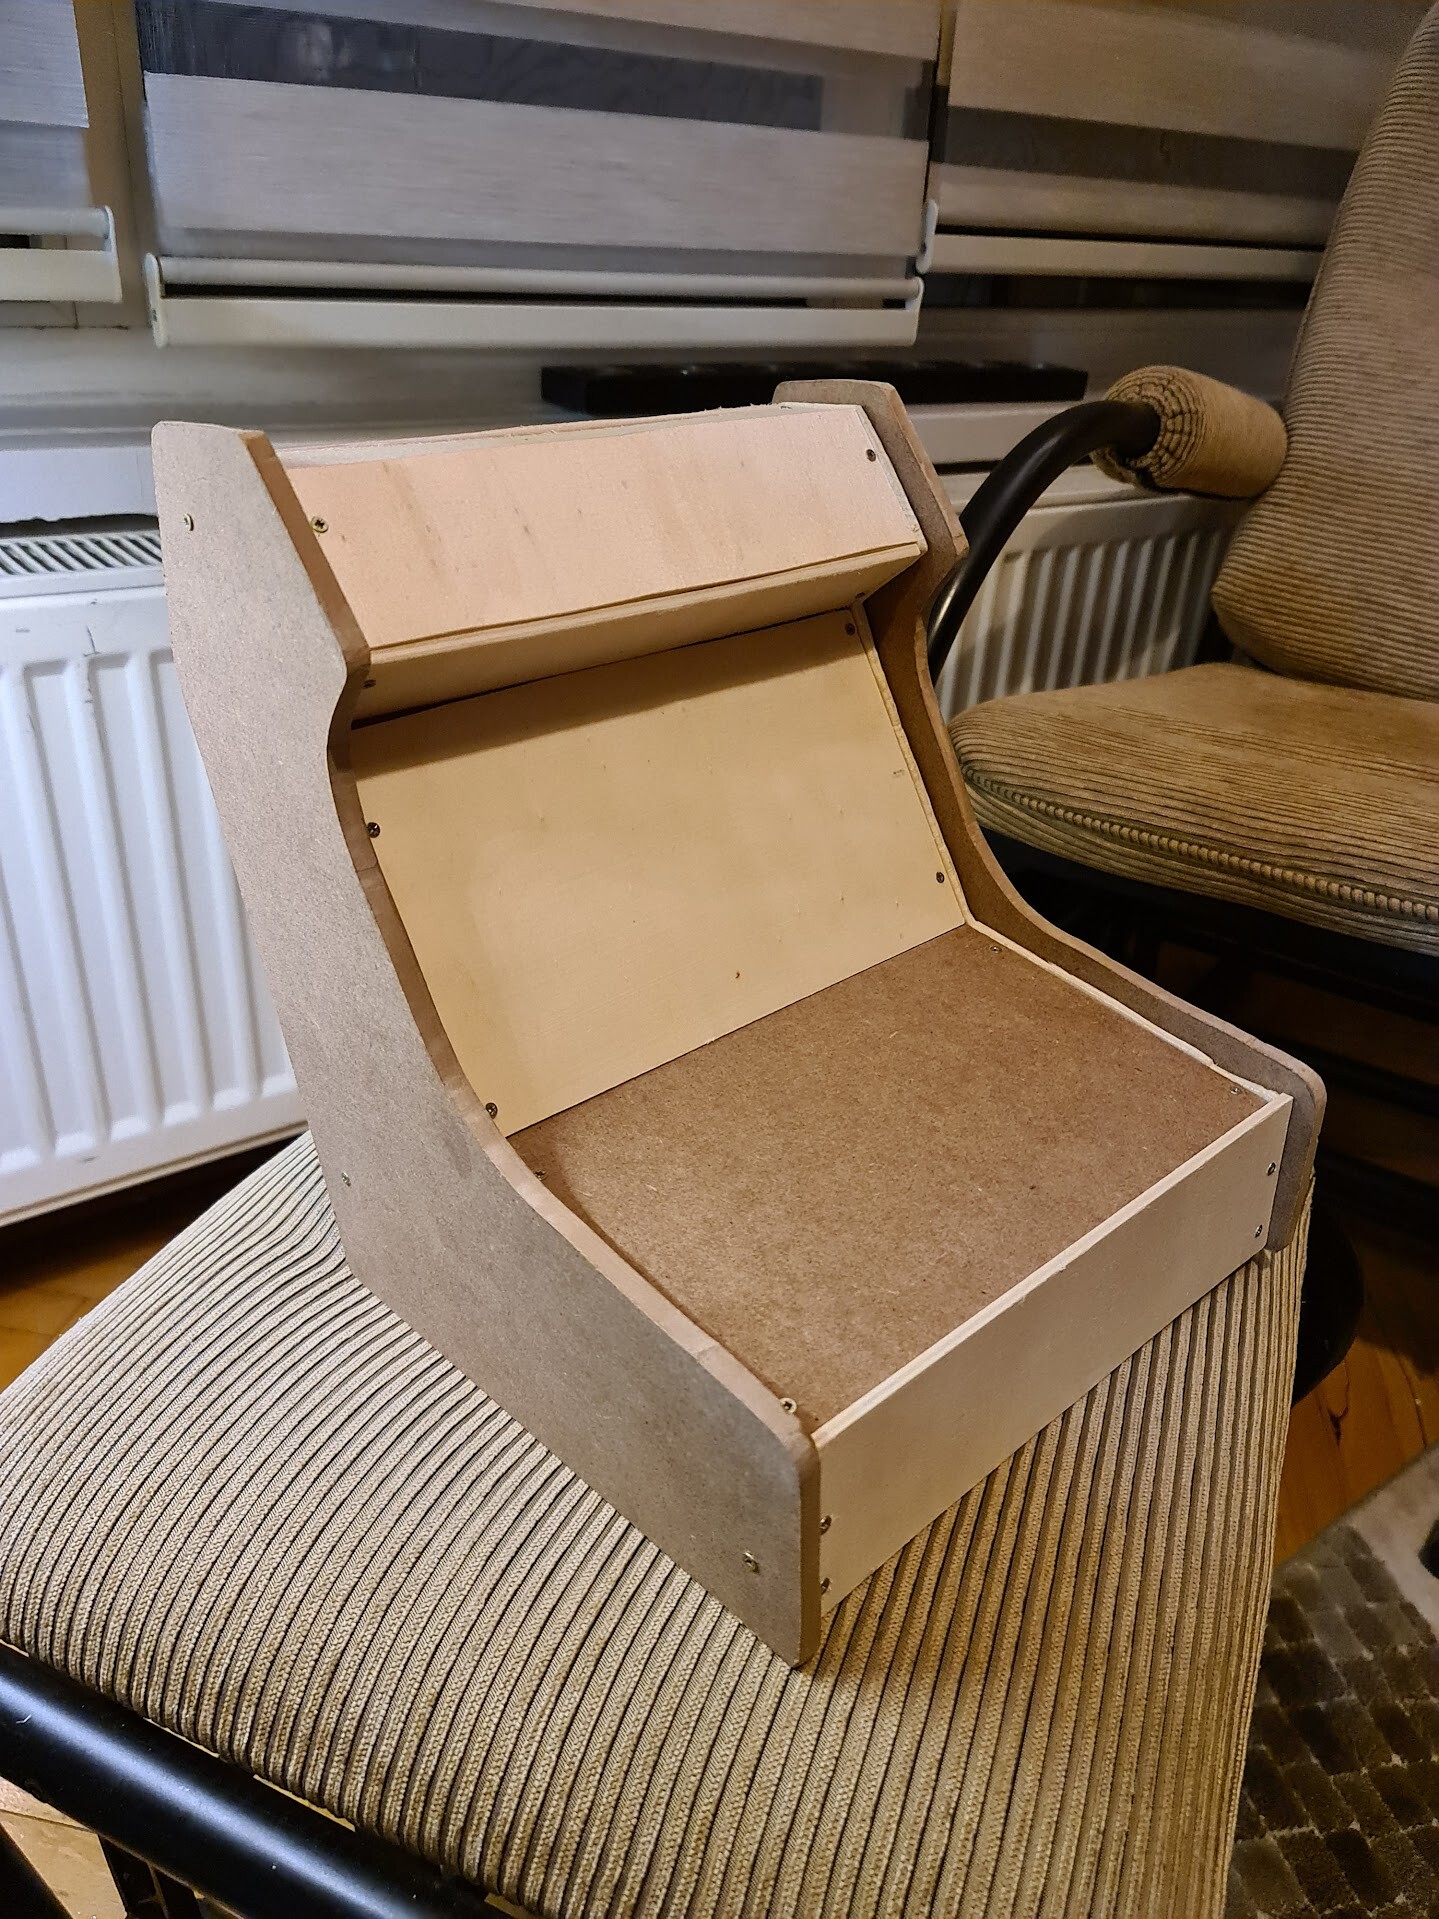
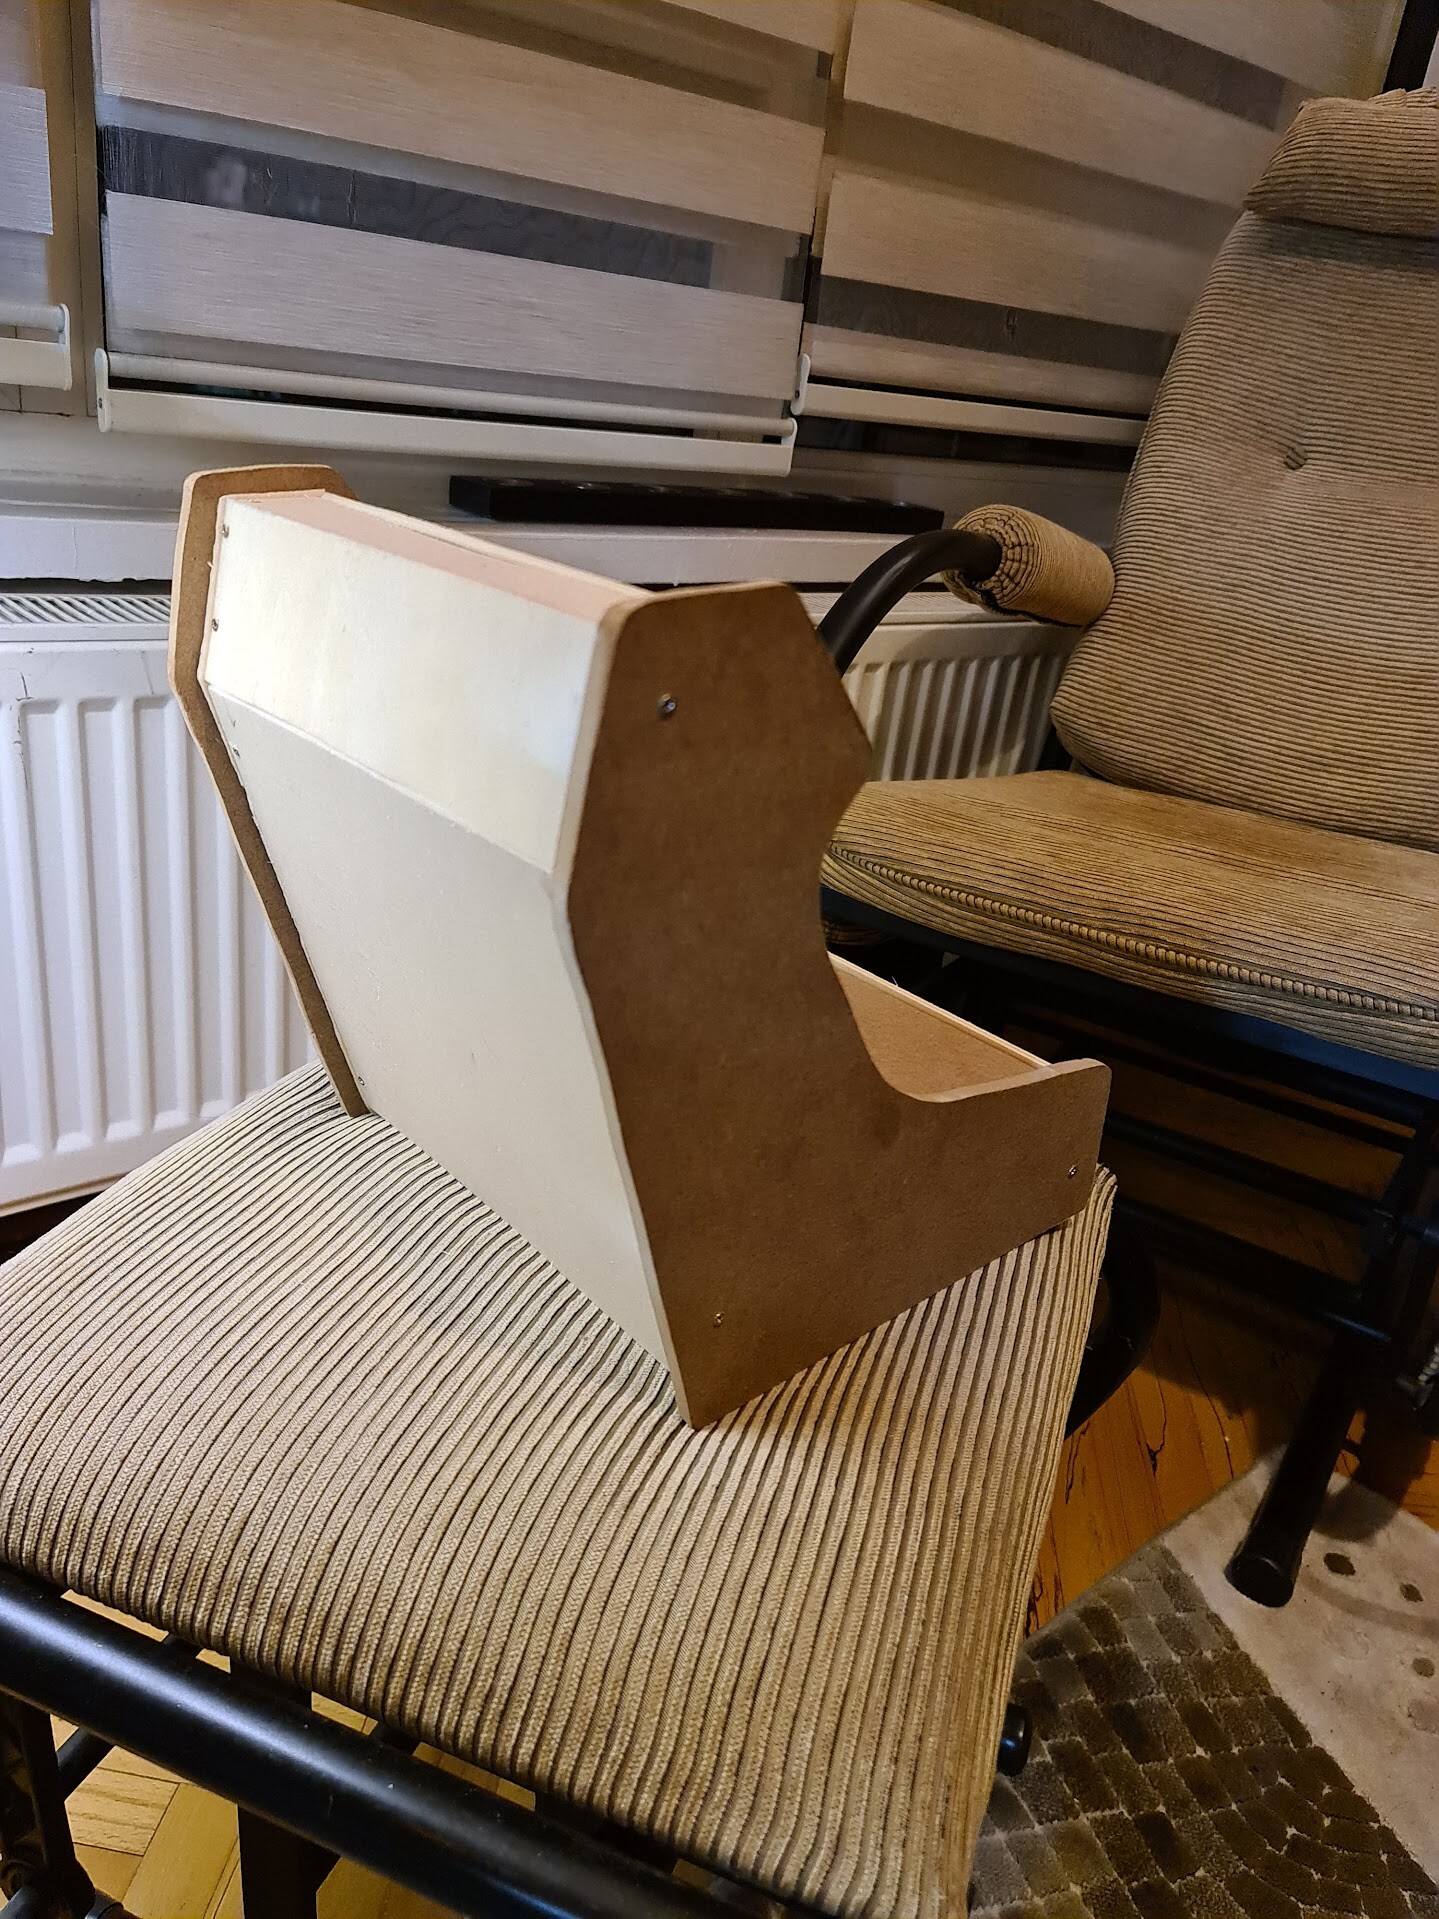
This is the look of connected boards, which made me happy since it's my first experience to work with wooden material like this.

I cut the rest of the planar boards with a saw.
And connected the rest of the boards. Result is like this:
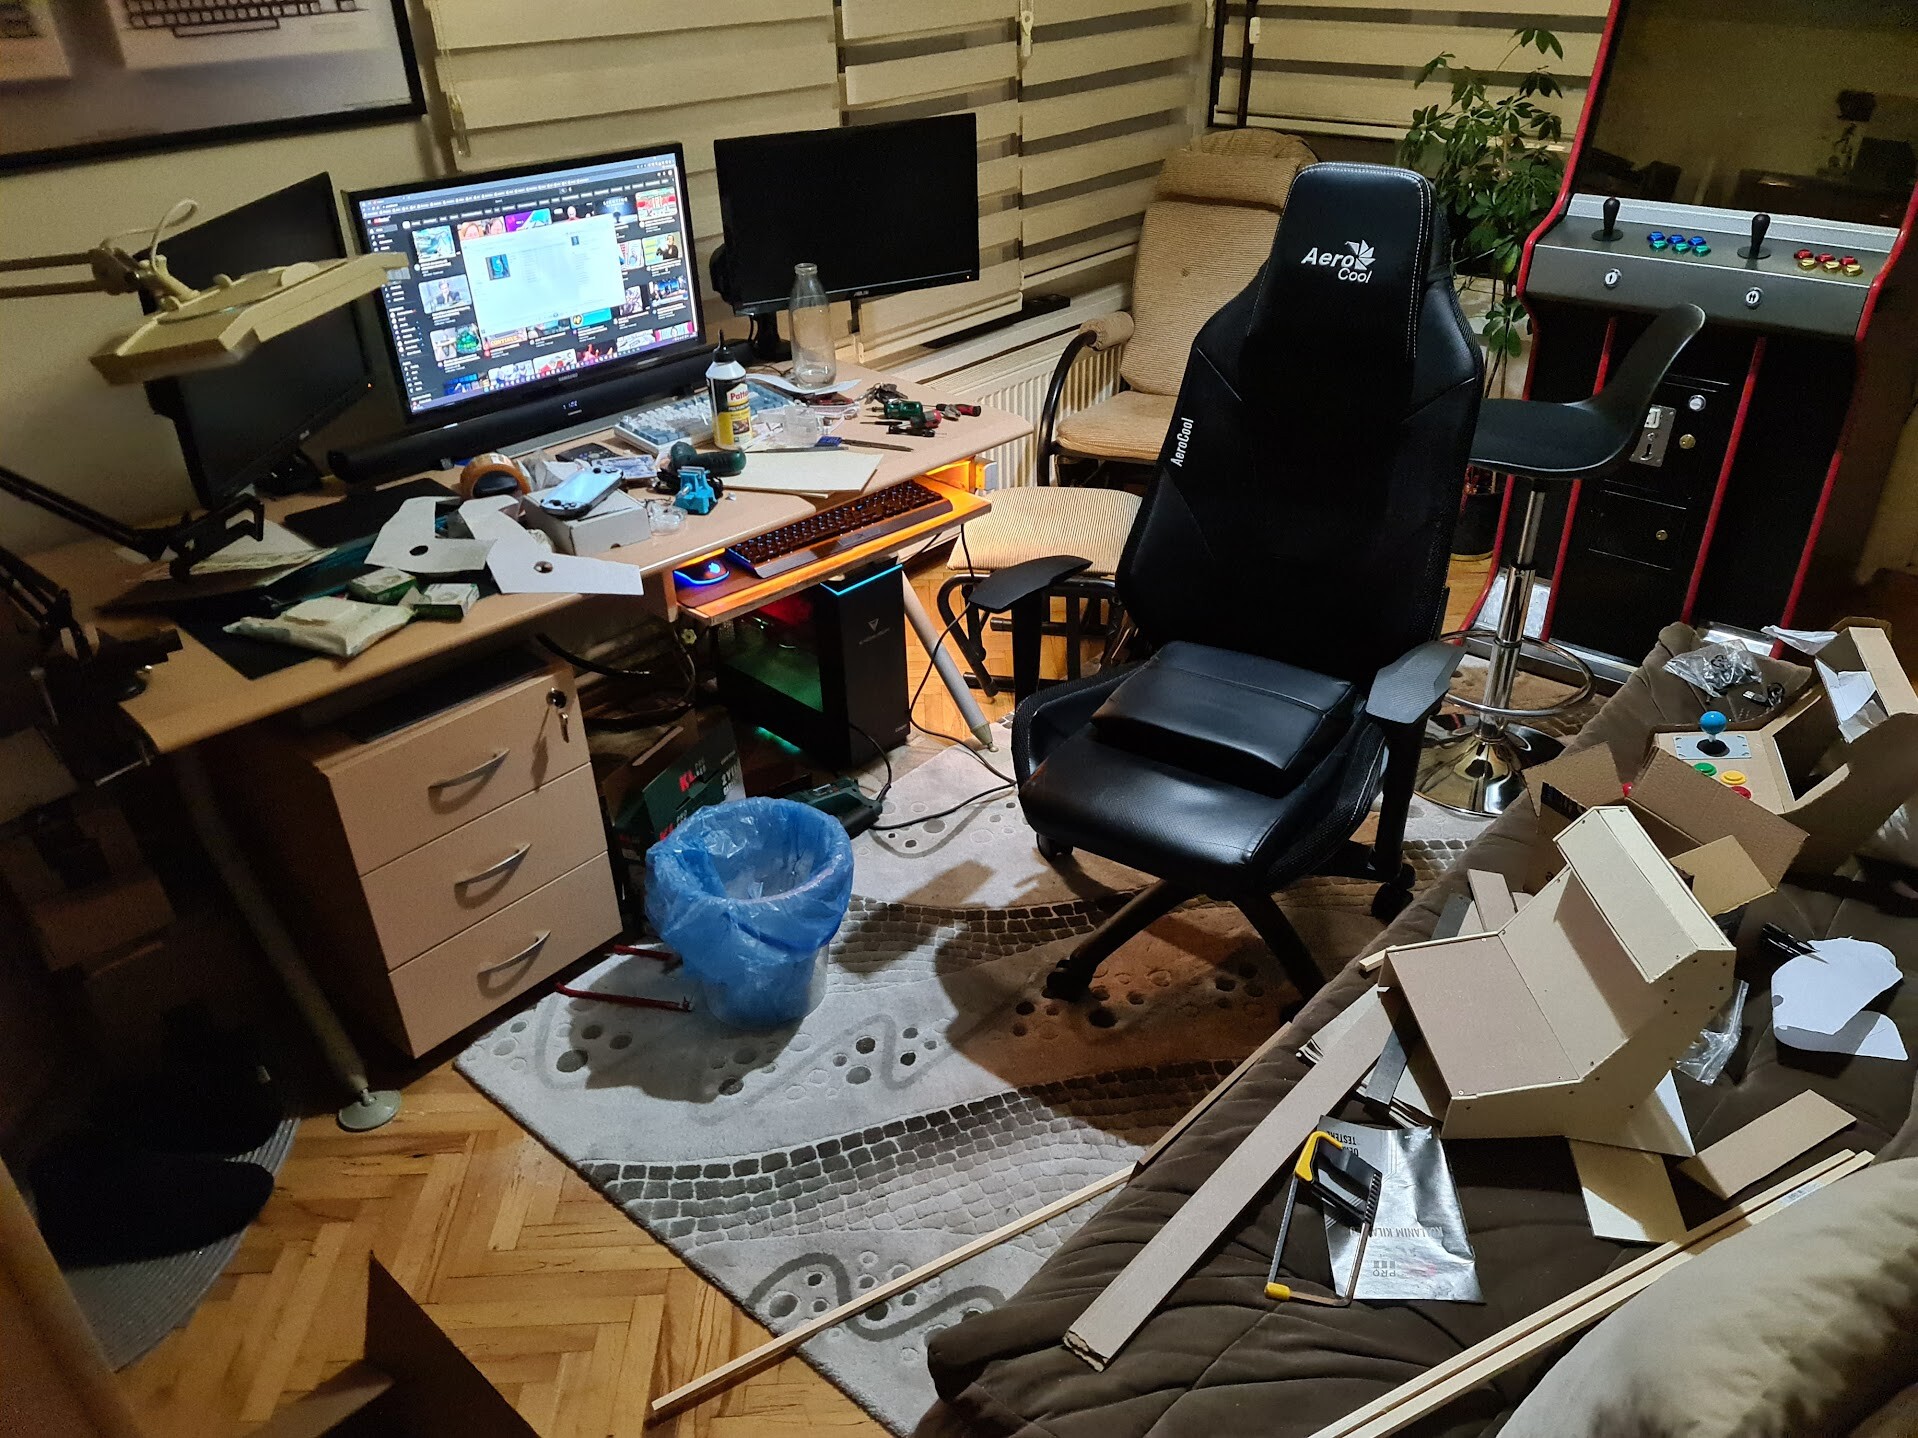
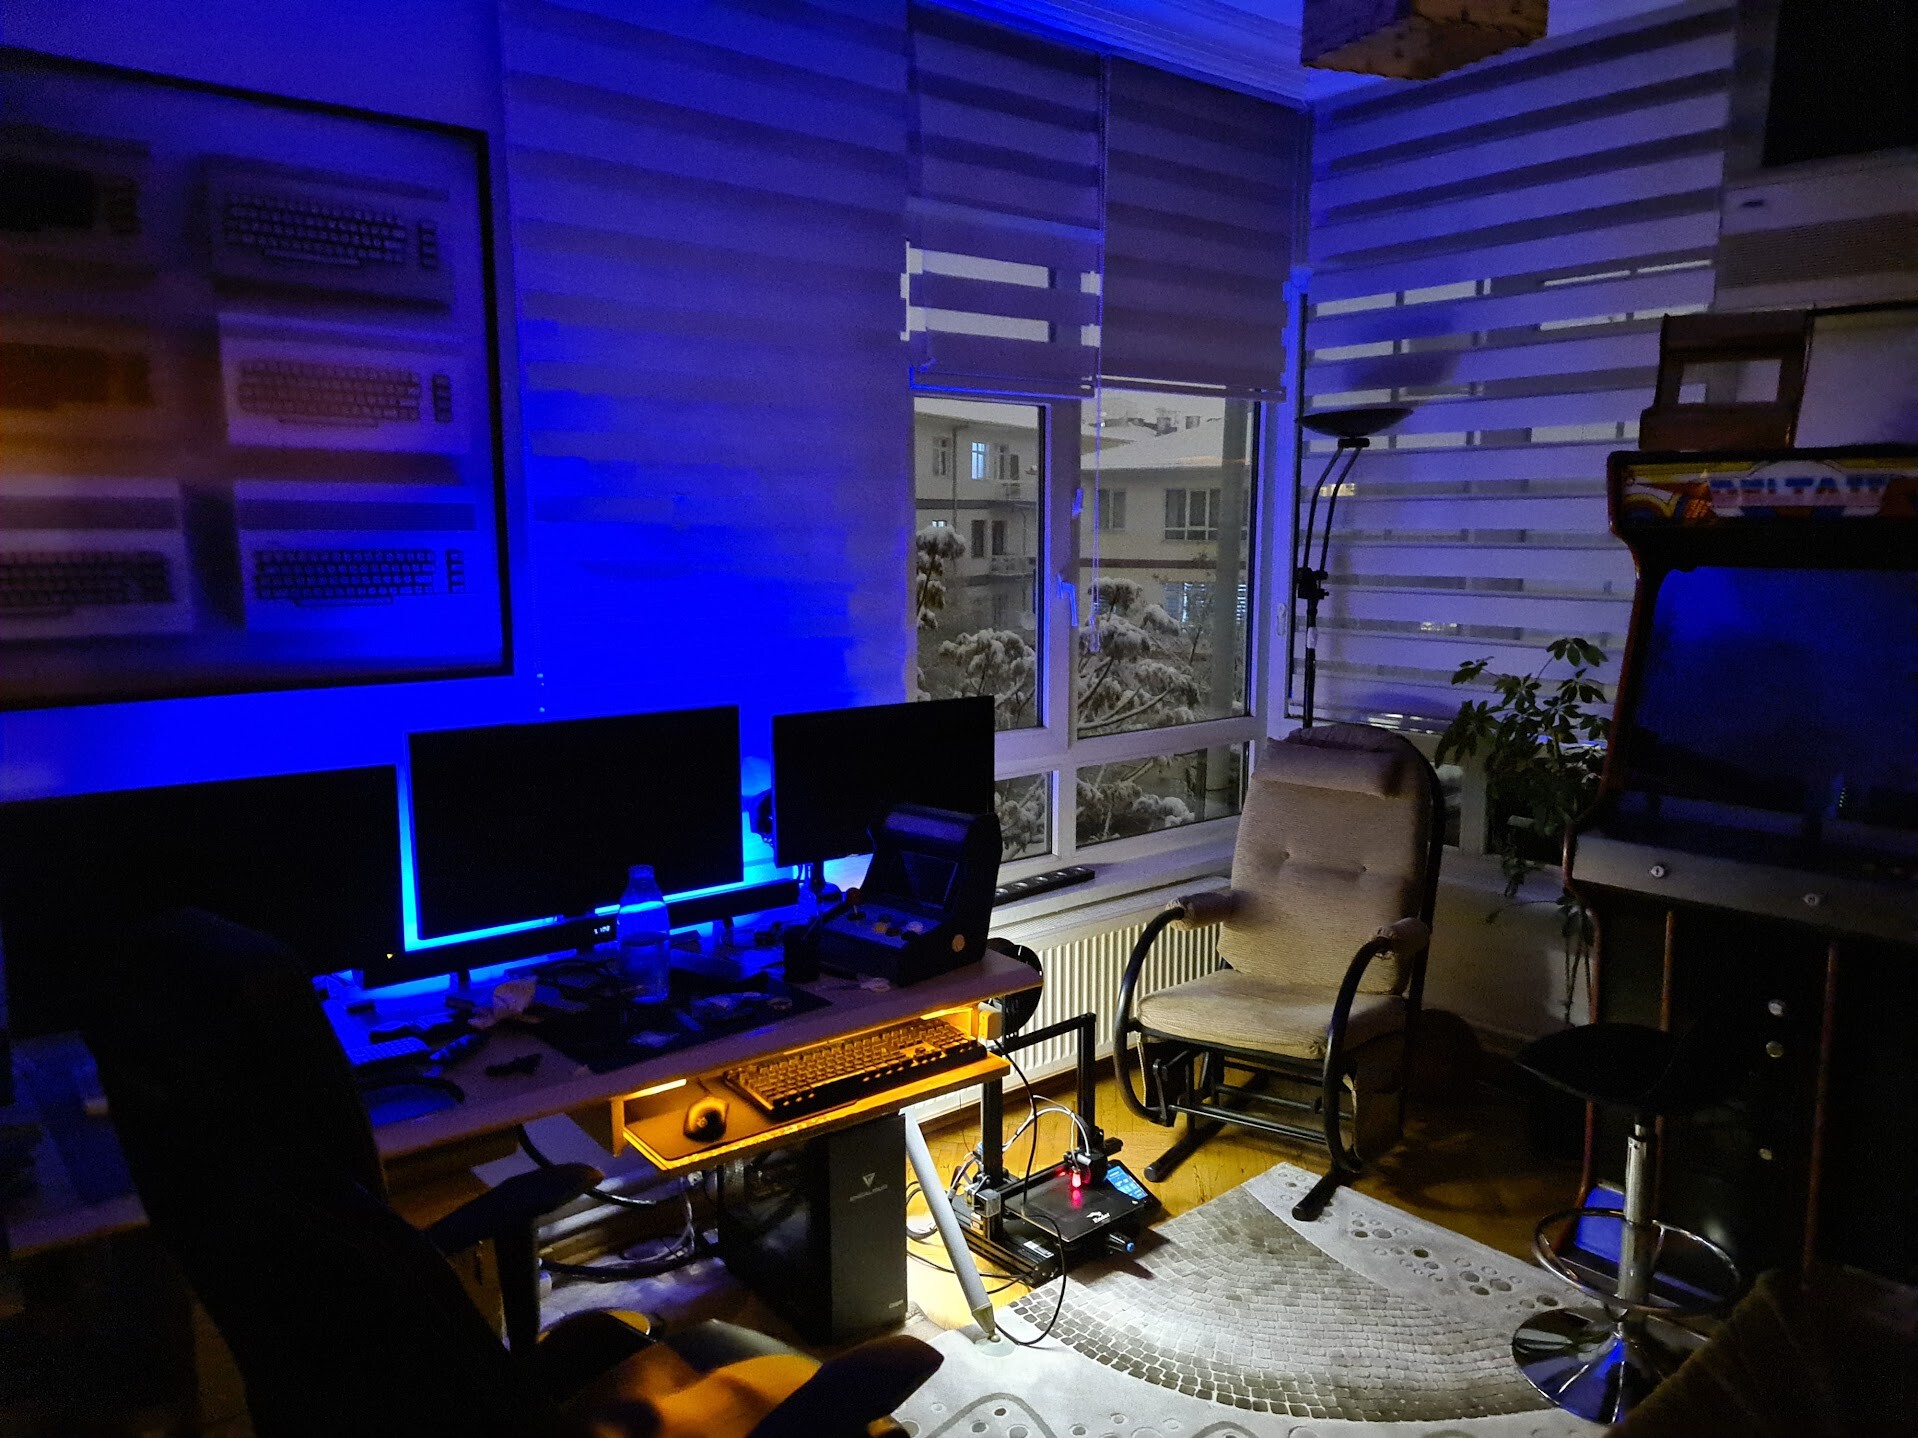
My workspace is kind of messed up.
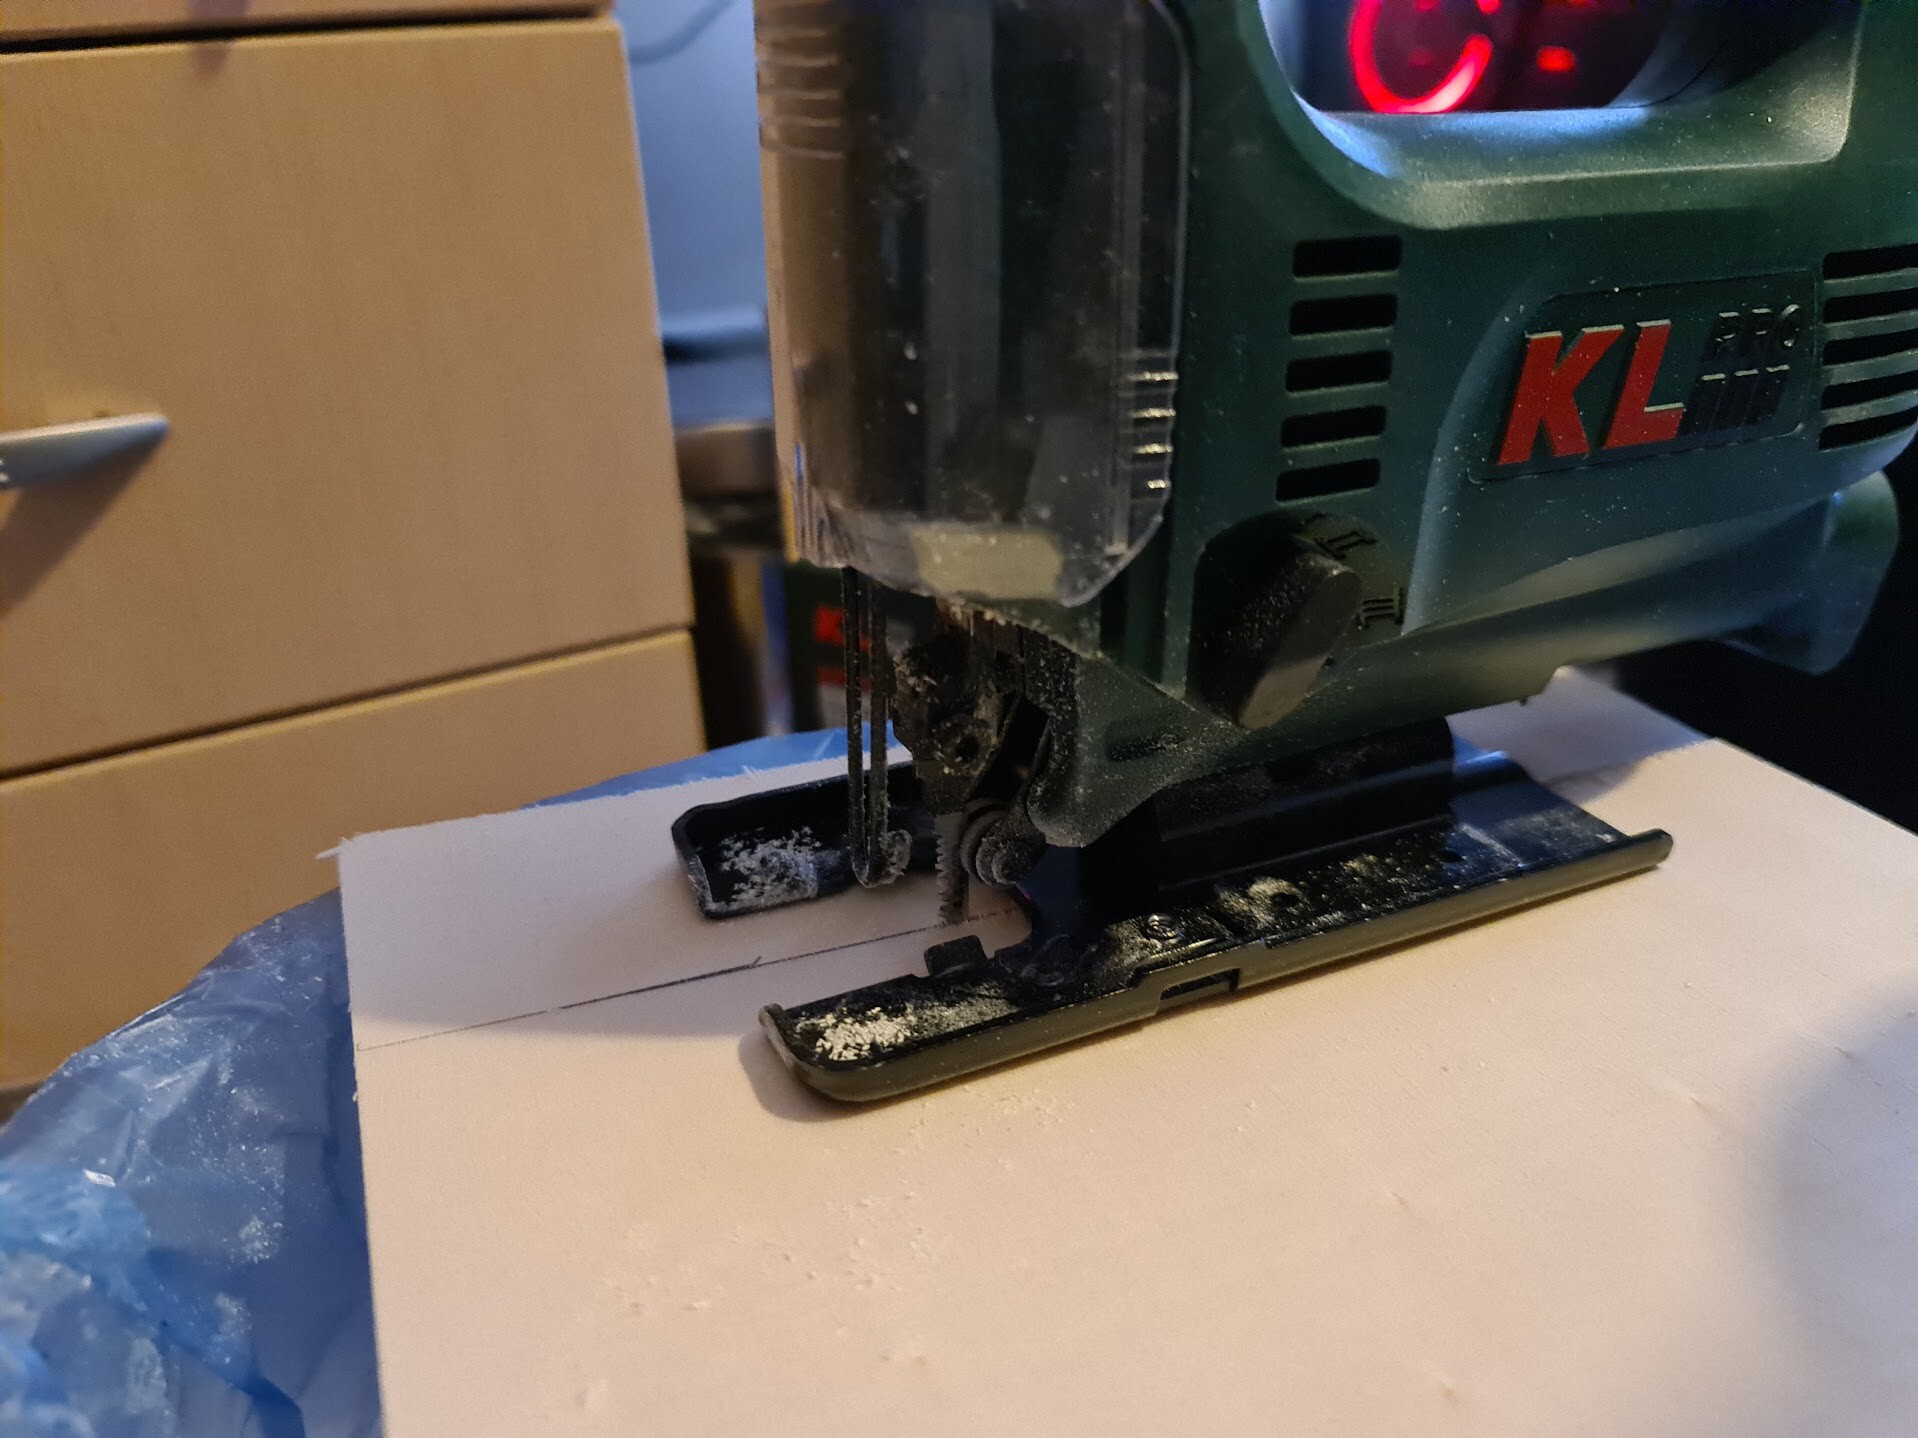
Now it's time for the side boards with 8mm MDFs. I used the same templates I used for the cardboard process to draw the border of cutting.
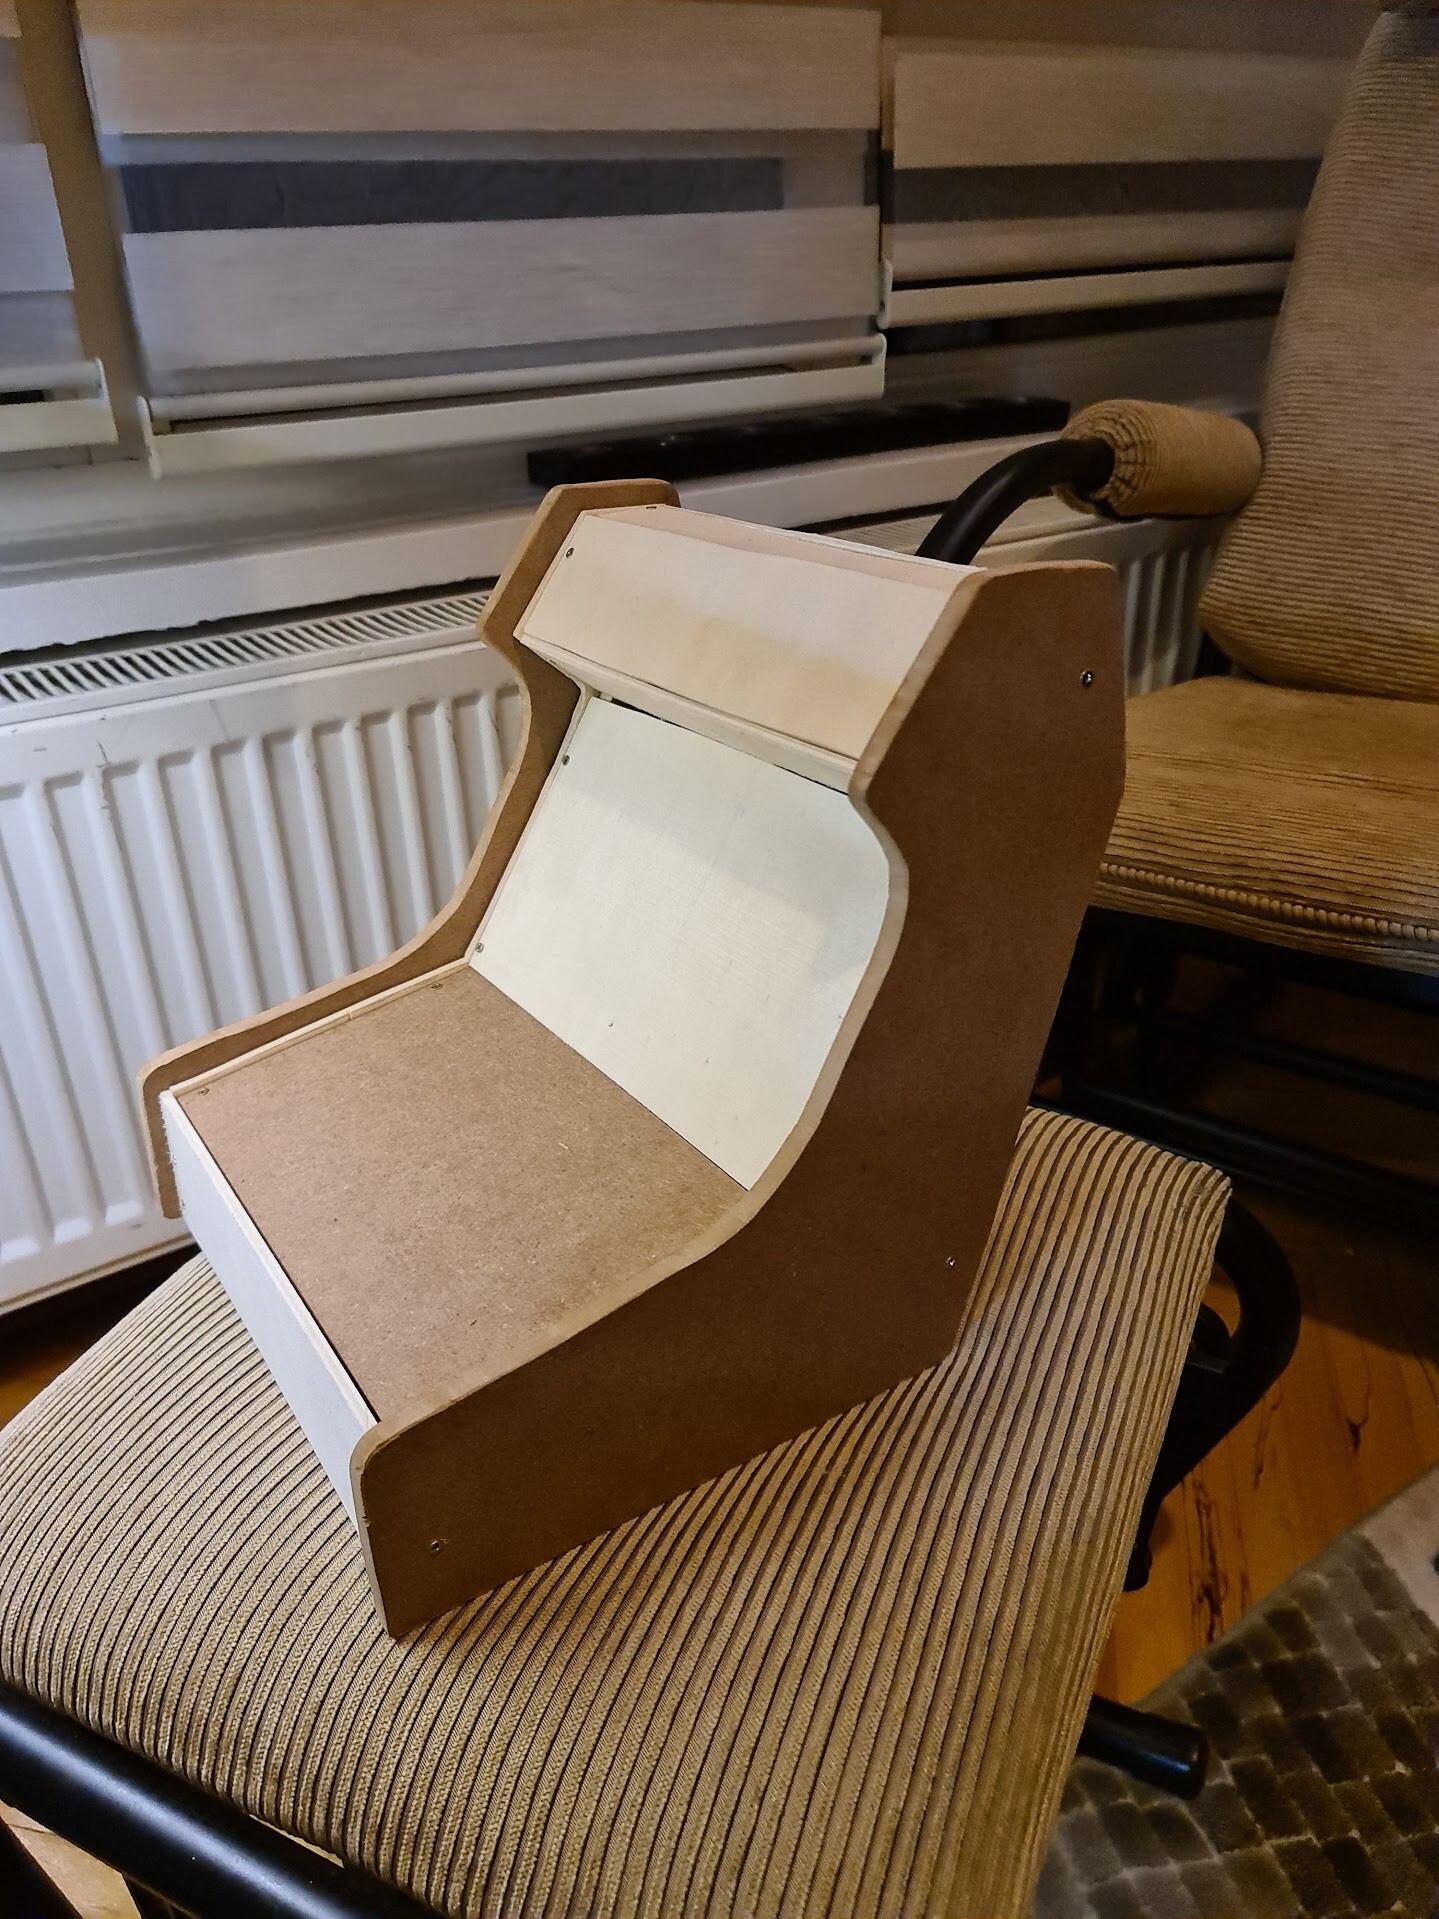
I used the same automatic saw to form the curvy sides. I wasn't so sure but it worked good since it's a flexible saw.

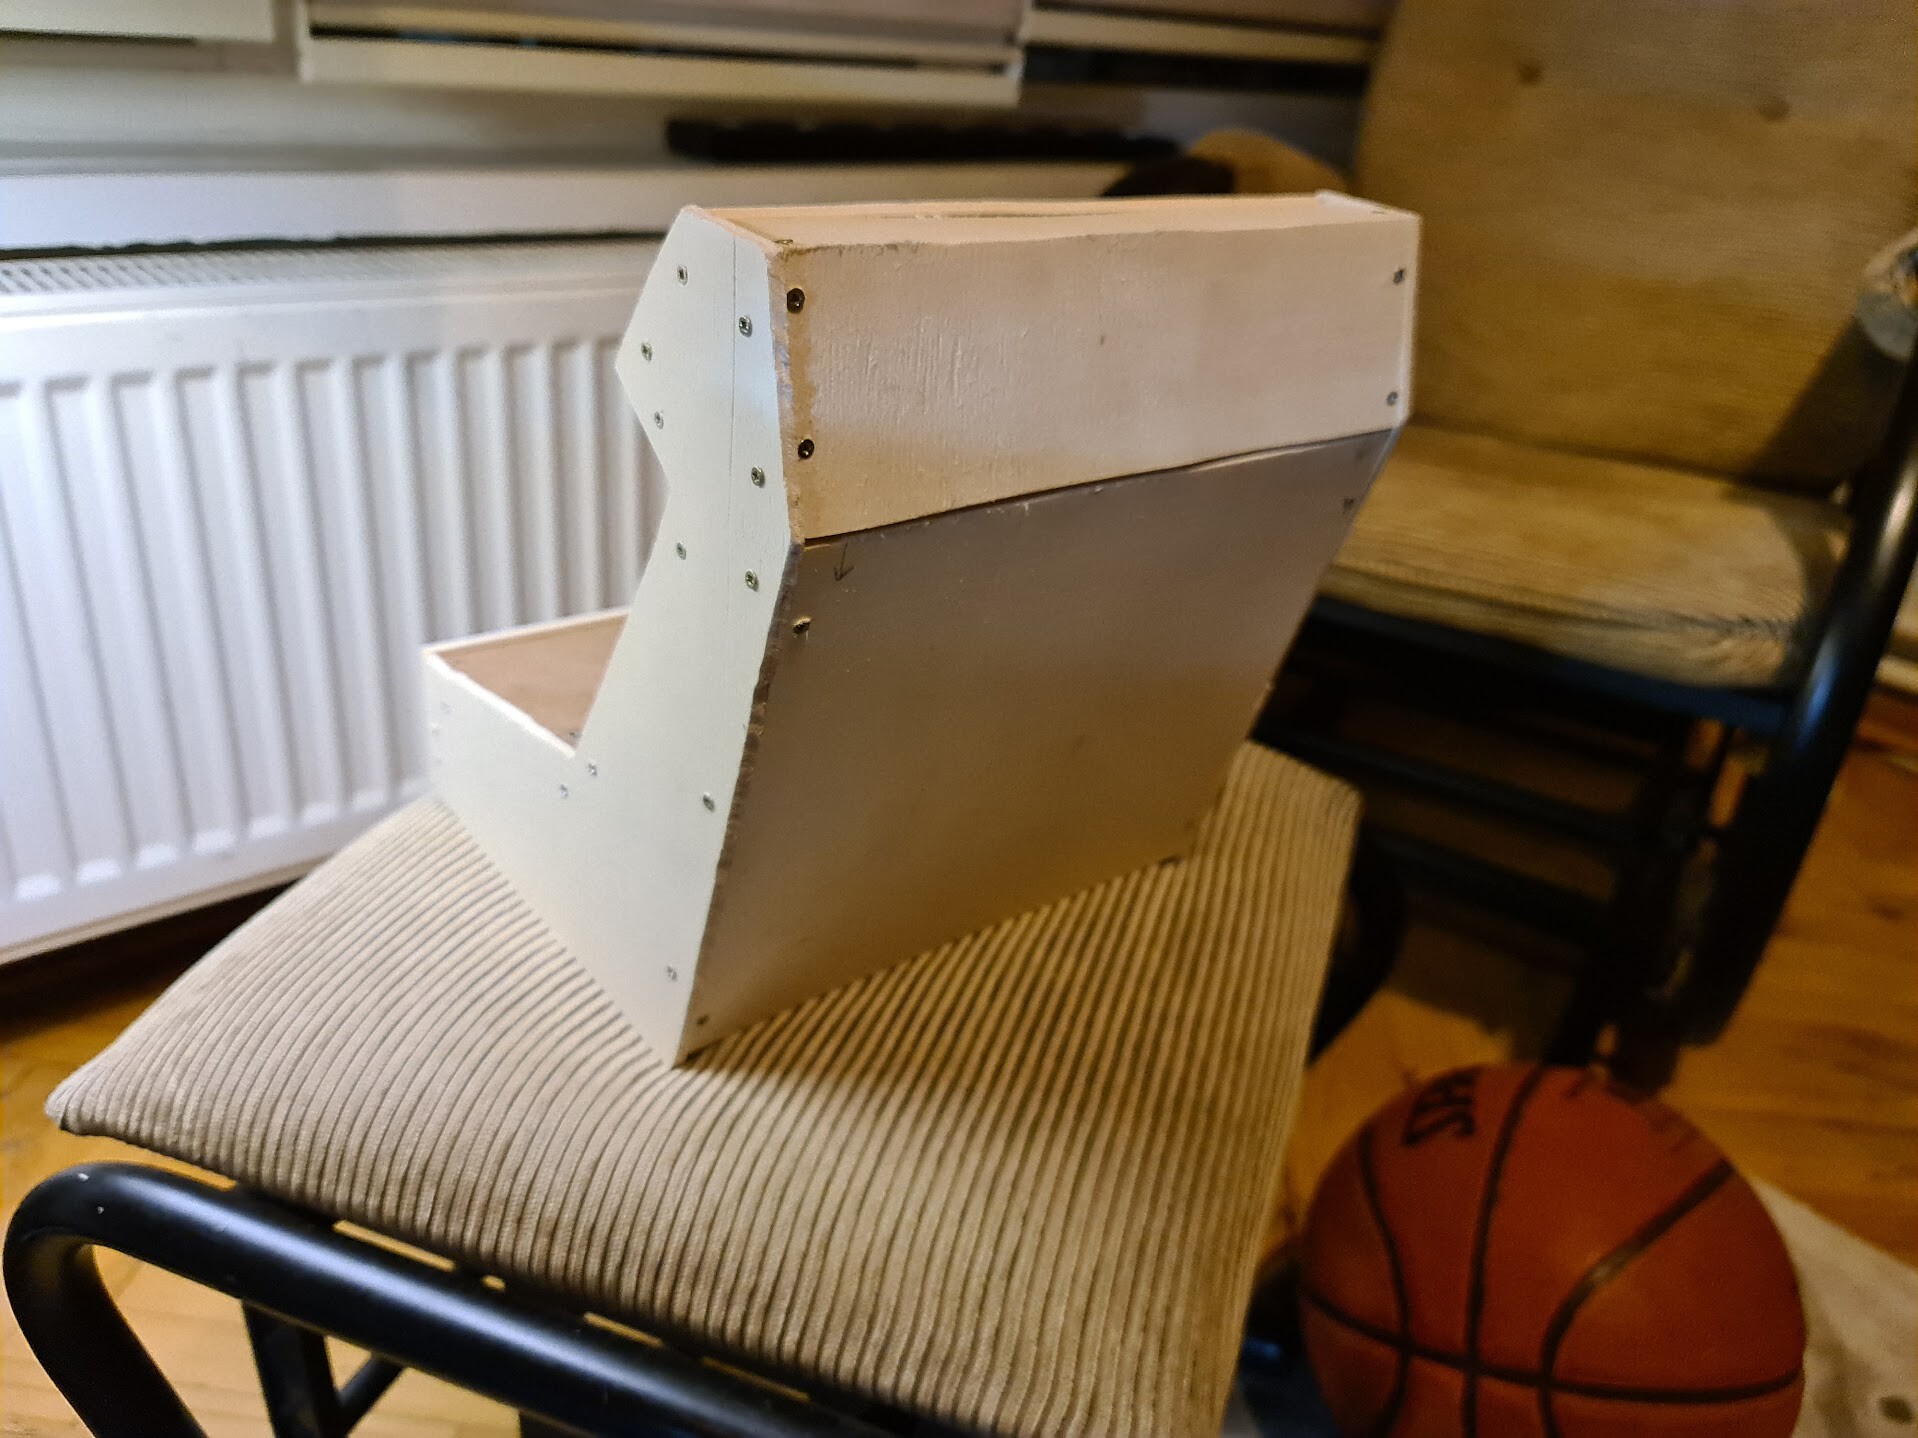
So I mounted the side boards too.
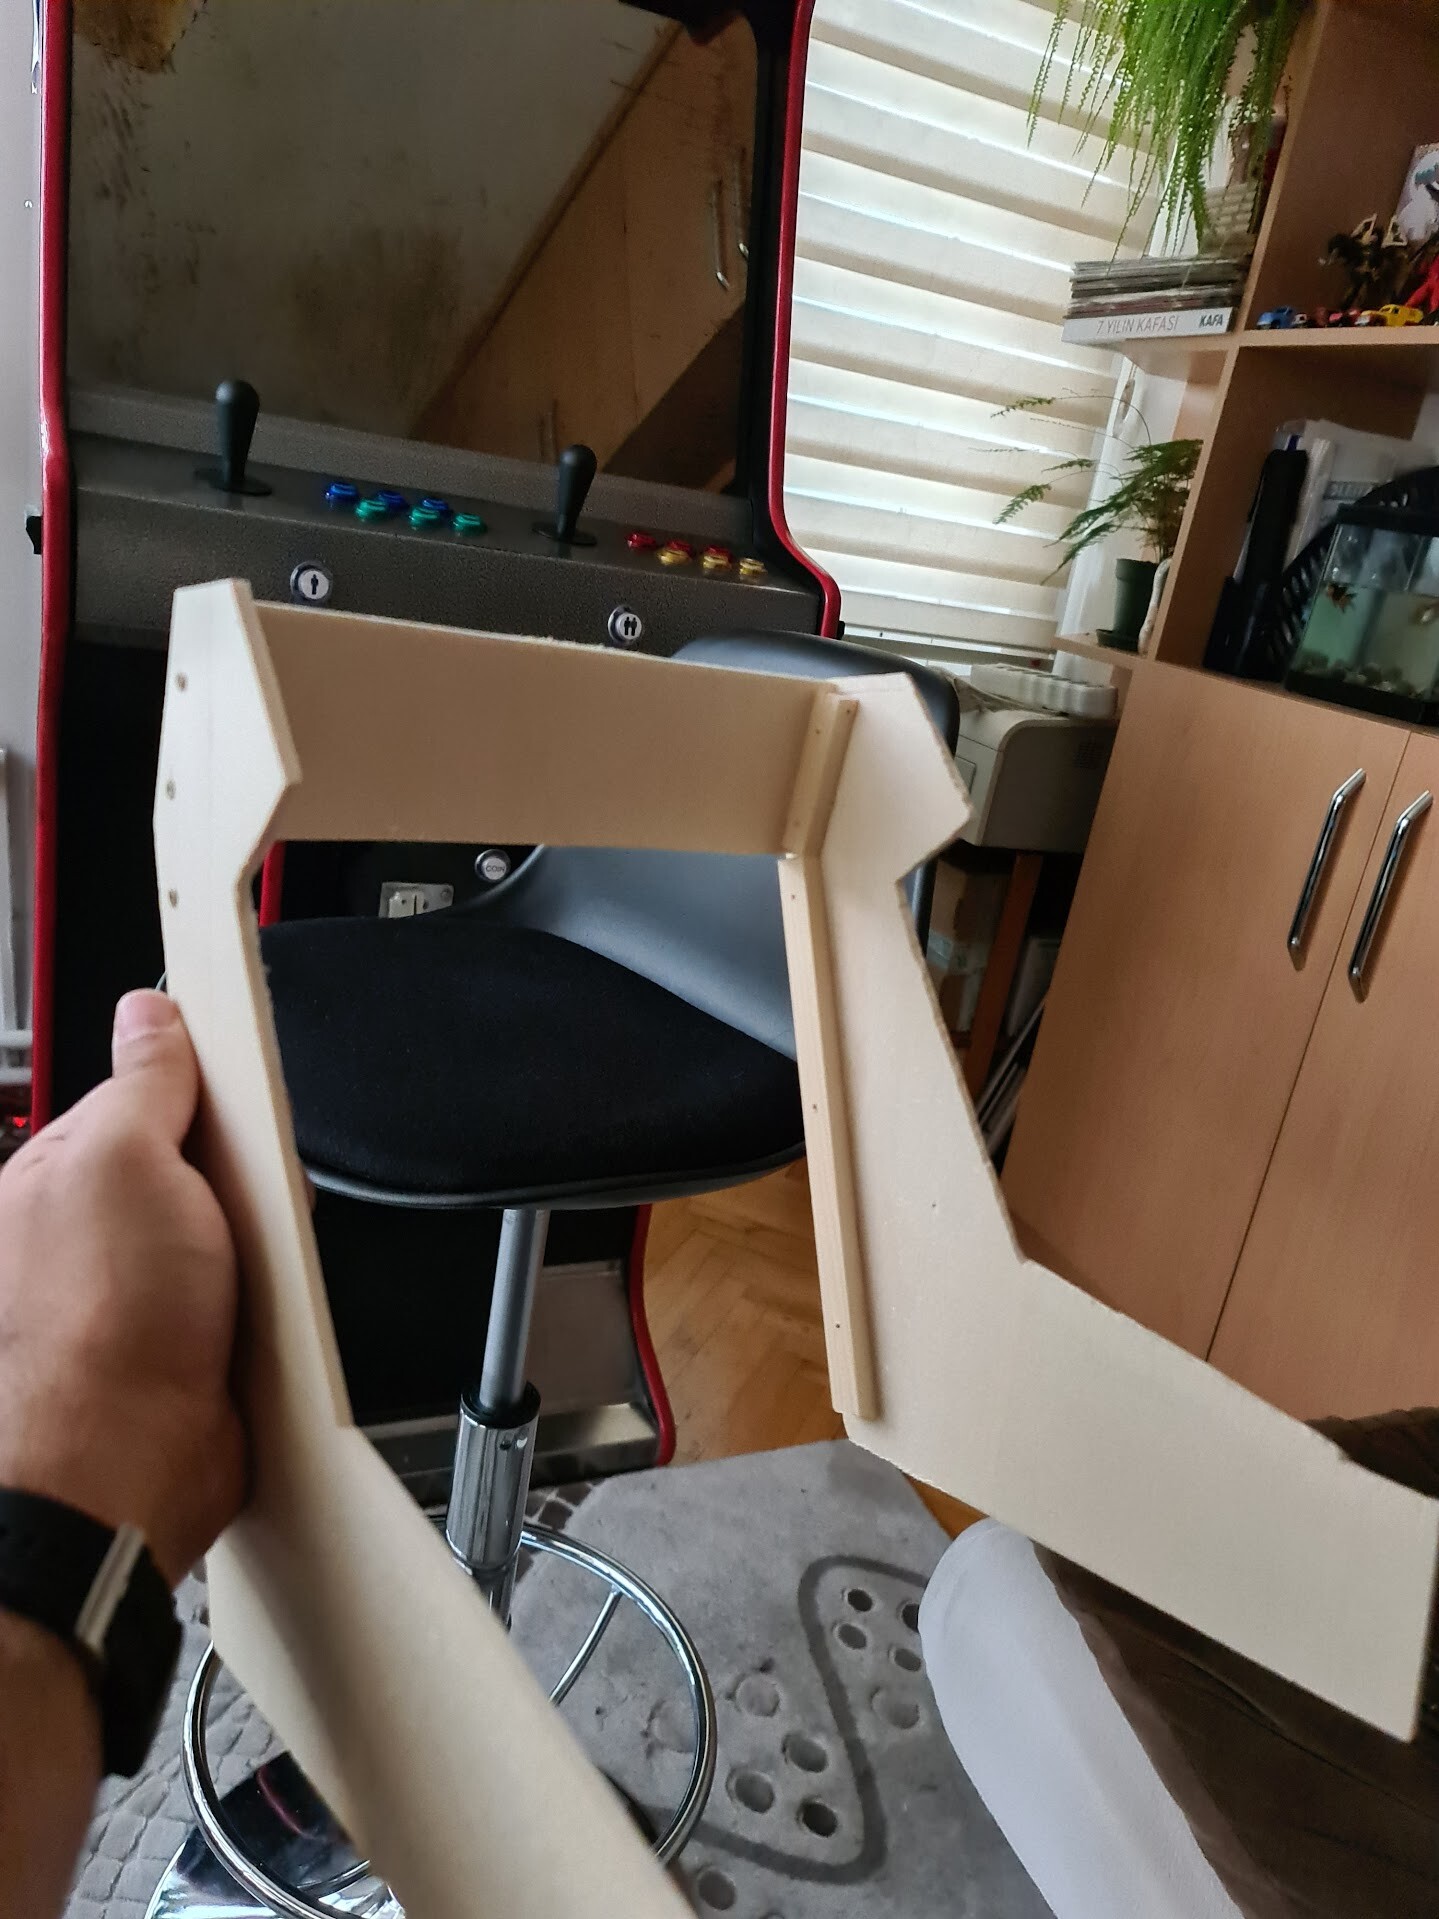
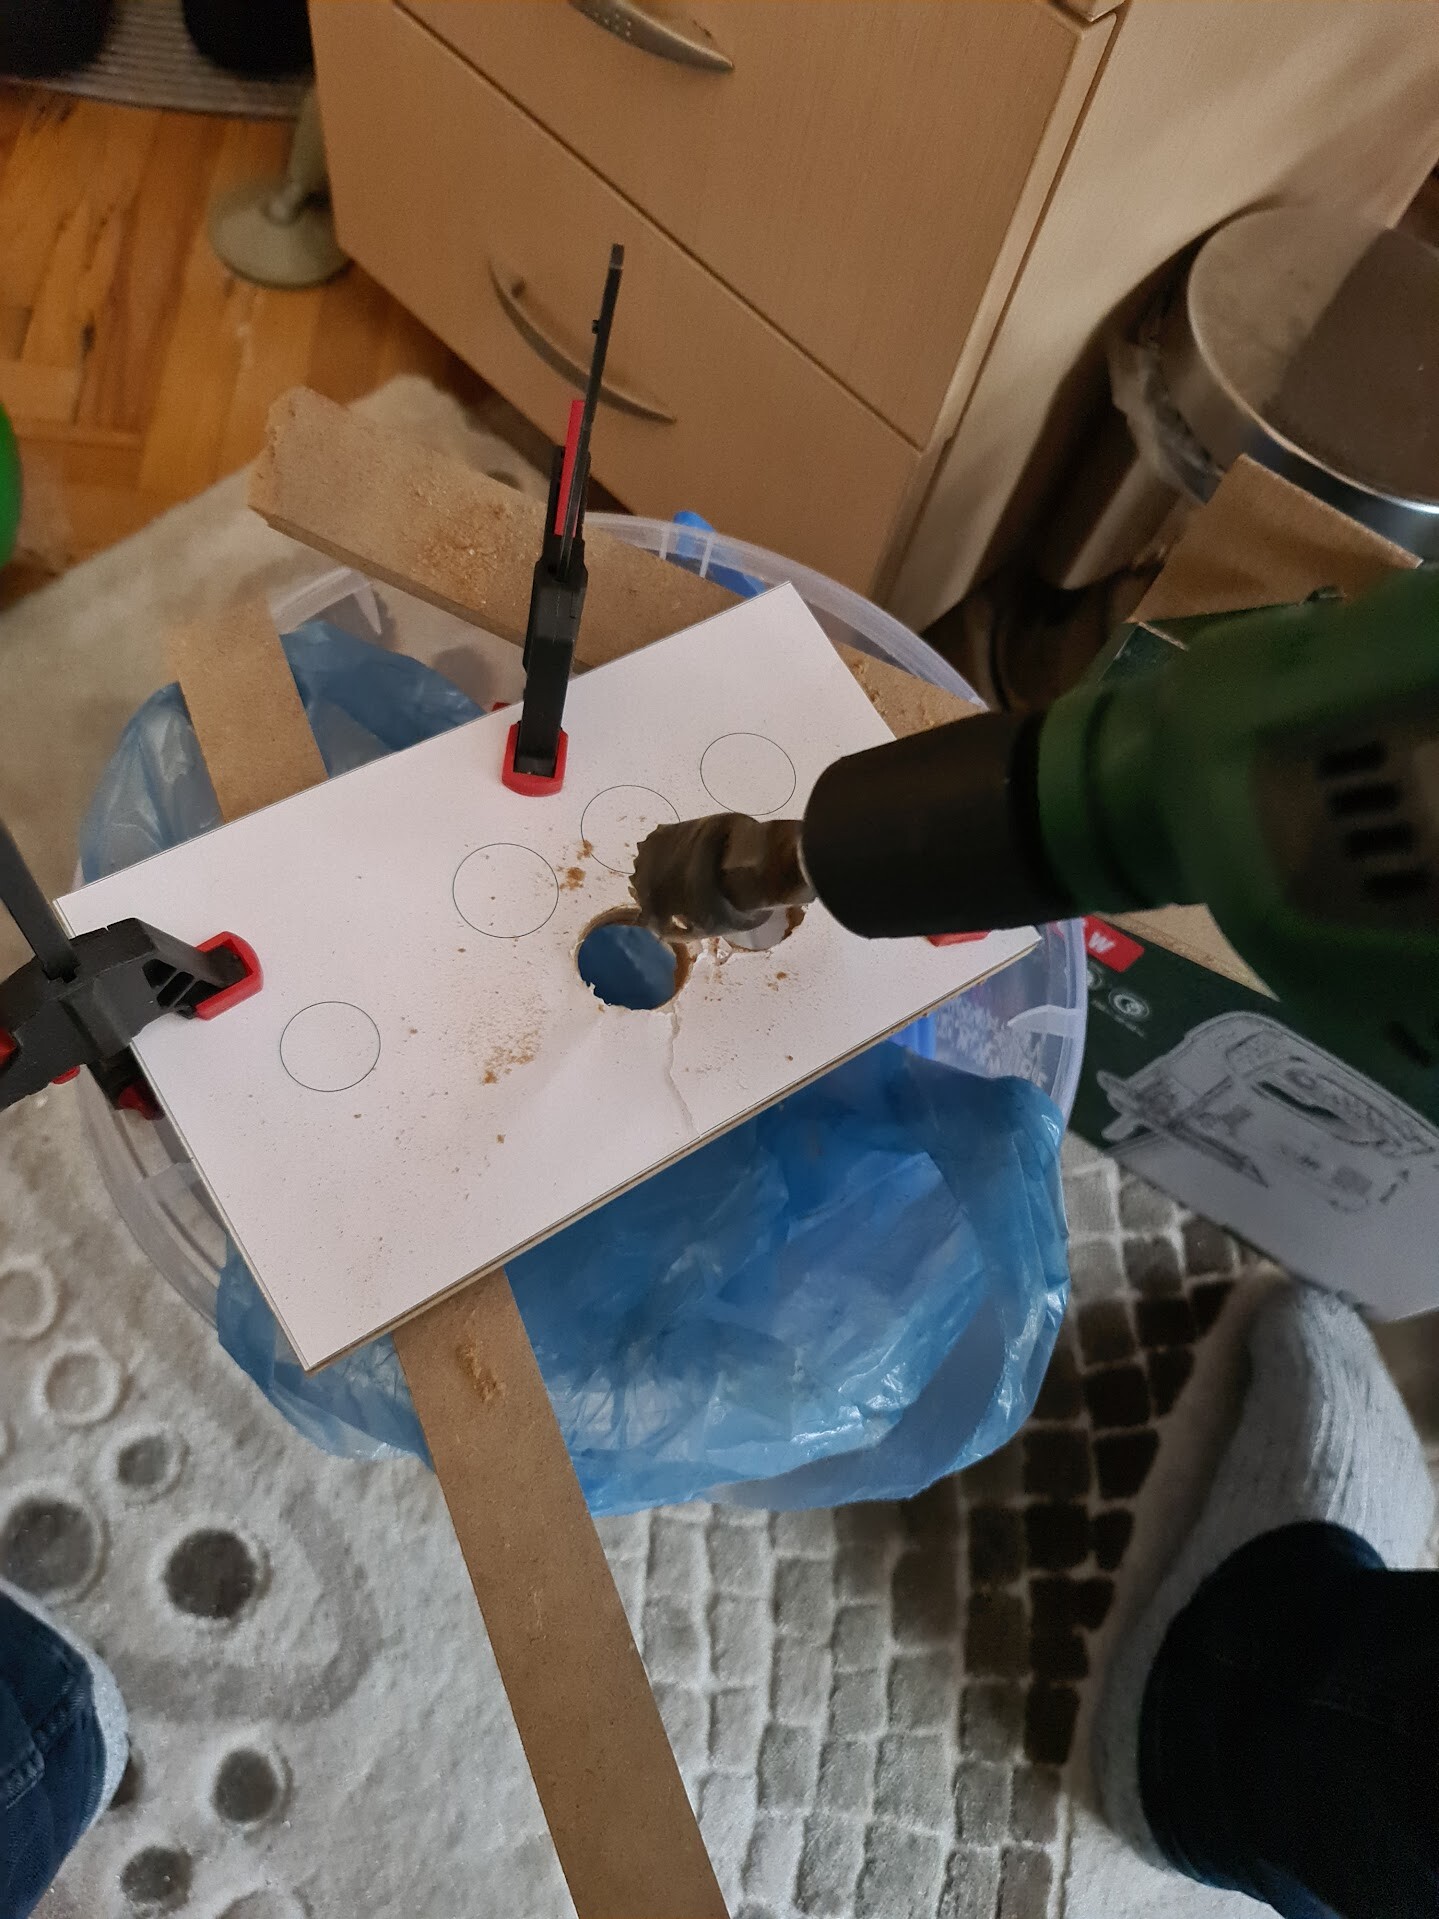
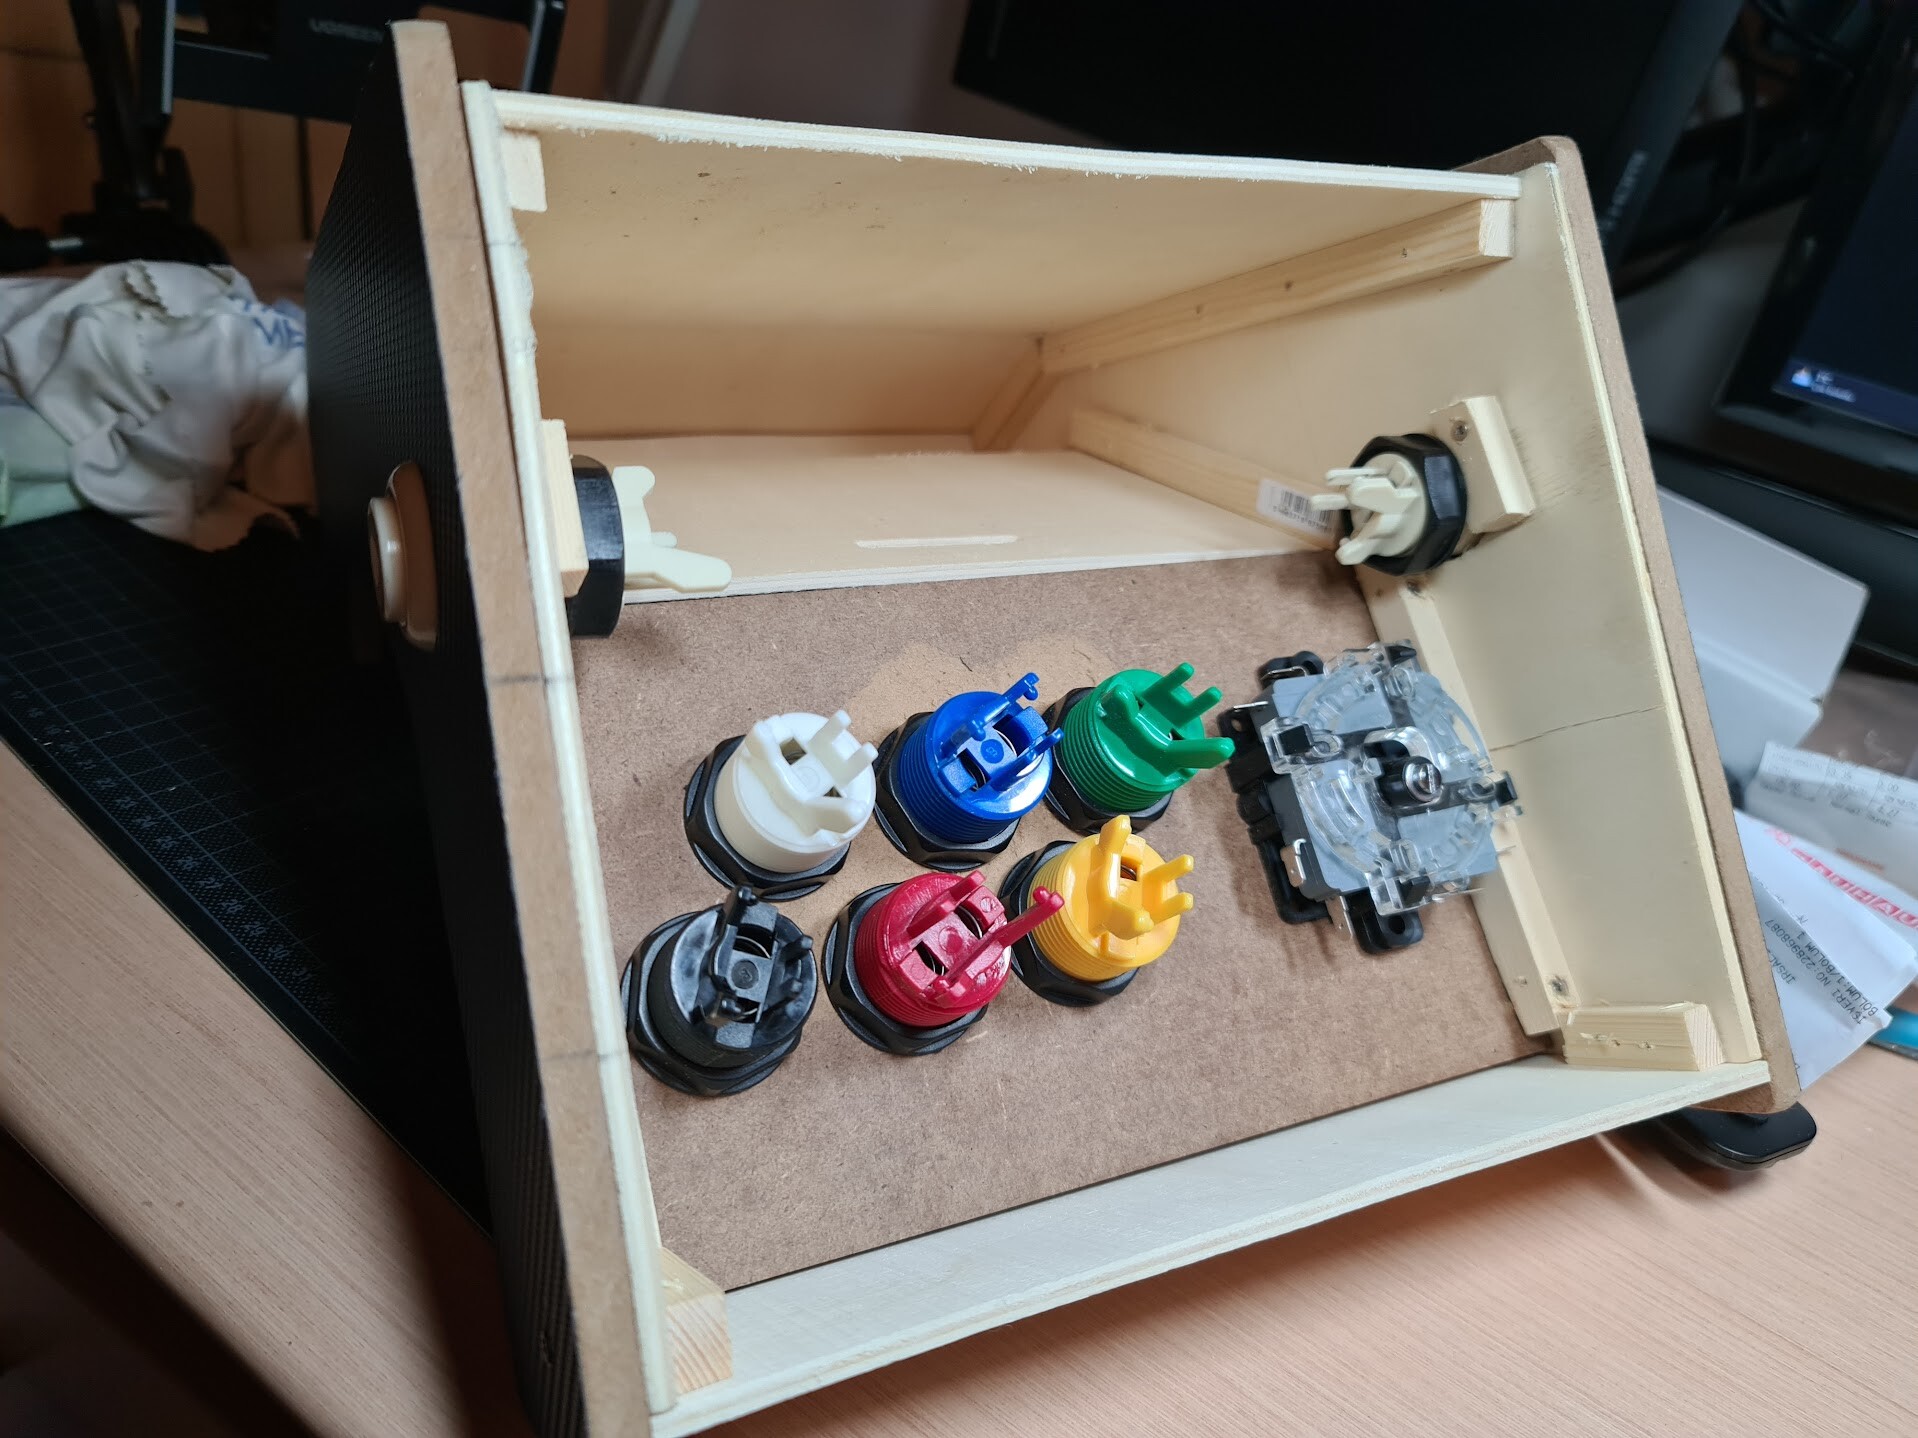
After this part, I drilled the holes for the button and the joystick.
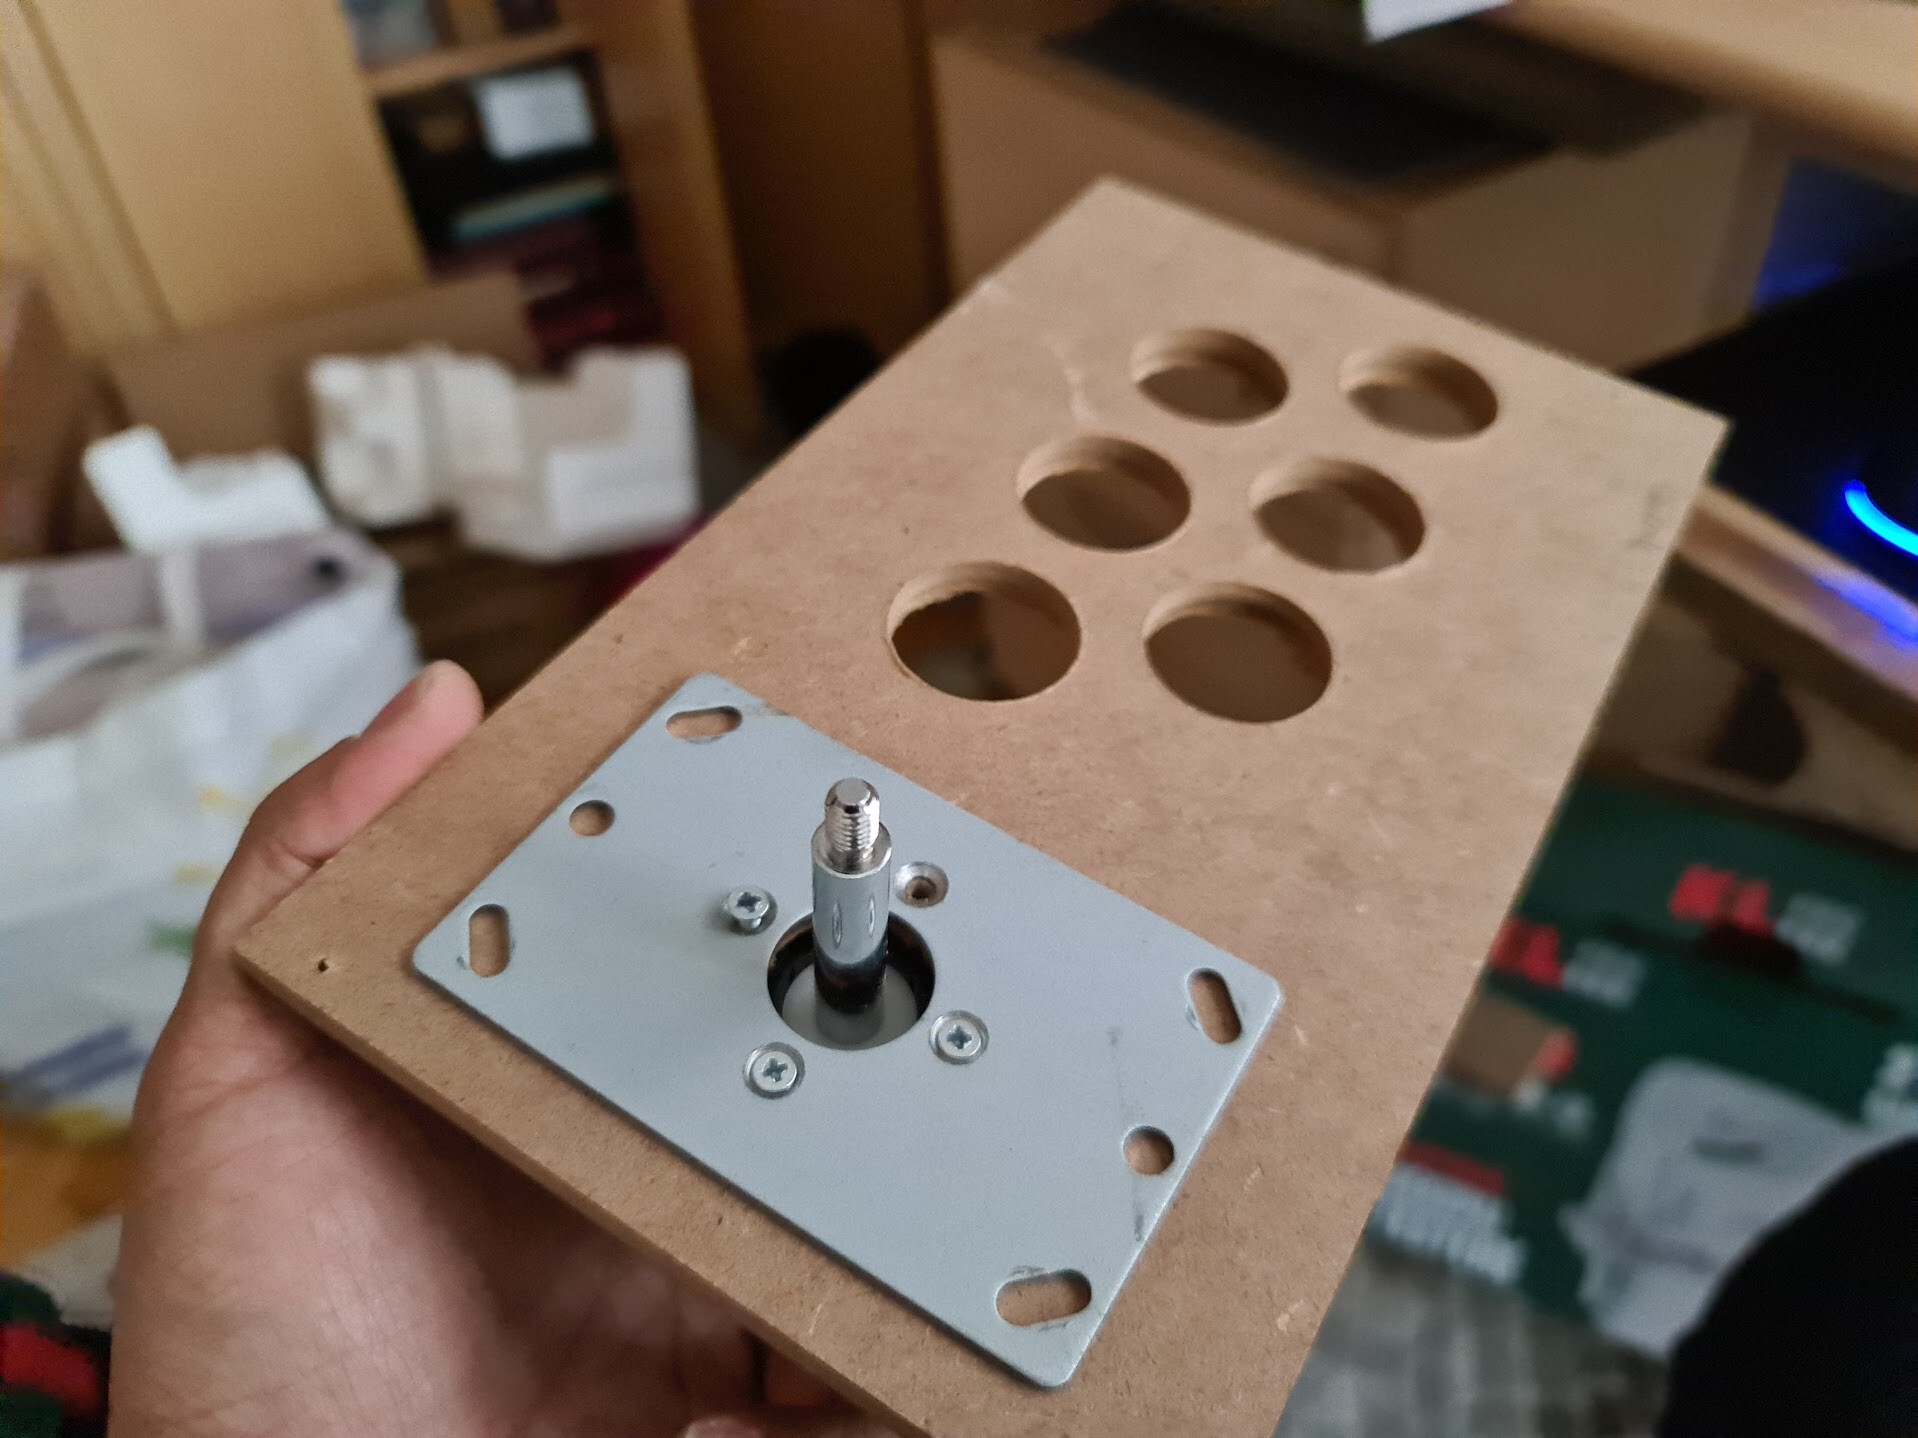
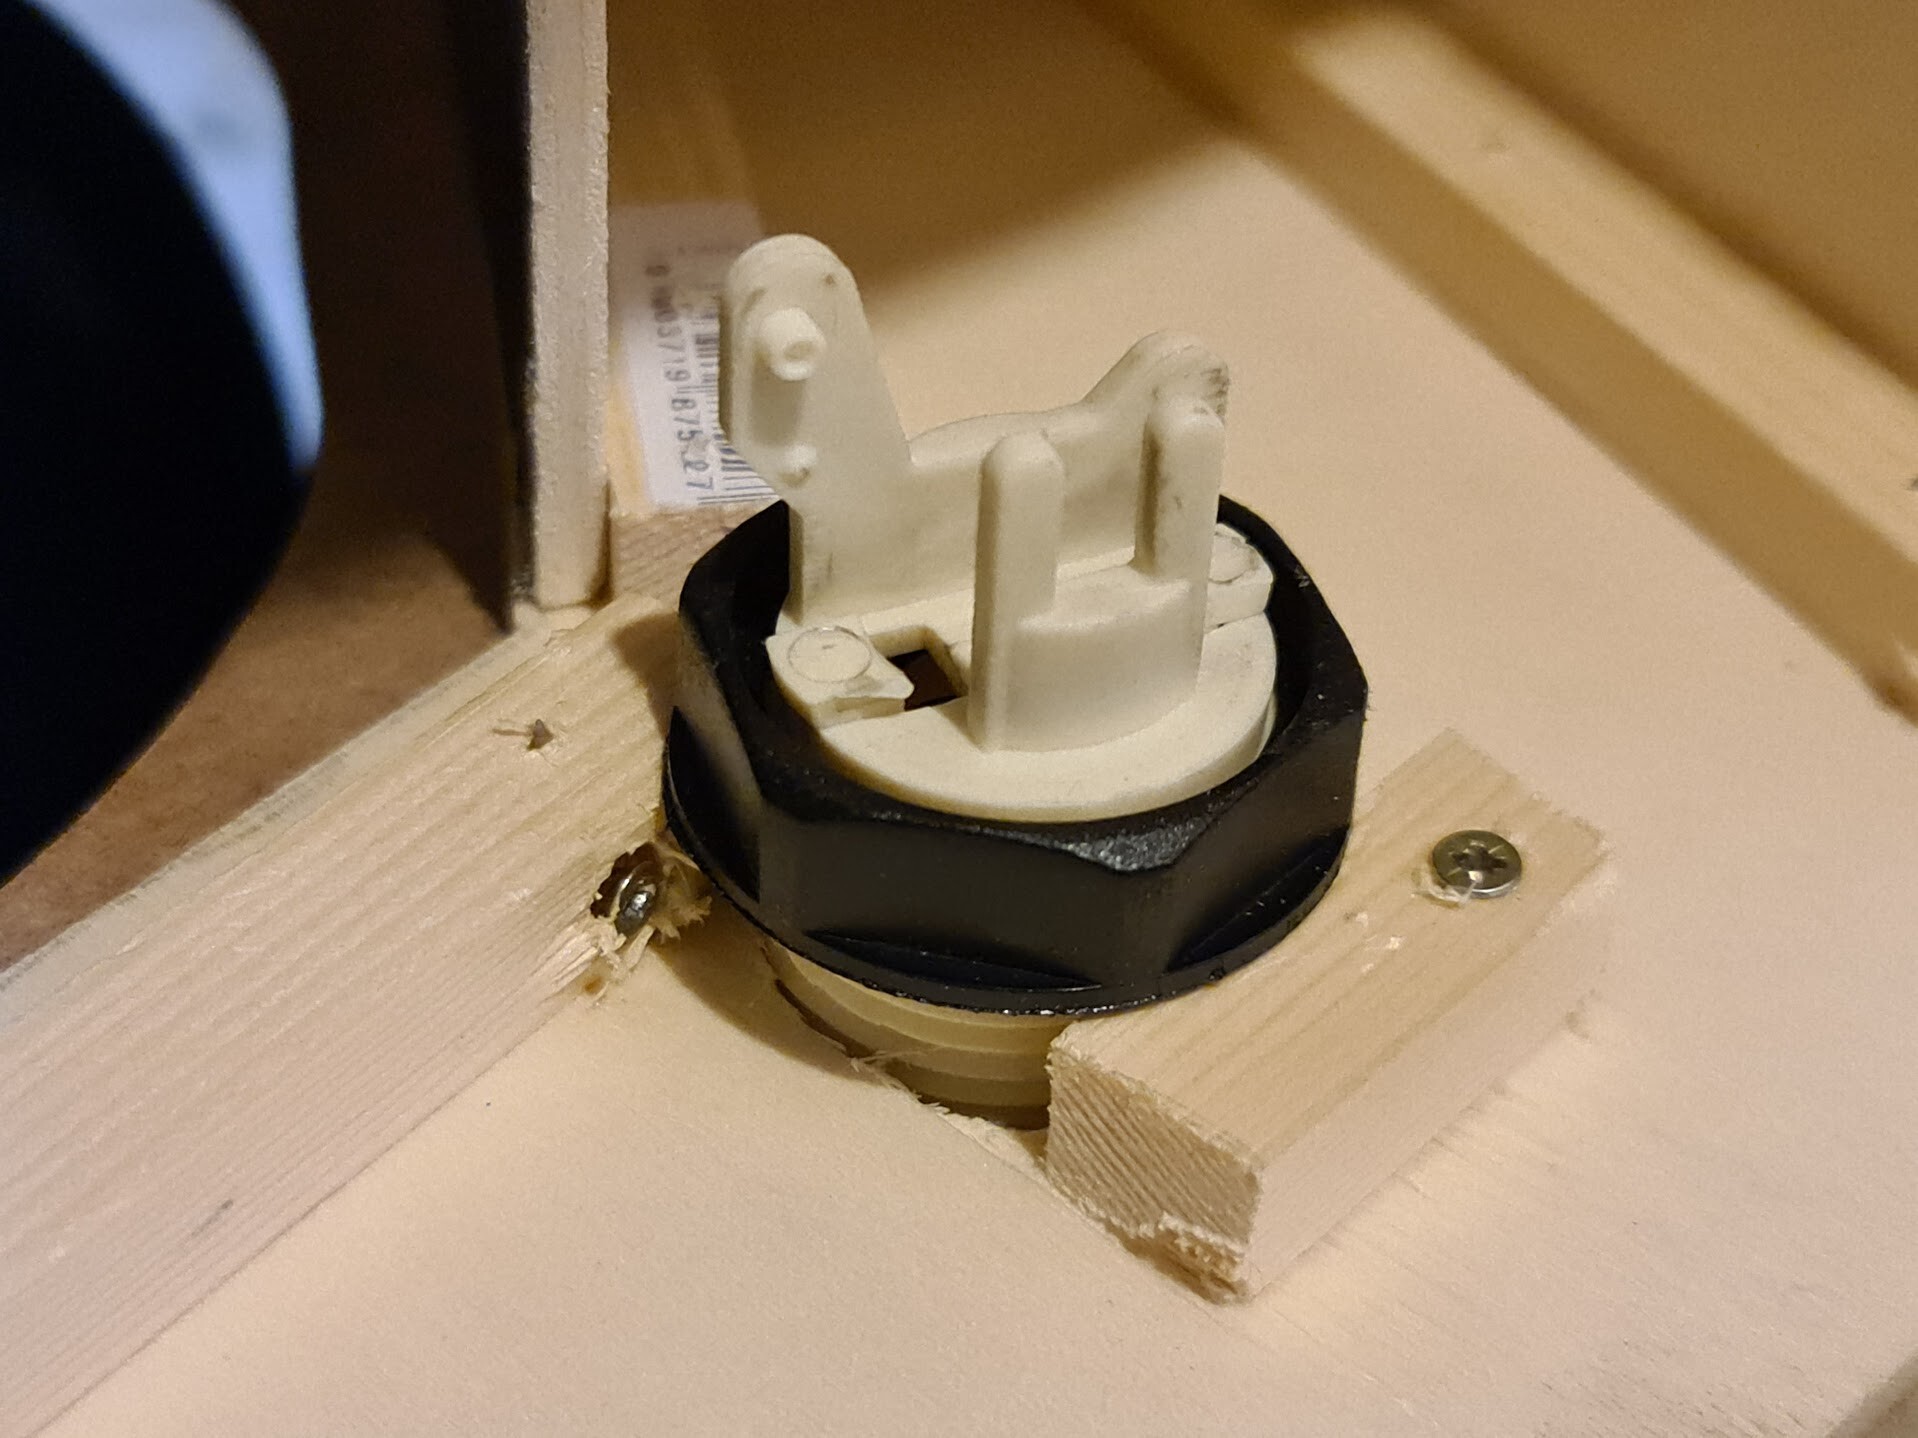
Since the joystick I have, has a metal plate to screw to the wood from top, I ended up with a thickness on the top of the 8mm board. That was the reason why I also have 3mm white MDF. I used it to cover this metal sheet. I also applied some thick 2 sided sticker tapes to balance the thickness of the metal plate.
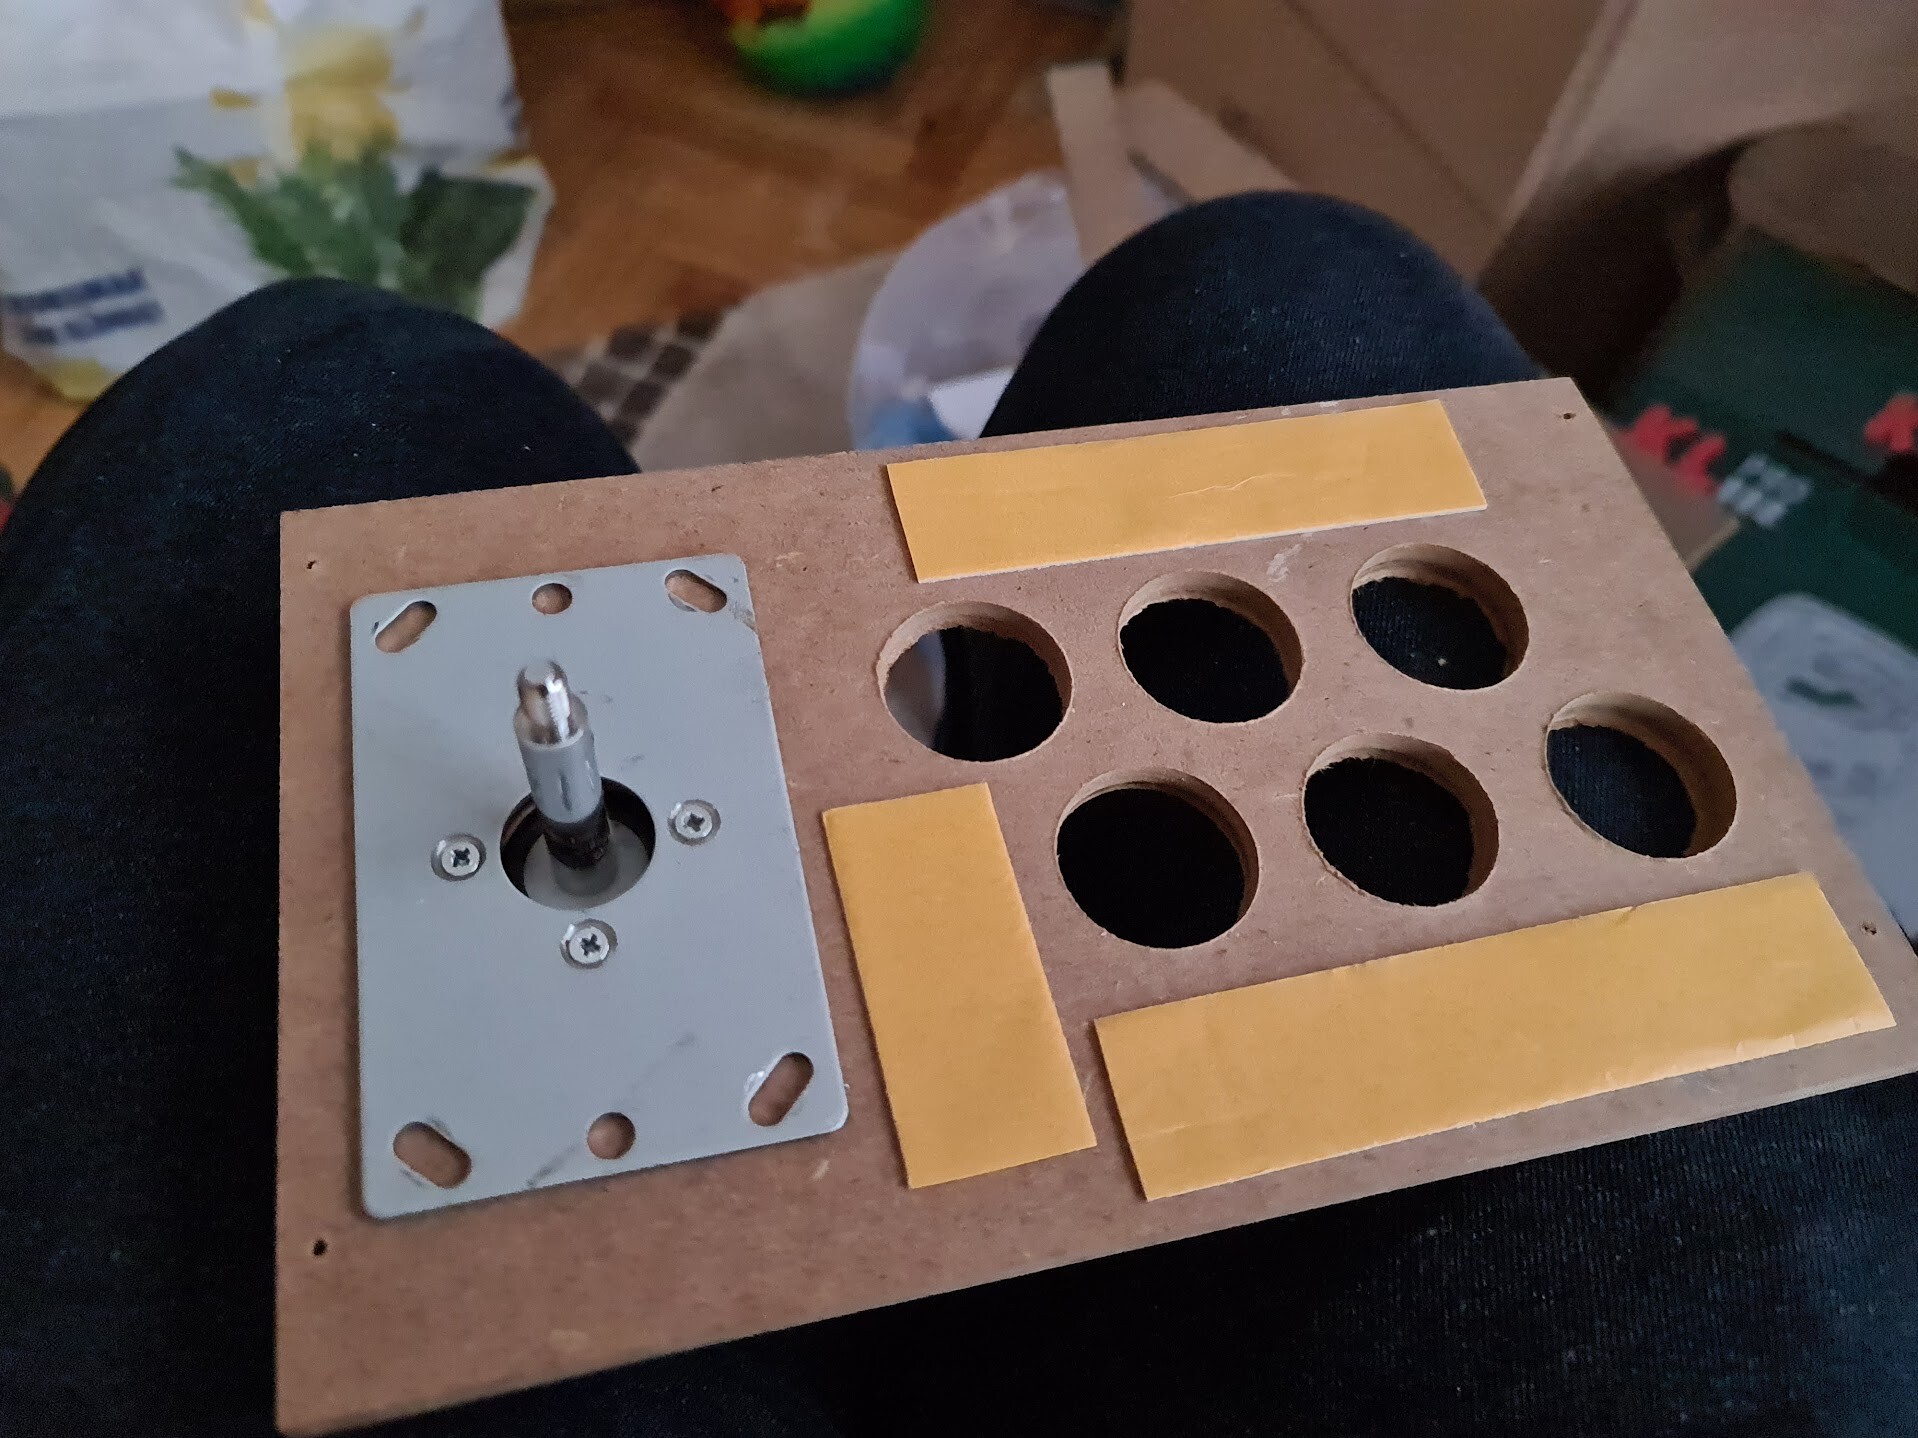
This is how it looks when I added the 3mm MDF over the 8mm MDF.
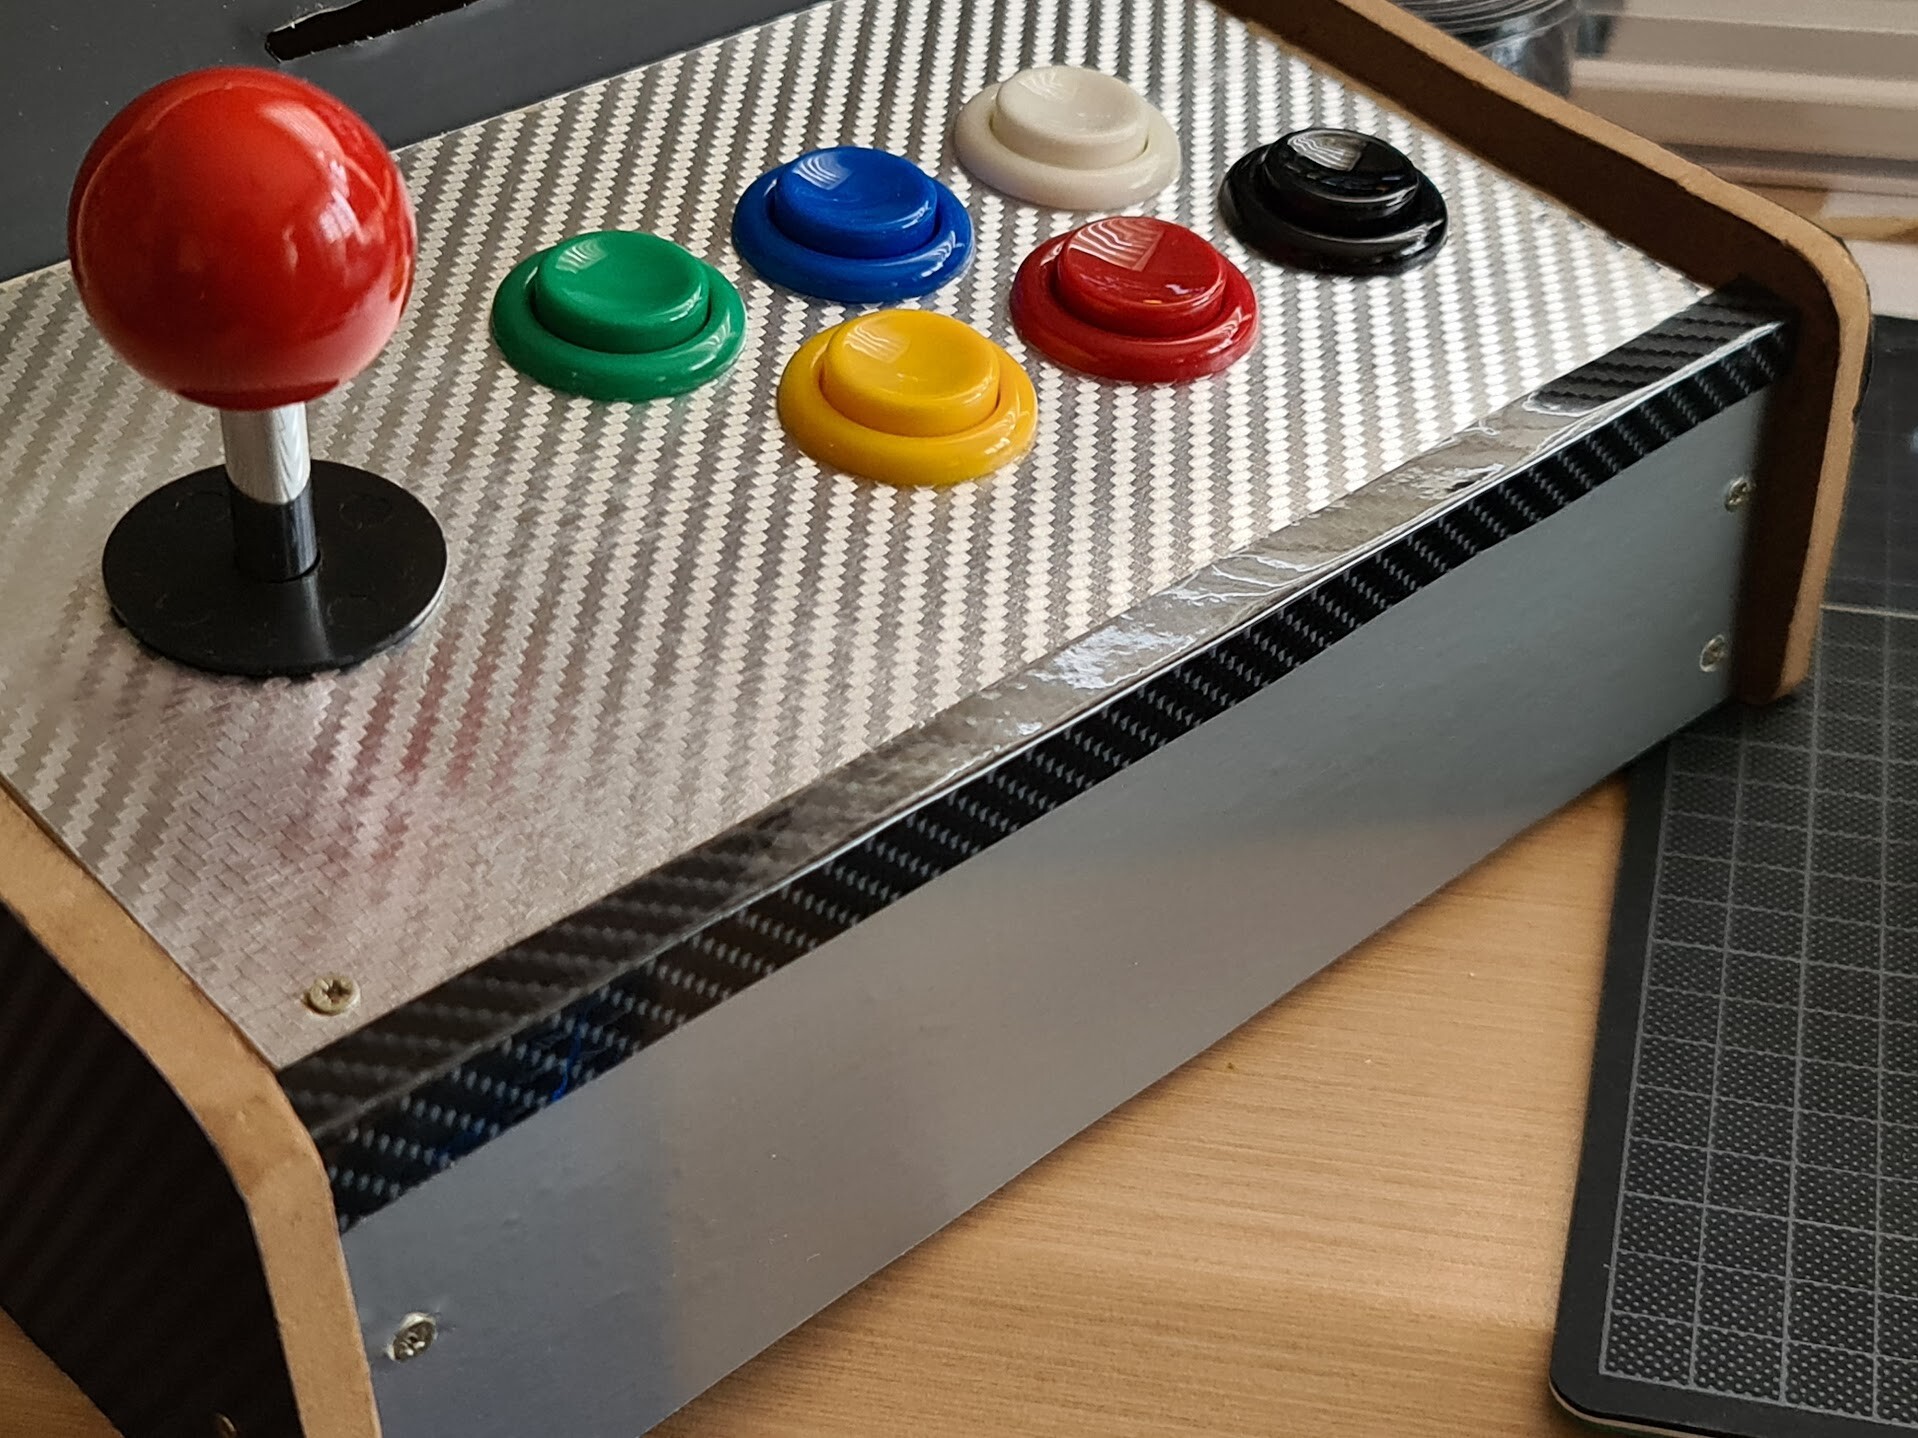
So I mounted the buttons. These buttons has a tightening ring and mounted as through hole. So they also act like a fastener for these two boards.
I ordered some carbon textured sticker foils to cover the boards. I had 3 types of foils:
Metallic Gray (for the surfaces between sides)
Black Carbon (for the corners, later I removed them)
Pain black (screen area)
Dark Blue Carbon (sides and corners)
Metallic Carbon (for the button area)
So started applying stickers over the boards, by first unmounting them, applying sticker, then cutting the edges.
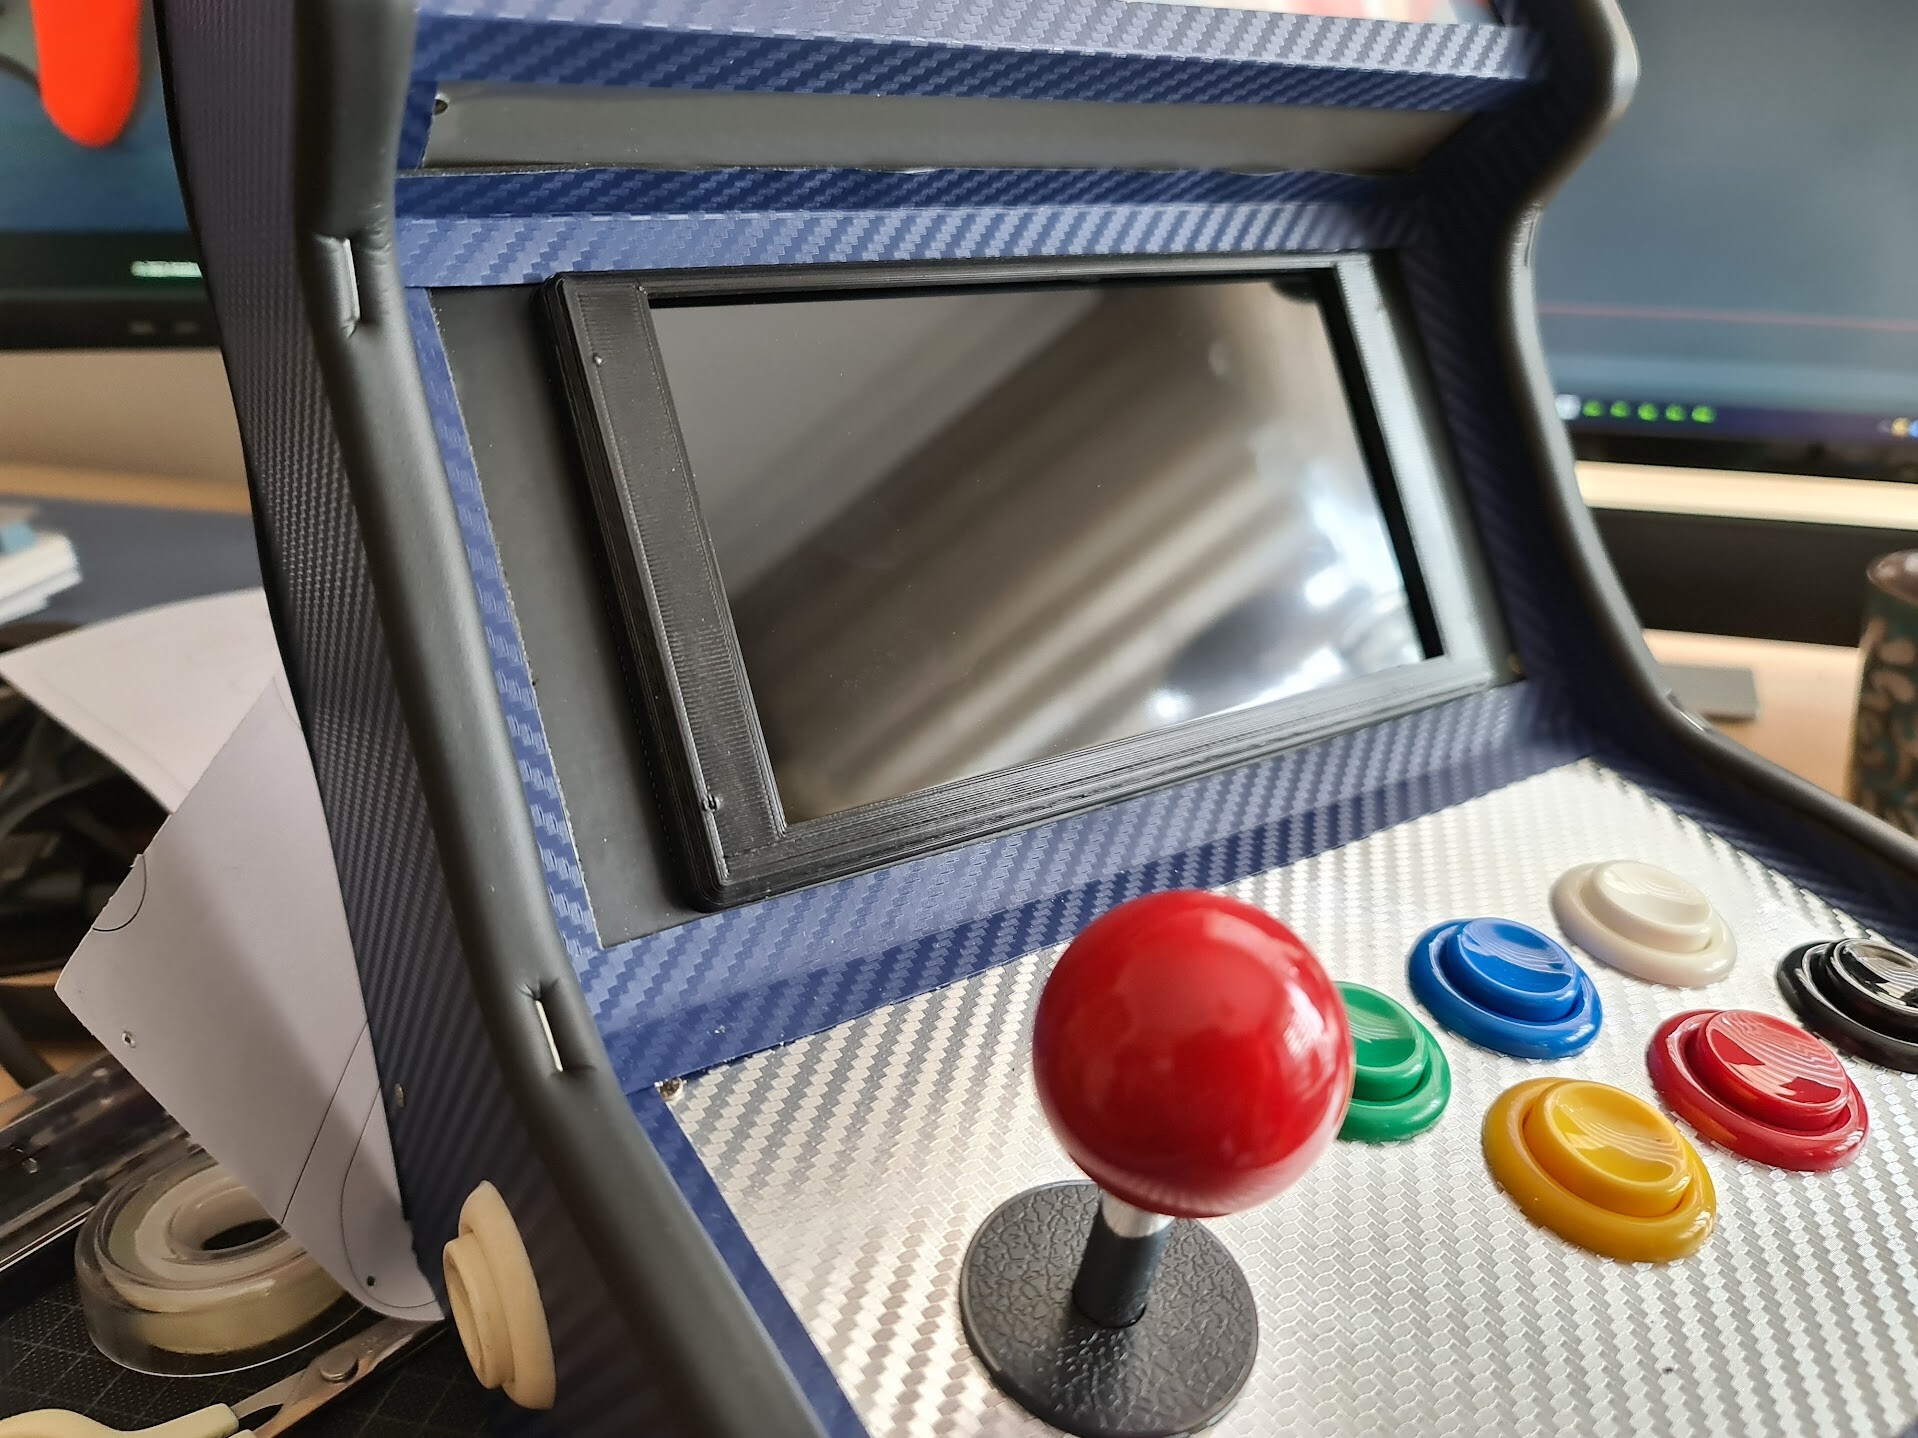
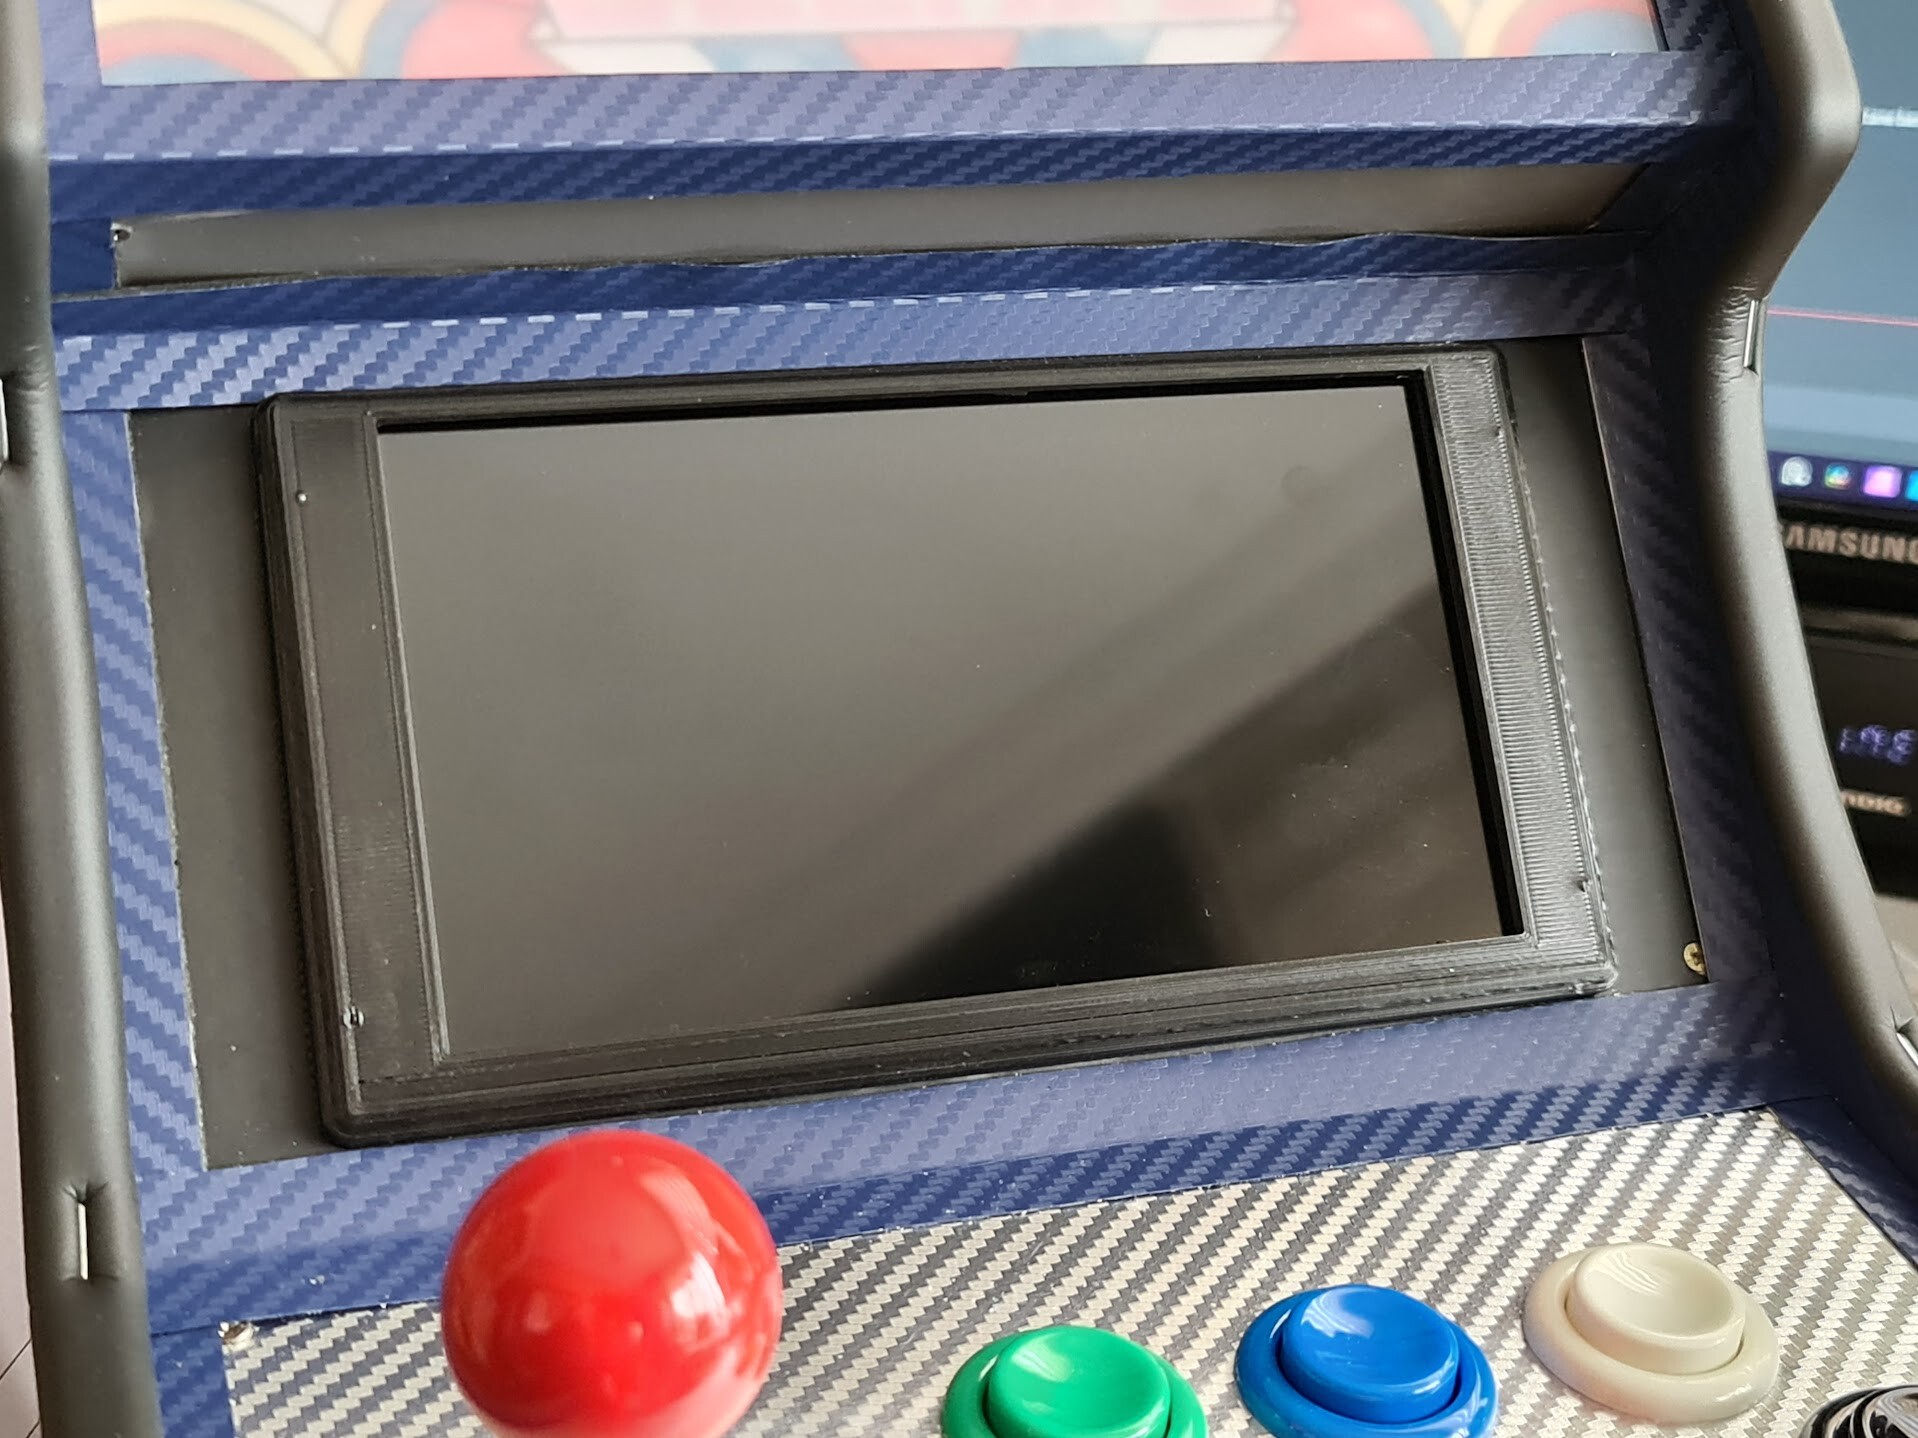
Screen and the button area are like this:
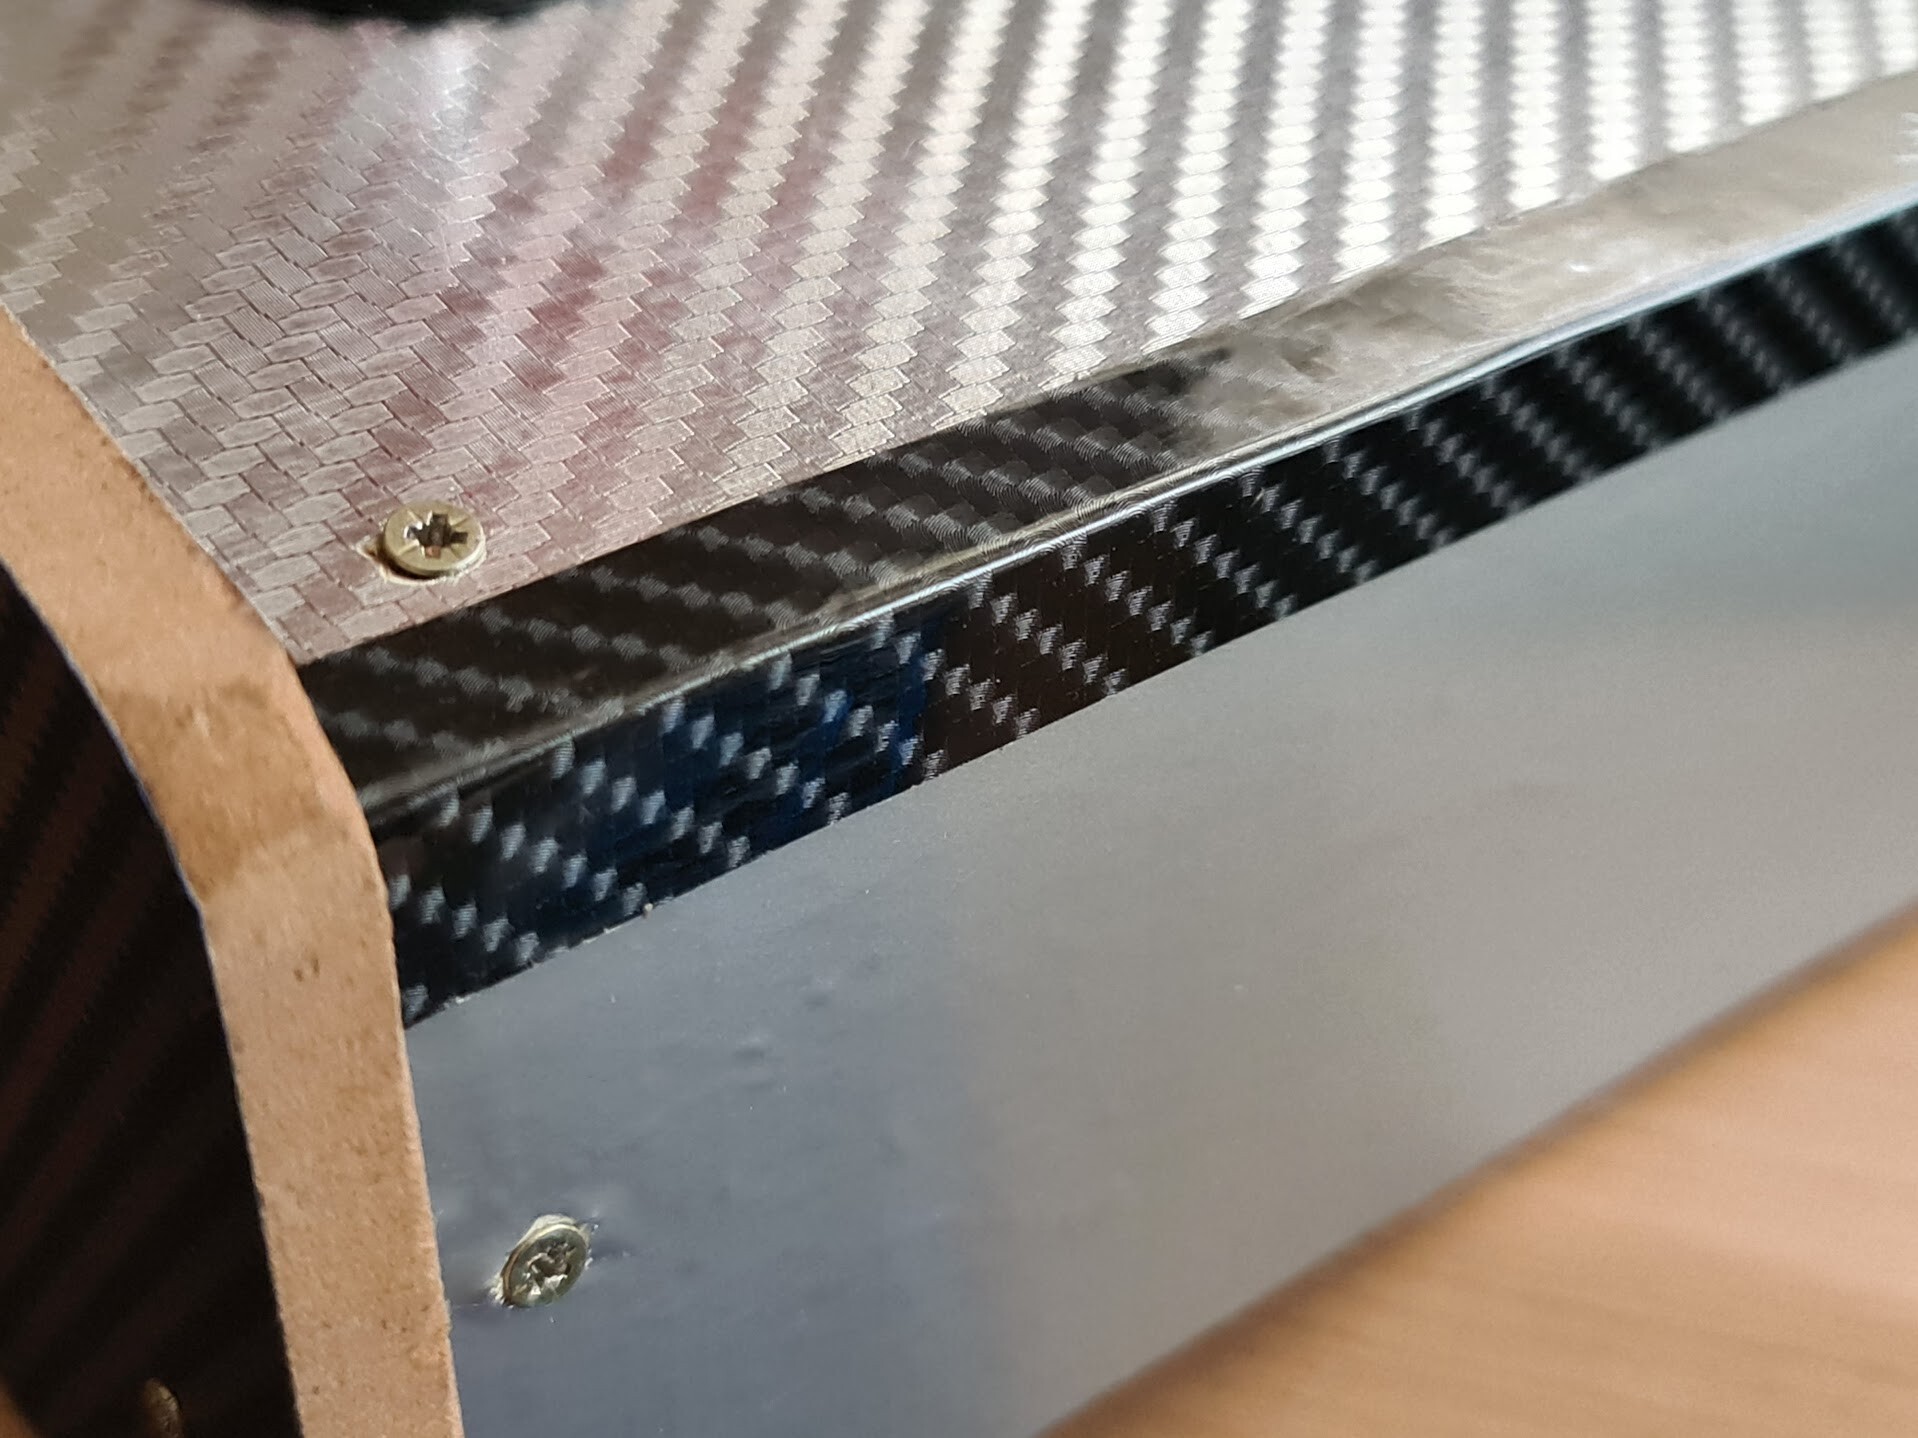
Next I covered the side edges on both inner and outer surfaces (these photos show that I only applied to the outer surfaces but later on I covered the inner surface as well). And also I used plain gray sticker for the rest of the surfaces.

For the intersection corners, I couldn't stick a simple foil over, because it wouldn't be rigid and will be peeled. So, I made up an approach with a transparent PET sheets I have. I store this kind of transparent sheets for using on many cases like repairs, or any other developments I make using 3d printing etc. I get them from the toy packages mostly.
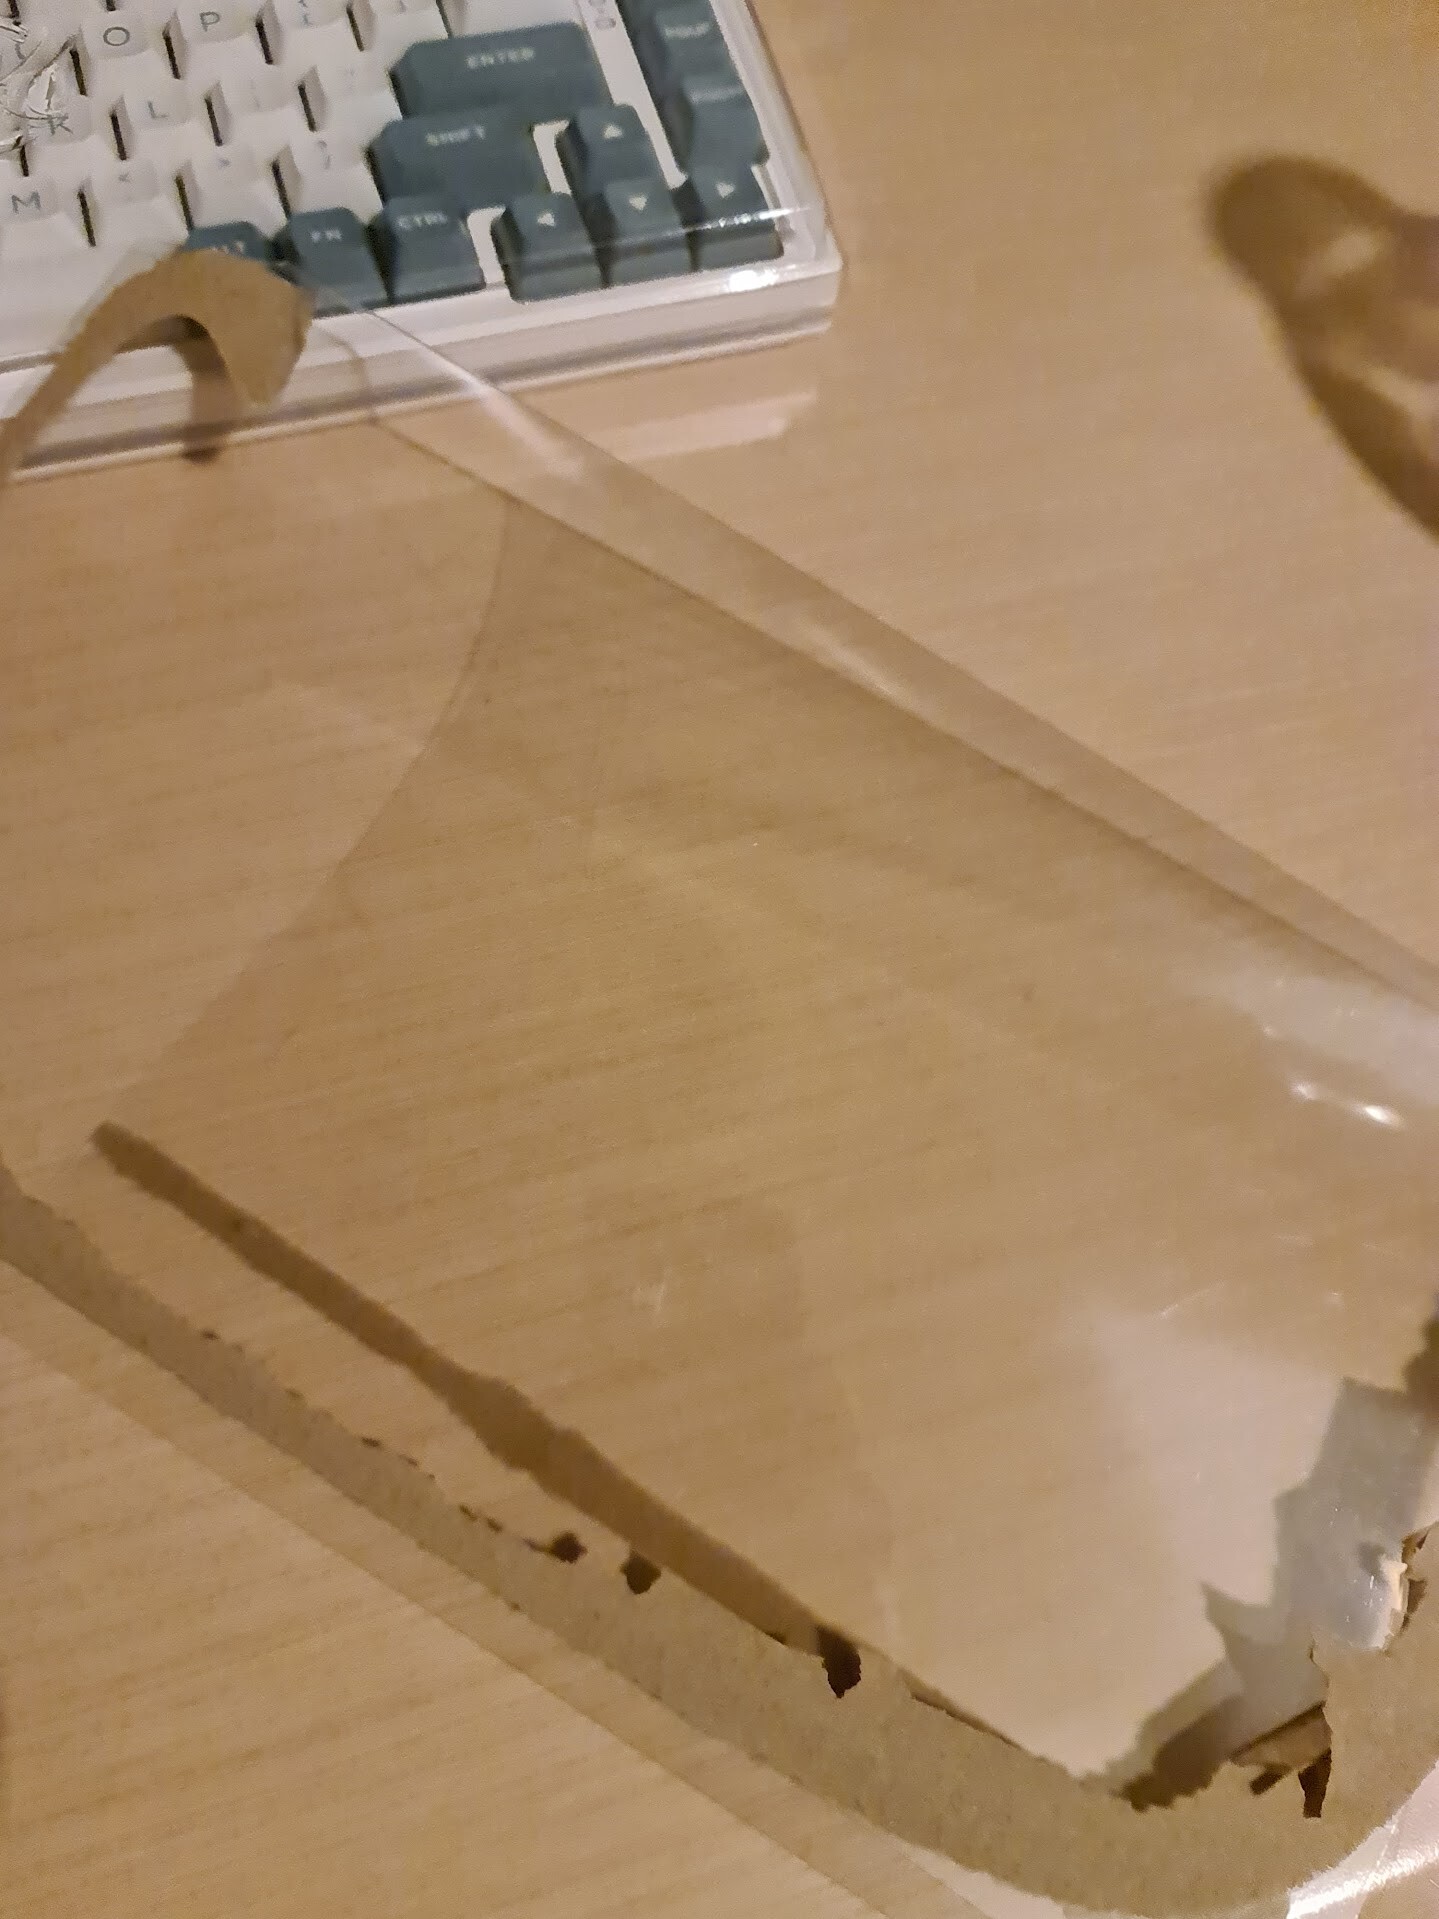
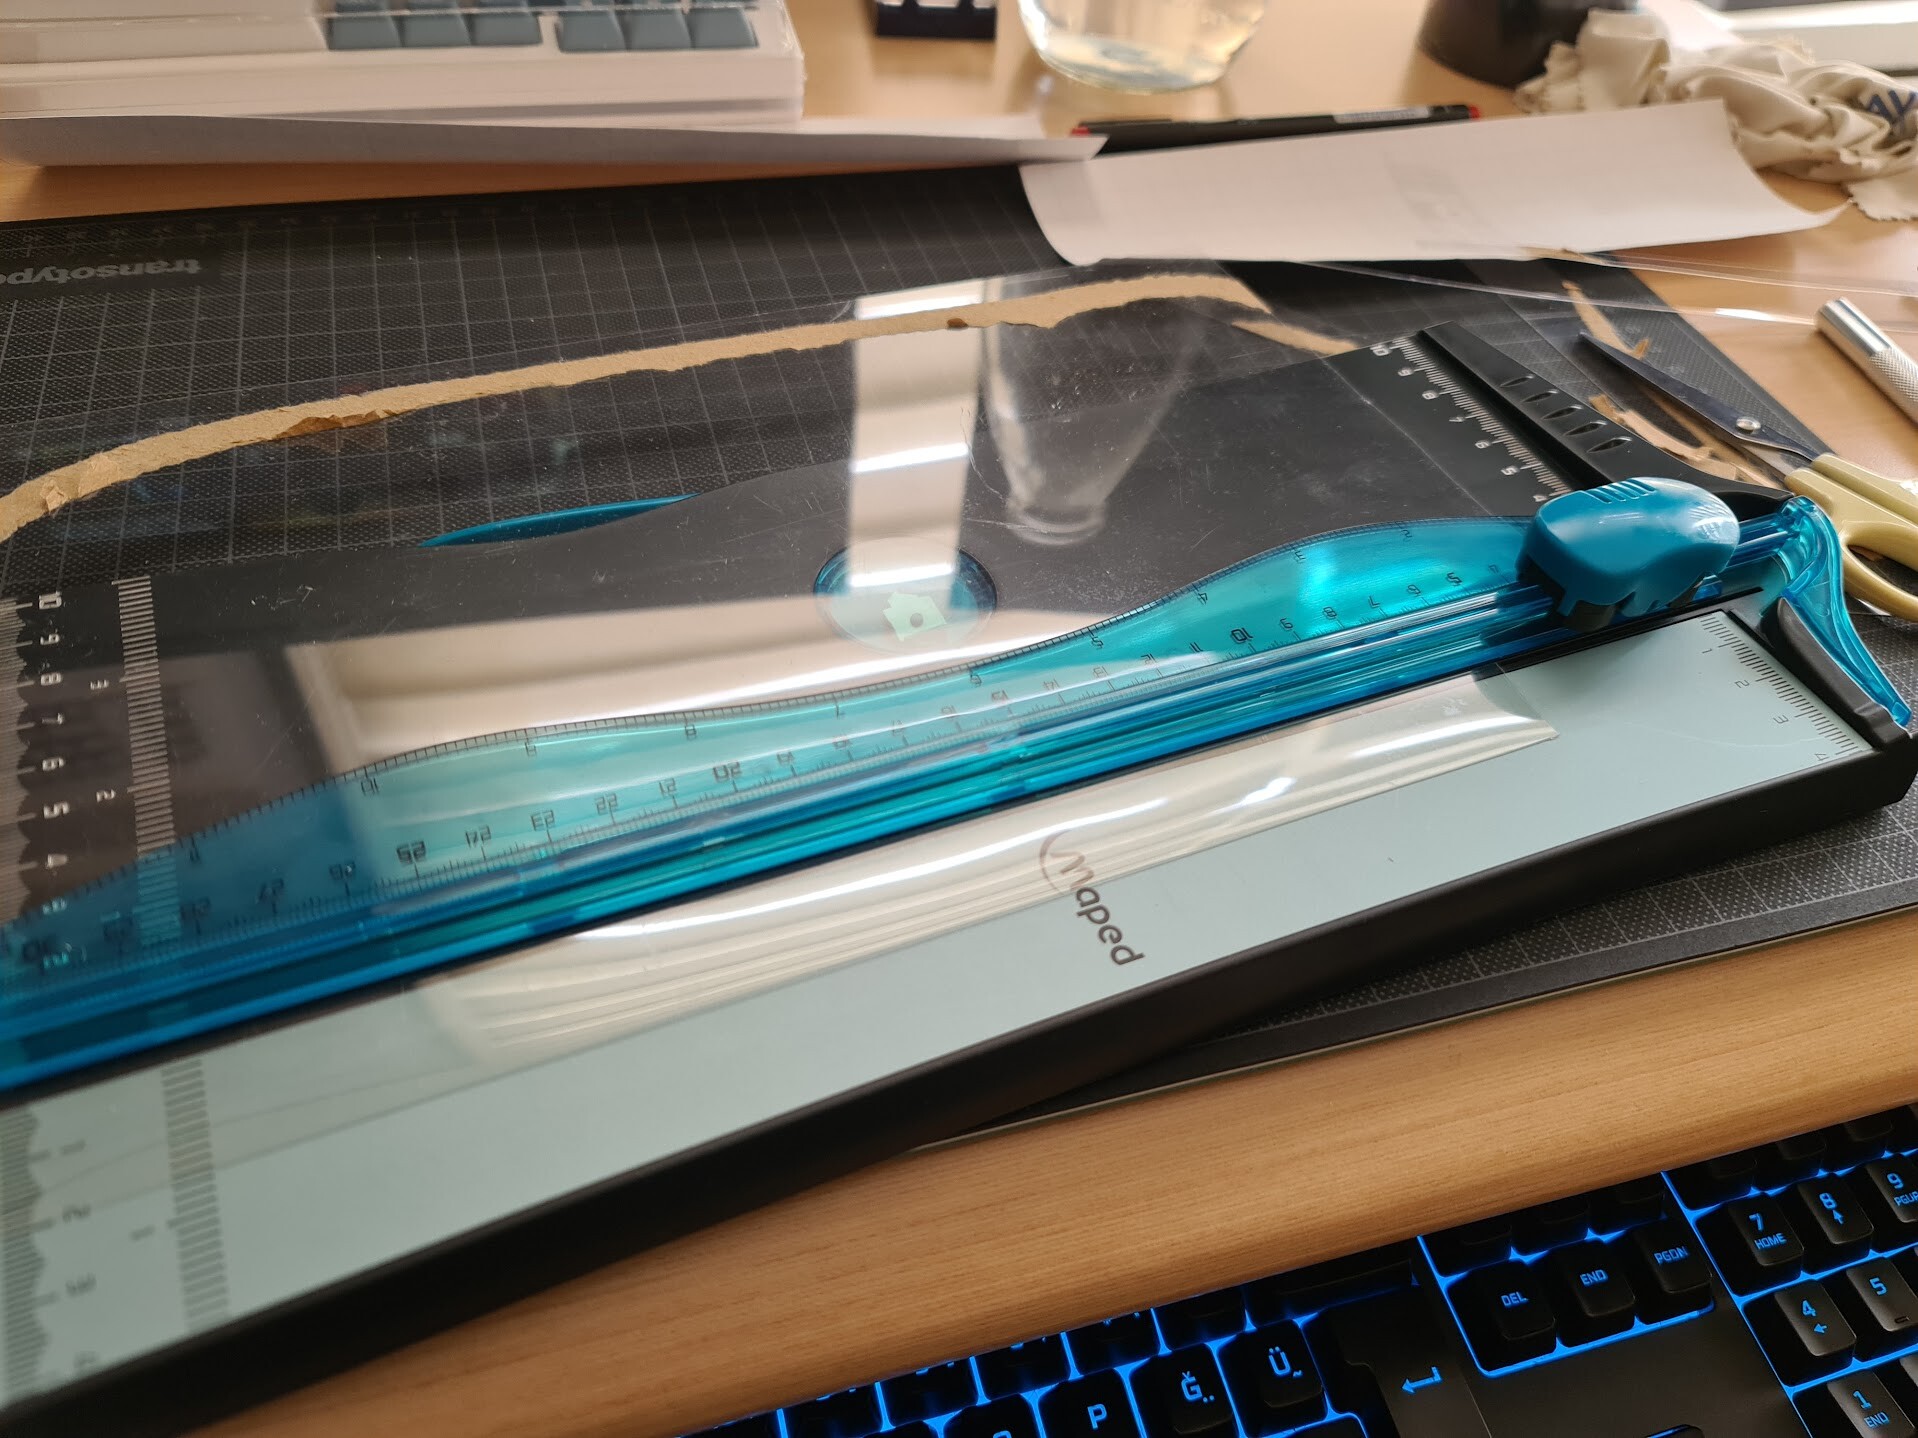
So first, I cut a stripe from the PET sheet, and I bend it. For that I had a guillotine paper cutter.

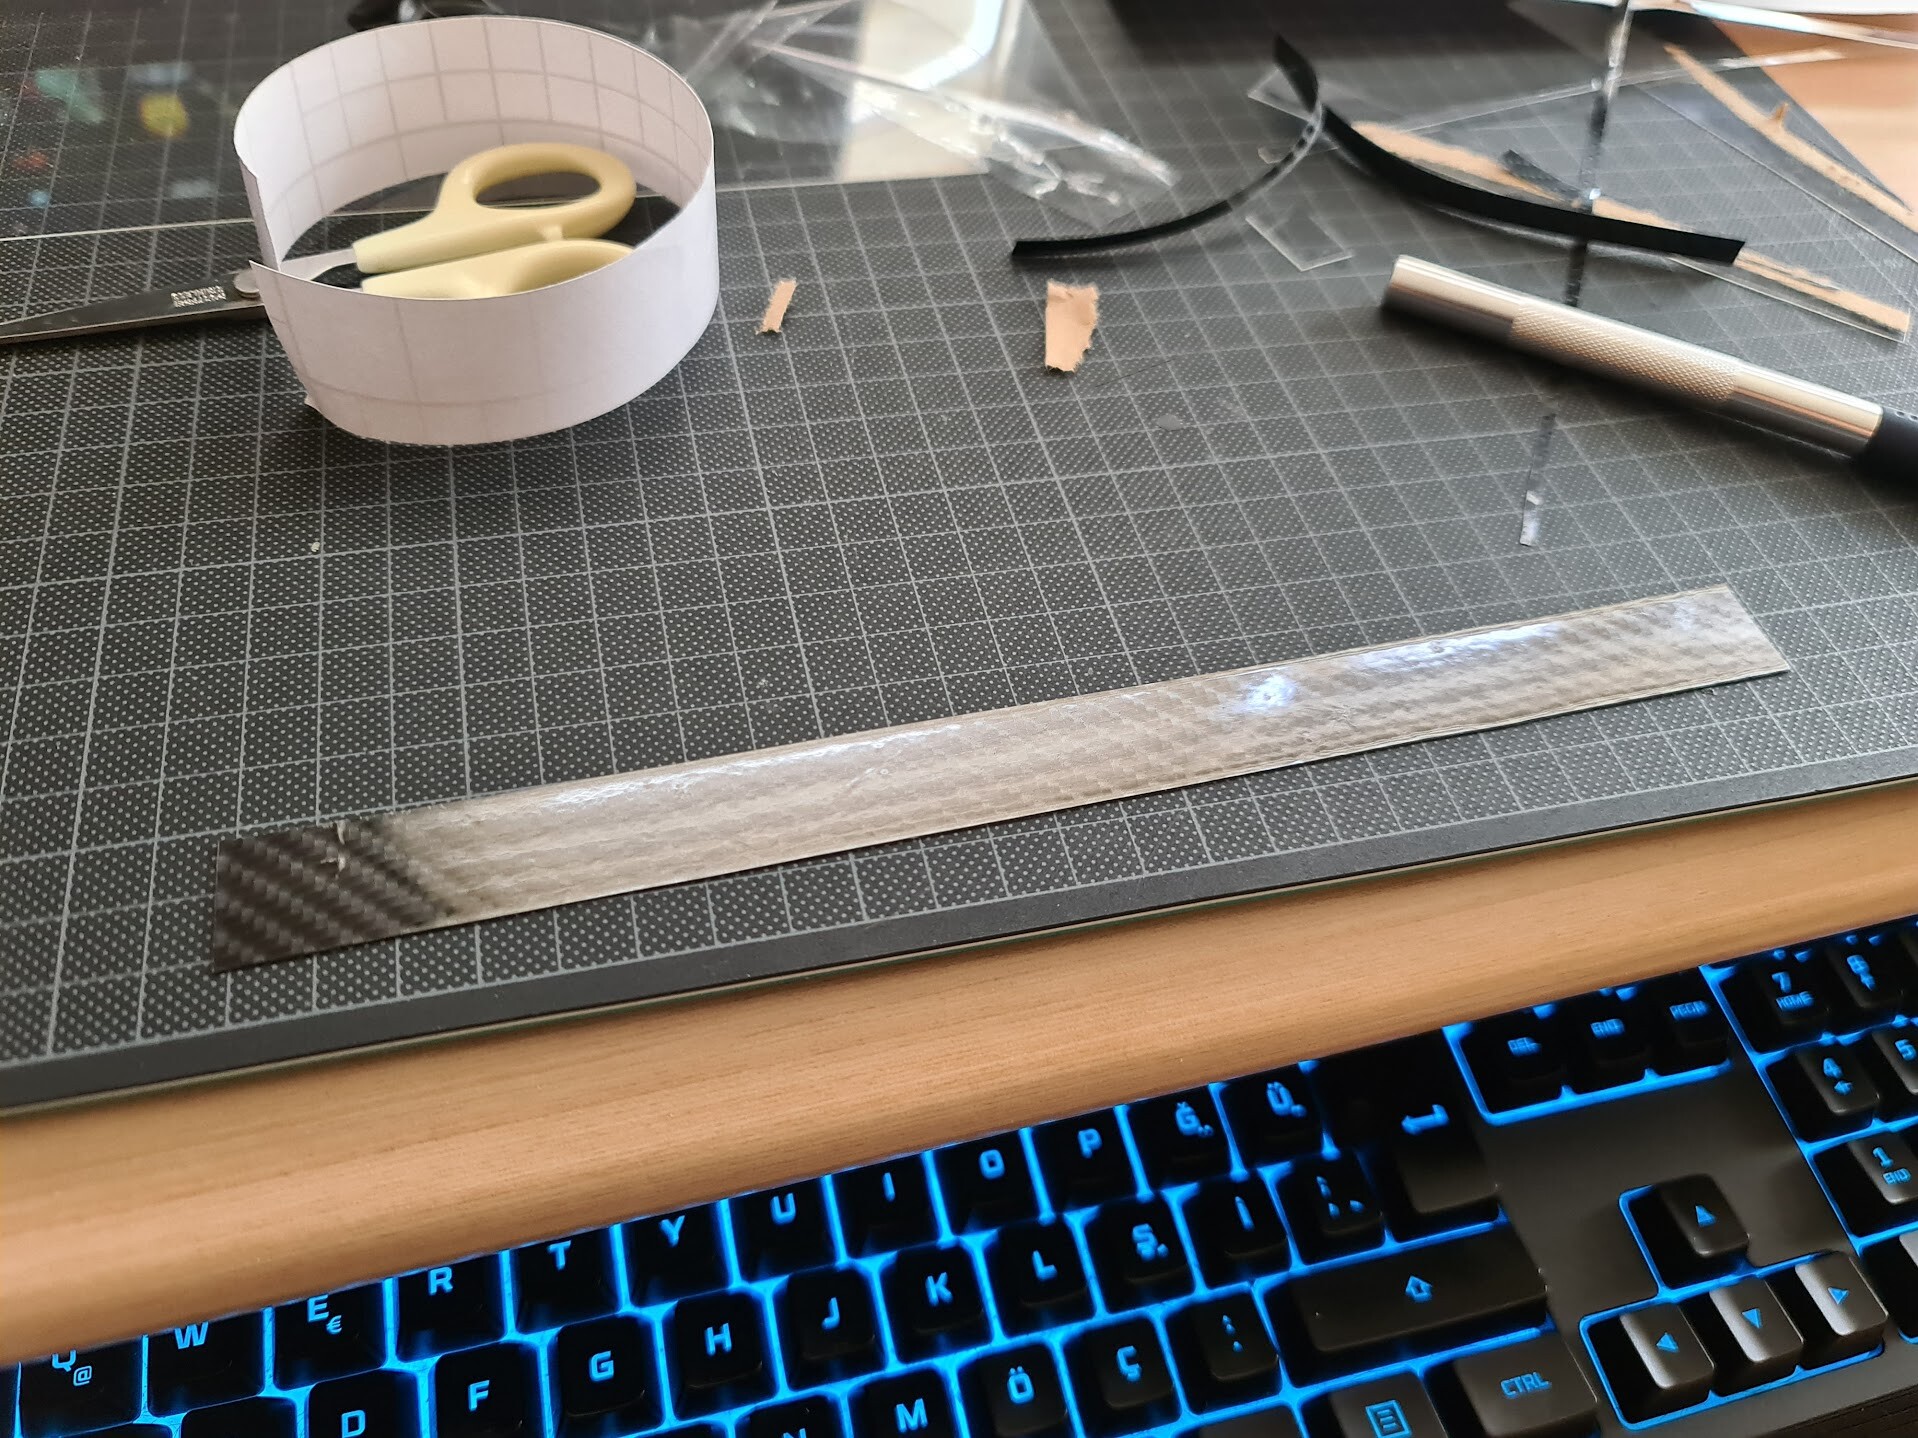
After cutting the stripe, I apply foil over it. I used black carbon foil on this one, but later on I didn't like the result and I switched to the dark blue foil instead of black. Progress is the same. Applying foil over the pet stripe makes it more durable and rigid.
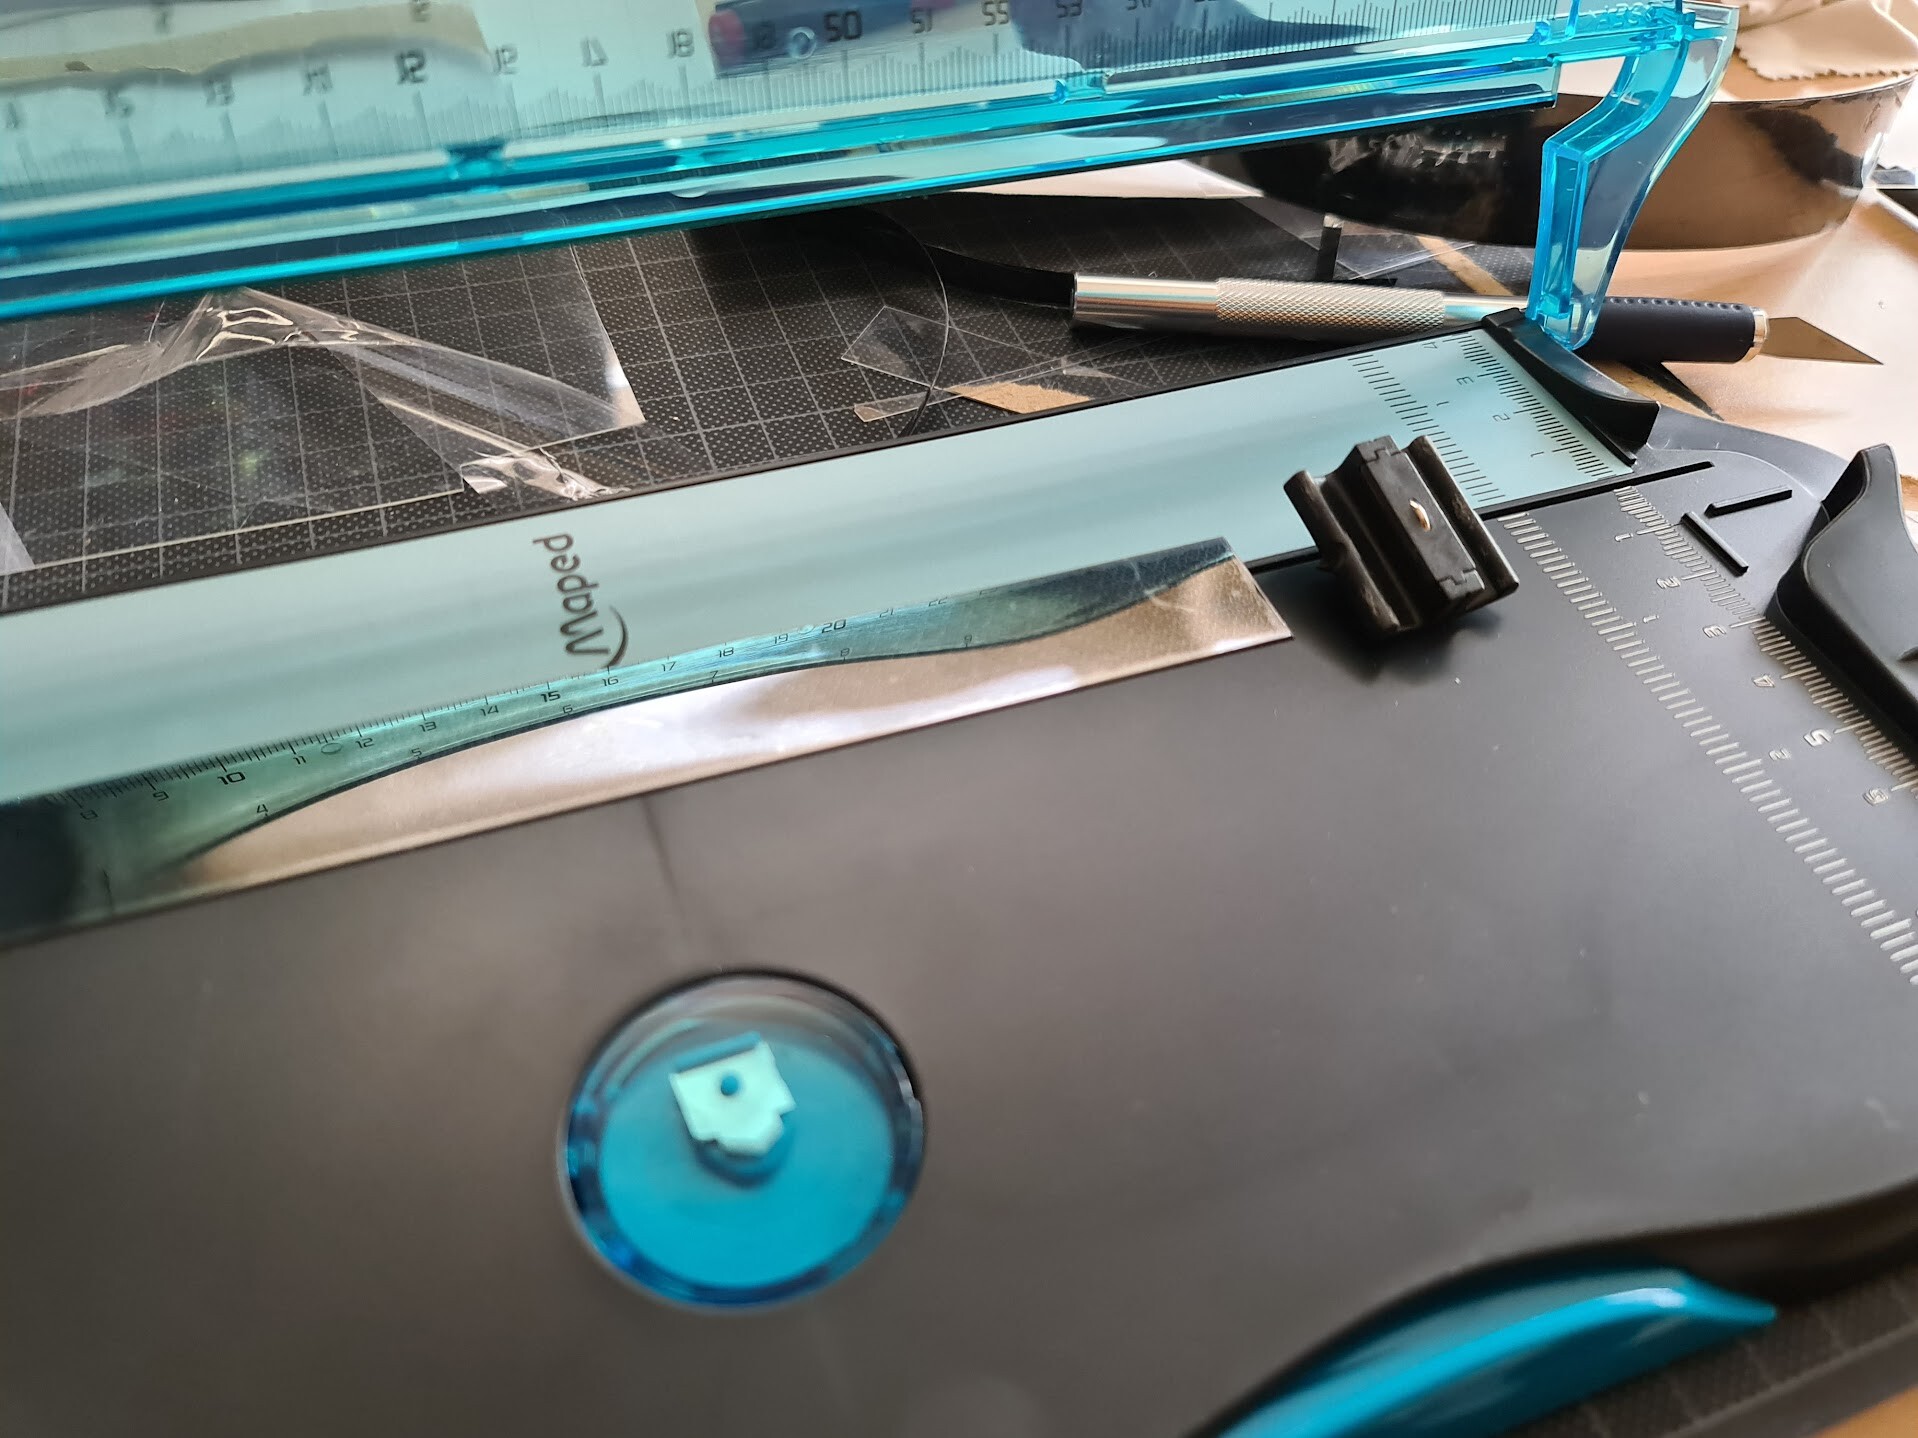
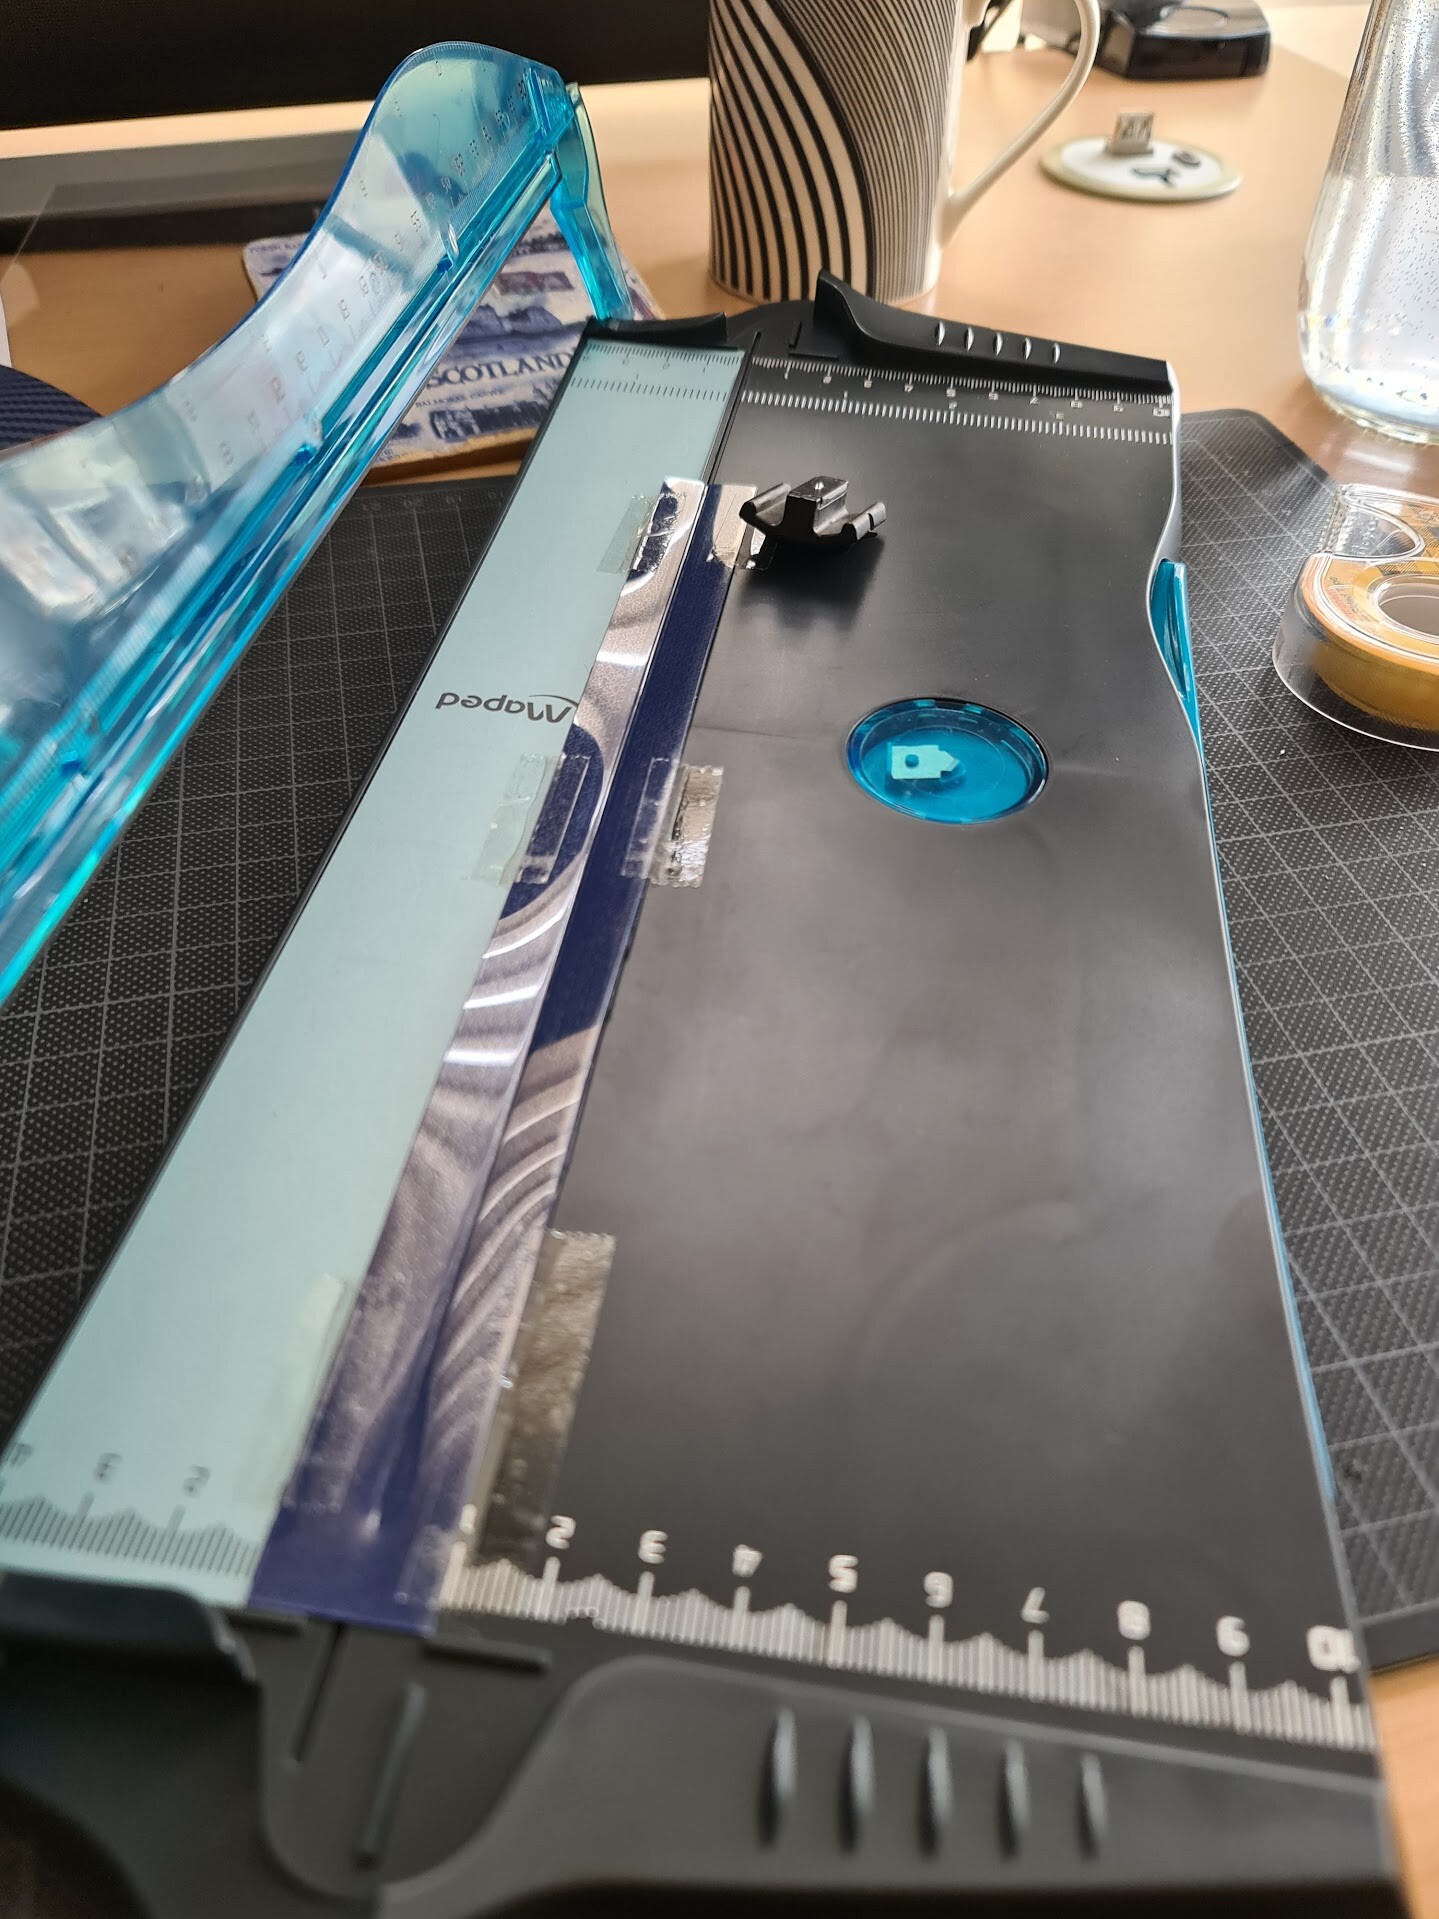
Next I placed stripe with foil to the guillotine, but this time I used the black tiny tool to squish the bending edge through the middle of the stripe. You can use any rounded and tight metal that doesn't scratch the PET but make it easy to bend through the rail of the guillotine cutter.
This is how the bended corner looks.
Next I mounted a LED stripe for the lighting the cabinet. This board is the G board on the part list I shared above. Then I covered it with plain gray foil and mounted back.

My lovely daughter is playing some Sonic racing game with her PS Vita back there.

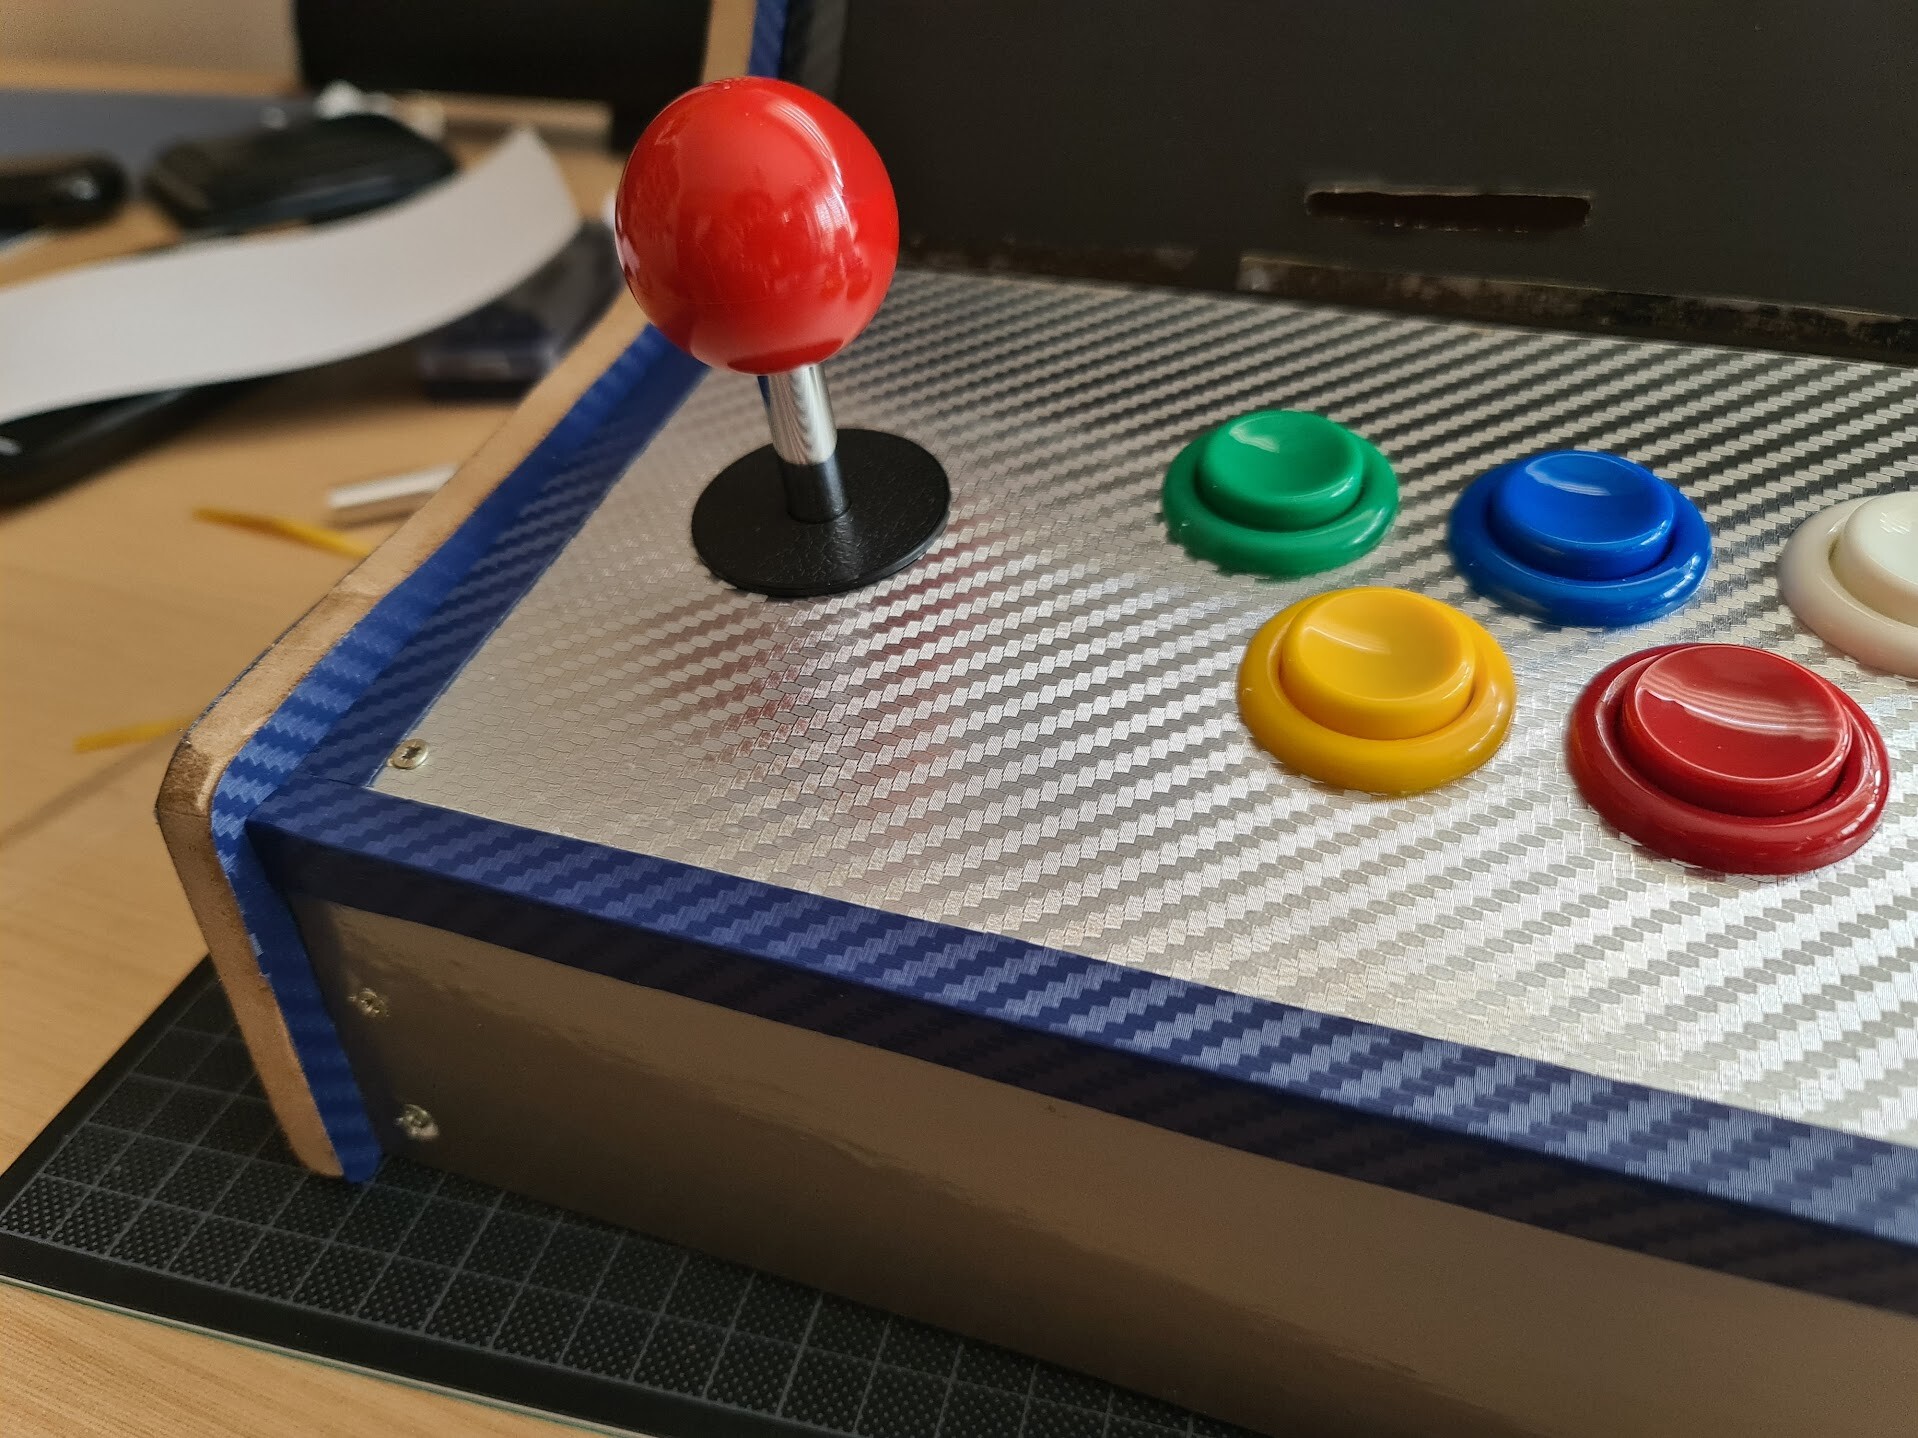
As I mentioned before, I didn't like the black corner covers, so I changed them with dark blue.

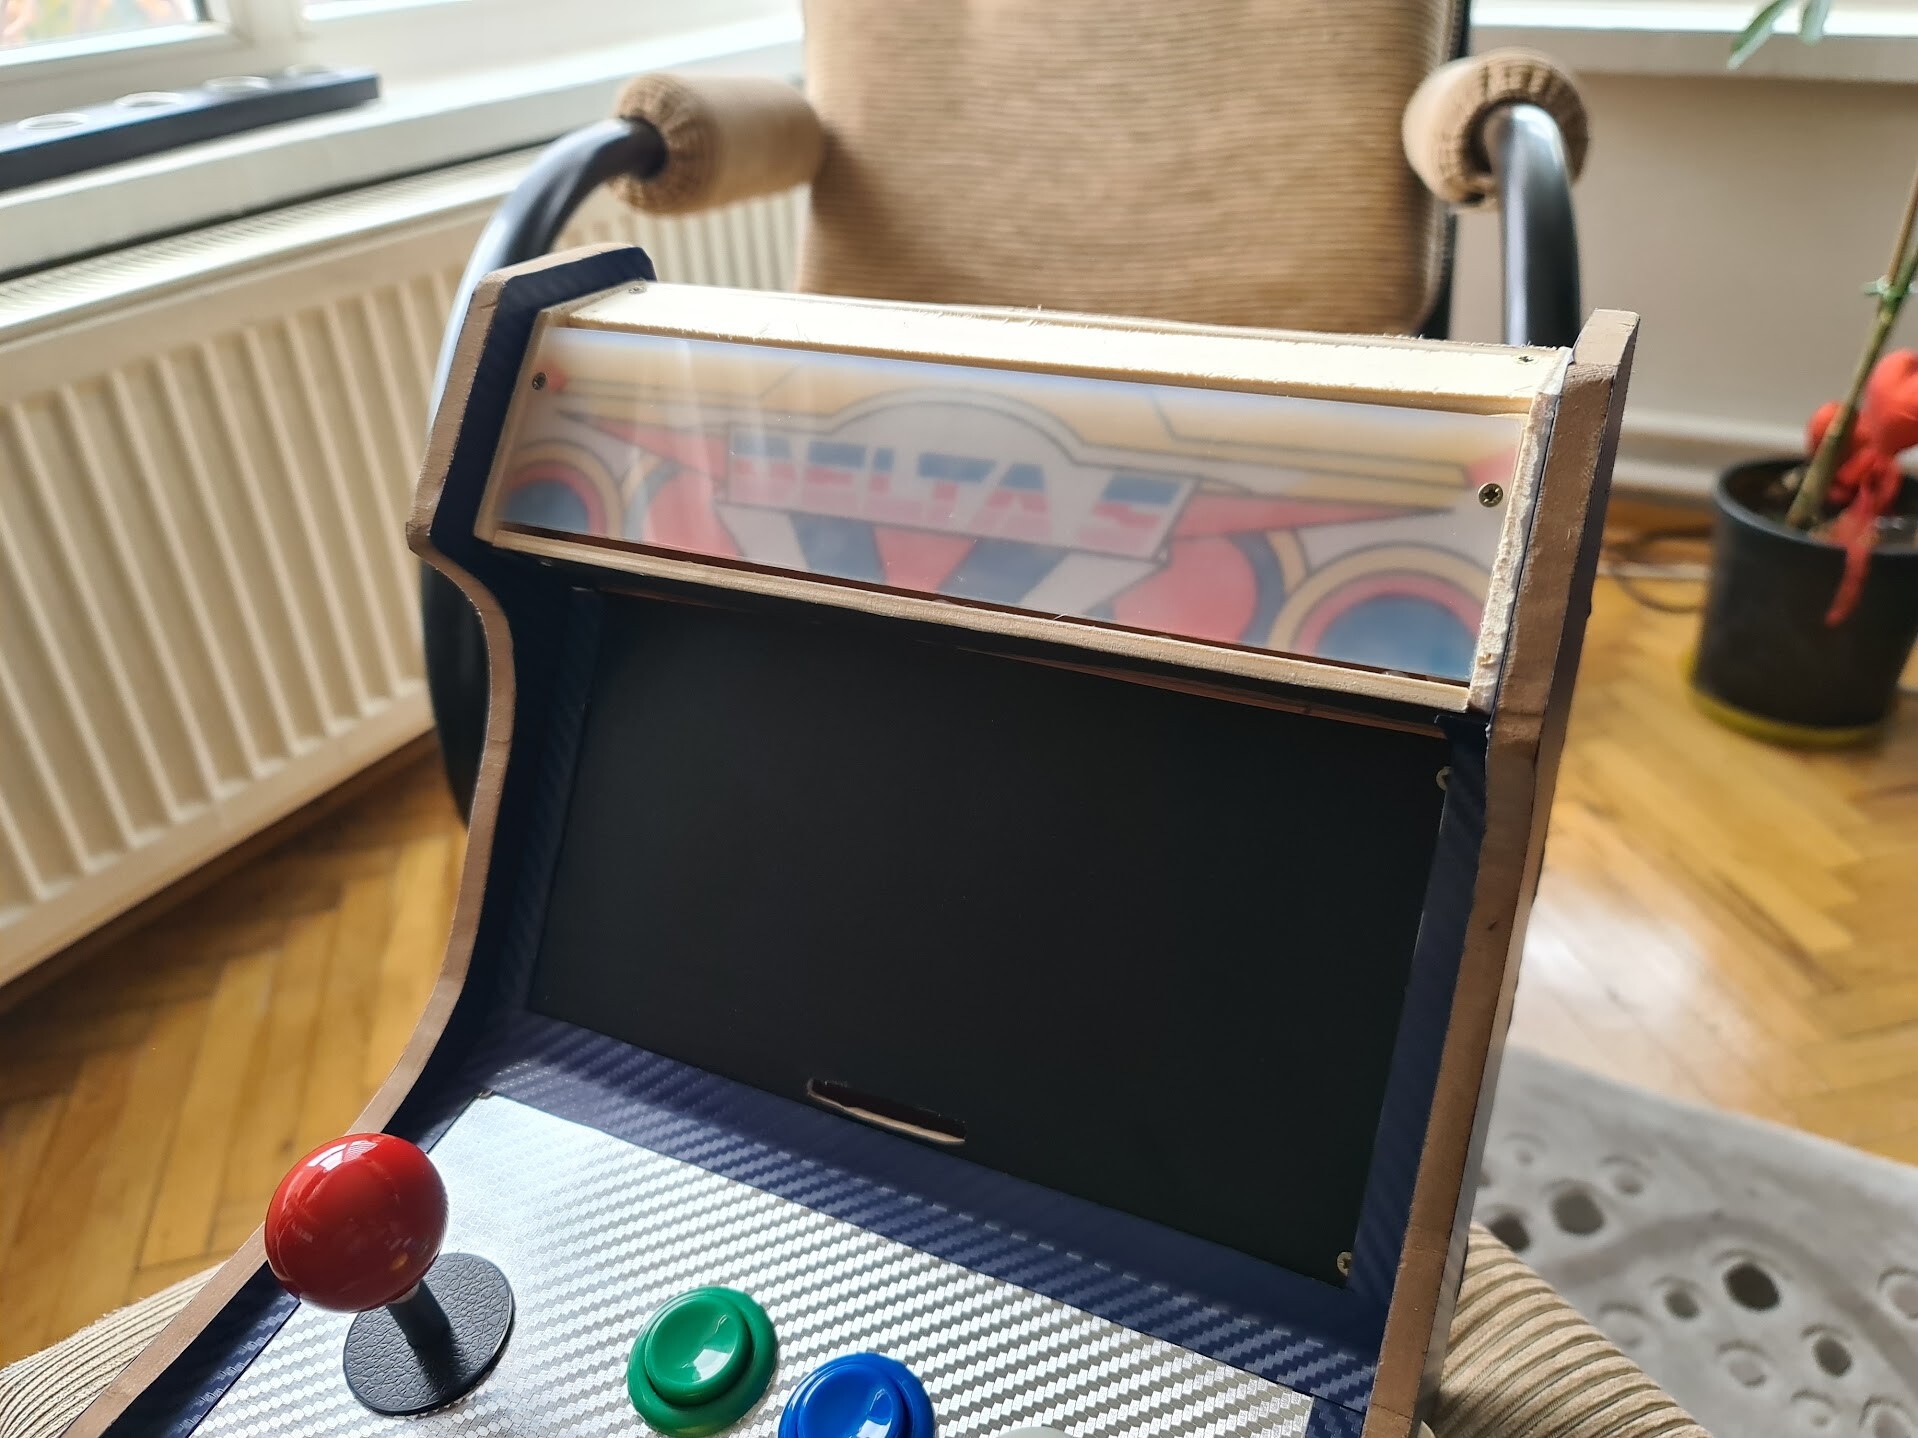
For the top lit panel, I had only frosted plexiglass at the hand. So I moved on with the frosted PG and ordered a translucent one to switch later on.
There materials are very fragile on bending without heating. But you can cut them with the back of the box cutter. You use the back of the knife 4-5 times, and bend it. So it breaks through the scratched line.

I drilled the holes and mounted it first. I will use corner covers, so it's not important that there is a clearence at the edges.

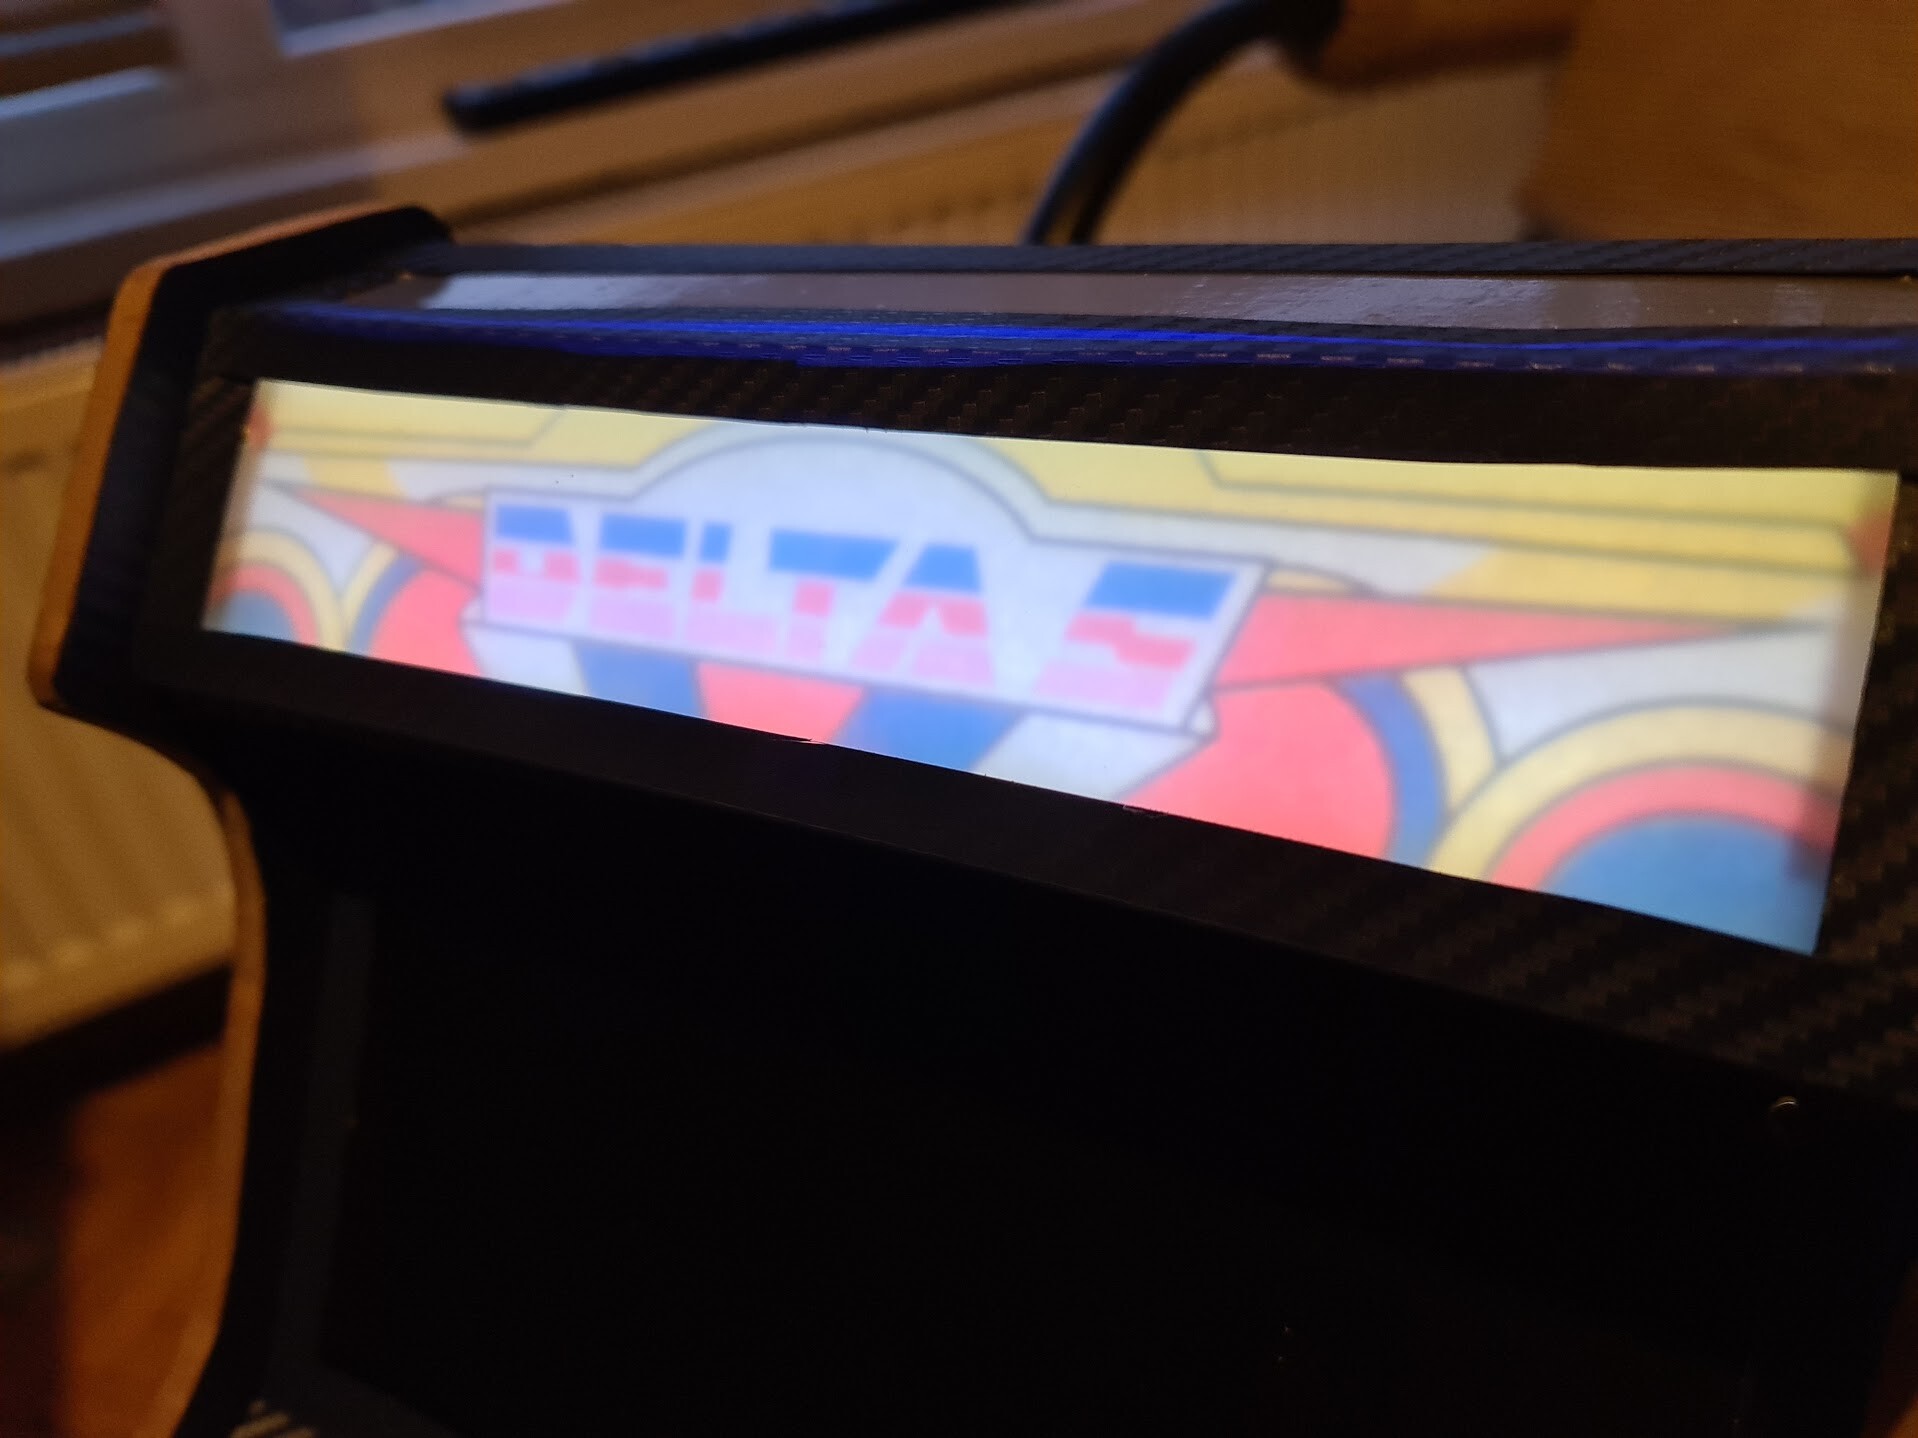
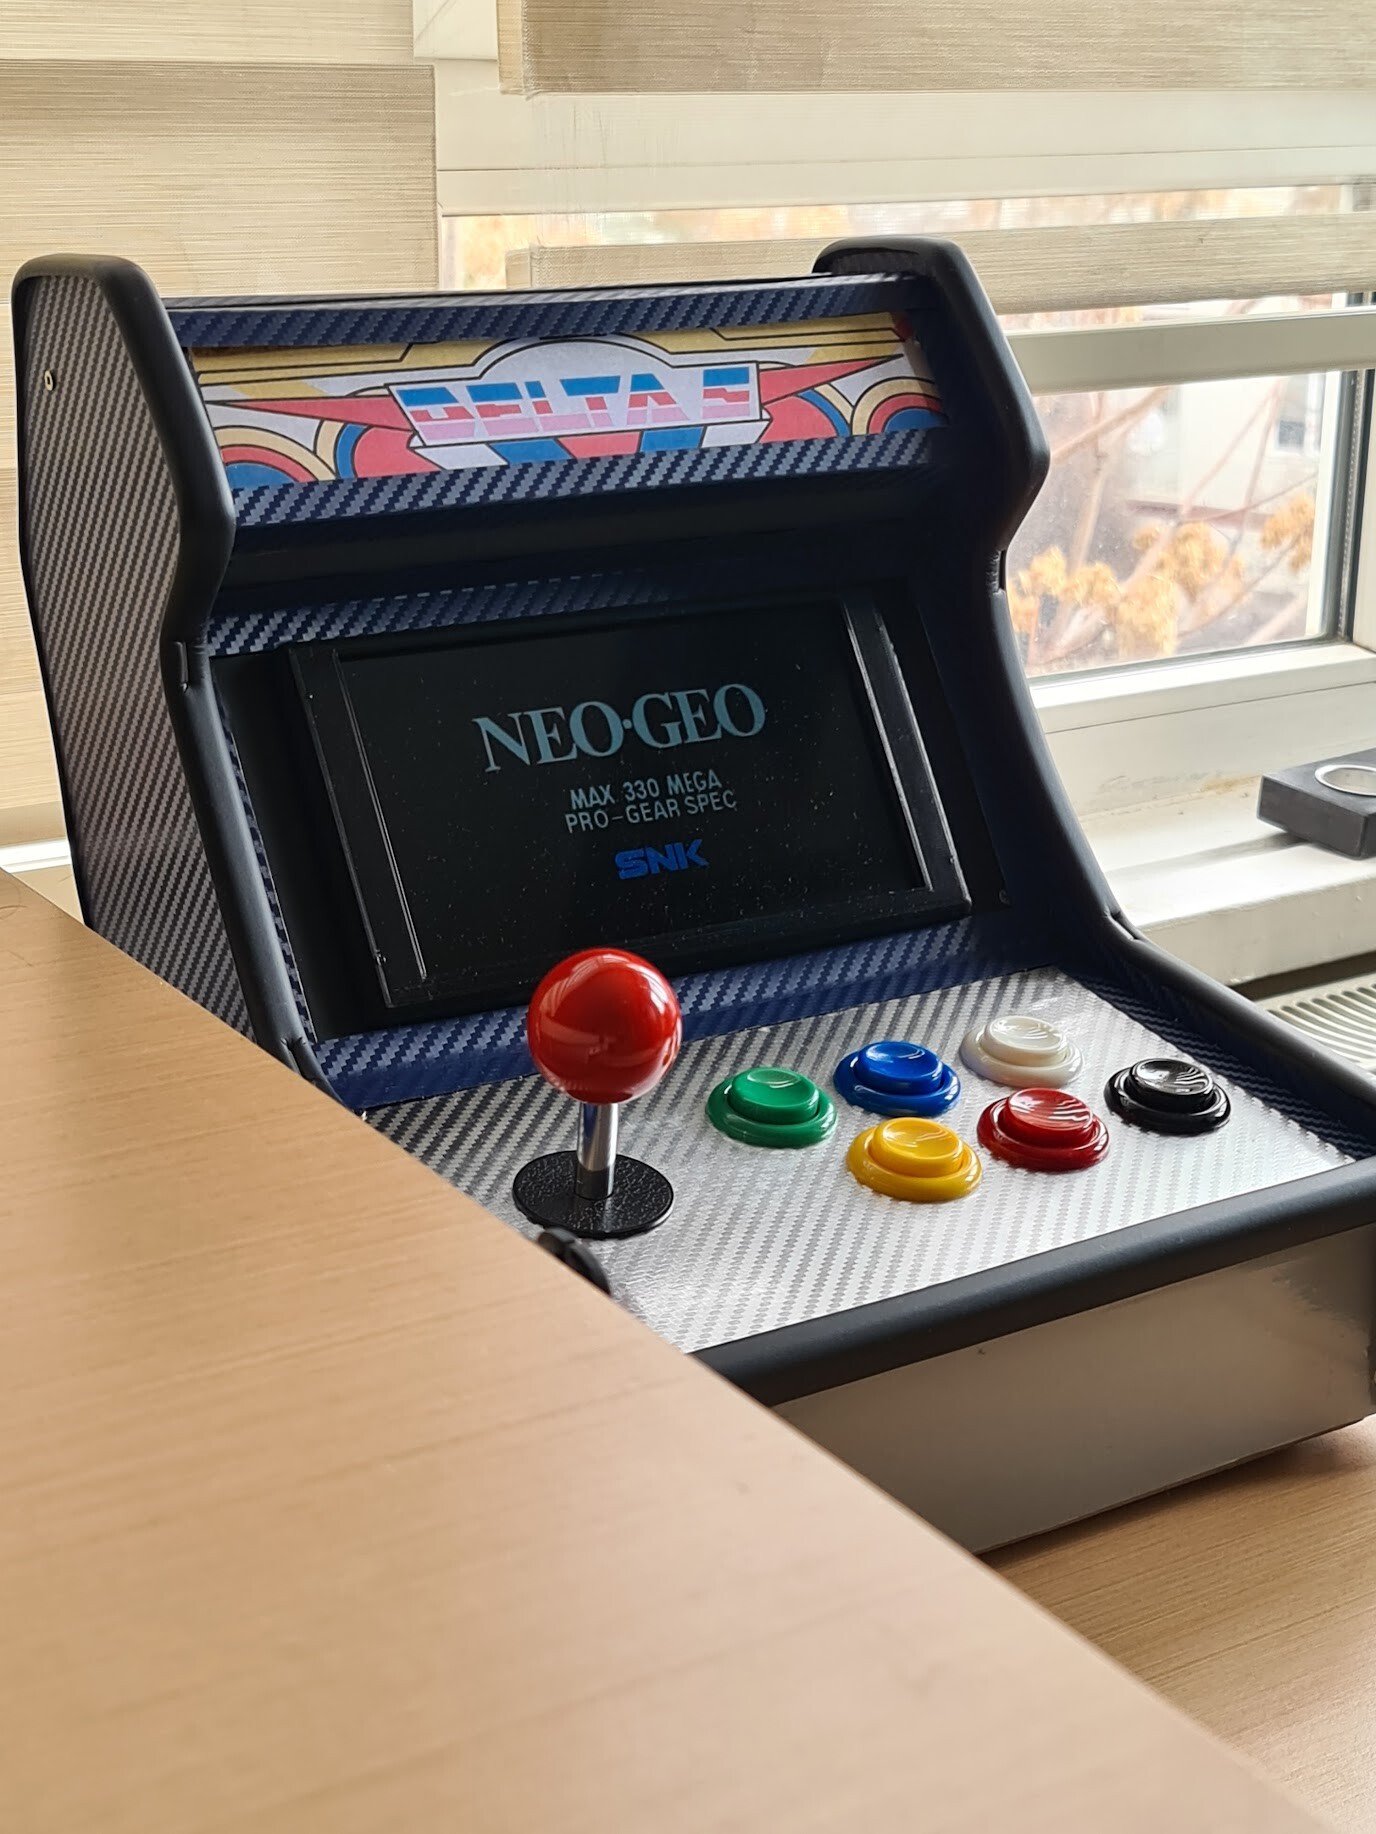
So the following part is the graphic design for the lit panel. As you know from the previous blog post, I bought an old school cabinet, which is named as "Delta II". I decided to move on with the same name with this one by naming it as Delta S. S is for "small".
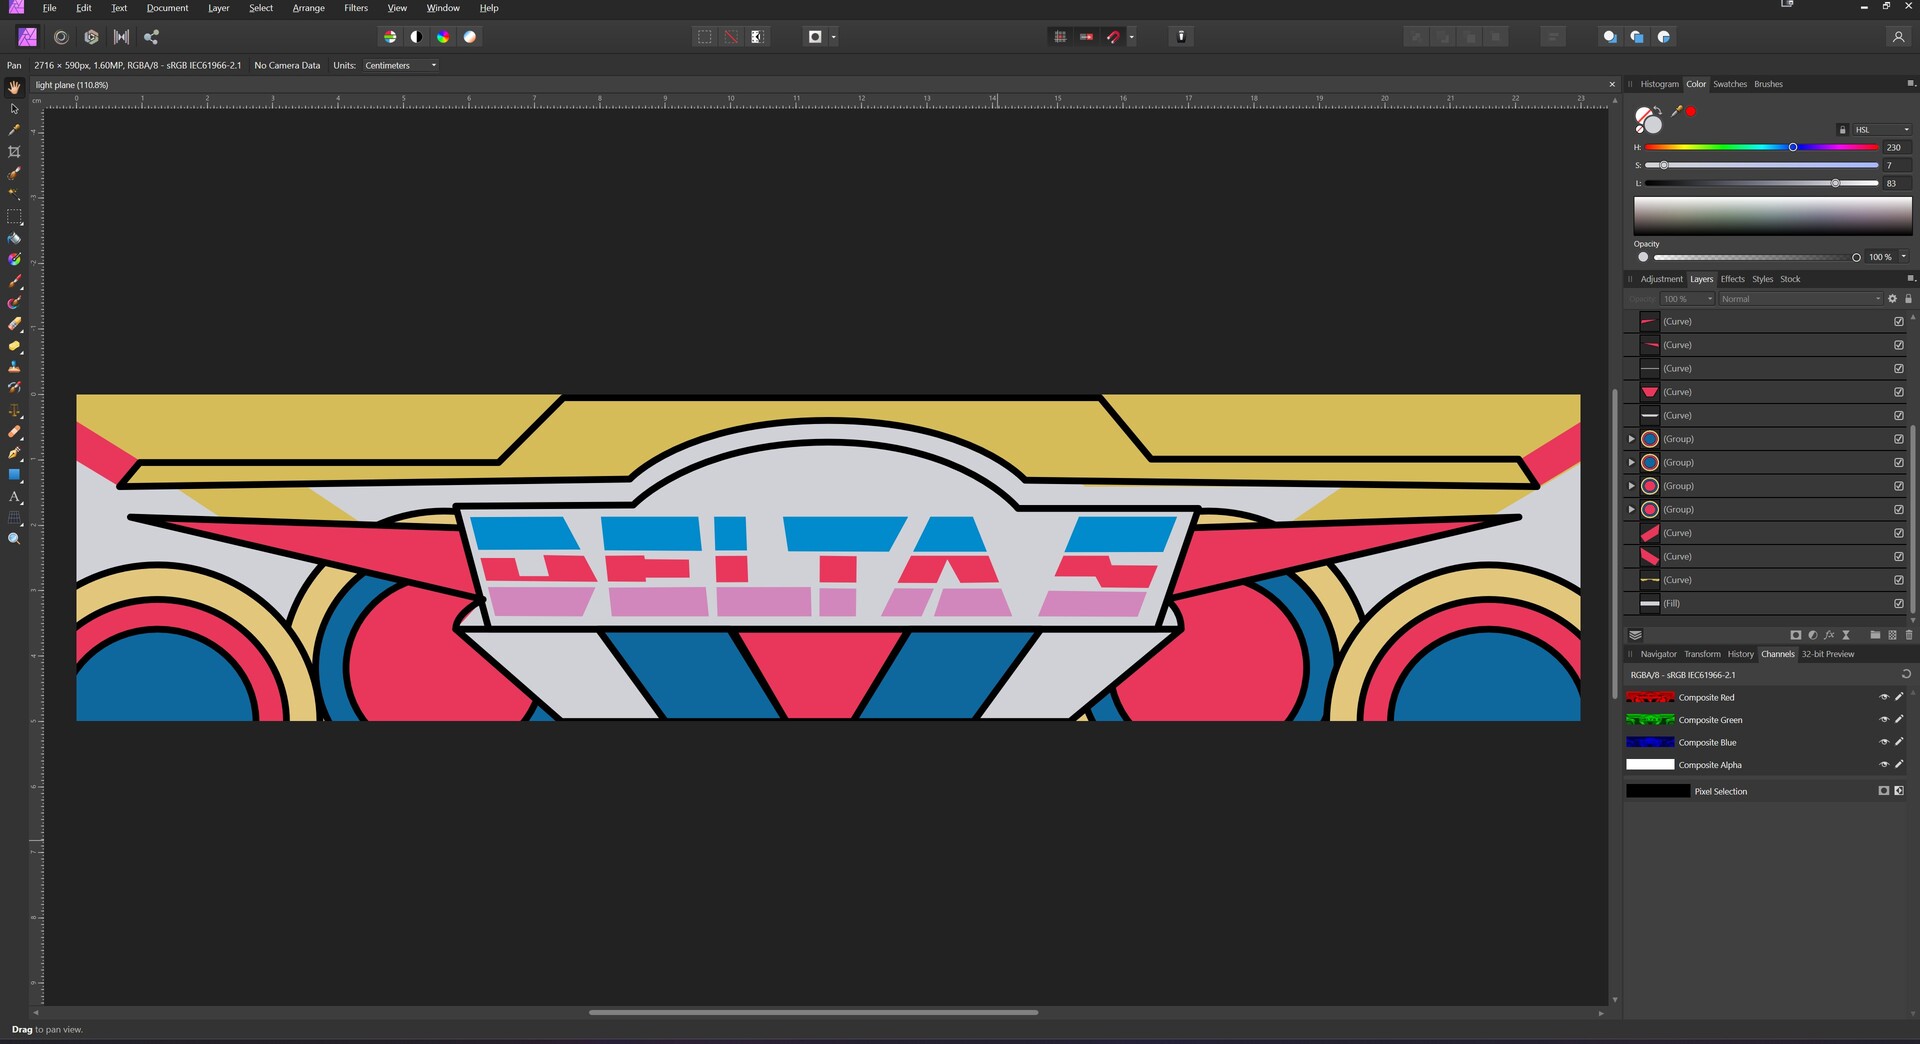
I took the photo of the existing cabinet and recreated the same design in Affinity Photo.
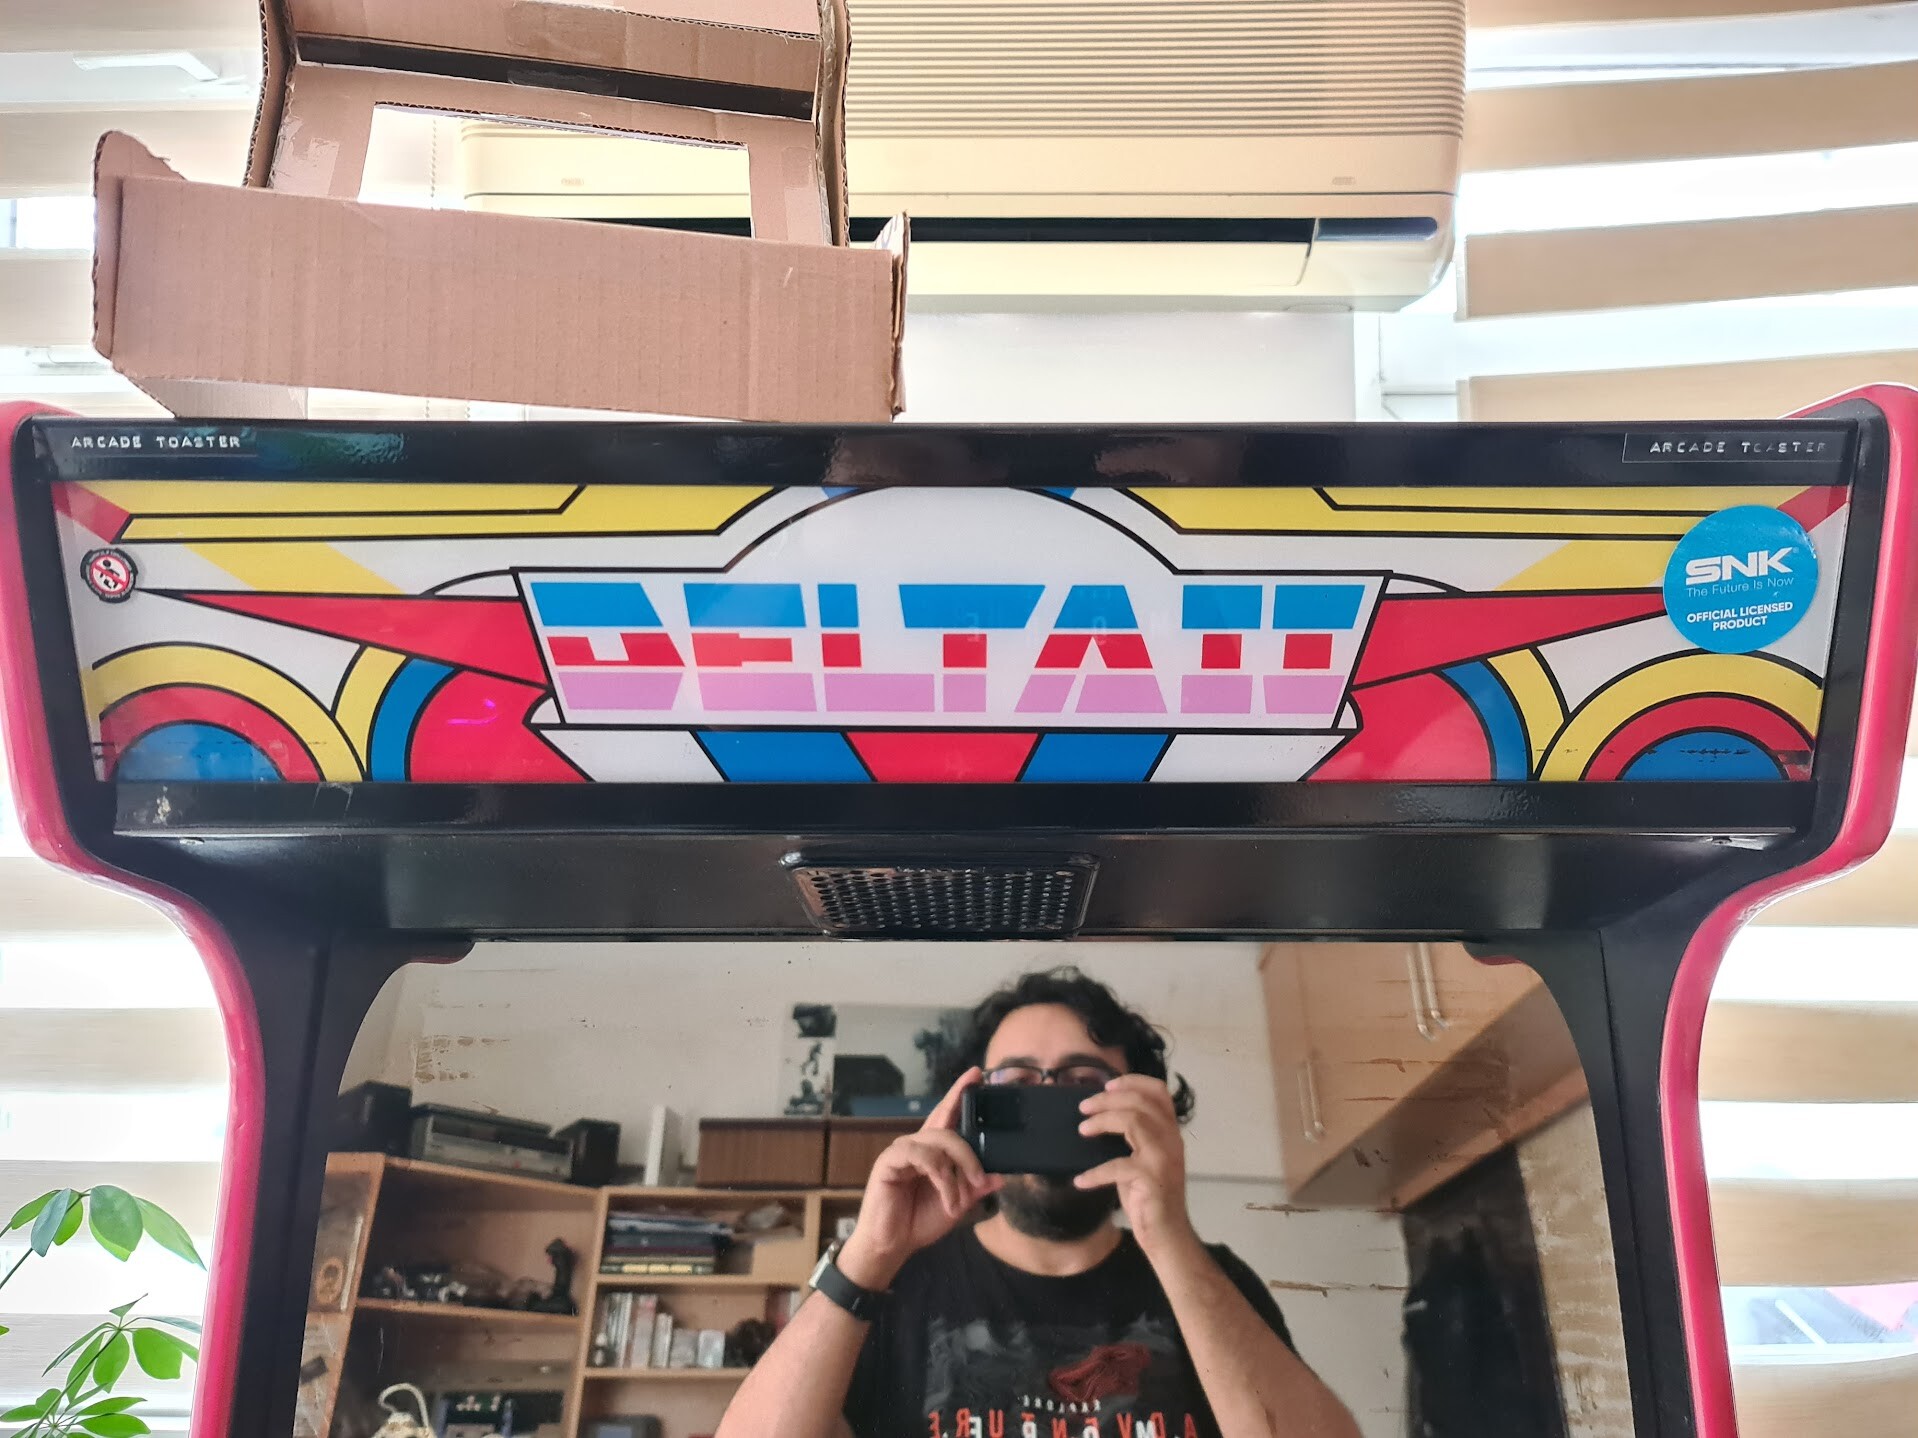
"Delta S" looks more like "Delta 5" but I can live with that :)
I used 2 sided tape to stick the printing to the plexiglass. These photos shows the application on the translucent PG not the frosted one, but process is the same.
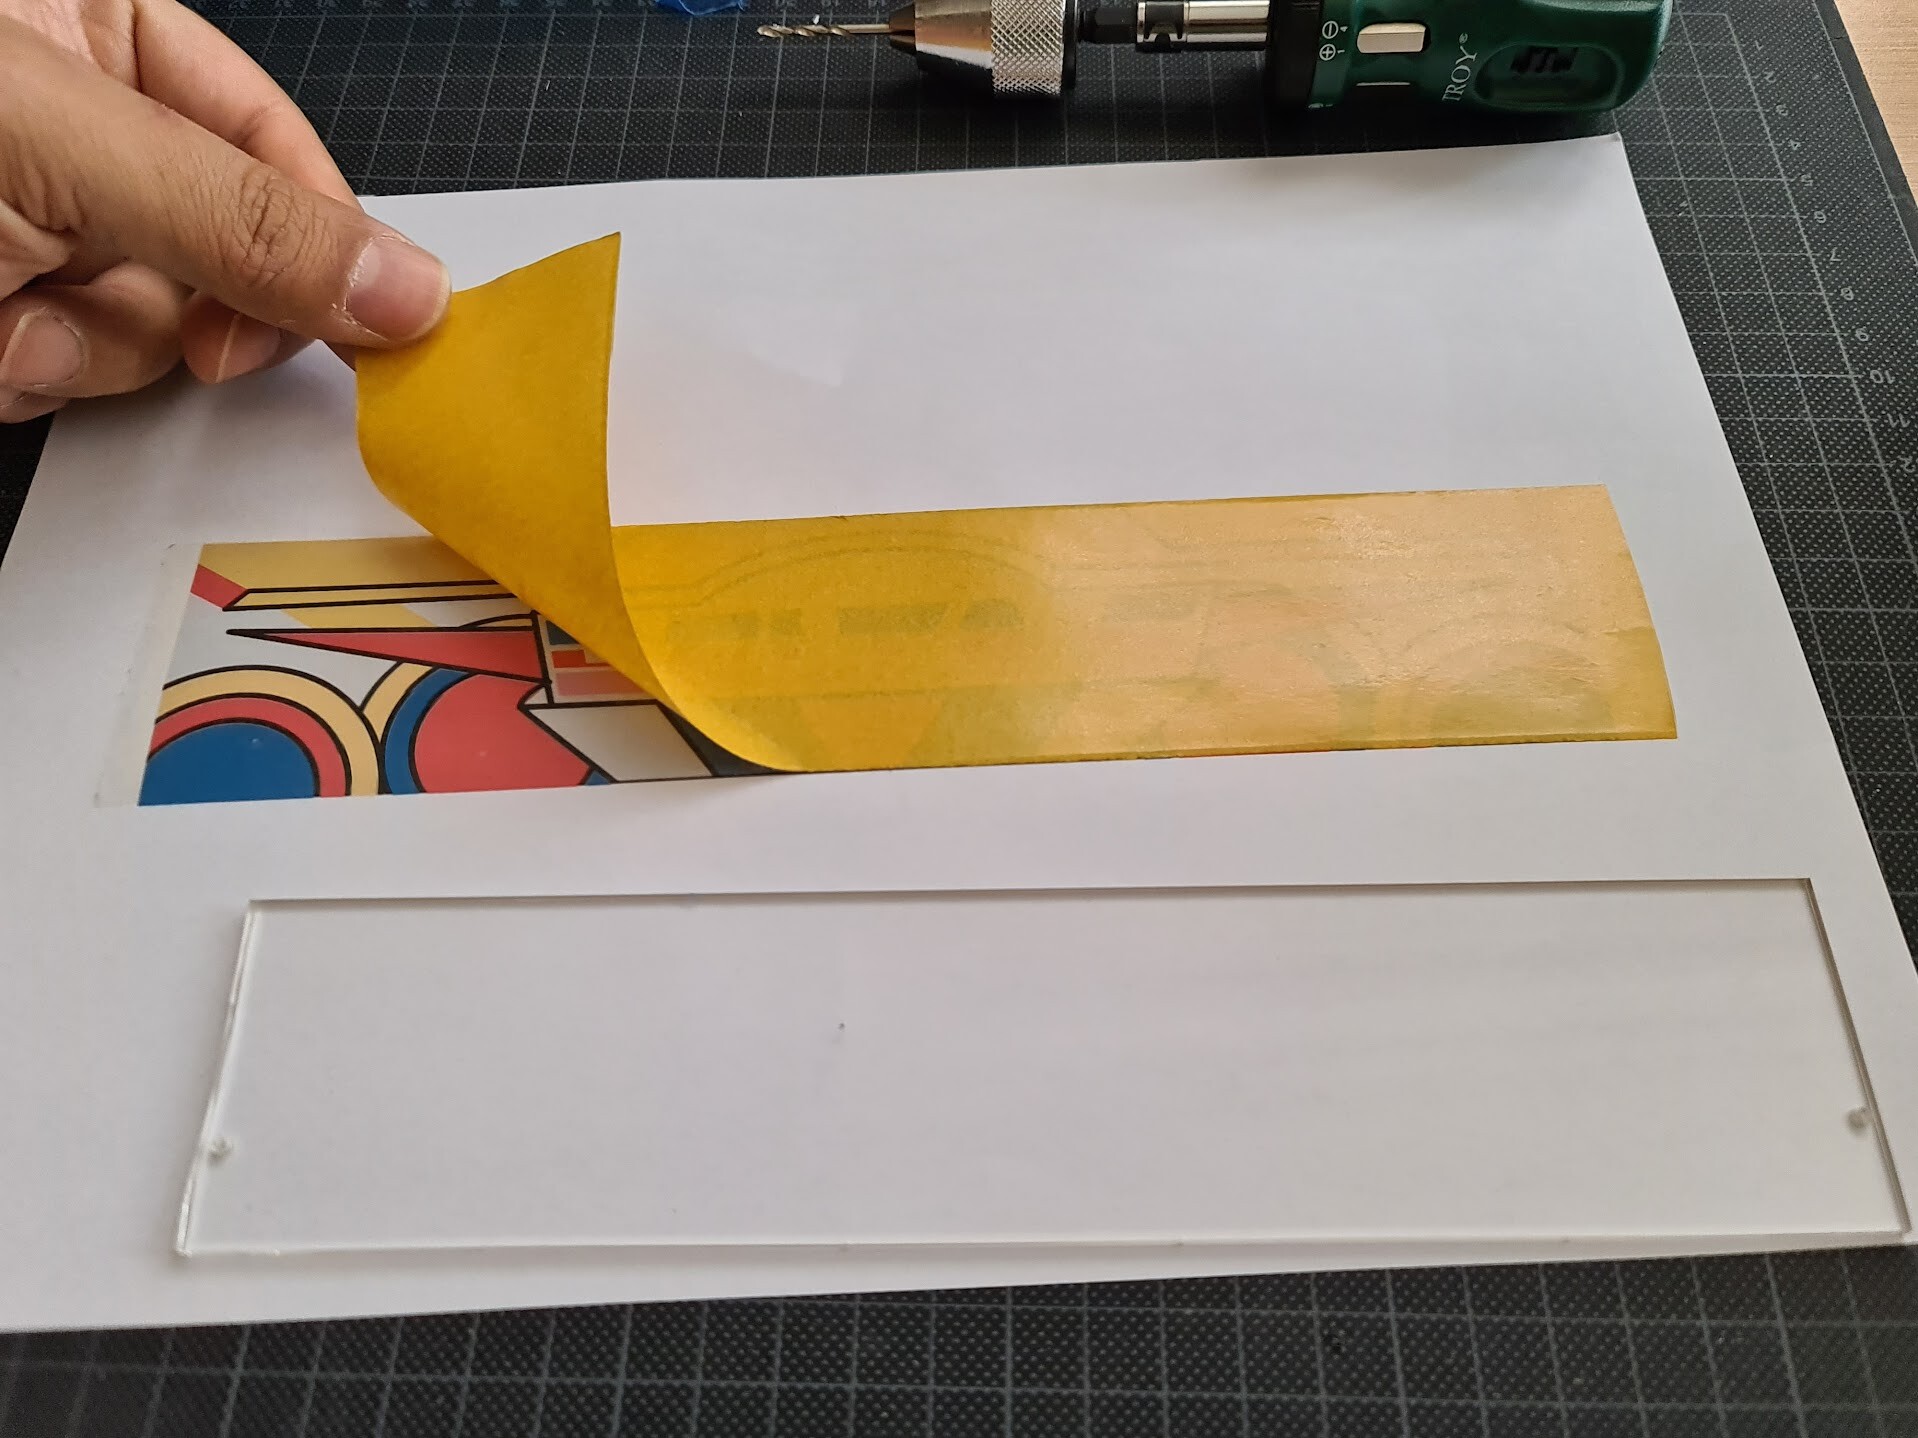

So I applied the one with the frosted PG and looks nice but blurry which I will solve on later stages when my clear glass PG is arrived.
One big problem was I had no T-molds for the edges of the cabinet. You can see the MDF section on the both sides that you can see the wood/MDF texture through it. I solved that problem by discovering a nice material with a pure luck. We got a 1.5 year old baby and I ordered some rubber corner protection attachments for the furnitures in 1-2 areas in the house.
The corner rubber parts are arrived, we used on some furniture corners but they put some strip rubber as well. Which was useless for our baby's safety with the furniture, but that stripes were great and useful for the cabinet I'm making.
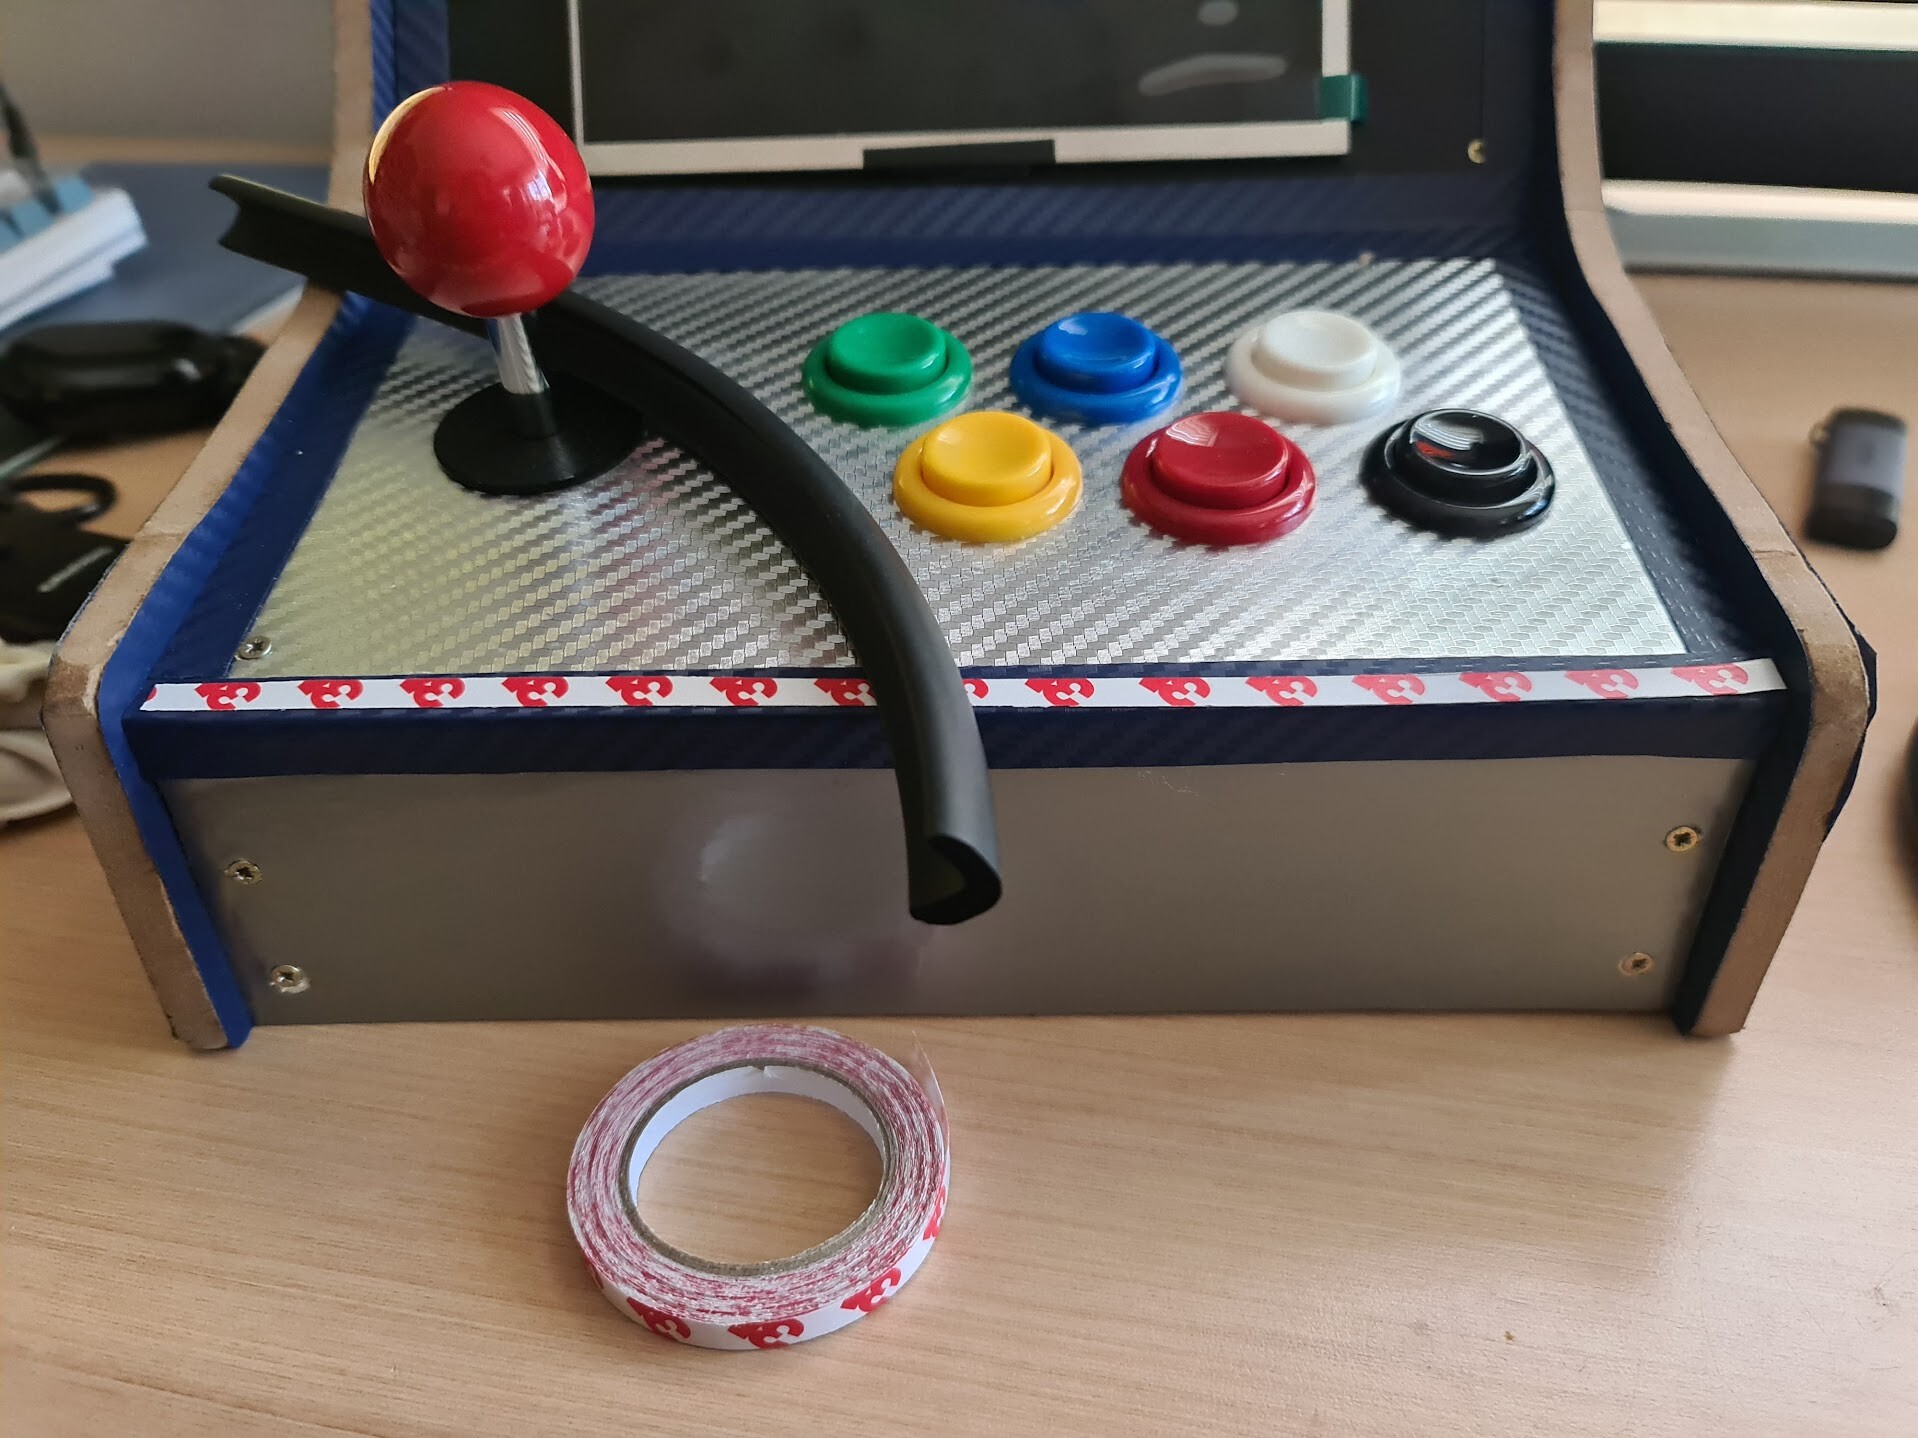
It looks flexible and durable. So I used it on all the edges through the side parts as well.

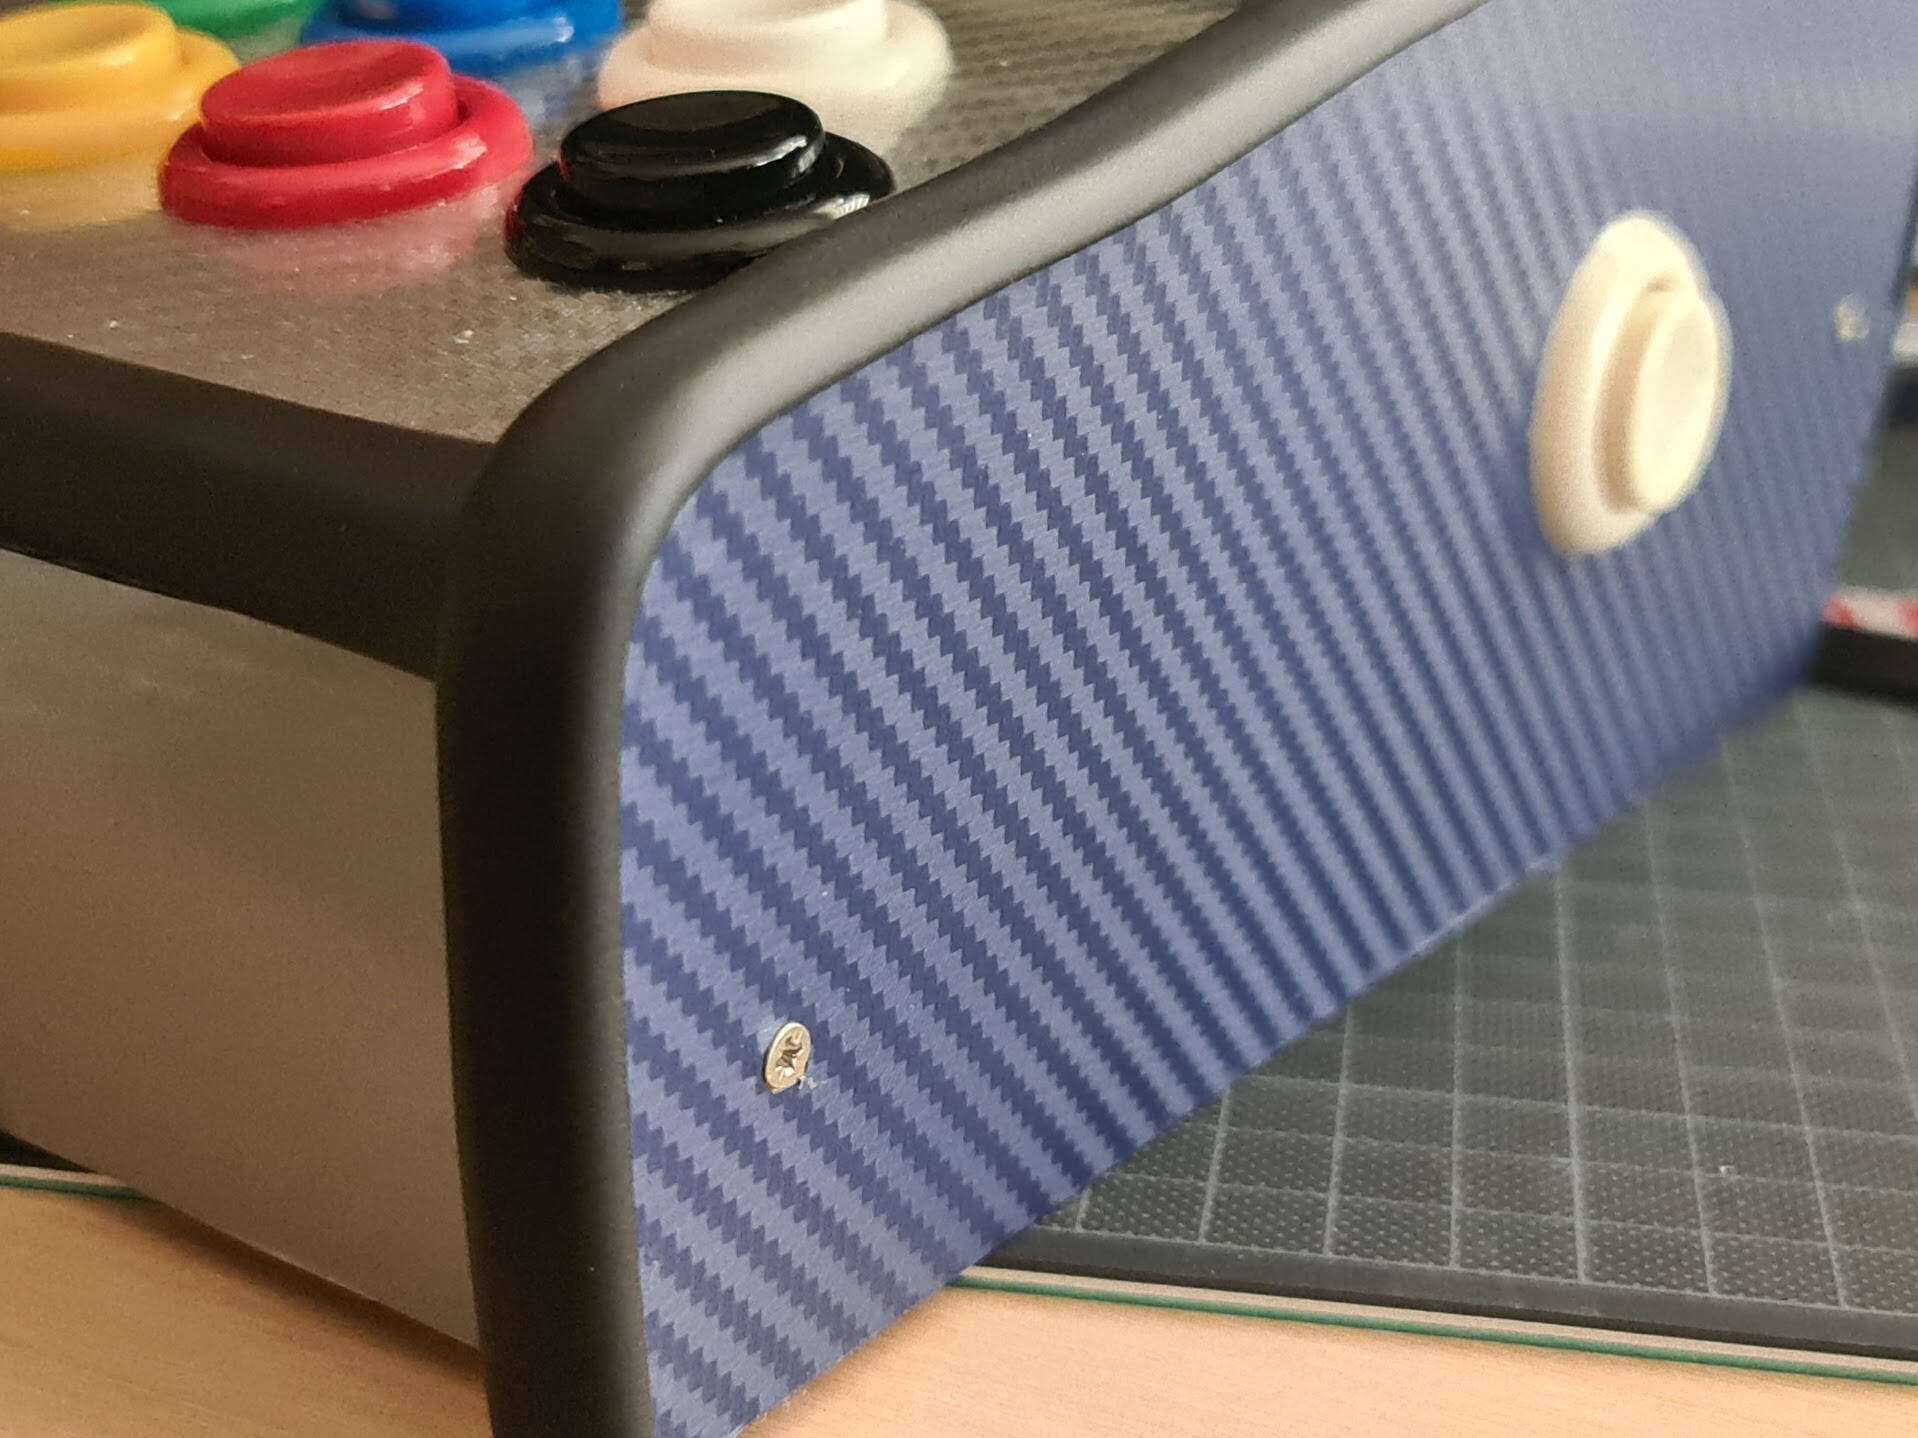
It looks great but it needed some stapling to secure the connection better. Because I don't like it when it peeled of at the corner bends. I know it doesn't look good but until I find a better glue solution, it's better to keep it that way.
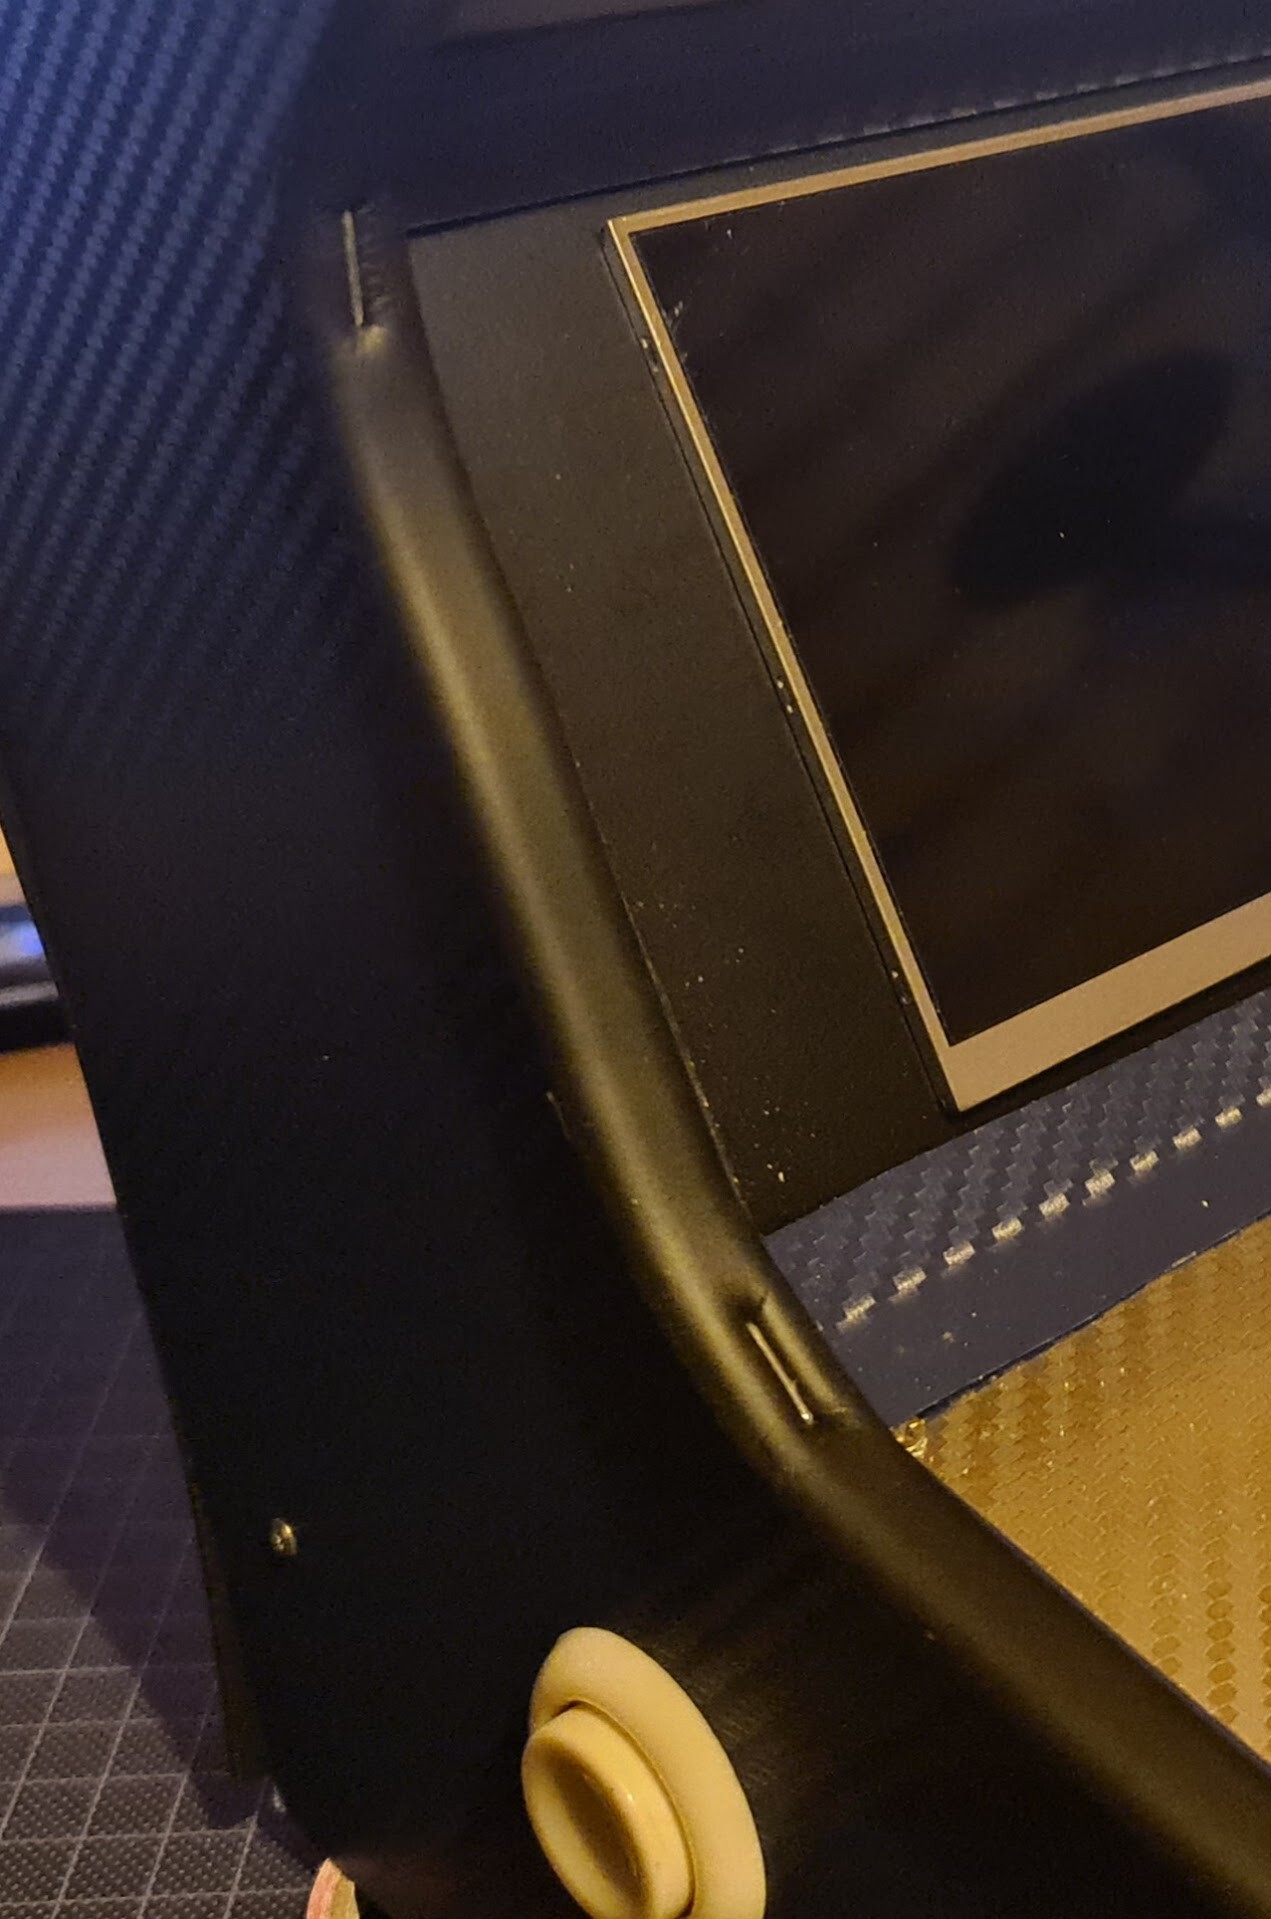
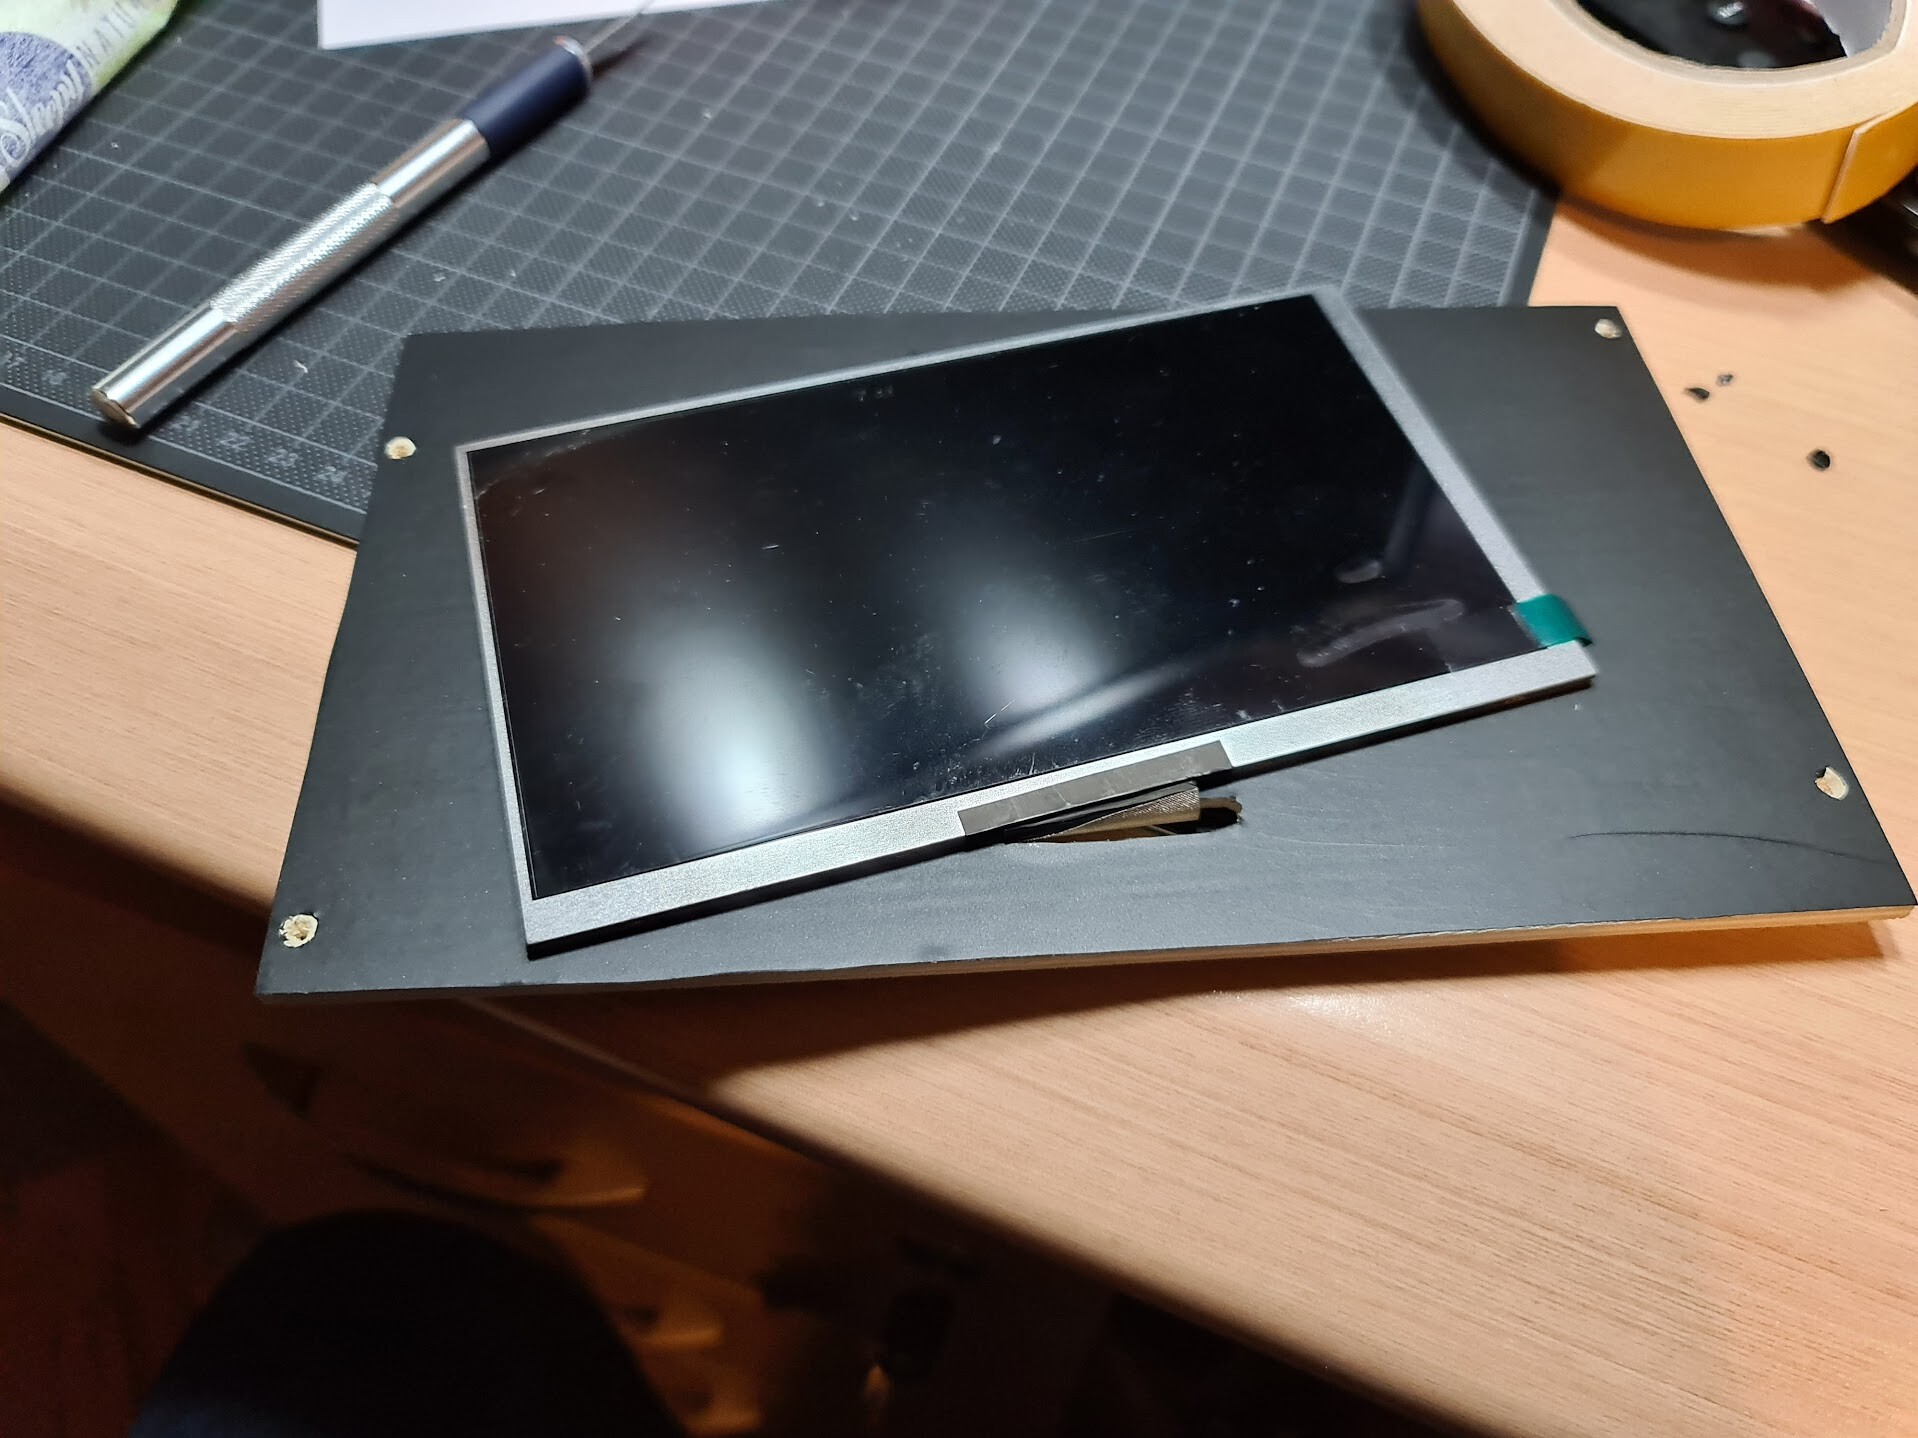
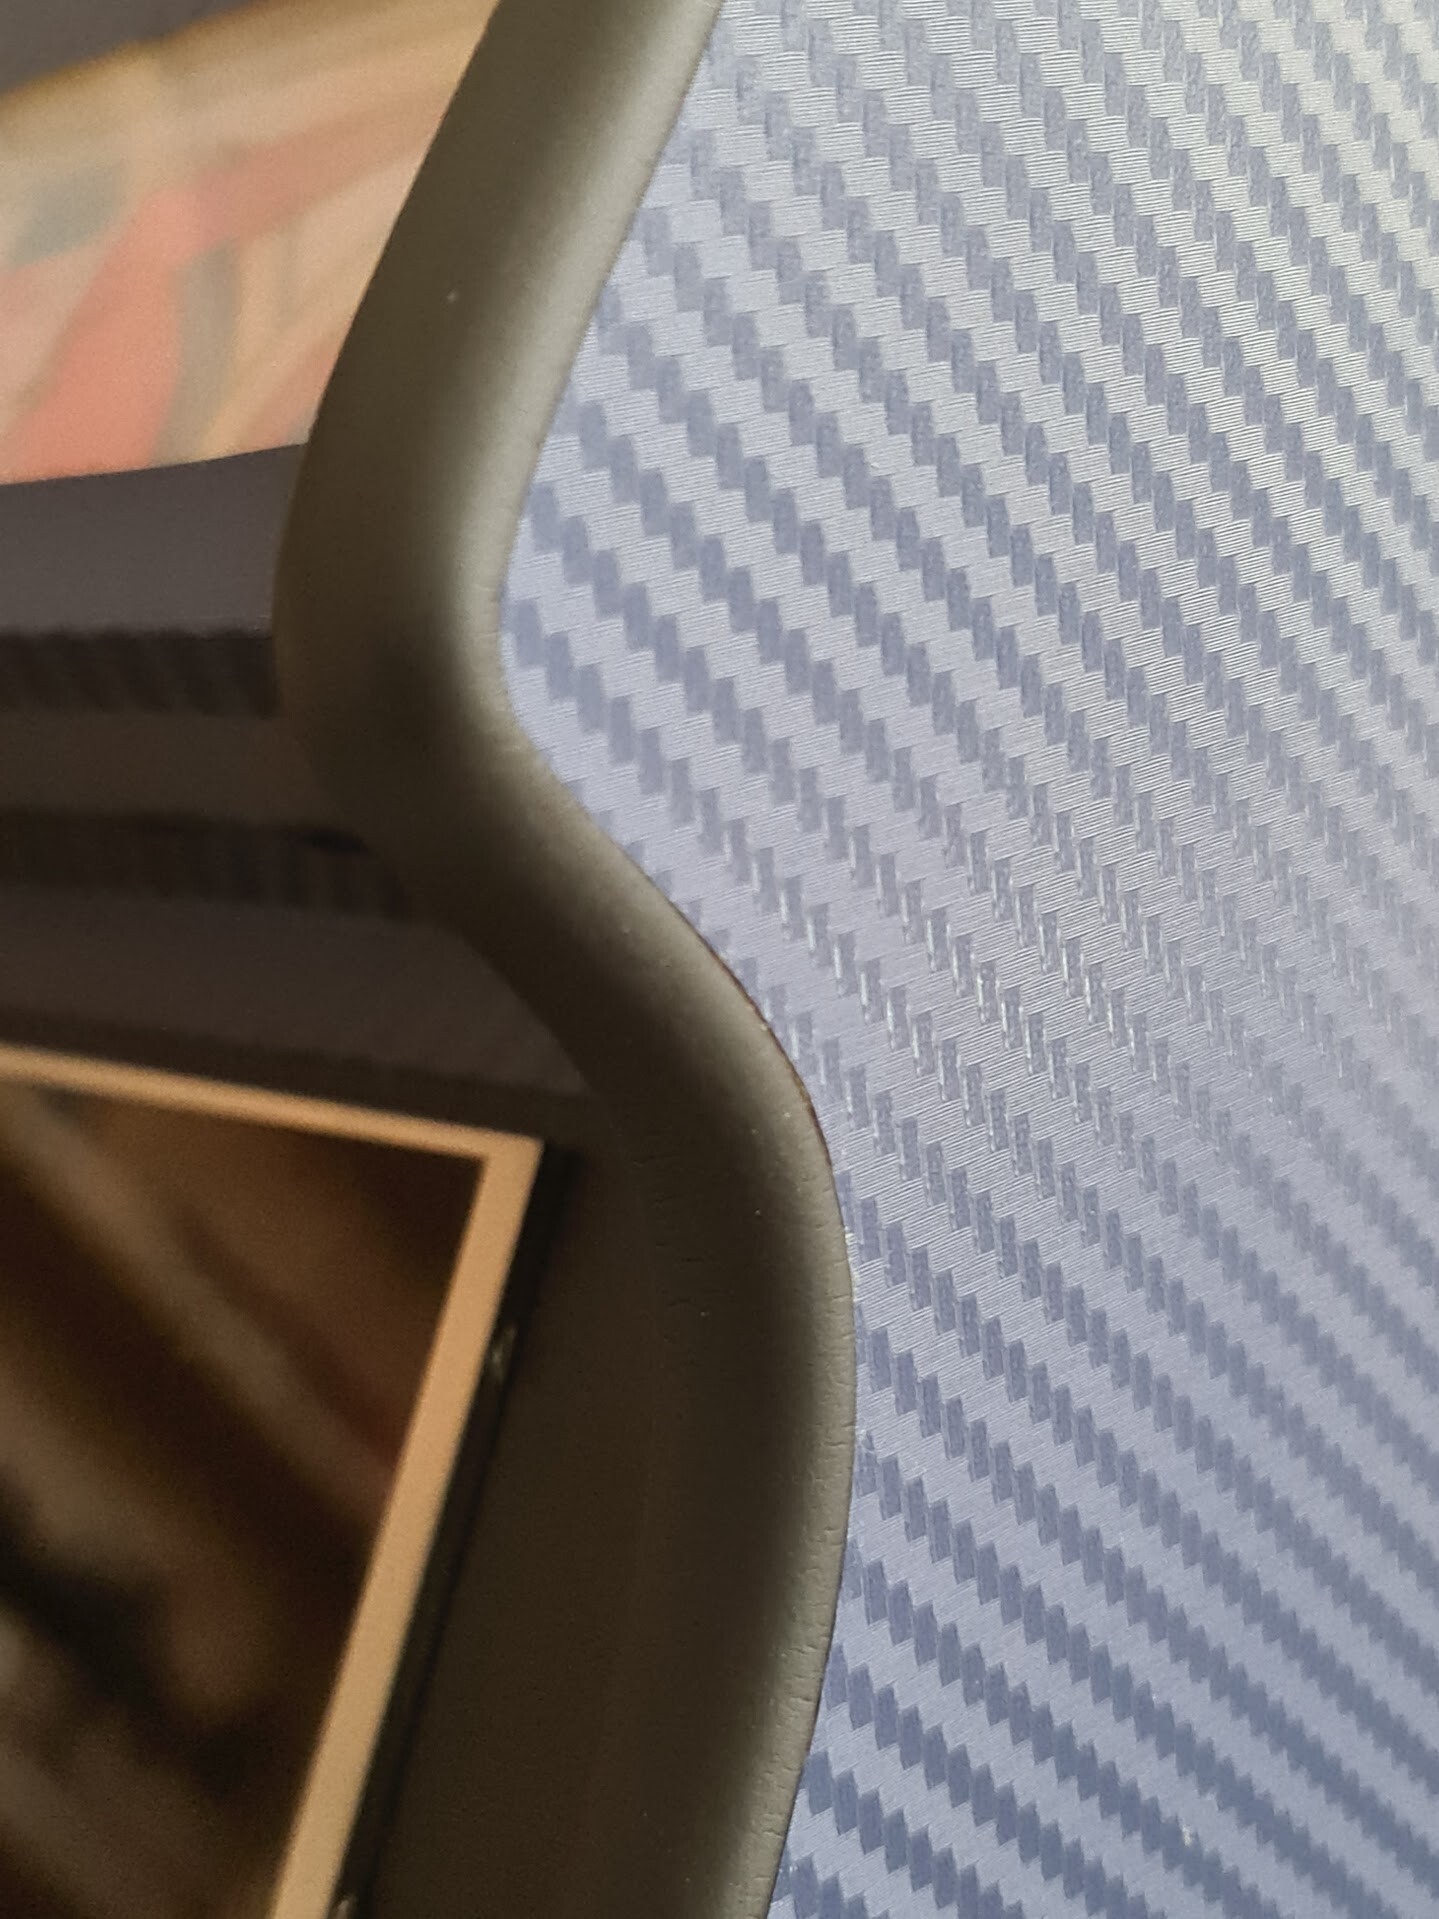
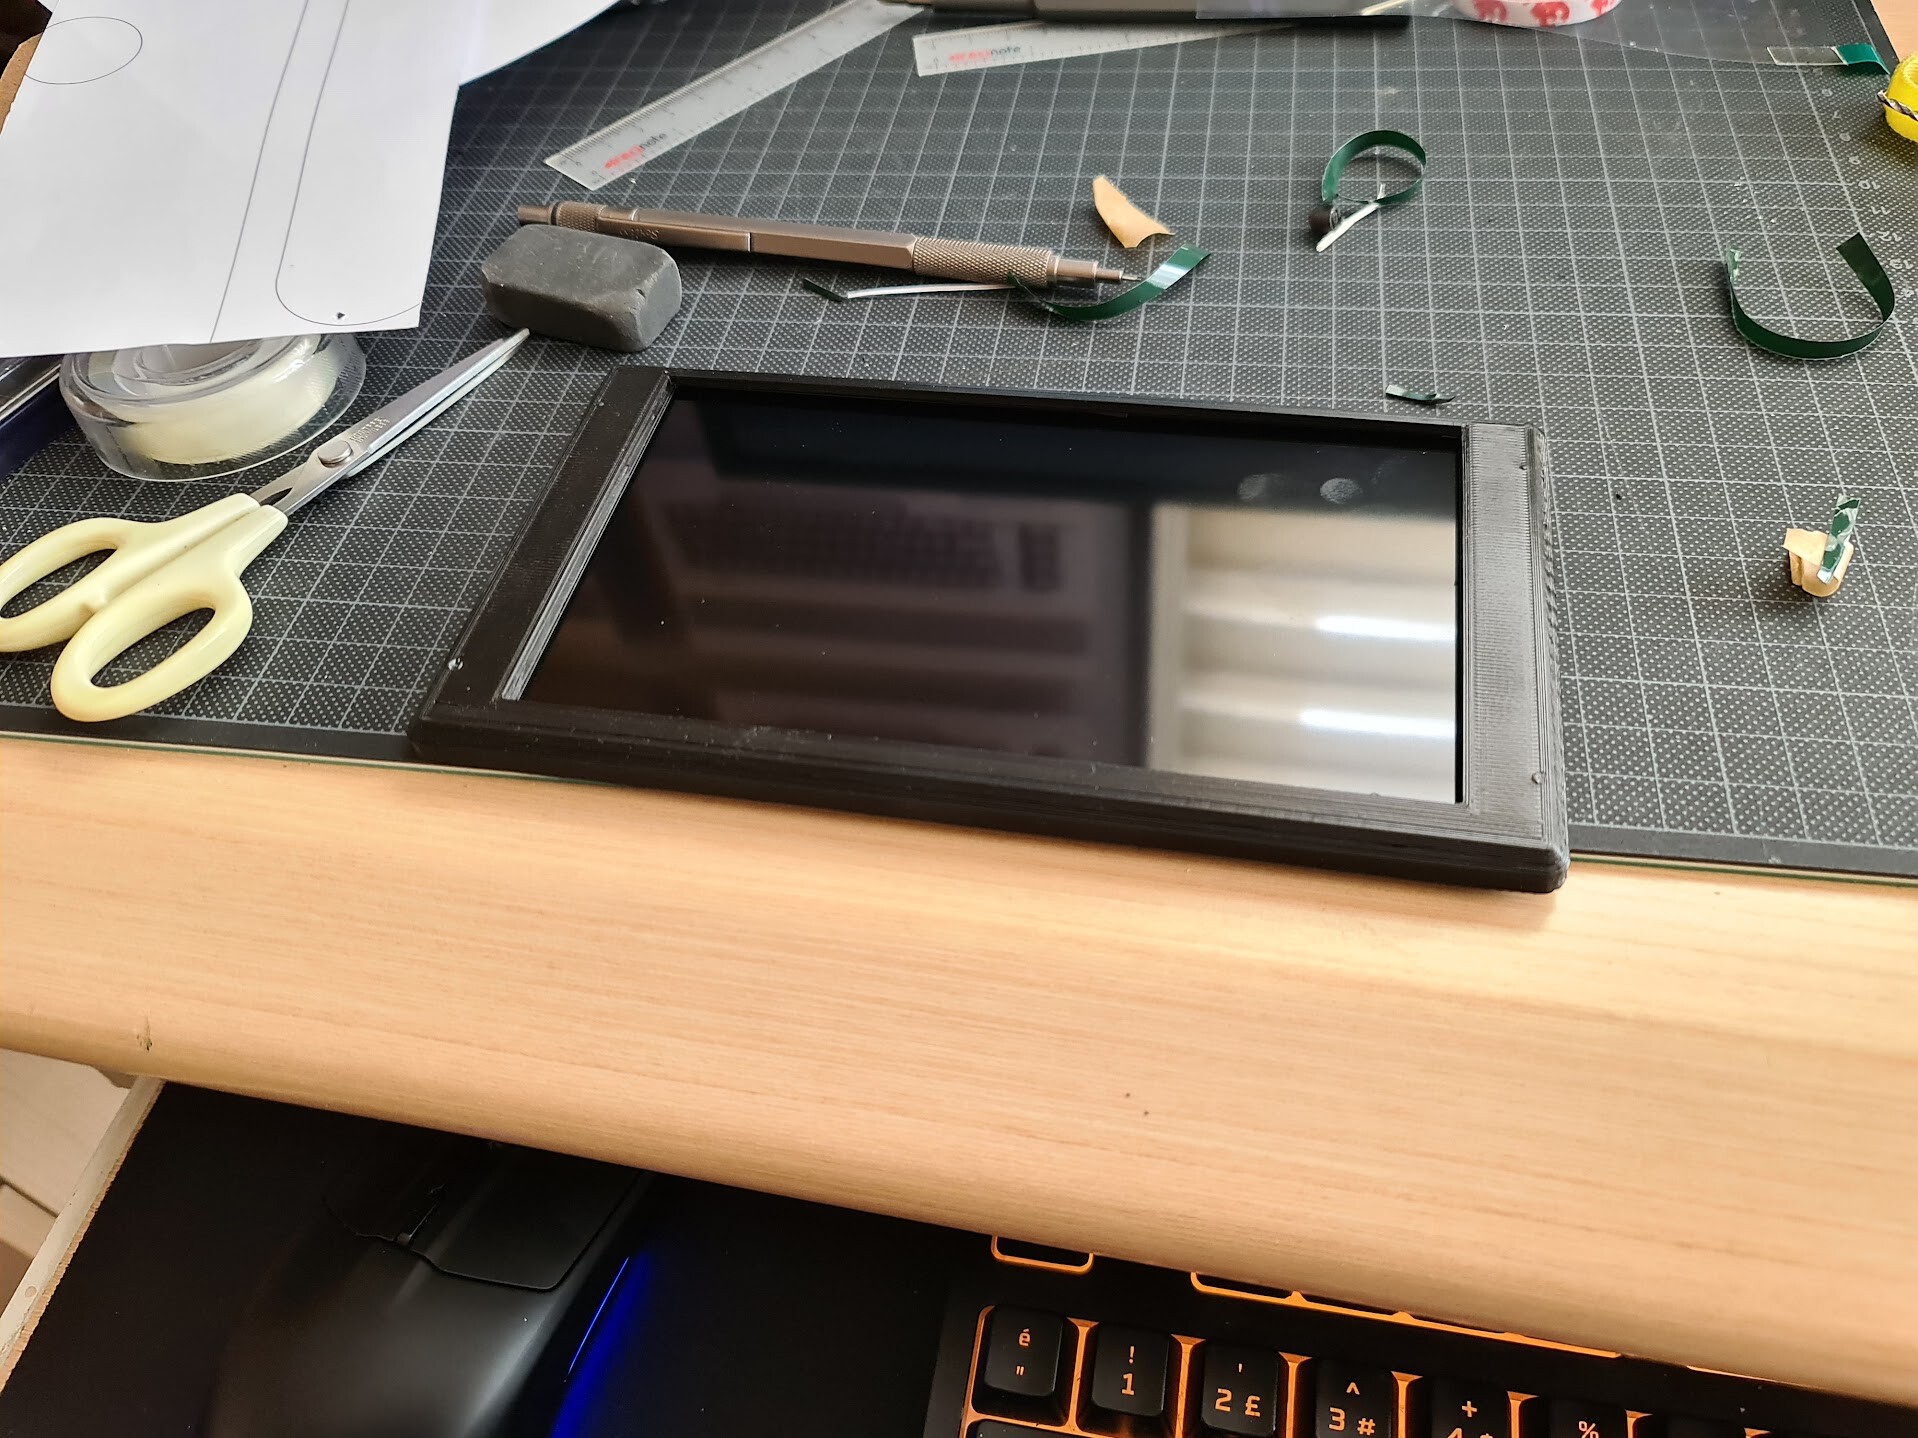
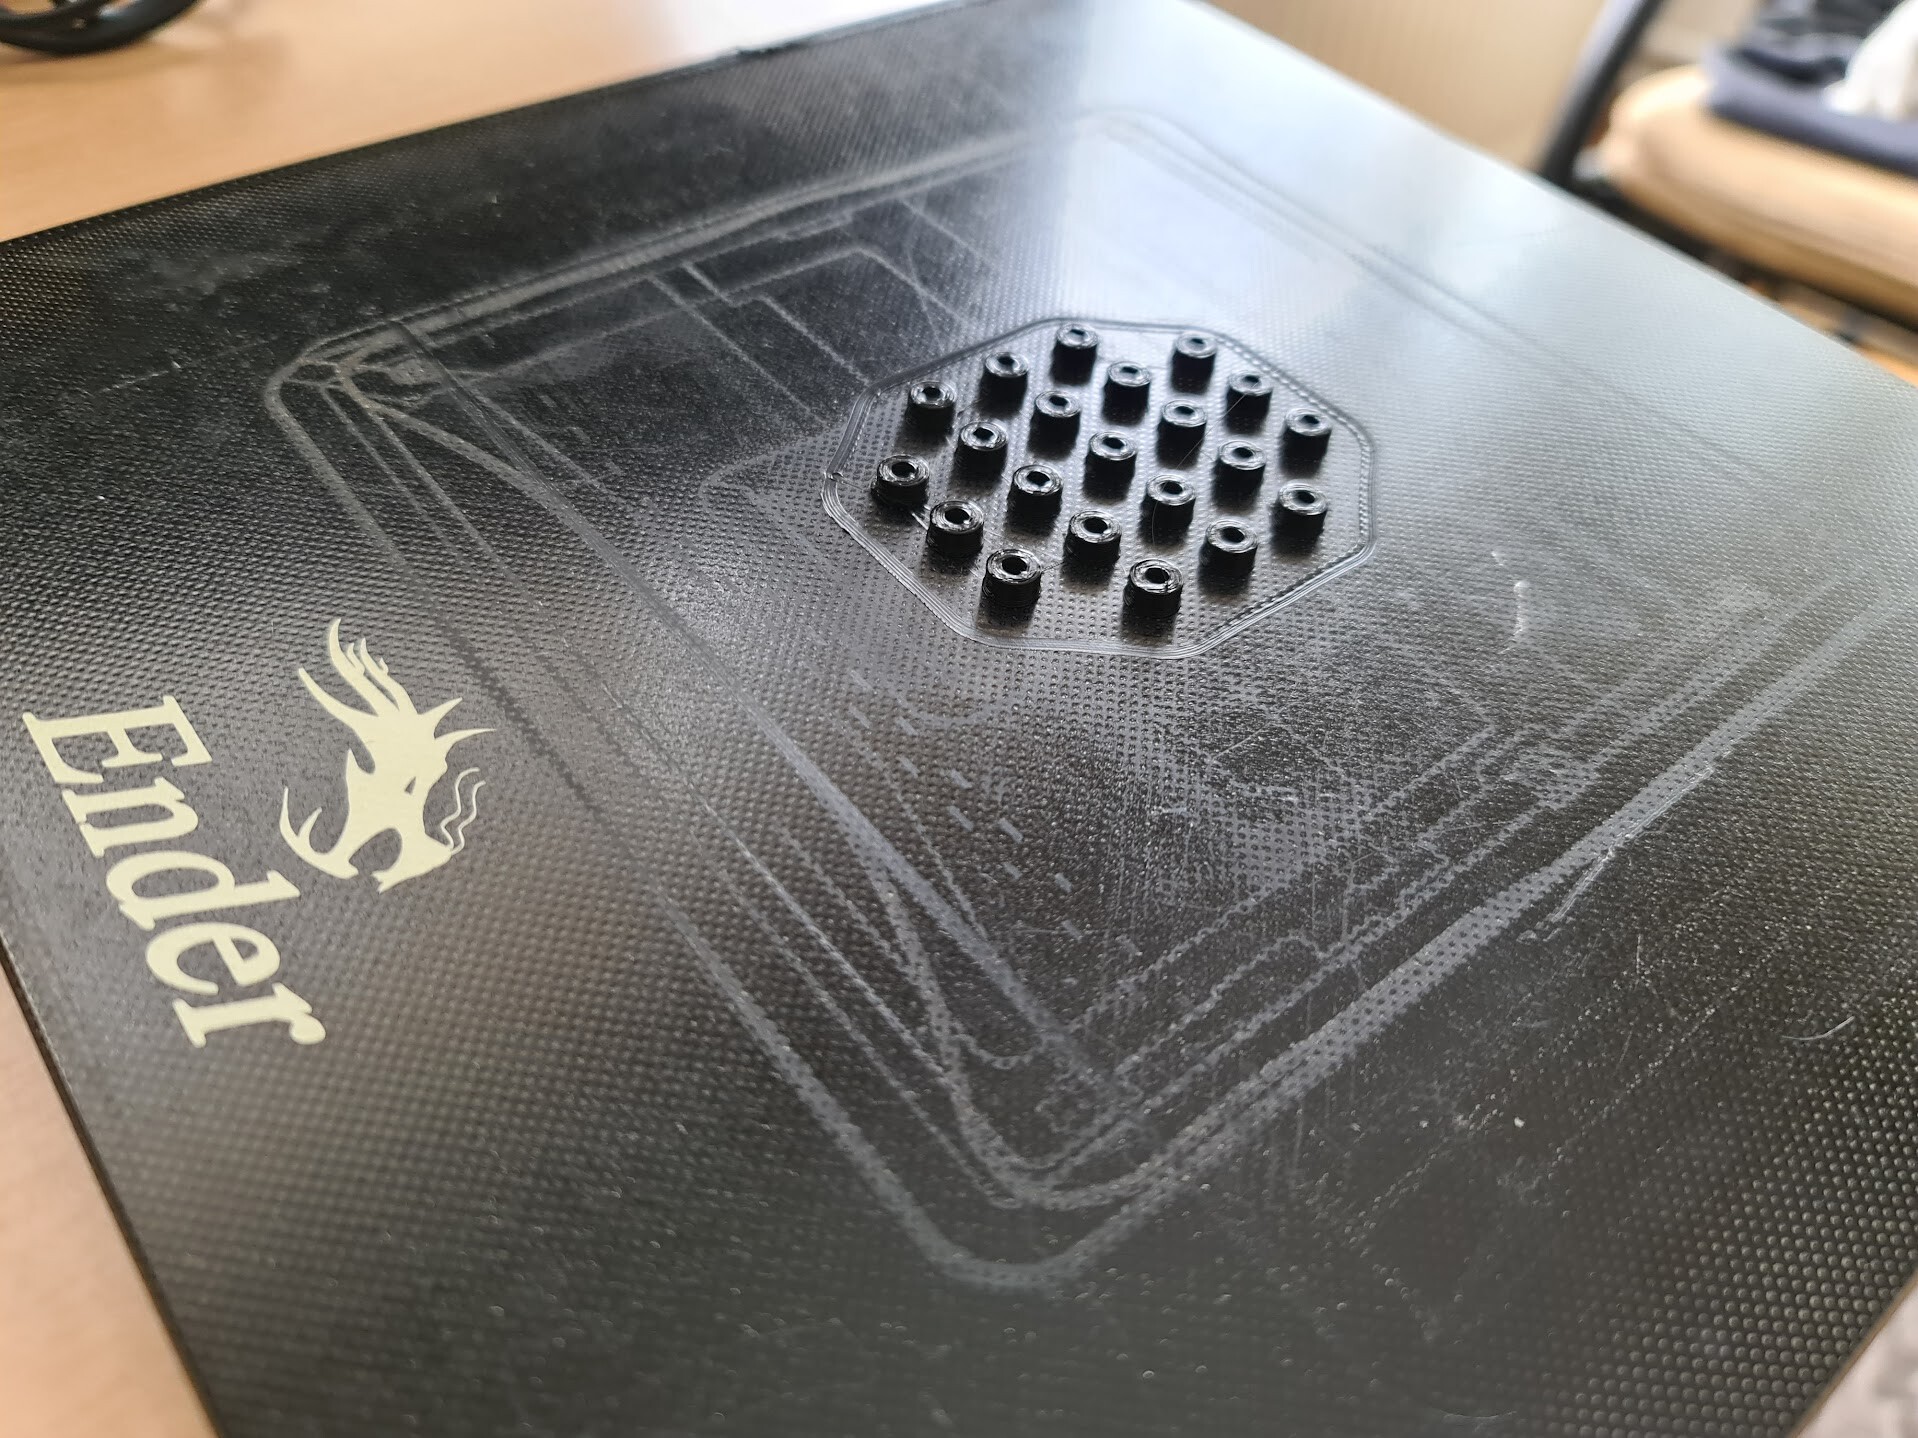
I designed and 3d printed a screen frame.
Screen I'm using is a waveshare 7" DPI screen which I was holding for a long time for a project. finally got it used on. I 3d printed it in a beautiful evening when we got a lovely snowing in Ankara.
I applied the printed frame and it looks great.


Now it's time for the electronic assembly!
The electronic components I used on this projects are:
- Raspberry Pi 3B+
- DPI screen hat for raspberry pi
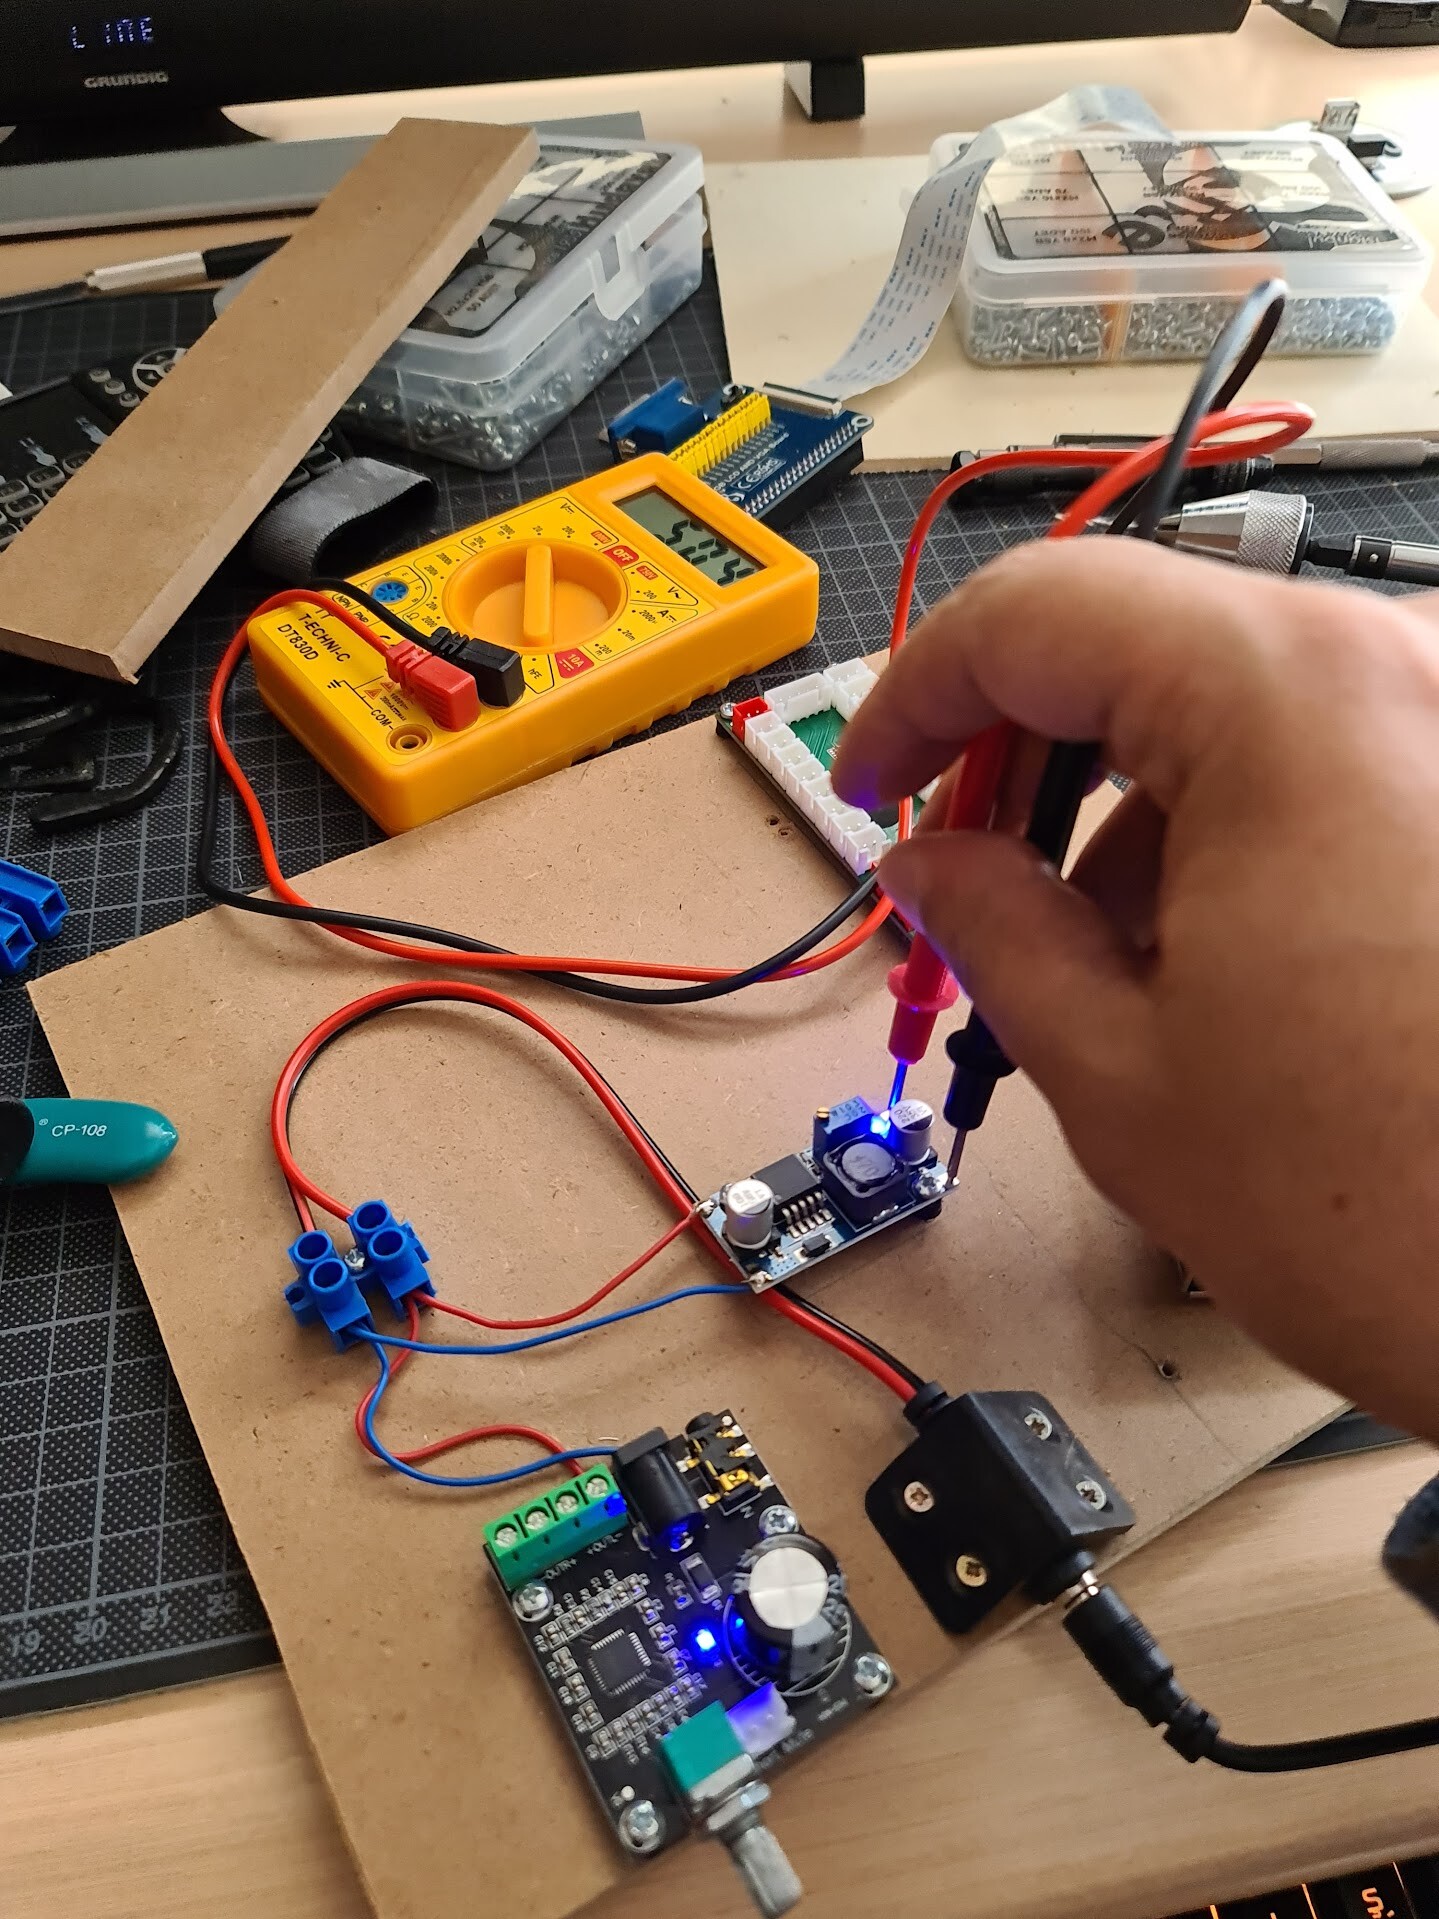
- DC-DC Step-down voltage circuit
- USB game controller circuit
- Audio amphilicator circuit
- DC jack connector
- 2 pcs 8 ohm speakers
I decided to feed the system with 12V DC adapter since the LED stripes for the lighting works with 12V DC. But since the rest of the components works with 5V DC, I used a step down converter to set 5V output from the 12V input.
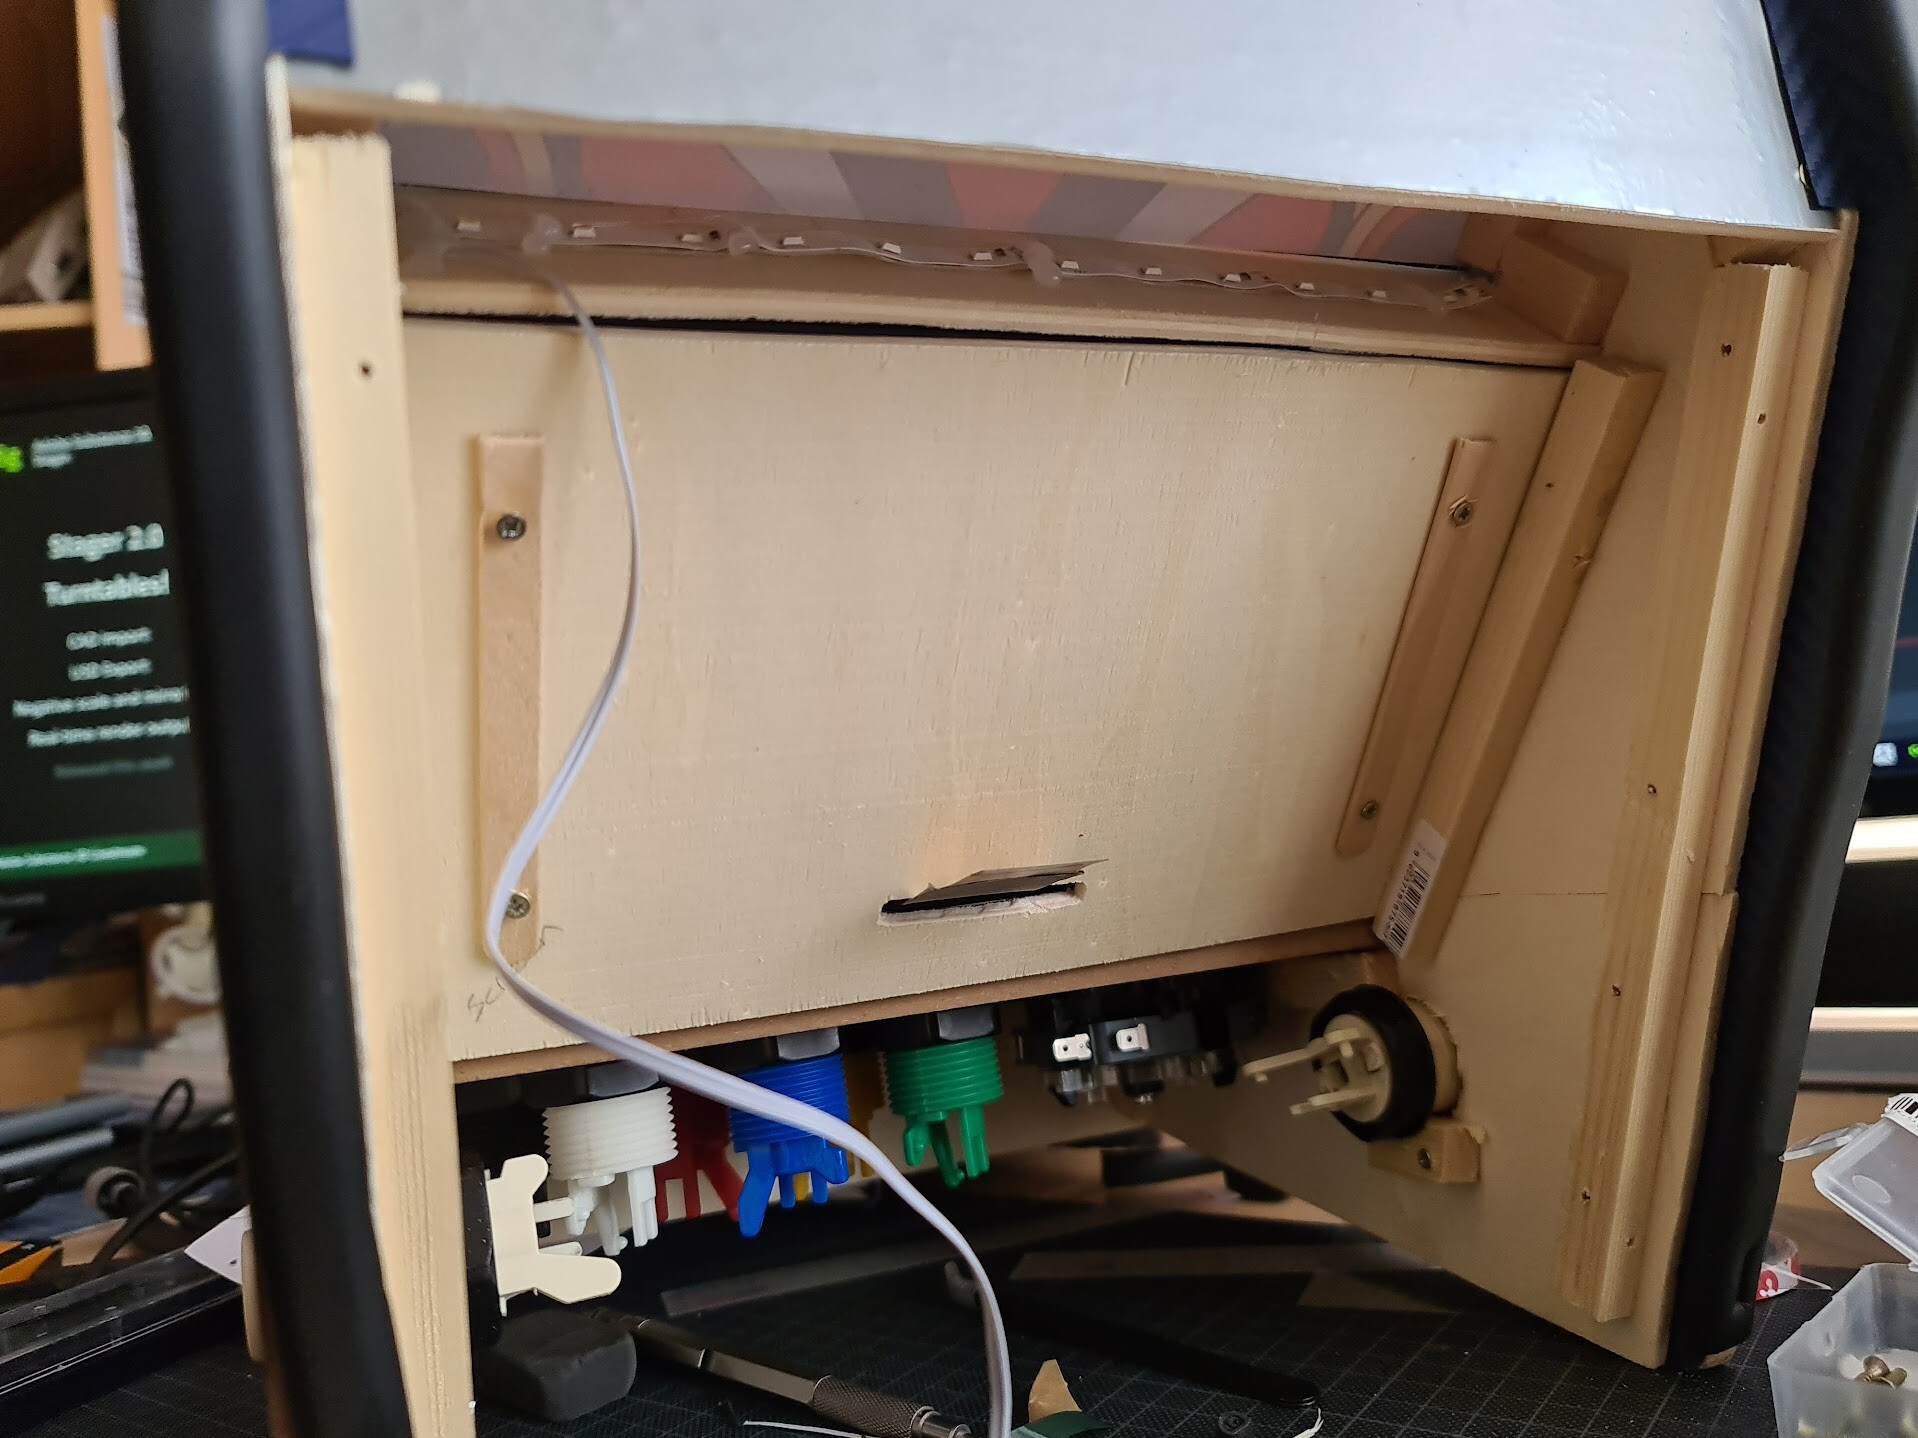
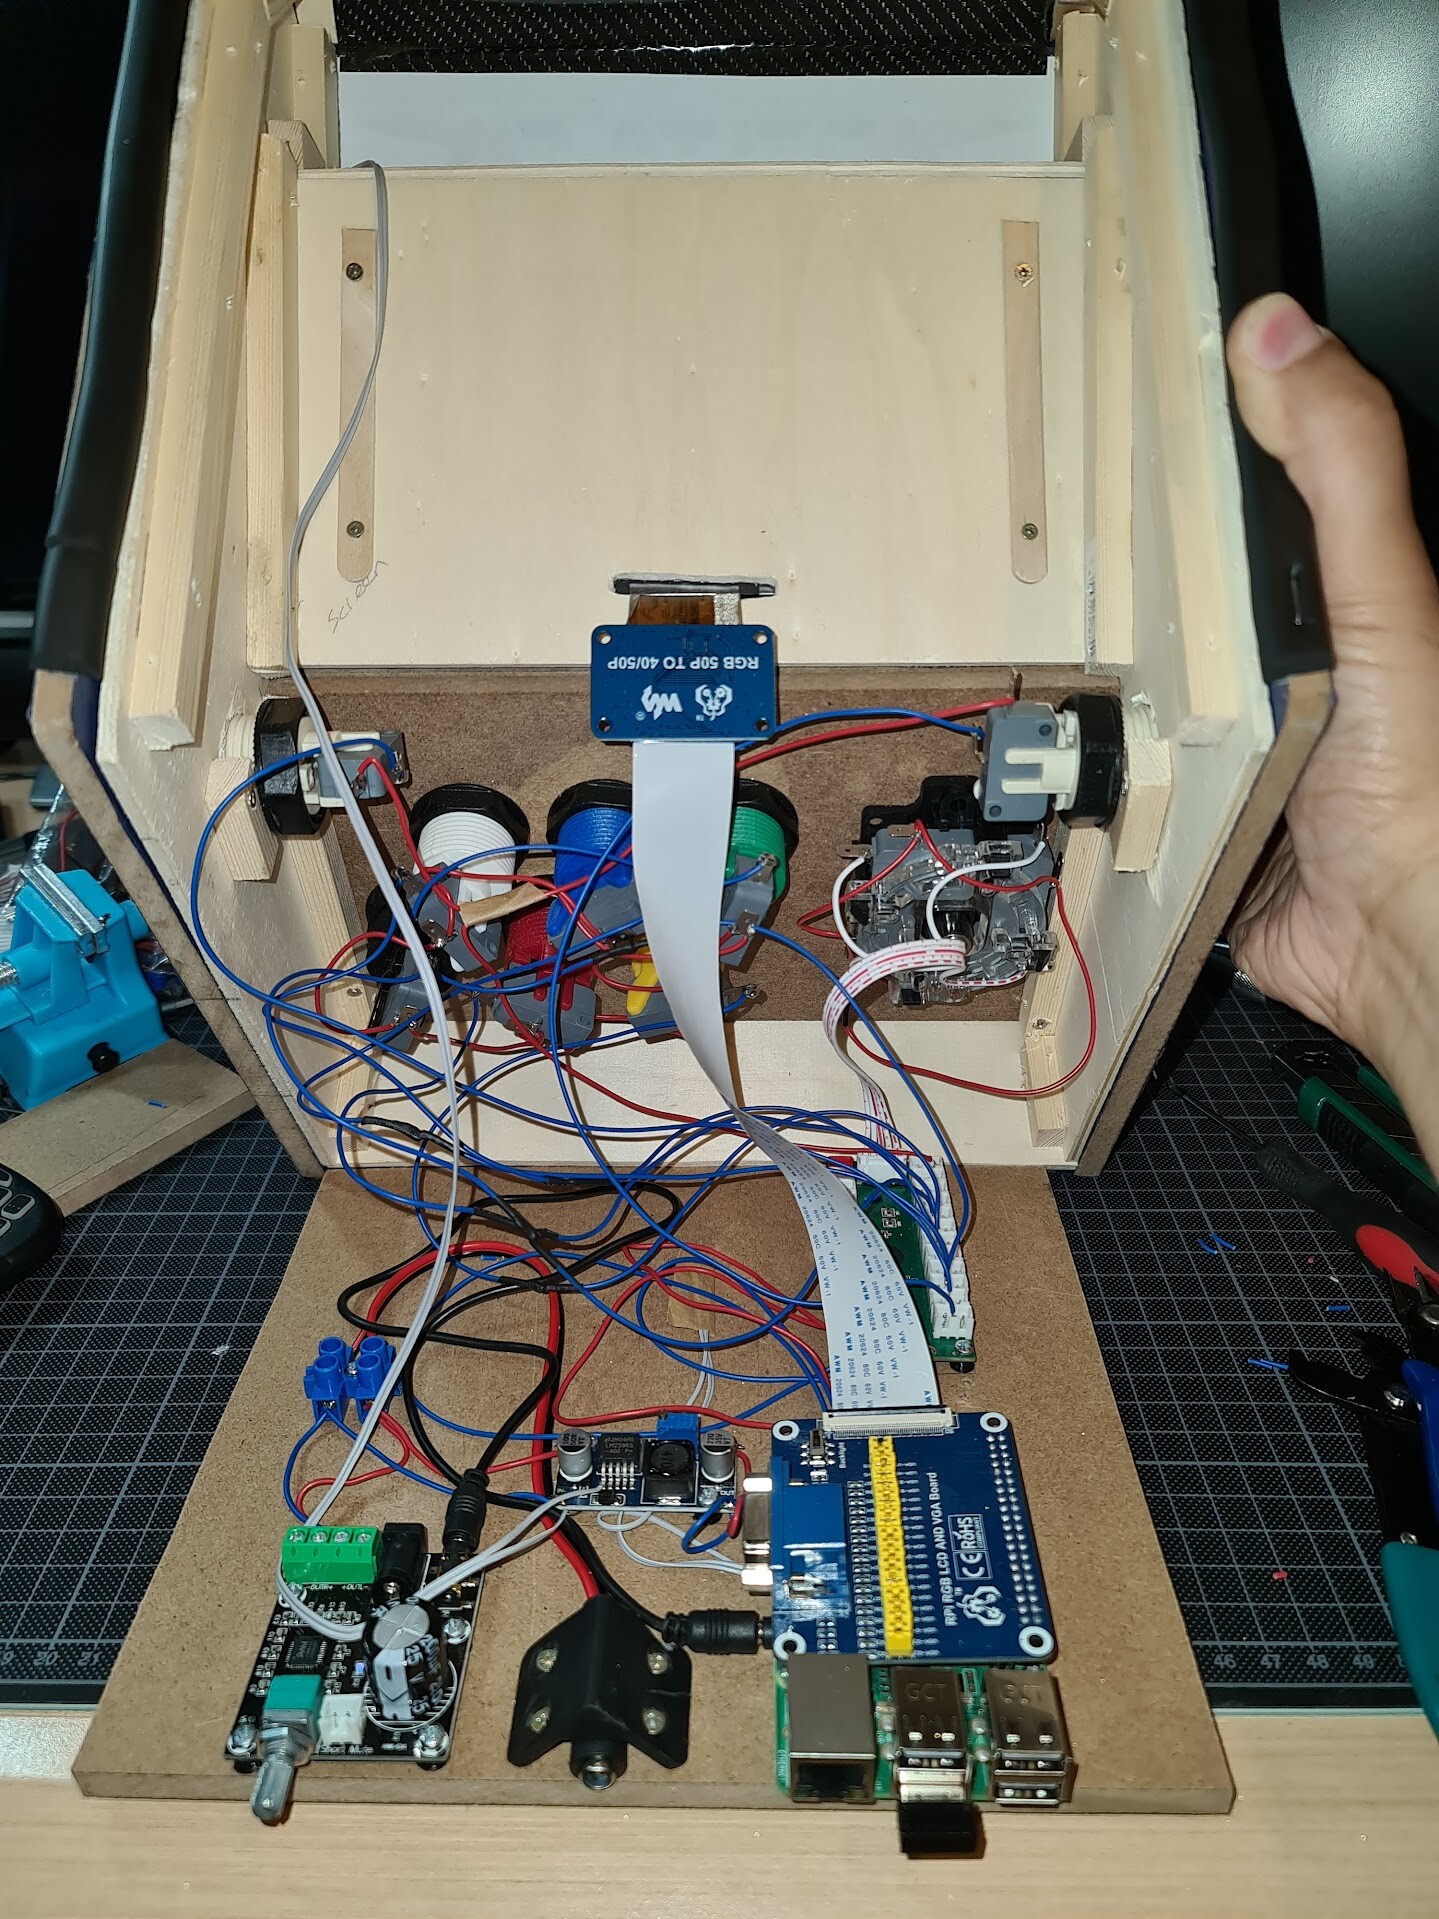
I sketched some placement over the bottom MDF board to fix the components. I also 3d printed some rings to offset the components from the surface when I screw them.
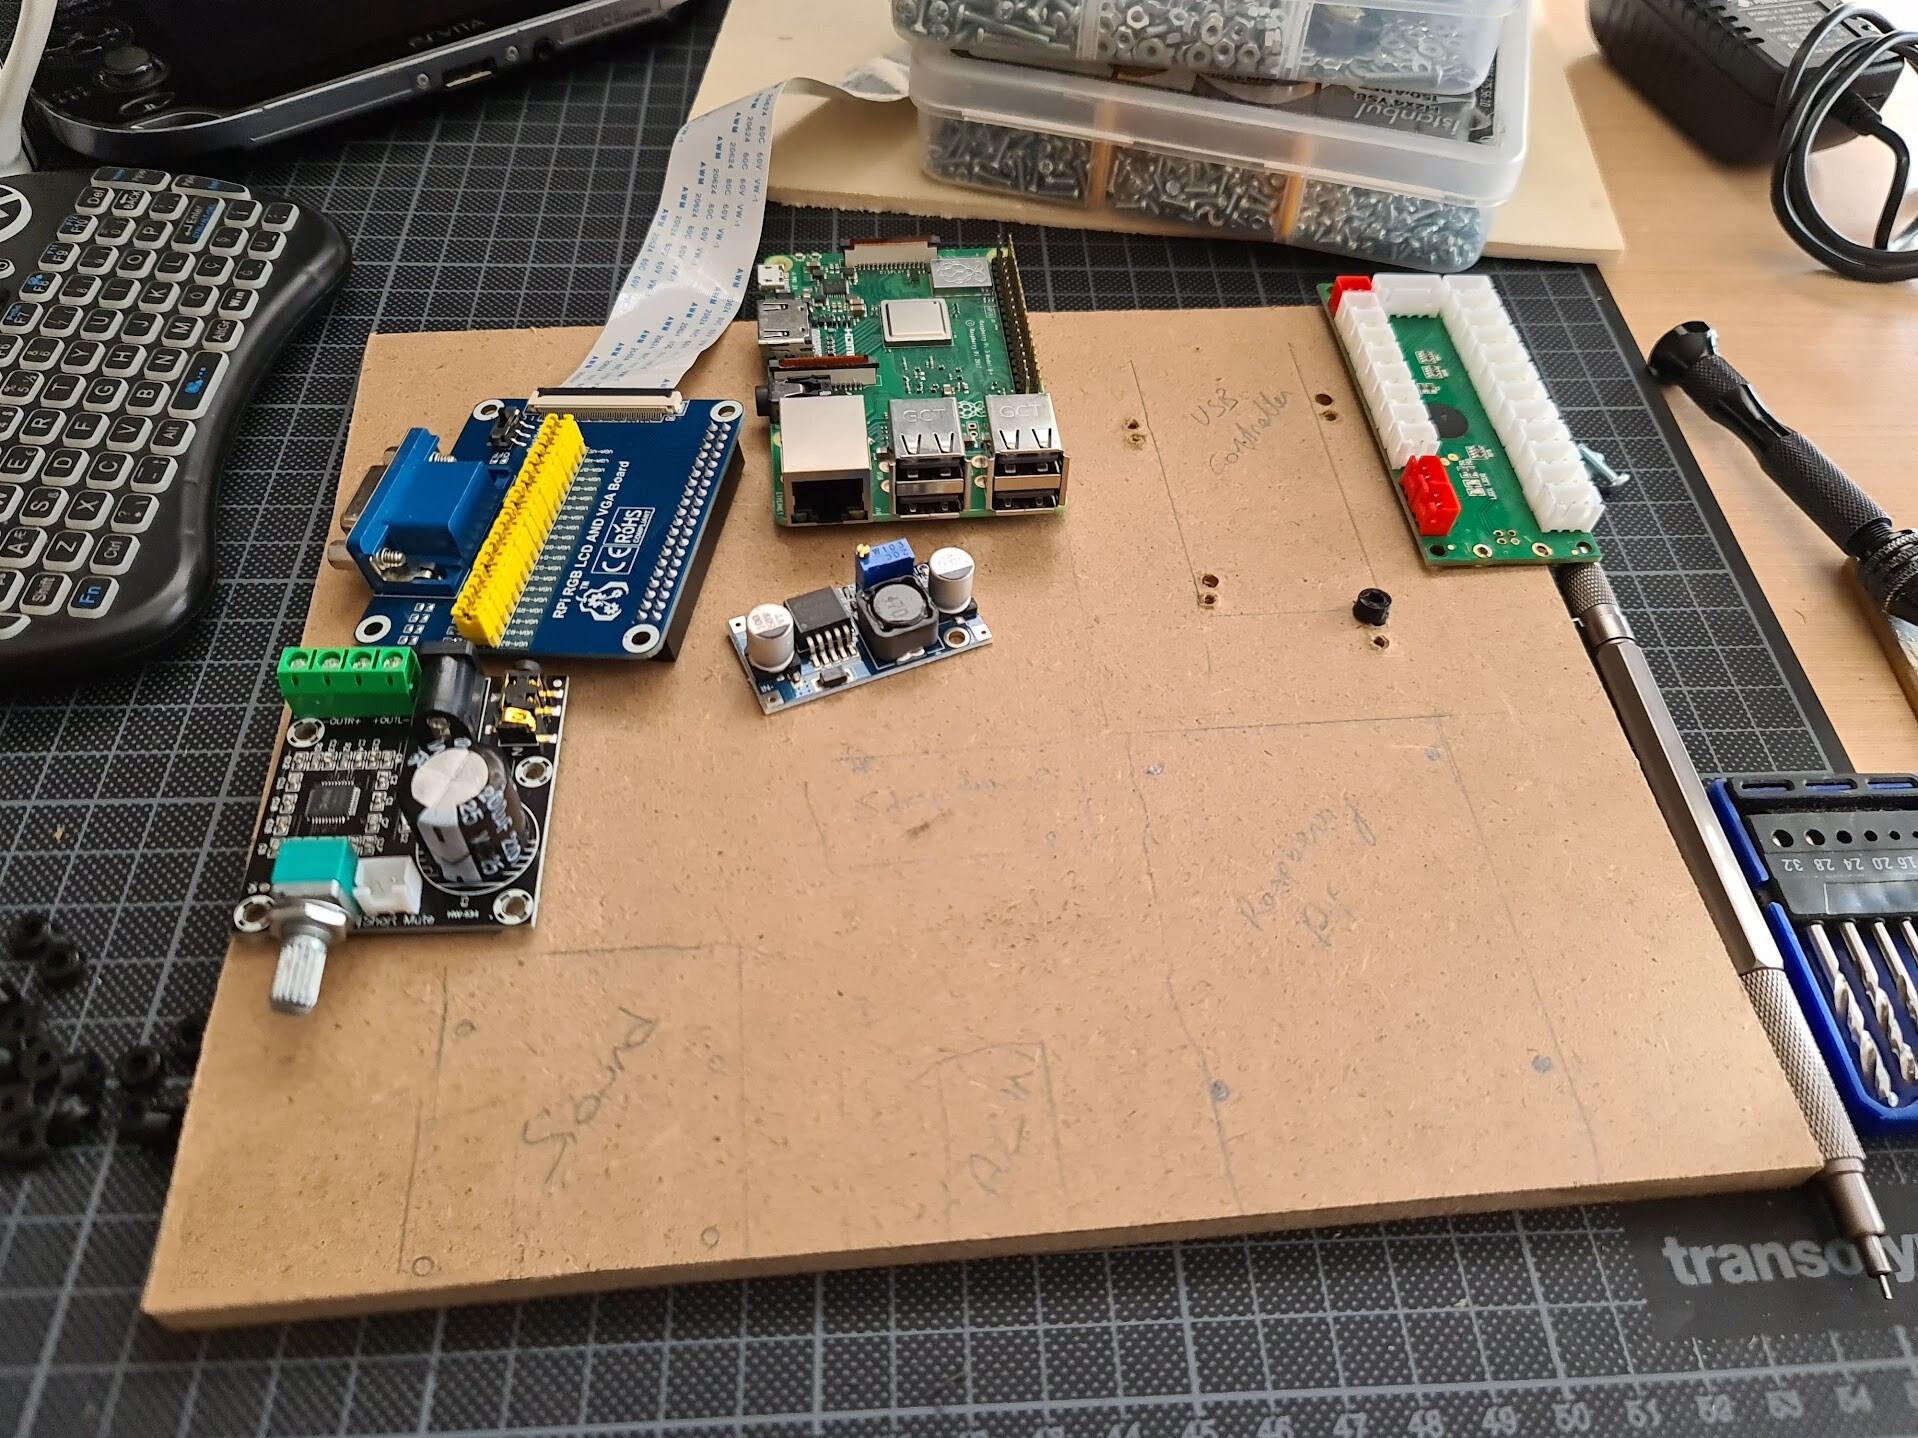
This is the placement:
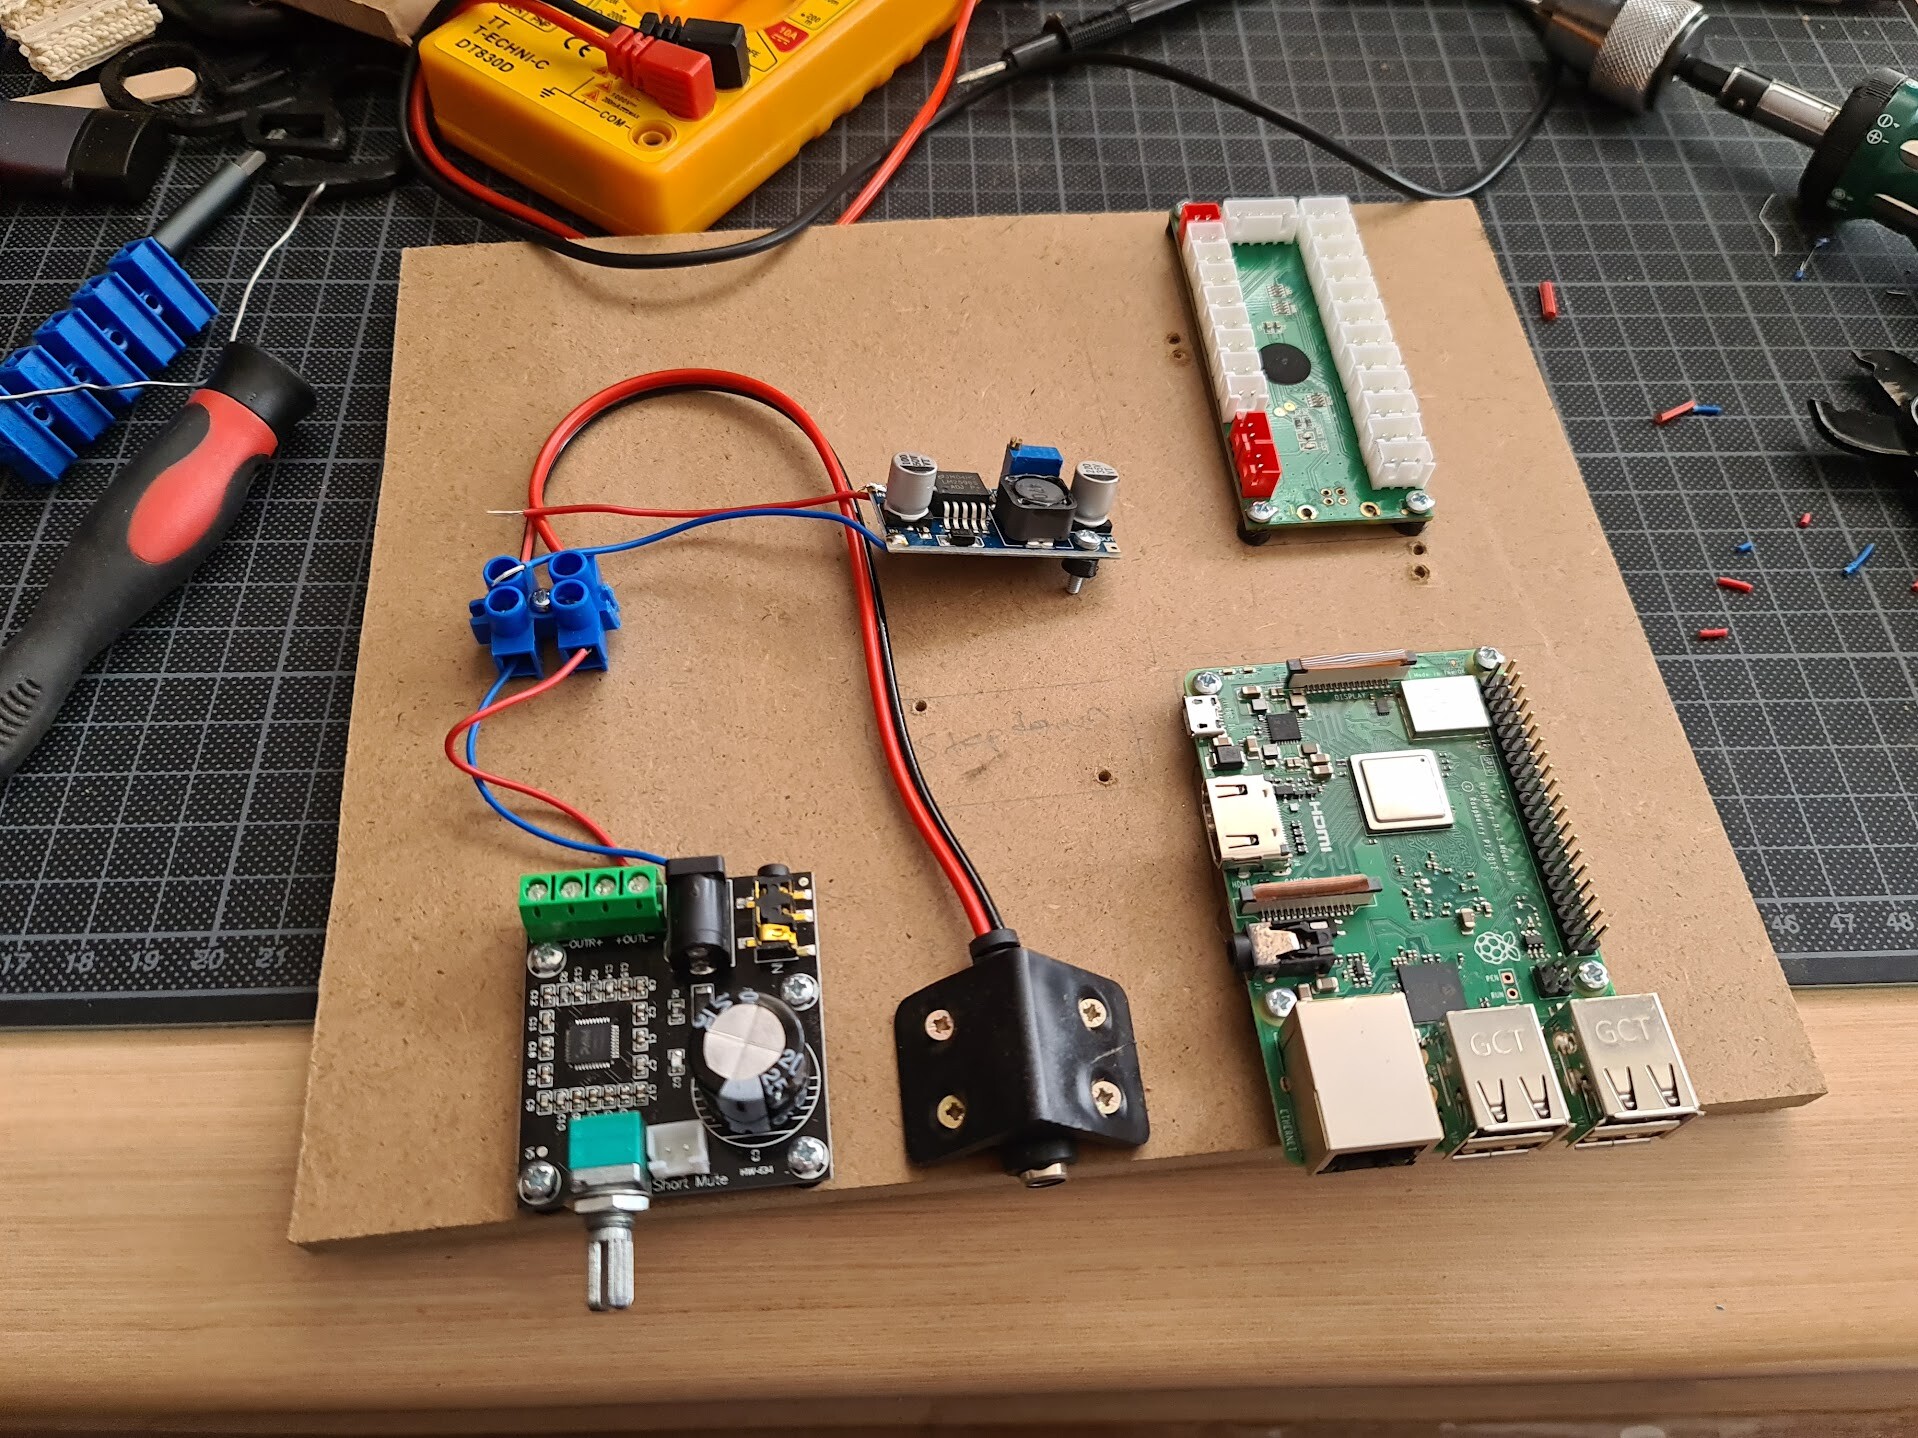
I adjusted the step-down circuit to output 5.04 volts.
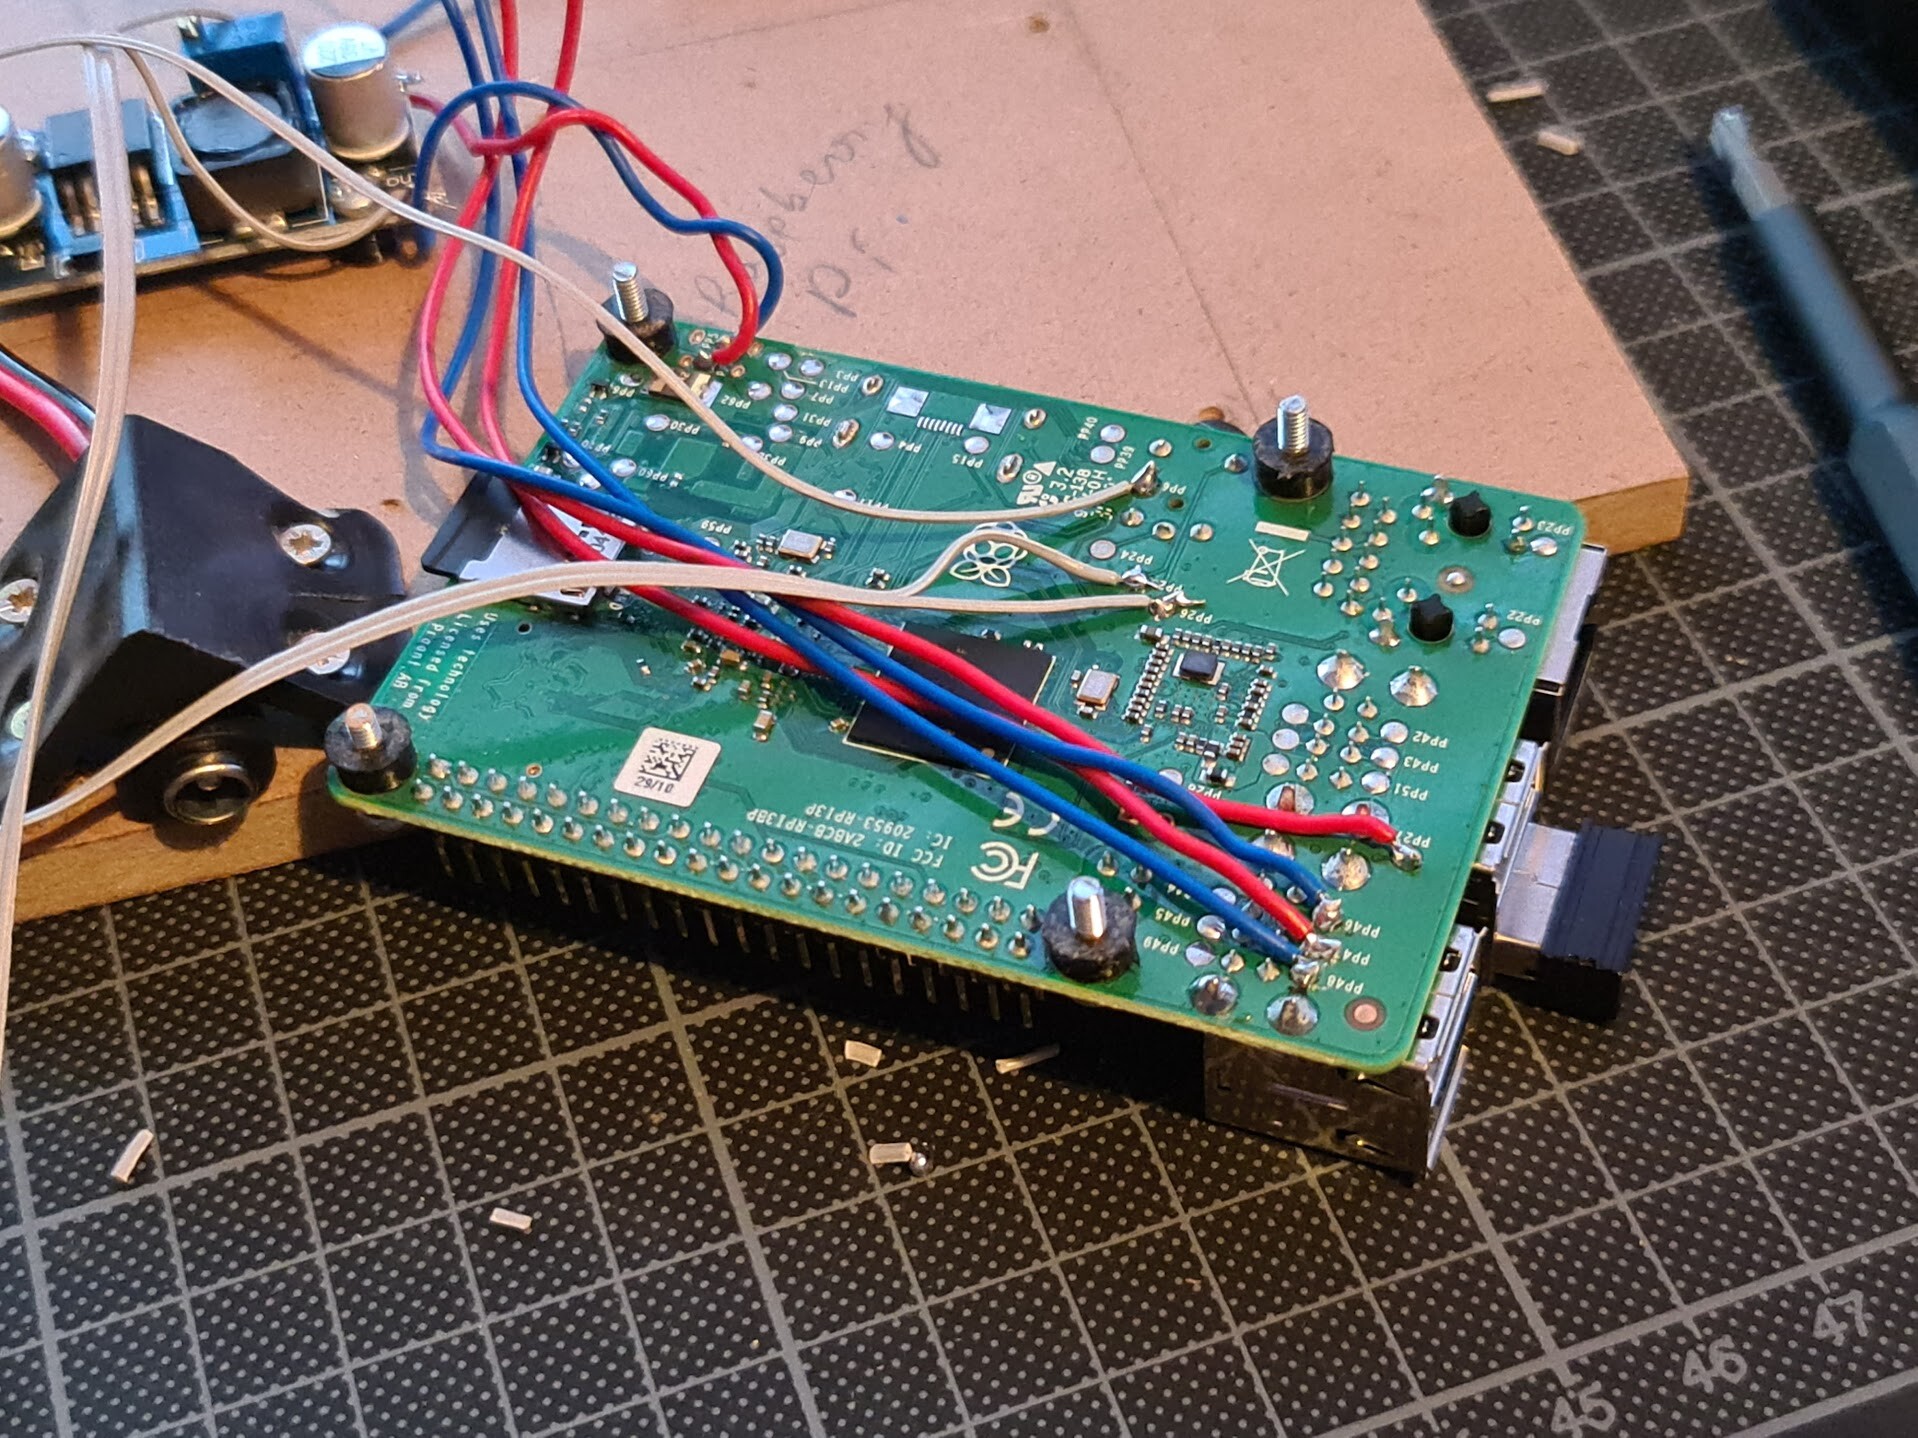
I soldered some cables to the raspberry pi for USB port, analog audio output (later I removed it), and power input,
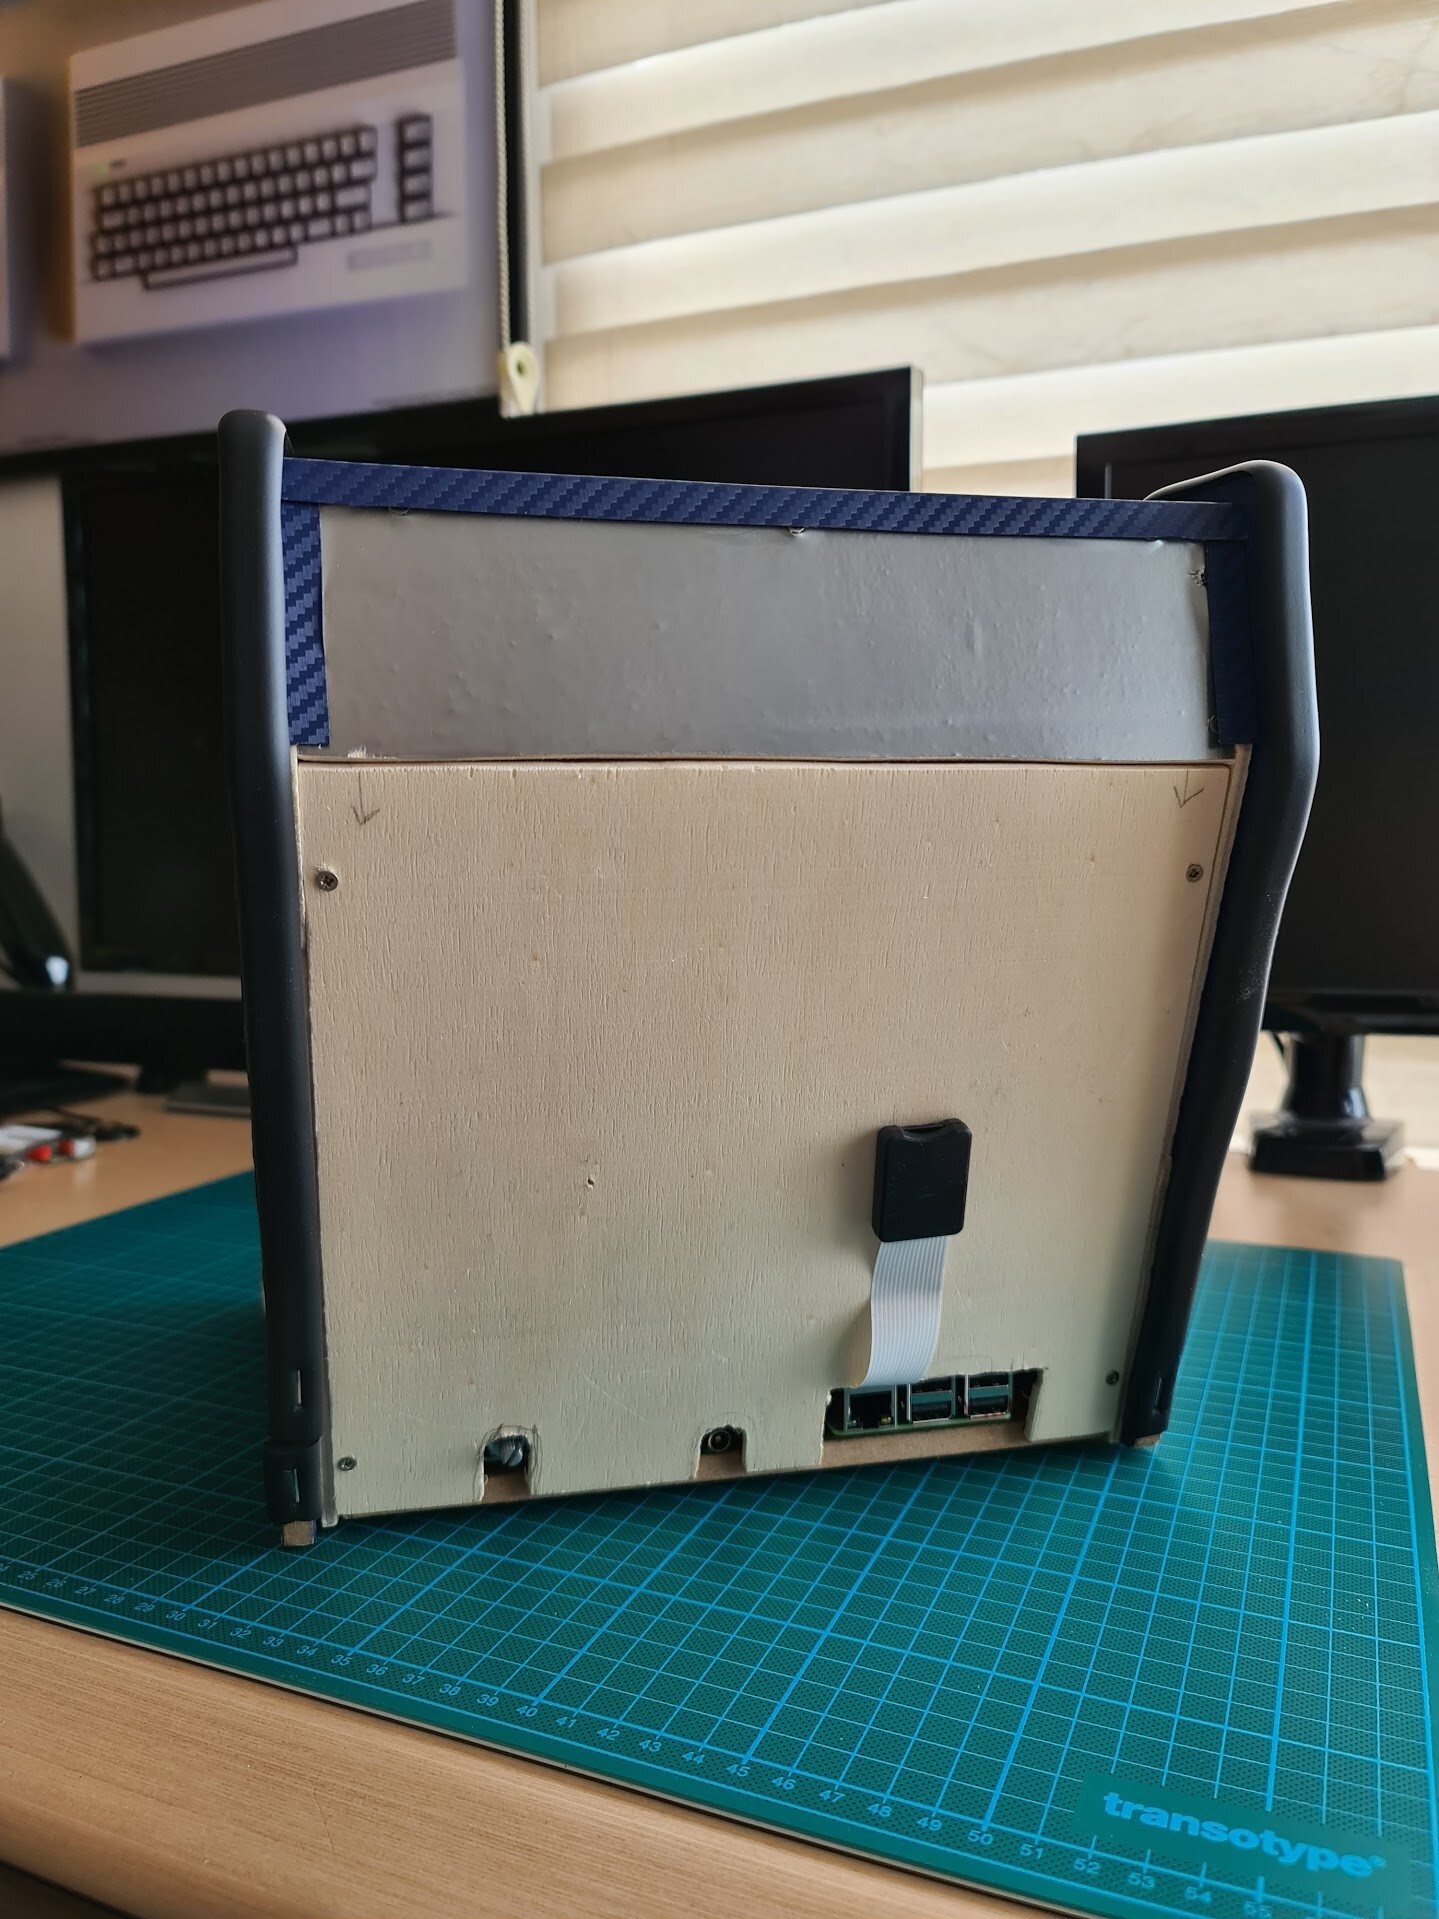
And after connecting all switches to the USB board, final electronic assembly is like this:
As a final addition, I put an SD card extension cable for accessing the SD card easily.
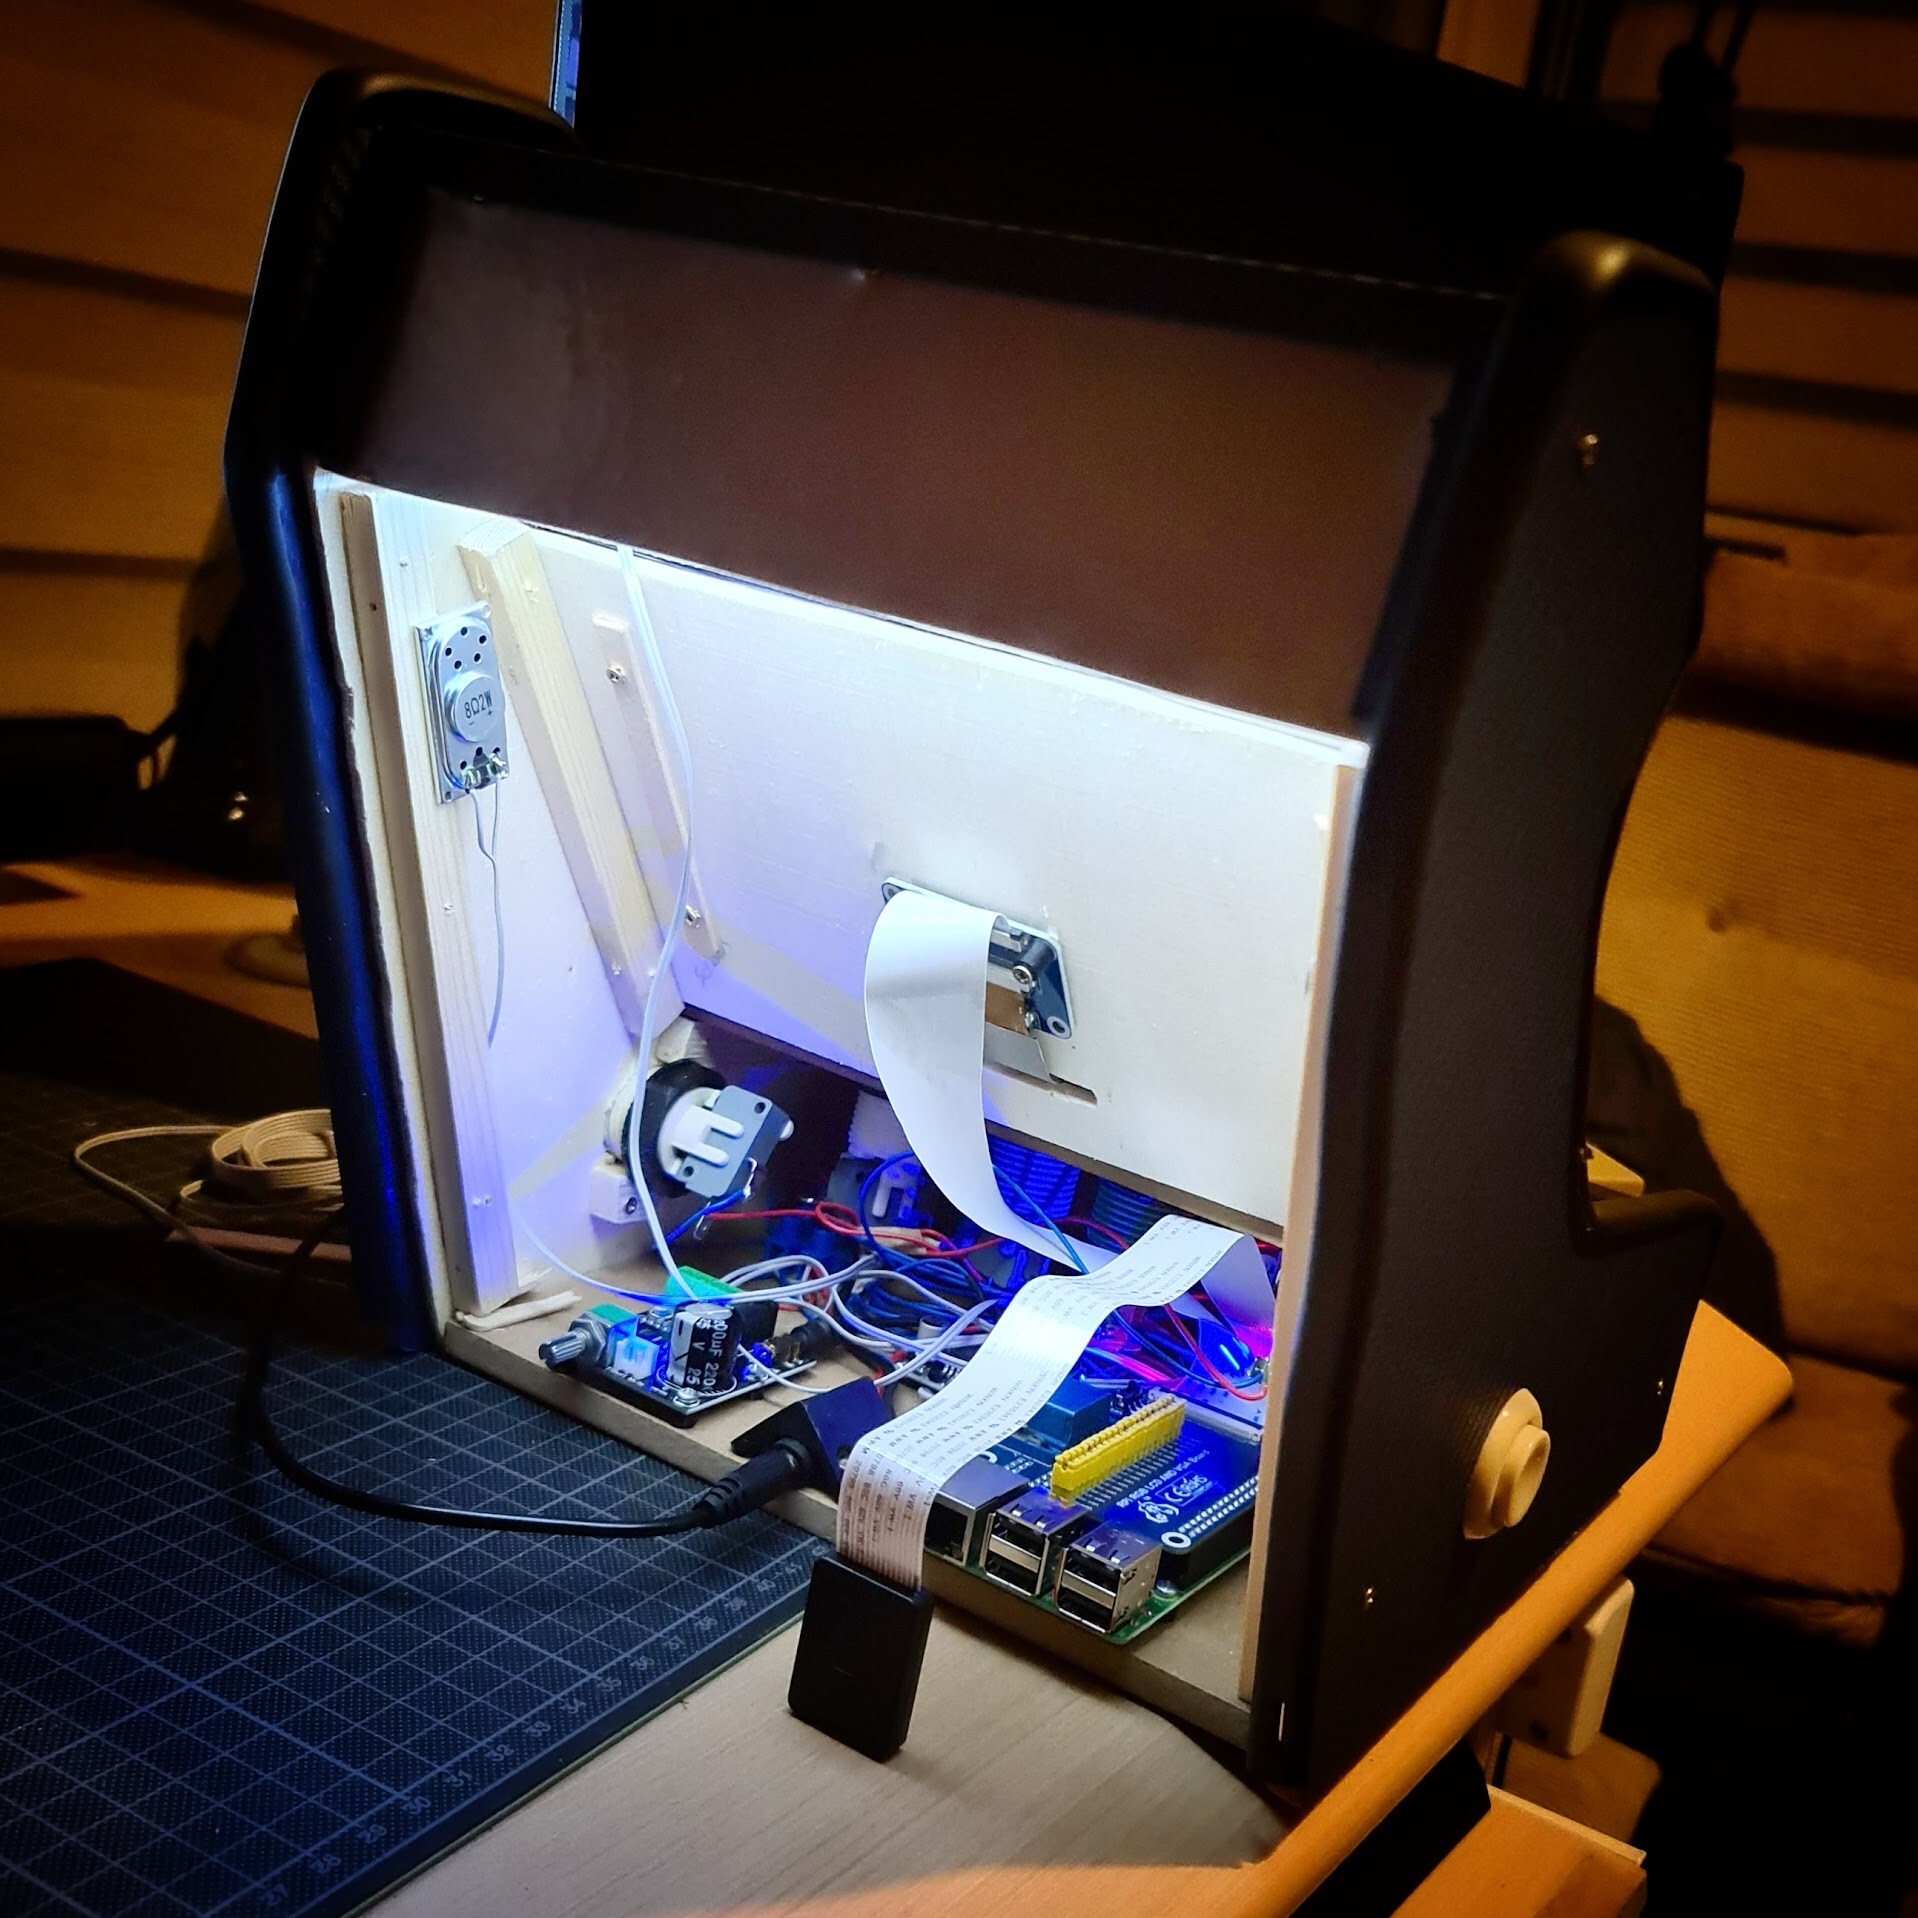
Looks like a cyberpunk B-movie set from 90s :)

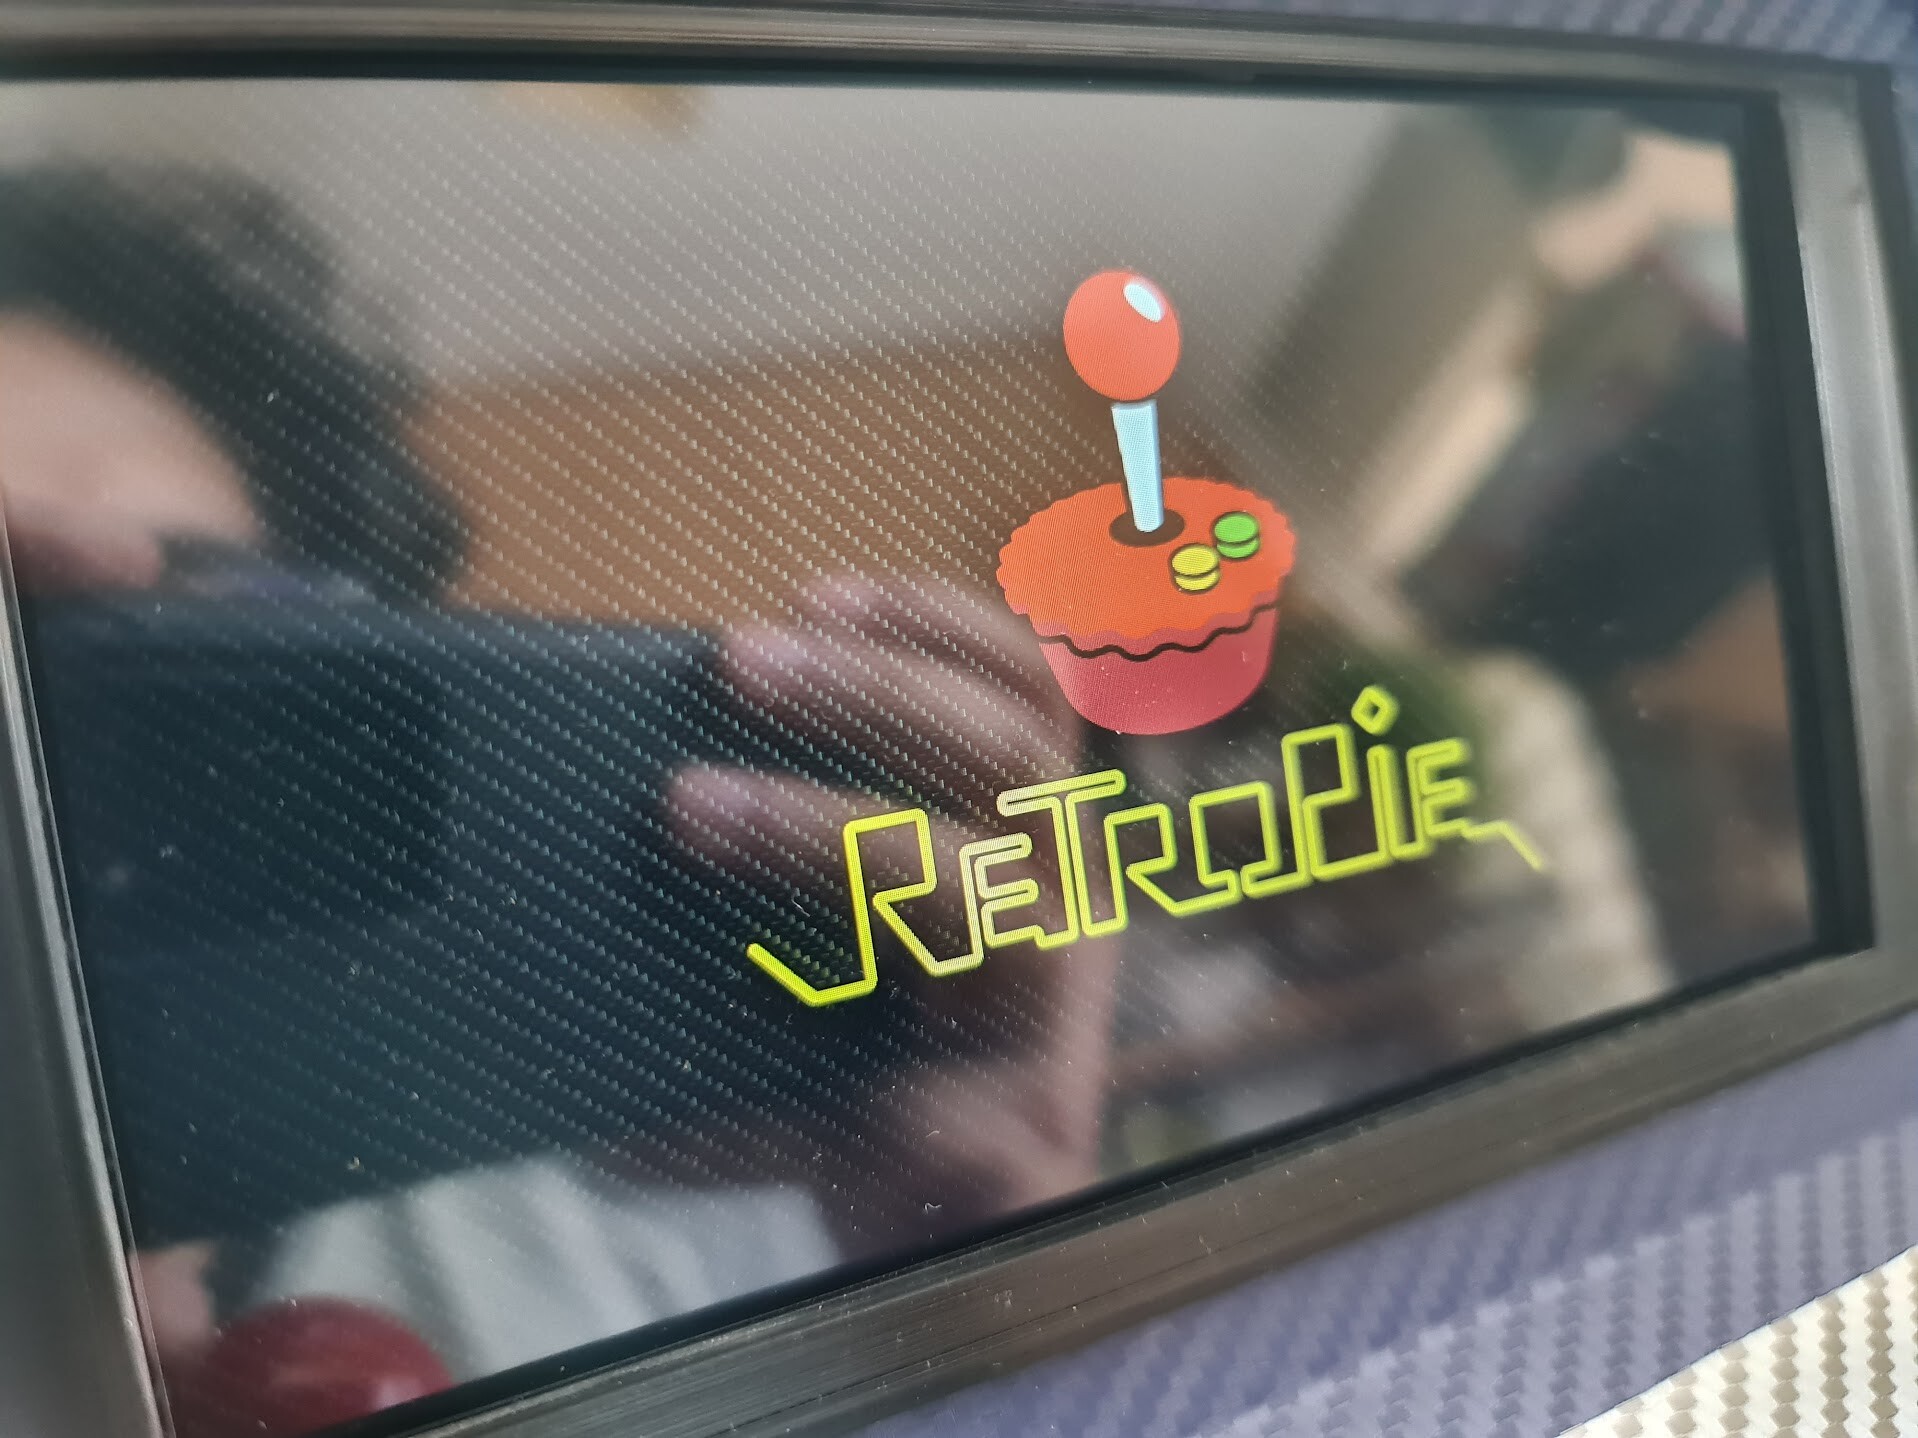
Finally I can test the machine.

This is Retropie loading screen. There is a good match about the "carbon texture" choice I made on the sticker foils :)
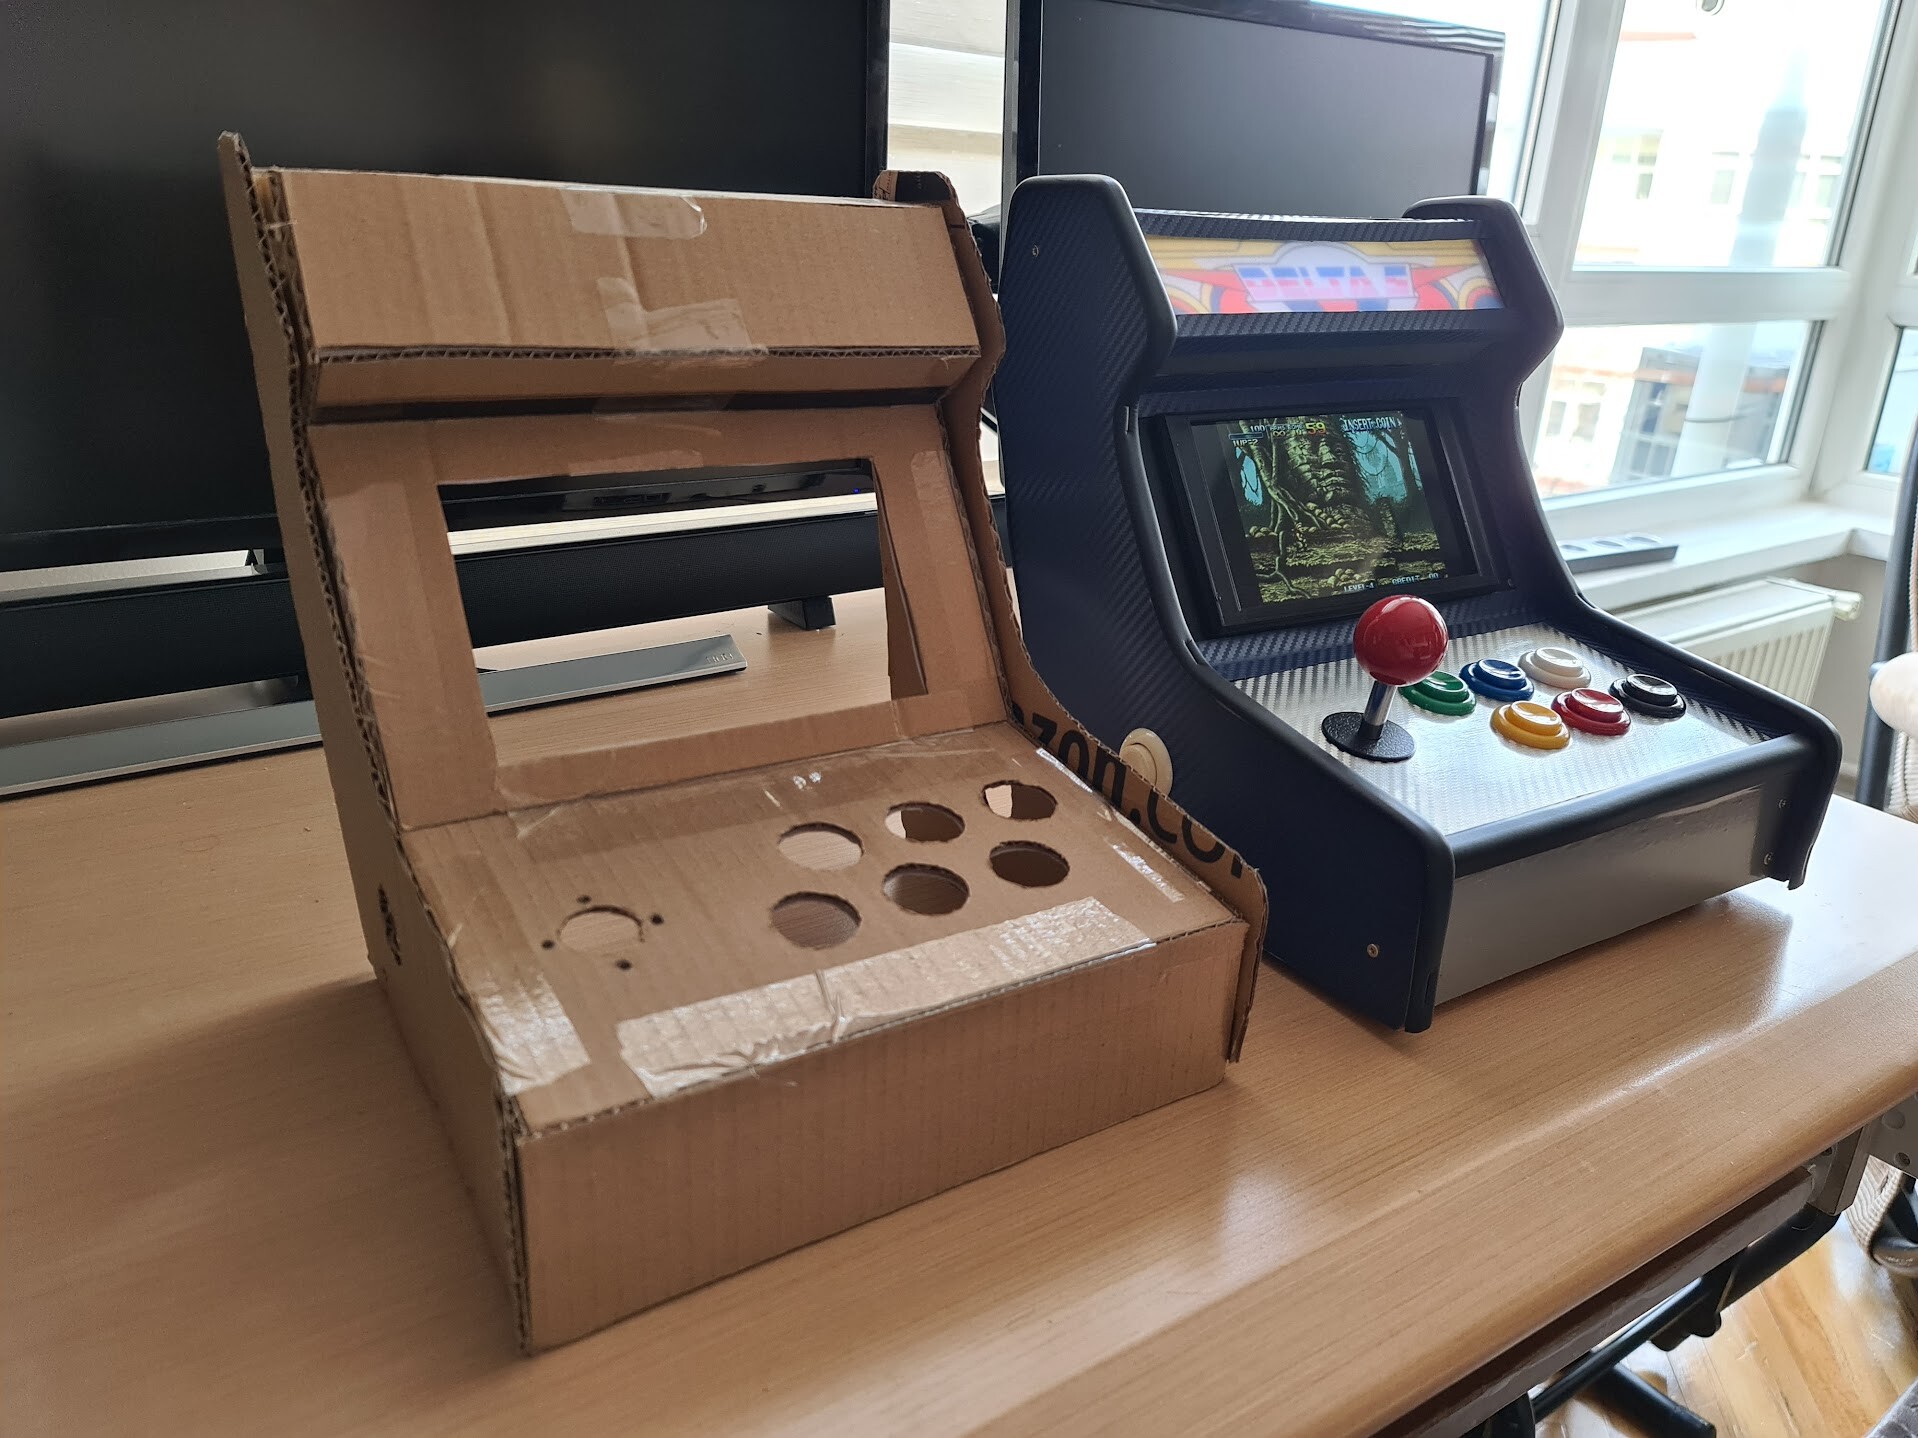
A comparison with the draft and final product!
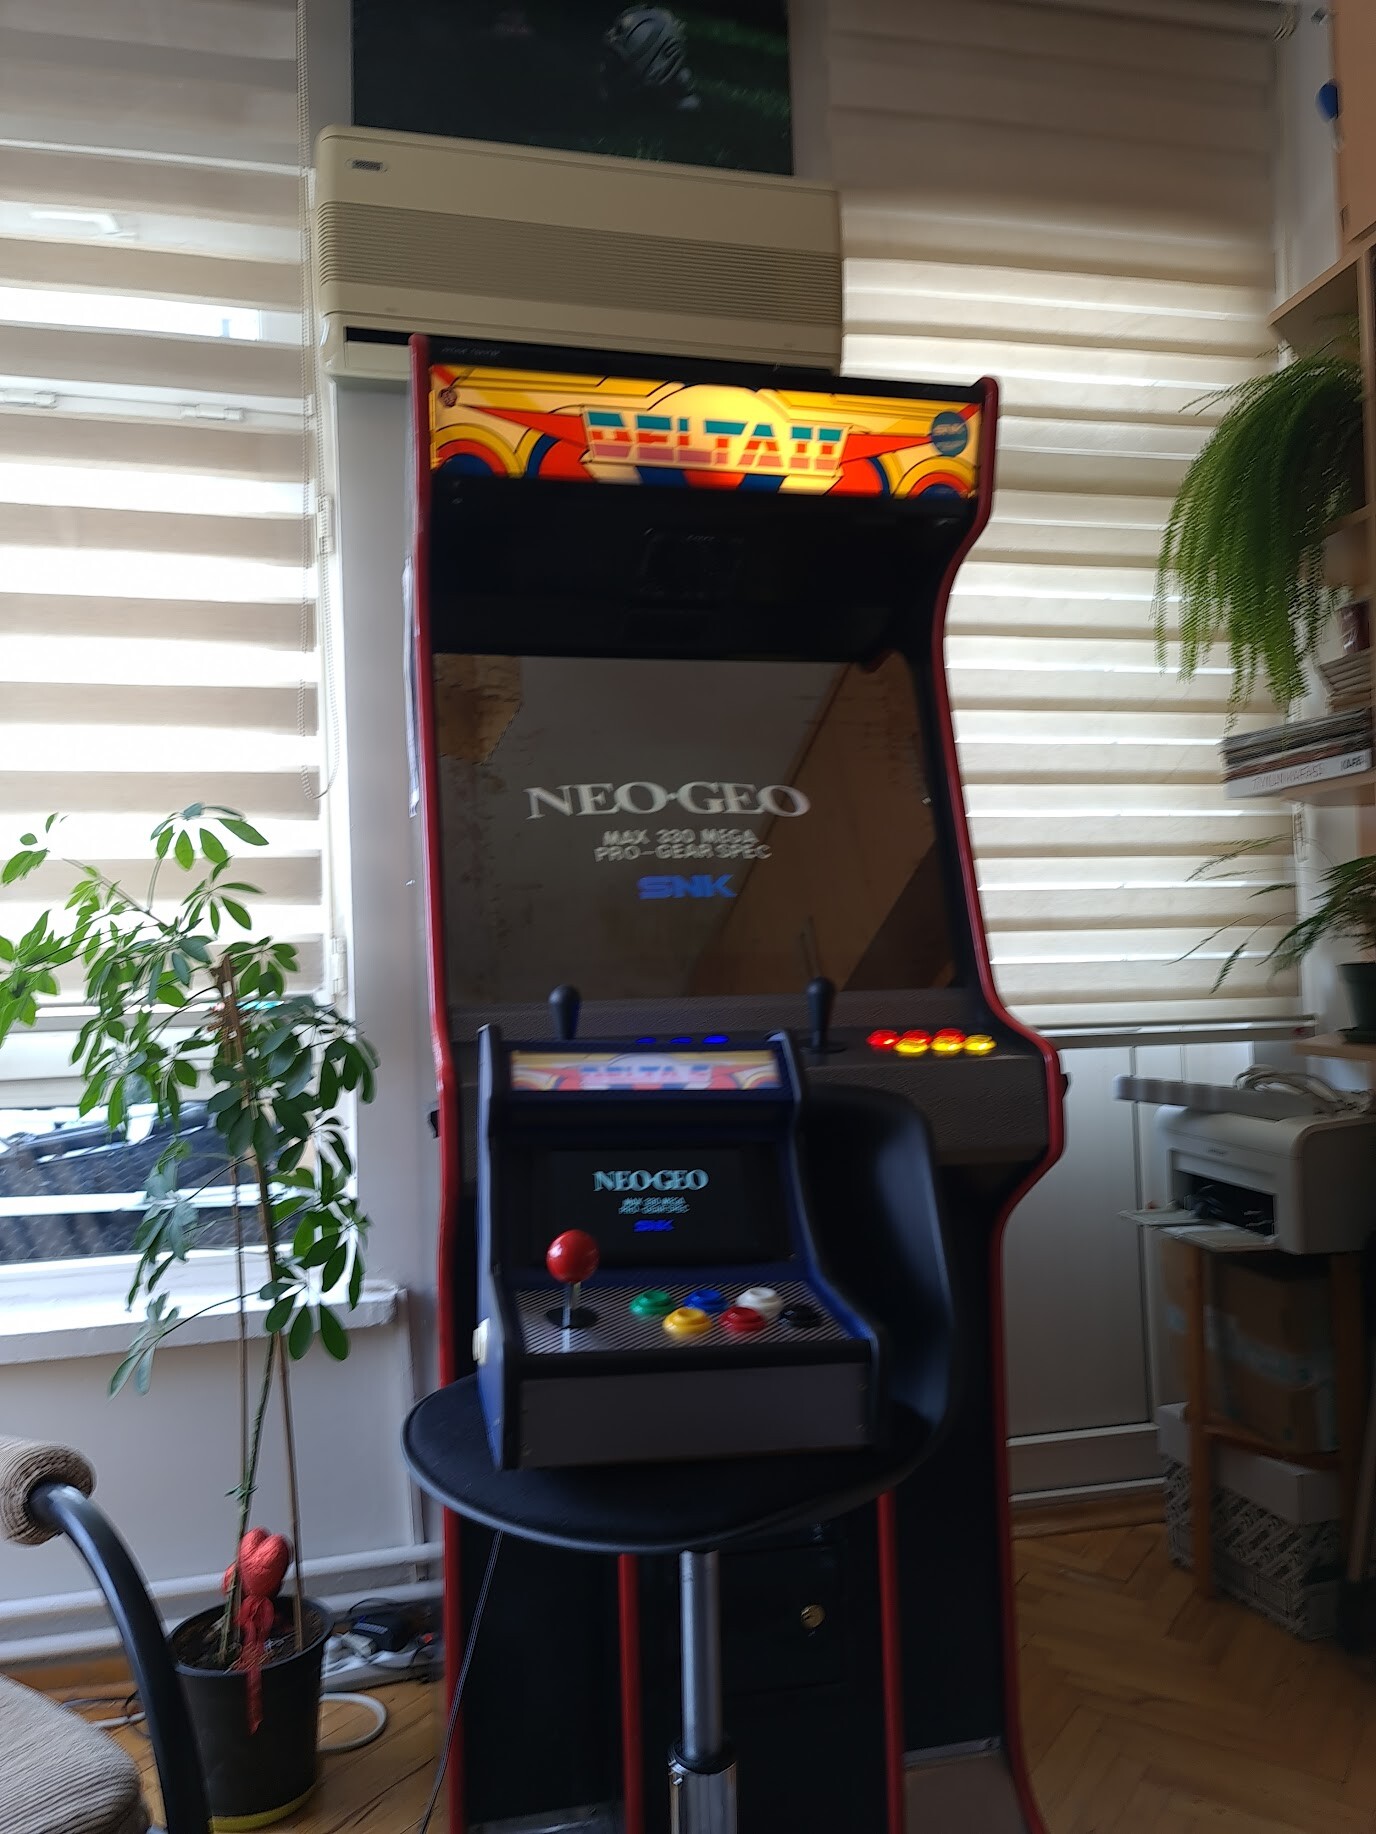
Some shots with the big cabinet and the new one.

Let's test it out!
This is a brief timelapse of the project.
And one final shot with the clearglass light panel.
It was an amazing experience to create something like this. Normally I do 3d printing and electronic assembly to that cases with more lower form factors. But this one was a good practice to work with wood, larger form factor and a way of both mechanic and electronic device. I hope you like it too. And see you soon.